Bluehost Self-Managed VPS: Reimage Your Server for LAMP Stack Installation
The LAMP Stack—Linux, Apache, MySQL, and PHP—is one of the most popular platforms for hosting dynamic websites and web applications. If you have a Bluehost Self-Managed VPS, you can use the Bluehost Portal to easily install and manage these components. This article will guide you step-by-step on how to install the LAMP stack using the Bluehost Portal.
What is the LAMP Stack?
- Linux: The operating system that runs your VPS server.
- Apache: A reliable and widely used web server software.
- MySQL: The database engine for managing your website’s data.
- PHP: A server-side scripting language to create dynamic content.
Together, these components create a powerful environment for hosting a variety of web applications.
Install LAMP Stack Using the Bluehost Portal
To install LAMP Stack:
- You can install only one application using the one-click installer.
- The system will automatically install Docker when reimaging to LAMP.
- To change or delete your application, follow the guide: Bluehost Self-Managed VPS: How to Change and Delete an Application. Create a backup of your existing applications or templates.
- If you want to keep your current template, install the new application manually using SSH. The system will automatically apply the recommended OS for LAMP.
- Log in to your Bluehost Portal.
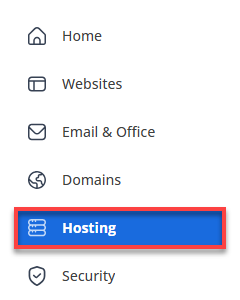
- Click Hosting in the left-hand menu.
- Click the Manage button on the Self-Managed VPS package.

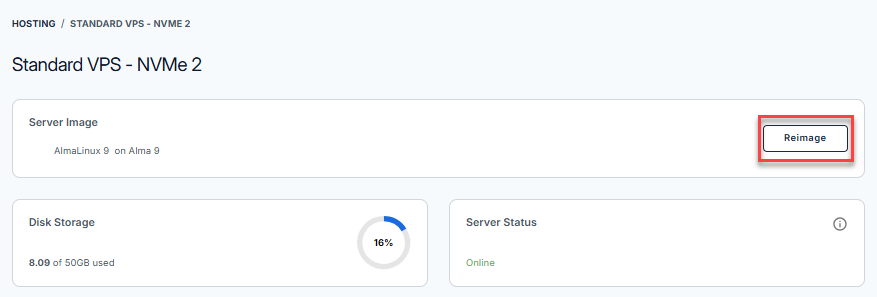
- Navigate to the Server Image section, then click the Reimage button.
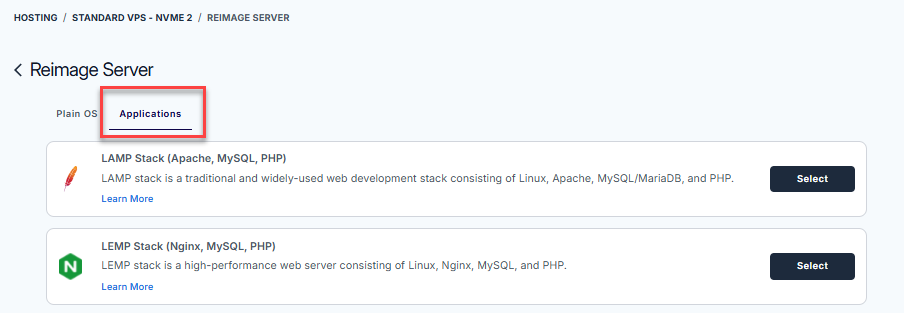
- In the Reimage server page, select Applications.
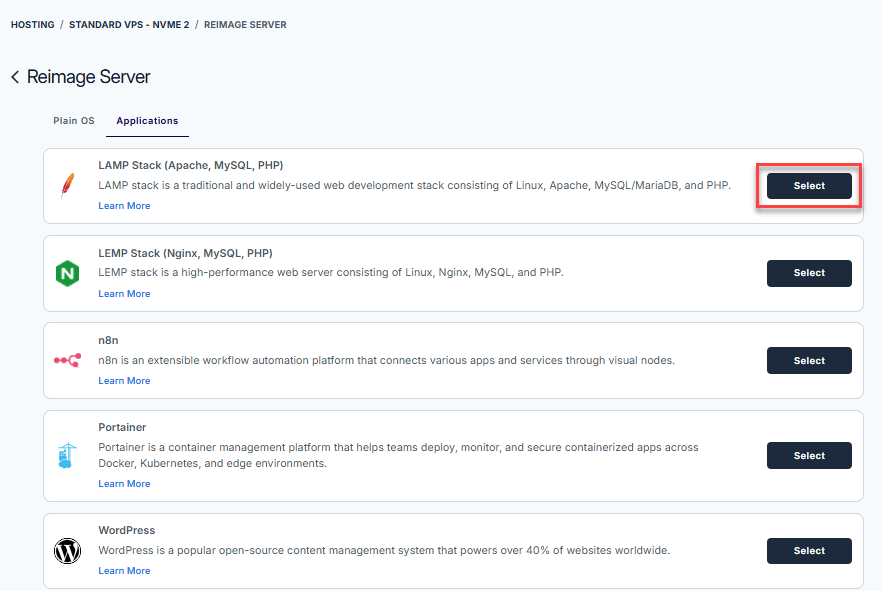
- From the list of available applications, find LAMP Stack and click Select.
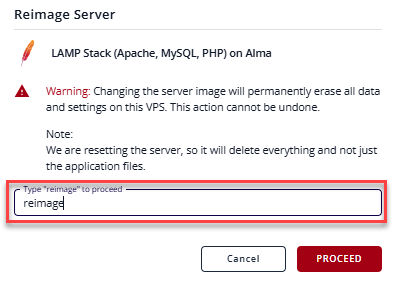
- On the pop-up message, type reimage in the field, then click Proceed.
- Wait for a few seconds to complete the installation.
After you complete reimaging your server, your Self-Managed VPS hosting will begin provisioning.
How to Verify Your LAMP Stack is Running in Docker
Use the steps below to confirm your LAMP stack is up and running, and to understand where your website files live.
- Connect to your VPS via SSH.
Use your VPS IP and credentials with an SSH client:ssh root@your_server_ip - Check if the LAMP Docker containers are running:
docker psYou should see containers with images such as
php:apache(web/PHP),mysql:latest(database), and possiblytraefik:latest(proxy). - Verify that Apache is serving content:
In your browser, visithttp://your_server_ip/. If you see the message “It works!”, Apache inside Docker is running and accessible. - Confirm PHP is working:
echo '<?php phpinfo(); ?>' > /tmp/info.php
docker cp /tmp/info.php $(docker ps -qf "ancestor=php:apache"):/var/www/html/info.php
docker exec $(docker ps -qf "ancestor=php:apache") rm /var/www/html/info.php- Create a PHP info file on your VPS:
- In your browser, go to
http://your_server_ip/info.php. You should see the PHP Information page, which confirms PHP is installed and functioning. - For security, remove the test file afterward:
Summary
Using the Bluehost Portal simplifies the installation and management of the LAMP stack on your Self-Managed VPS. With Apache and PHP usually pre-installed, your main focus is setting up MySQL databases and uploading/configuring your PHP application. This powerful combination gives you full control over your hosting environment to build and deploy dynamic websites efficiently and securely.