Bluehost Cloud Hosting Storage
Need more space for your website? The Bluehost Cloud Hosting storage is going to have you covered. This one is built for speed and flexibility, so it's designed to handle anything you might throw at it. This hosting solution focuses on reliability, so you can forget about losing your data. Keep reading to learn more!
How to Check the Storage Availability
To check the storage availability, follow the steps below:
- Log in to your Bluehost Portal.
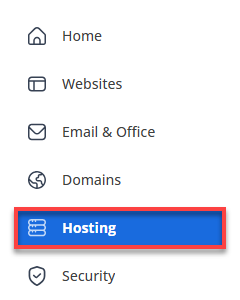
- Click Hosting in the left-hand menu.
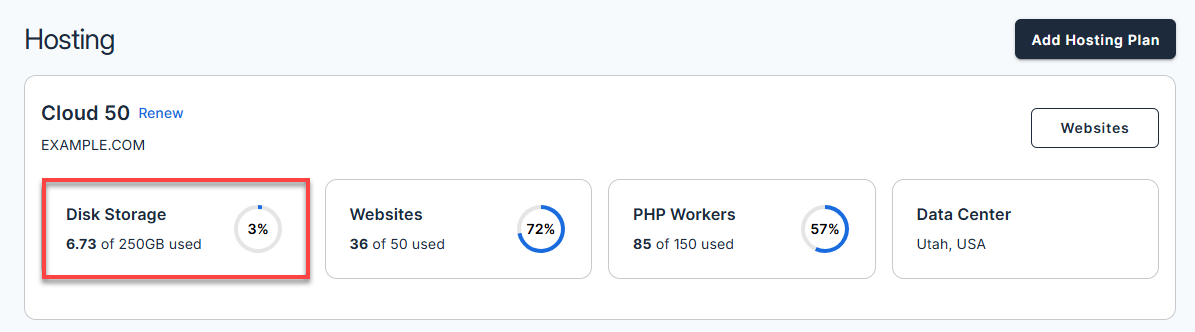
- On your Cloud hosting details page, you can view the storage available for allocation.
How to Manage Storage for Your Website
- Log in to your Bluehost Portal.
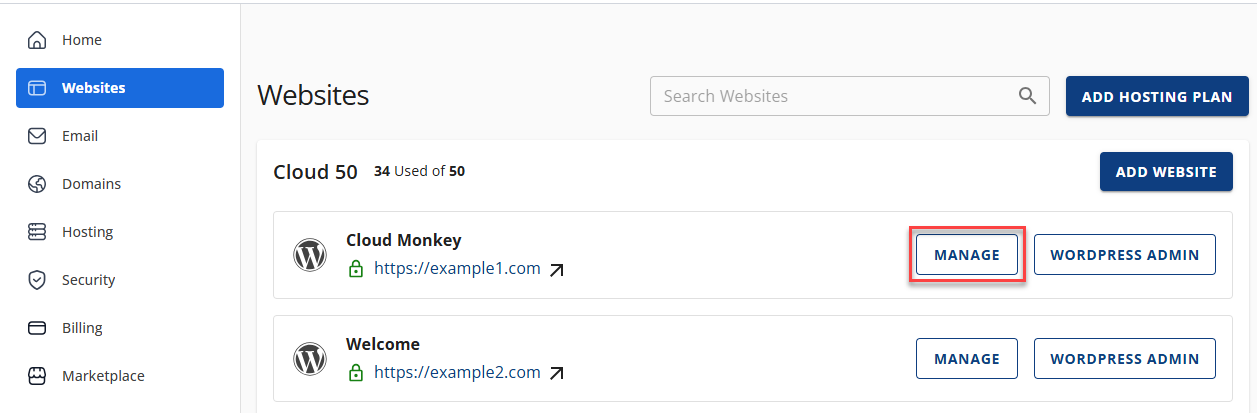
- In the left-hand menu, click Websites.
- Click the Manage button located next to the website you want to manage.
- On the website details page, click on the Settings tab or the Storage Used chevron icon (>) to manage the storage.
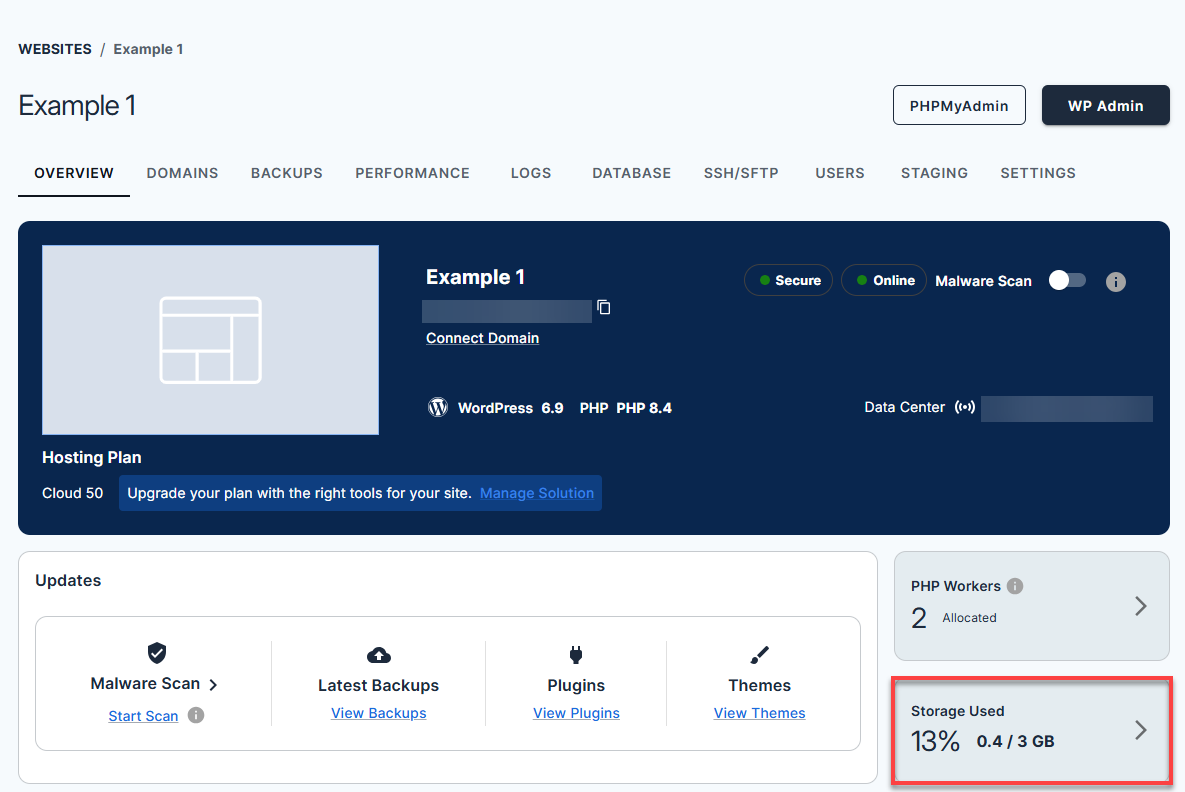
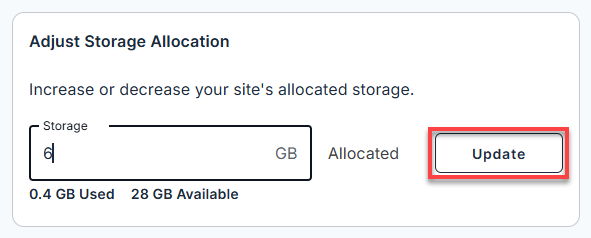
- In the Adjust Storage Allocation tile, update the value to the desired storage for your website, and then click the Update button. This change will be reflected immediately.
How to View the Disk Usage using WP-CLI
To view the disk usage using WP-CLI, follow the steps below:
- Log in to your SSH.
- Navigate to the
/htdocsdirectory. - Run the following WP-CLI command:
wp disk-usage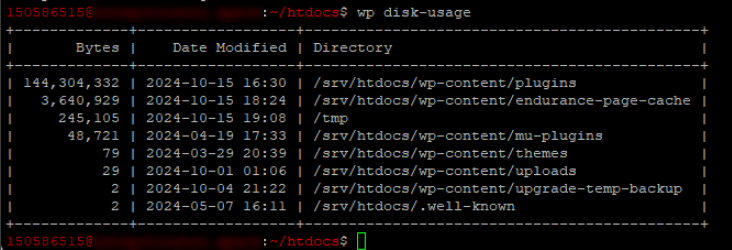
Summary
So, there you have it! Managing your Bluehost Cloud Hosting storage is easy. Just be mindful of the storage space used, and if it runs out, you should upgrade your package. You can focus on what really matters – an awesome website! – with the reliable and flexible Cloud Hosting offered by Bluehost.
If you need further assistance, Bluehost Chat Support is available 24 hours a day, 7days a week while Bluehost Phone Support is available 7 days a week from 7 am-12 midnight EST.
- Chat Support - While on our website, you should see a CHAT bubble in the bottom right-hand corner of the page. Click anywhere on the bubble to begin a chat session.
- Phone Support -
- US: 888-401-4678
- International: +1 801-765-9400
You may also refer to our Knowledge Base articles to help answer common questions and guide you through various setup, configuration, and troubleshooting steps.