VPS and Dedicated Hosting: Setting Up Private Nameservers
Optimization should be focused on control and flexibility in web presence administration. With VPS and Dedicated accounts offered by Bluehost, setting up private nameservers beats using Bluehost-default-provided nameservers.
The Benefits of Private Nameservers
By using private nameservers:
- Instead of reaching out to Bluehost every time there's a DNS change, you can make adjustments autonomously.
- Your brand gets an enhanced professional appearance using ns1.YourBrandDomain.com rather than a generic Bluehost domain.
Setting Up Private Nameservers
- Choose Your Naming Convention:
Even if you have the flexibility in naming, you need to make sure the DNS records for these private nameservers are correctly pointed to your server. As an example, for a domain named Customerdomain.com:
• ns1.Customerdomain.com (points to IP address 162.240.108.161)
• ns2.Customerdomain.com (points to the same IP address 162.240.108.161) - Registration Process:
The procedure for registering private nameservers will vary depending on your domain registrar. For any other domains in your account, you have the option of either setting up unique private nameservers for each or using one domain to establish private nameservers for all.
Setting Up Private Nameservers for Domain Registered with us
- Log in to your Bluehost Portal.
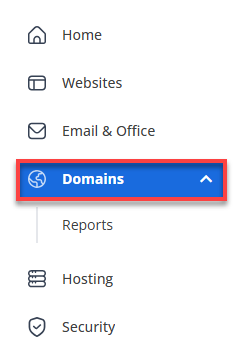
- In the left-hand menu, click Domains.
- If you have one domain in your account, you will be taken directly to the domain management panel.

- If you have multiple domains in your account, click the domain you wish to manage to access the domain management panel.
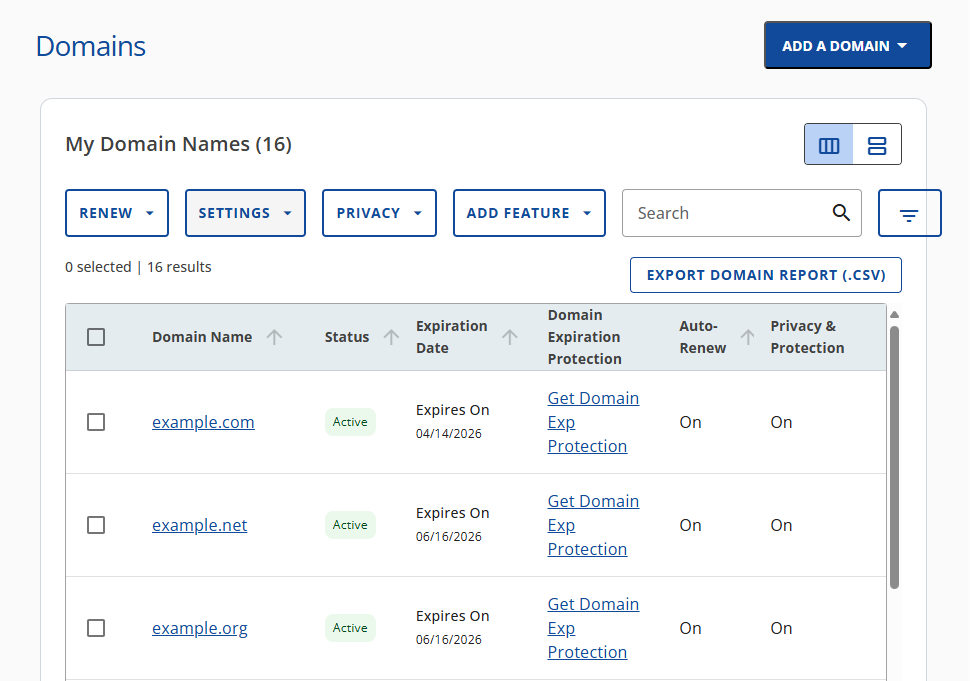
- If you have one domain in your account, you will be taken directly to the domain management panel.
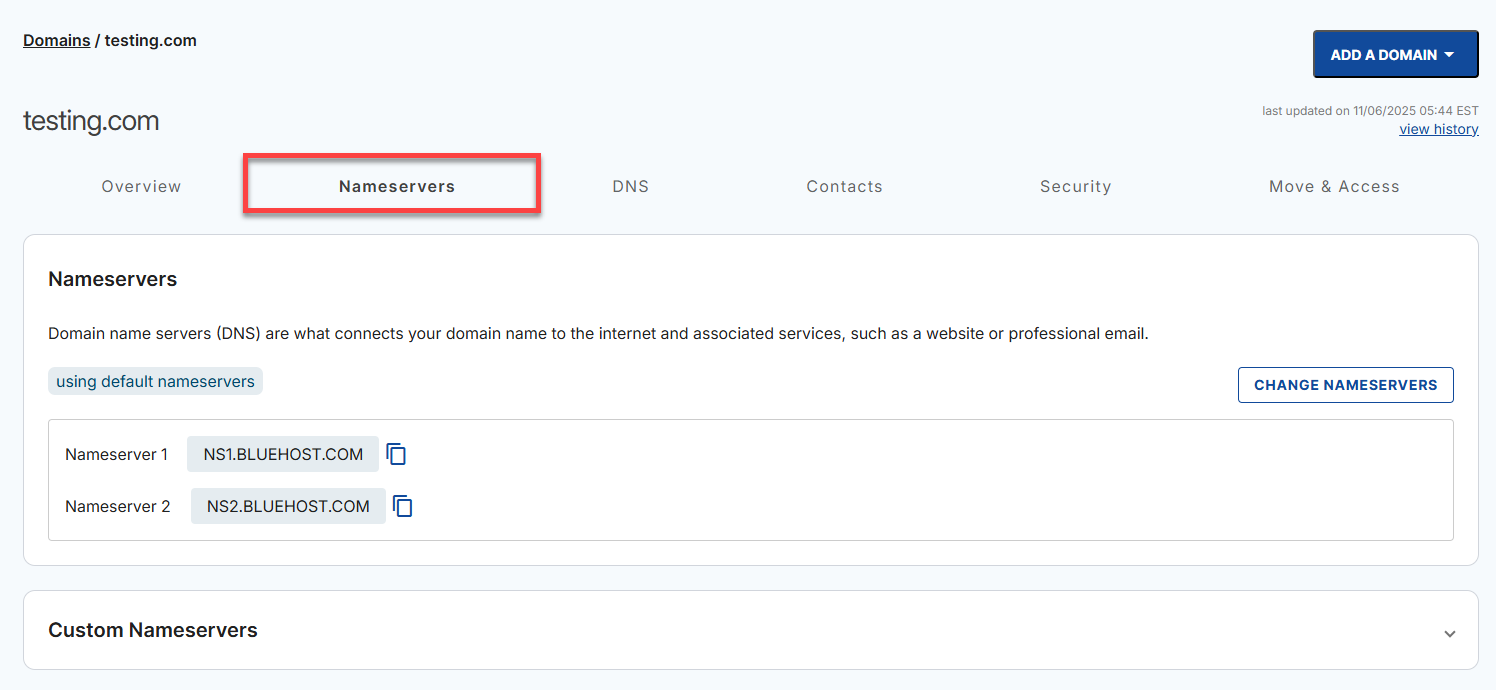
- Go to the Nameservers tab.
- Click Custom Nameservers.
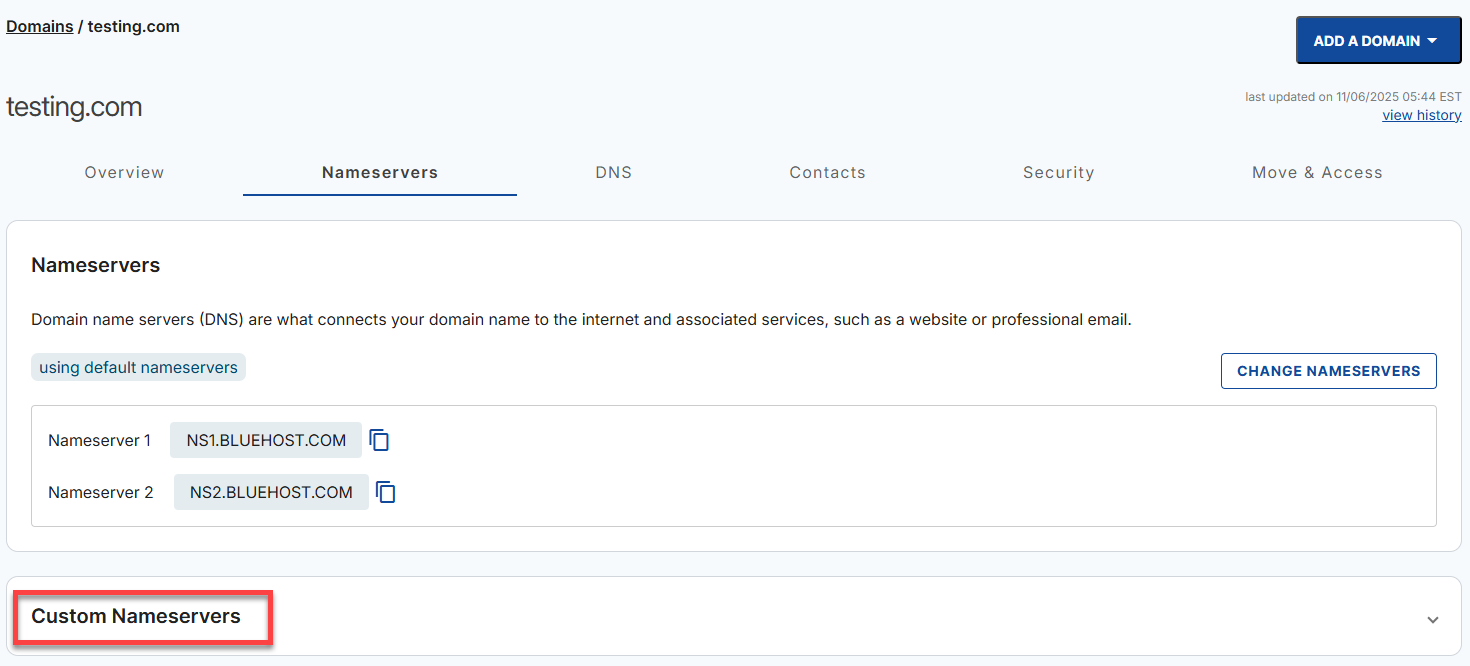
- Click + ADD.

- Enter the customized nameserver and make sure to include the IP address. Click ADD.

- After configuring the nameservers, proceed to WHM.
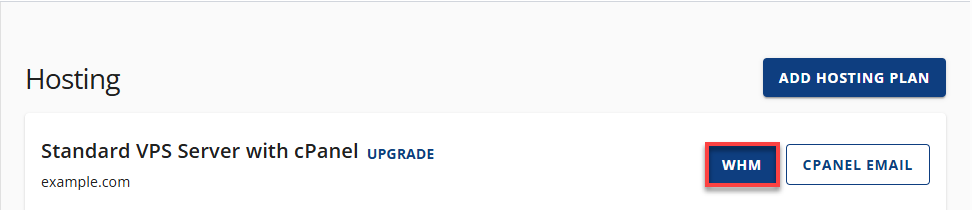
- Click Hosting in the left-hand menu.
- In the hosting details page, click the WHM button.
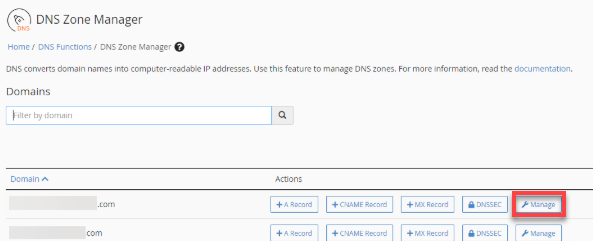
- In the DNS Zone Manager section, click the Manage button.
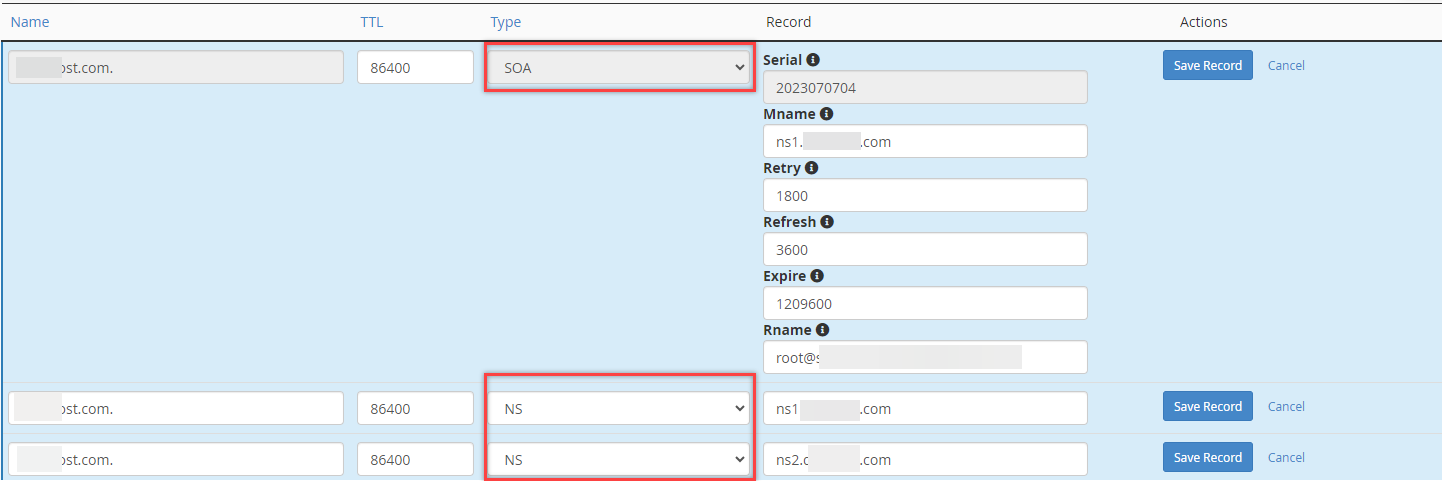
- Here, edit the SOA (Start of Authority) and NS type records. Replace the default ns1.bluehost.com/ns1.TEMPDOMAIN.ME with your custom domain.
After registering your private nameservers and updating the domain info, it may take 12 to 72 hours for these changes to propagate across the internet. During this period, global DNS servers gradually apply your updates to ensure a consistent user experience.
Summary
This article explains how private nameservers can be set up for VPS and Dedicated servers. Additionally, the benefits of using private nameservers are highlighted, including greater control over DNS changes and a more professional appearance for your brand. The process of setting up private nameservers involves selecting a naming convention, registering the nameservers at your domain registrar, and configuring DNS records in WHM. This resource also states that the update may take 12-72 hours to propagate on the internet.
If you need further assistance, Bluehost Chat Support is available 24 hours a day, 7days a week while Bluehost Phone Support is available 7 days a week from 7 am-12 midnight EST.
- Chat Support - While on our website, you should see a CHAT bubble in the bottom right-hand corner of the page. Click anywhere on the bubble to begin a chat session.
- Phone Support -
- US: 888-401-4678
- International: +1 801-765-9400
You may also refer to our Knowledge Base articles to help answer common questions and guide you through various setup, configuration, and troubleshooting steps.