Task Management in OX Mail: Task Features and Tools
Organizing your everyday tasks requires effective task management in OX Mail. Robust features like the Tasks Toolbar, Tasks Folder View, and the New Task button let you create and manage your tasks. You may personalize every task in the Editing Window, which helps you stay on top of shared duties, deadlines, and priorities.
New Task Button
Using this button, you can start a new task. To get this, take the actions listed below:
- Select the hamburger icon, which is located in the upper-left corner.
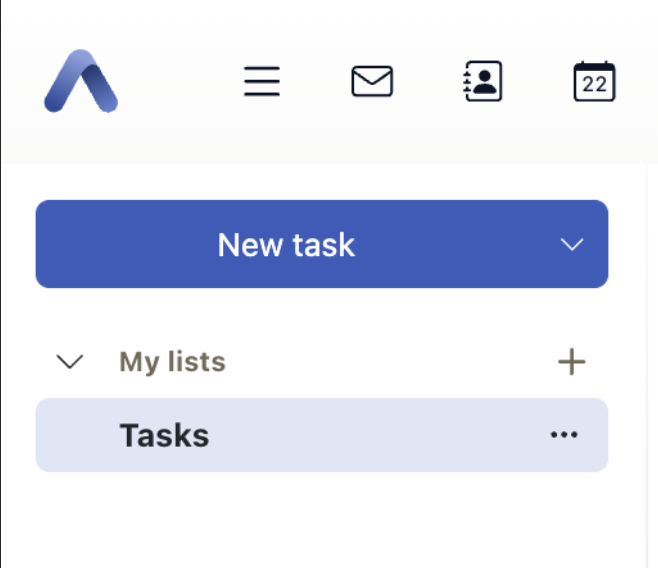
- Click on Apps and then choose Tasks. As seen in the image, the New Task button ought to appear.
Make sure to click on the Open folder view button in the lower-left corner of your screen to access the folder view if you cannot locate the New Task option.
- Click the New Task button to bring up the Create Task box and create a task.
Tasks Folder View
All of the generated task folders will appear here.
- My lists - include the personal tasks you have established.
- Public tasks - include assignments that all users share.
- Shared tasks - includes assignments that other users have shared with you.
Tasks Toolbar
This includes task organization and editing features.
- Edit icon - This will modify the data for the selected task.
- Due icon - This will modify the deadline for the chosen assignment.
- Undone or Done icon - This will indicate whether a task is completed.
- Delete icon - The chosen job will be deleted as a result.
- More actions icon - This will cause a task management menu to appear.
Tasks Editing Window
The editing window is utilized when starting a new task or changing an existing one.
Choose one of the following options to launch the window:
- Choose a task and click the Edit icon to edit an existing task.
- Click the New Task button to begin creating a new assignment.
When completed, the window that appears below should appear:
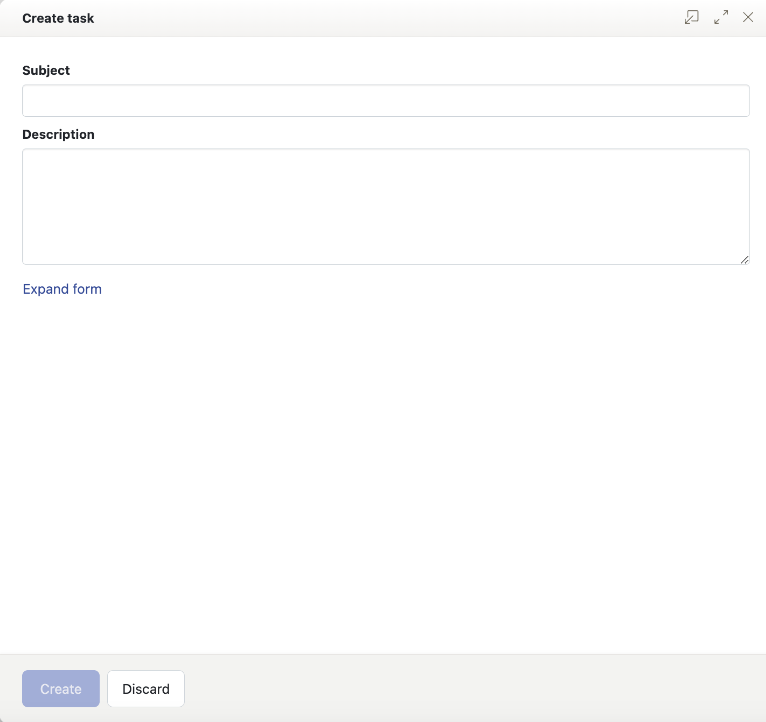
- Subject - The task title is shown as the subject name. To create a task, click the designated field and type the title.
- Description - Please enter a description of the task here. You can choose not to do this.
- Start date - The date picker will open when you click the field. Next, you can decide when the work is due.
- Due date - Click the field to select the date. Next, you can choose when the work is due.
- All day - Indicates if the assignment is meant to be completed in a single day. If deactivated, the Start date and Due date fields will have an additional field where you can manually enter the time.
- Repeat - Indicates if the task needs to be carried out again.
- Reminder - Specify the method and time of your reminder regarding the task's expiration date. In the Reminder Date section, you can also specify the reminder's day and time.
- Status - The status of a task is determined by its status. In the Progress field, you can set a percentage for task completion.
- Priority - Indicates the importance of the task.
- Private - If users prefer not to see the task's subject and description, they can enable the private option by checking the corresponding checkbox.
- Add contact - Fill out this area with the names of the persons involved in the task.
- Add attachment - You can attach files to the assignment using this option.
- Show details - This will bring up other fields in the data that you can fill out with billing information, such as projected or actual efforts.
Summary
Understanding how to manage tasks in OX Mail helps streamline workflows and increase productivity. Using features like the New Task button, the Tasks Folder View, and the multipurpose Tasks Toolbar helps users quickly create and classify tasks in OX Mail according to deadlines and distribute responsibility to meet those deadlines. Customization may be used with the Editing Window; you can track progress, for instance, and prioritize appropriately.
If you need further assistance, Bluehost Chat Support is available 24 hours a day, 7days a week while Bluehost Phone Support is available 7 days a week from 7 am-12 midnight EST.
- Chat Support - While on our website, you should see a CHAT bubble in the bottom right-hand corner of the page. Click anywhere on the bubble to begin a chat session.
- Phone Support -
- US: 888-401-4678
- International: +1 801-765-9400
You may also refer to our Knowledge Base articles to help answer common questions and guide you through various setup, configuration, and troubleshooting steps.