Microsoft 365 - How to Update Name Servers
To use Microsoft 365 with your domain, your domain’s name servers must point to Bluehost. This allows Microsoft to verify that you own the domain before connecting it to your email service. Updating your name servers helps ensure your Microsoft 365 email is set up correctly and keeps your domain, email, and related data secure.
Update the Name Servers for Microsoft Users
Here are the steps in updating the name servers for Microsoft 365 users.
Step 1: Get your Name Server Information
- Log in to your Bluehost Portal.
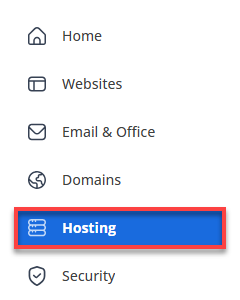
- Click Hosting in the left-hand menu.
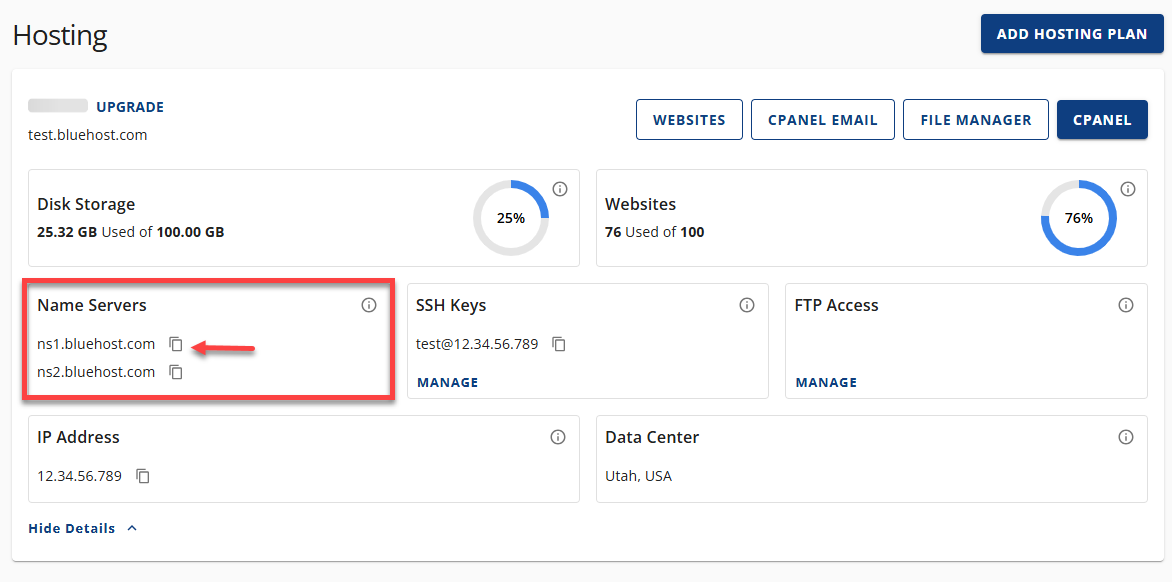
- Under Name Servers card. Click the COPY link to copy the name servers.
Step 2: Update your Domain Name Servers
For domains registered with Bluehost:
If the domain you want to use to sign up for Microsoft 365 is not yet pointed to your Bluehost account, follow the steps on How to Update Name Servers.
For domains registered with different registrars:
Please note that the following instructions are general steps. Depending on your third-party registrar, the process for updating name servers may vary.
Transfer your Domain to Bluehost
You also have the option to transfer your domain to Bluehost. That way, as shown above, you can manage your domain's name servers within your Bluehost Portal.
Summary
You must first update the name servers to point them to your Bluehost servers so that you can use Microsoft 365 with your domain. It is important for Microsoft to verify the ownership of your domain and ensure the security of your email and data. You can start by obtaining your Bluehost name server details in your Bluehost Portal. Then, update your domain's name servers, either through Bluehost or your domain registrar, ensuring it points to NS1.BLUEHOST.COM and NS2.BLUEHOST.COM. Once the name servers are updated, allow propagation, which usually takes 48 hours, before proceeding with the rest of the Microsoft 365 purchase.
If you need further assistance, Bluehost Chat Support is available 24 hours a day, 7days a week while Bluehost Phone Support is available 7 days a week from 7 am-12 midnight EST.
- Chat Support - While on our website, you should see a CHAT bubble in the bottom right-hand corner of the page. Click anywhere on the bubble to begin a chat session.
- Phone Support -
- US: 888-401-4678
- International: +1 801-765-9400
You may also refer to our Knowledge Base articles to help answer common questions and guide you through various setup, configuration, and troubleshooting steps.