How to Reimage Your Self-Managed VPS to CentOS
Reimaging your VPS server with CentOS provides a fast and reliable method to reset your environment. This process sets up a clean, secure CentOS installation, preparing your server for new projects and optimized performance.
Why Reimage a Server?
Reimaging is usually the best option when starting over is faster and more effective than troubleshooting. You might consider it if:
- Your server has ongoing errors that are difficult to fix.
- You want to remove malware or security risks.
- Performance has noticeably slowed down.
- You’re preparing the server for a new project.
- Your current setup no longer fits your needs.
Benefits of Reimaging
Reimaging your server offers several key advantages that help maintain a reliable, secure, and efficient environment:
- Clean, up-to-date system: Removes clutter, unused files, and broken configurations, giving you a fresh and efficient environment.
- Improved performance and stability: A clean and optimized setup helps your server run more smoothly.
- Reduced security risks: Eliminates hidden vulnerabilities while benefiting from strong, regularly updated security policies.
- Cost efficiency: As a free, open-source OS, it reduces or eliminates licensing costs.
- Control panel compatibility: Works seamlessly with popular tools like cPanel and Plesk, making it ideal for web hosting setups.
Reimage Your VPS to CentOS in your Bluehost Portal
To reimage your VPS to CentOS:
Since everything will be deleted, backing up your data is critical:
- Choose the operating system that best fits your workload by reviewing our guide on comparing OS options based on use case.
- (link it to this Bluehost Self-Managed VPS OS Comparison)
- Changing the server image will permanently erase all data and settings on this VPS. This action cannot be undone.
- Full system backup – A complete copy of your server.
- Data backup – Important files like: Website content, Databases, Emails, and Custom scripts.
- Log in to your Bluehost Portal.
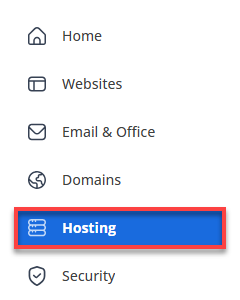
- Click Hosting in the left-hand menu.
- Select the Manage button on the Self-Managed VPS package.

- Click the Reimage button.

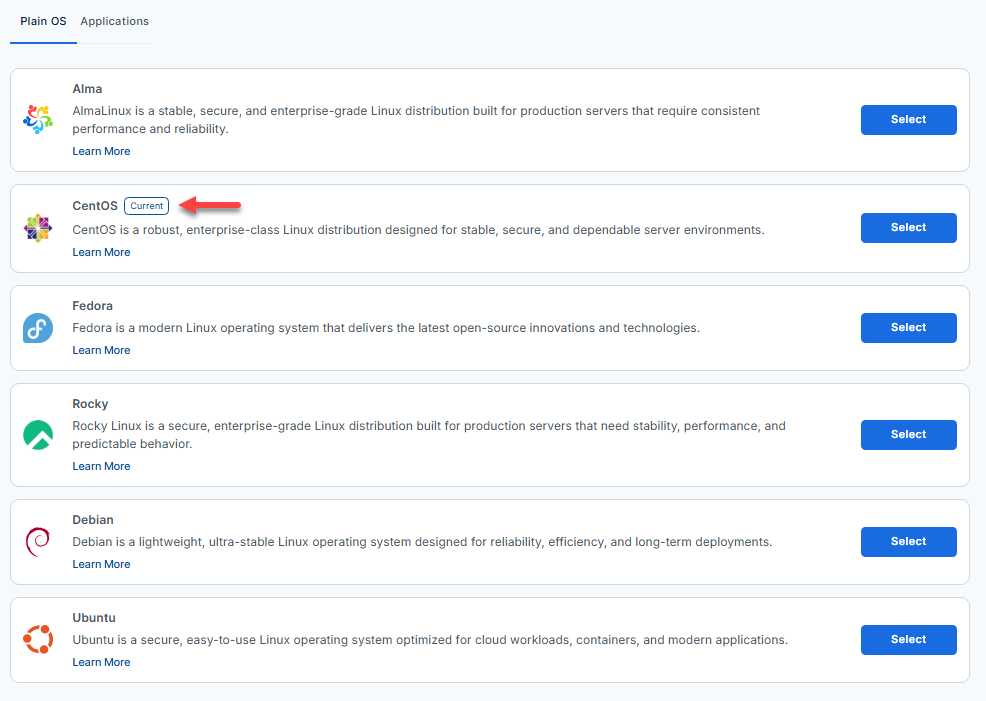
- Go to the Plain OS tab.

- From the list, find CentOS and click Select.

- Select the server version, type “reimage,” and then click Proceed to begin the process.

- Wait a few moments while the installation completes.

- Once the process is complete, CentOS will appear as the current OS in the list.
- You will see CentOS (version of the application) listed in the Server Image section.

After Reimaging
Once the process is complete, take a moment to make sure everything is working as expected:
- Access your server and confirm it’s online
- Reinstall any required applications
- Restore your backups
- Test your websites and services
- Double-check configurations
Summary
Switching your VPS to CentOS provides a reliable, secure foundation for your server. Reimaging helps resolve persistent issues, enhances security, and boosts performance, ensuring your server is fully prepared for whatever comes next. Using the Bluehost portal streamlines the process and guarantees your server is set up with the latest CentOS software.