WordPress: Removing Powered by WordPress from the Footer
If you want to give your WordPress site a professional and customized look, one of the first steps is removing the default “Powered by WordPress” text from the footer. While harmless, this footer credit can make your site look less unique. Some users also prefer to remove it for security reasons, as it can reveal the CMS being used.
The good news? Since WordPress is under the GPL license, you are free to modify or remove this credit without any copyright concerns.
We have created a video to help guide you through the steps.
How to Remove "Powered by WordPress" from your Website
Here are two reliable methods to remove the "Powered by WordPress" text from your site's footer.
Method 1: Using a Plugin
Using a plugin offers a quick alternative to manually editing the theme's footer. However, the plugin's compatibility with your website depends on the theme you are using.
Here are the steps to remove the "Powered by WordPress" text using a plugin.
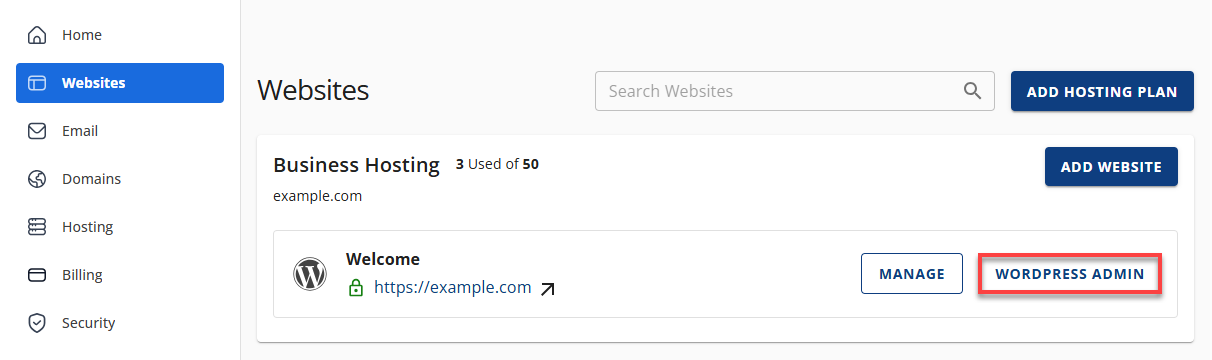
- Log in to your Bluehost Portal.
- In the left-hand menu, click Websites.
- Click the WordPress Admin button located next to the website you want to manage.
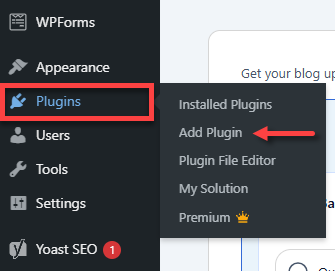
- Click Plugins in the left-side menu, then select Add Plugin.
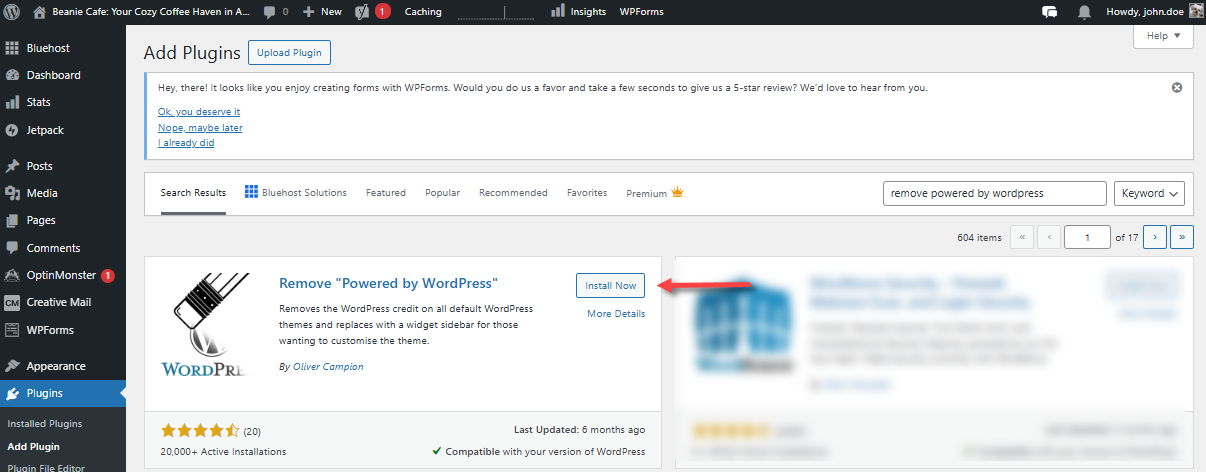
- Search for a plugin called "Remove 'Powered by WordPress'" (or any similar plugin).

- Click Install Now, then Activate.
- Go to the Installed Plugins section. For supported themes, the plugin will automatically remove the "Powered by WordPress" text from the footer upon activation. If it does not, check the Installed Plugins section.
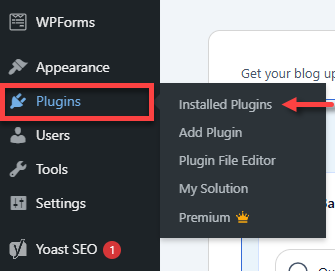
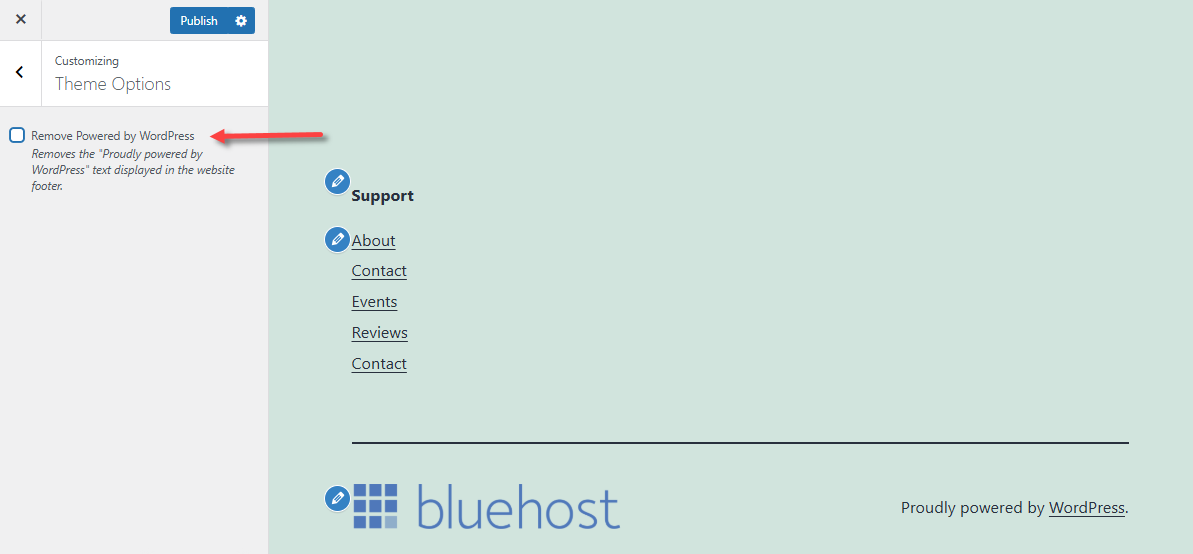
- Locate the Remove "Powered by WordPress" plugin, then click the Settings link under it.

- On the "Customizing" page, put a check mark on the "Remove Powered by WordPress Removes the "Proudly powered by WordPress" text displayed in the website footer" option.
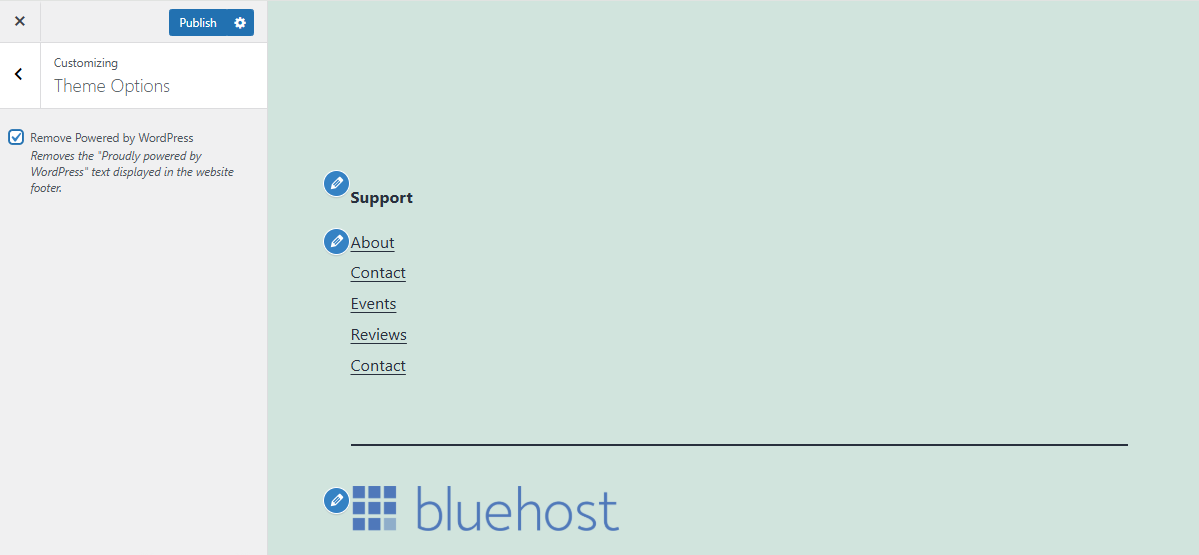
- You'll notice that the "Proudly powered by WordPress." text in the footer area has been removed.
Method 2: Editing the Theme's Footer (footer.php)
This method involves manually editing your theme's footer.php file. This requires coding knowledge and should only be done with backups in place, preferably on a staging site first.
- Always make sure to back up your theme files before making any code changes.
- If you're unsure about editing code, consider using a plugin for a safer approach.
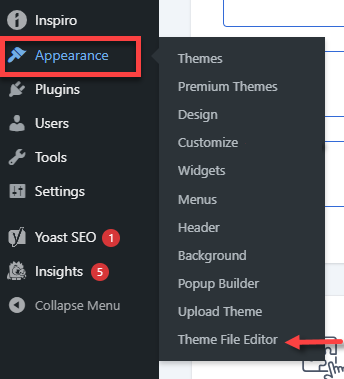
- Within your WordPress dashboard, locate the Theme File Editor. Depending on the theme of your website, this may be found under Appearance or Tools.
- In the right pane, under Theme Files, select footer.php.
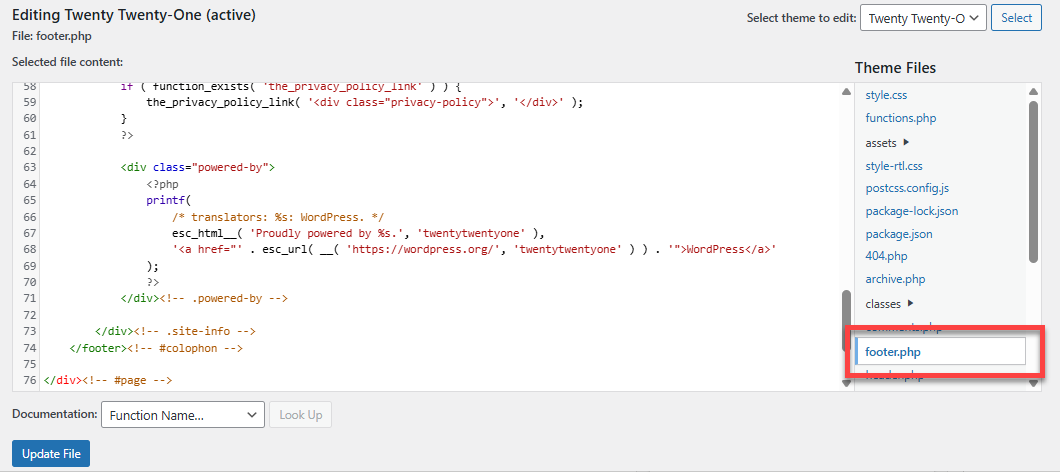
- Look for a block of code that includes the line "powered-by-wordpress." Please note that this line of code may vary depending on your theme..
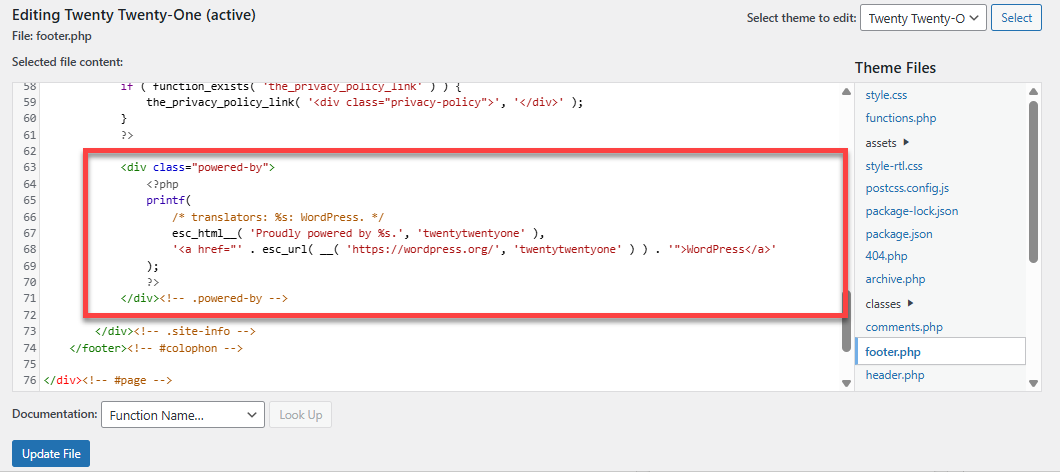
- Delete this block of code, scroll down, then click Update File to save your changes.
- This will now remove the "Powered by WordPress" from the footer. You can verify this by navigating to the theme settings or by checking your website on the staging site. Make sure everything is functioning properly before making any updates to your live site.
Summary
The "Powered by WordPress" footer credit is generally harmless, but many site owners prefer to remove it for several reasons: to enhance the professionalism of their website, improve security by obscuring the content management system (CMS), and create a more unique, customized appearance. Since WordPress is licensed under the GPL, you are free to remove or alter this credit without any copyright issues.
This article outlines two effective methods for removing the "Powered by WordPress" text from your footer: using a plugin or editing the theme's footer directly. If you choose the second method, please proceed with caution and ensure you have a backup, as theme updates may overwrite your changes.
If you need further assistance, Bluehost Chat Support is available 24 hours a day, 7days a week while Bluehost Phone Support is available 7 days a week from 7 am-12 midnight EST.
- Chat Support - While on our website, you should see a CHAT bubble in the bottom right-hand corner of the page. Click anywhere on the bubble to begin a chat session.
- Phone Support -
- US: 888-401-4678
- International: +1 801-765-9400
You may also refer to our Knowledge Base articles to help answer common questions and guide you through various setup, configuration, and troubleshooting steps.