How to Use RoundCube Email
RoundCube email on Bluehost is a free software that allows you to check your emails online. RoundCube is a user-friendly web-based email client that supports multiple languages. It includes standard features commonly found in other email clients, such as managing address books, searching messages, etc.
Shared Hosting Accounts
How to Check Emails
- To begin, log in to your webmail. If it is your first time logging in, check out How to Access Webmail for instructions.
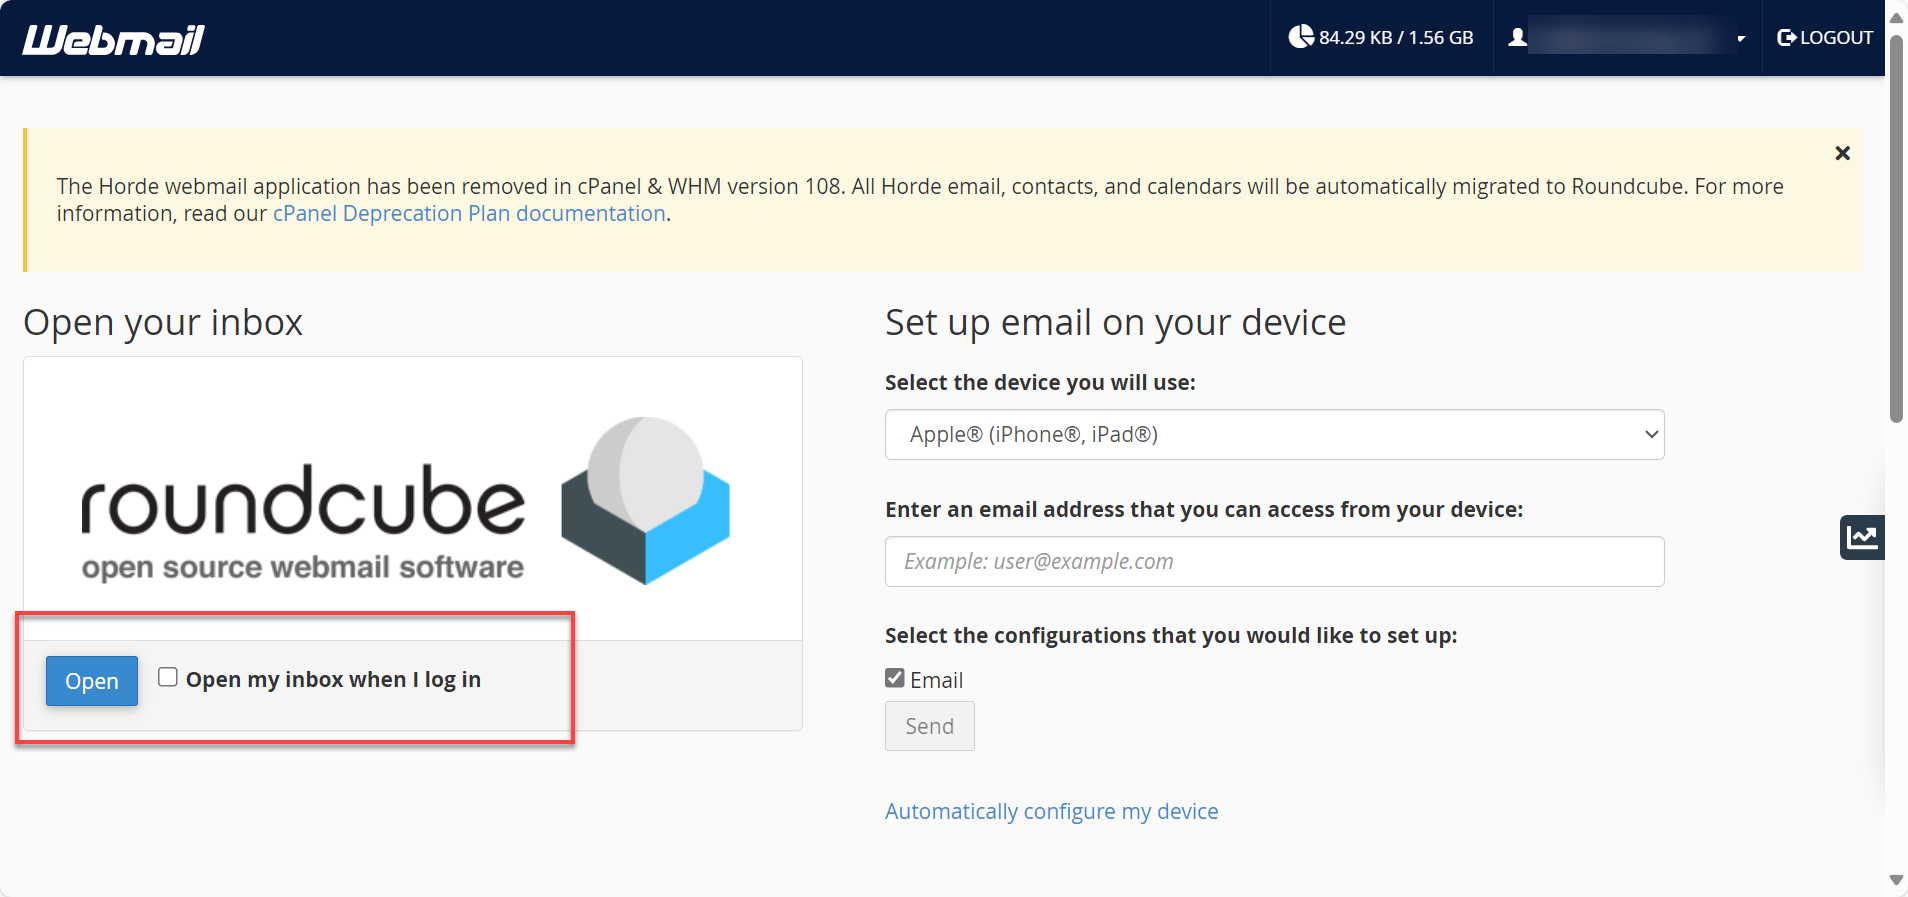
- Once logged in to webmail, you will see what is shown in the image below or be taken directly to your inbox. If you are not taken directly to your inbox, click the Open button to access your email.
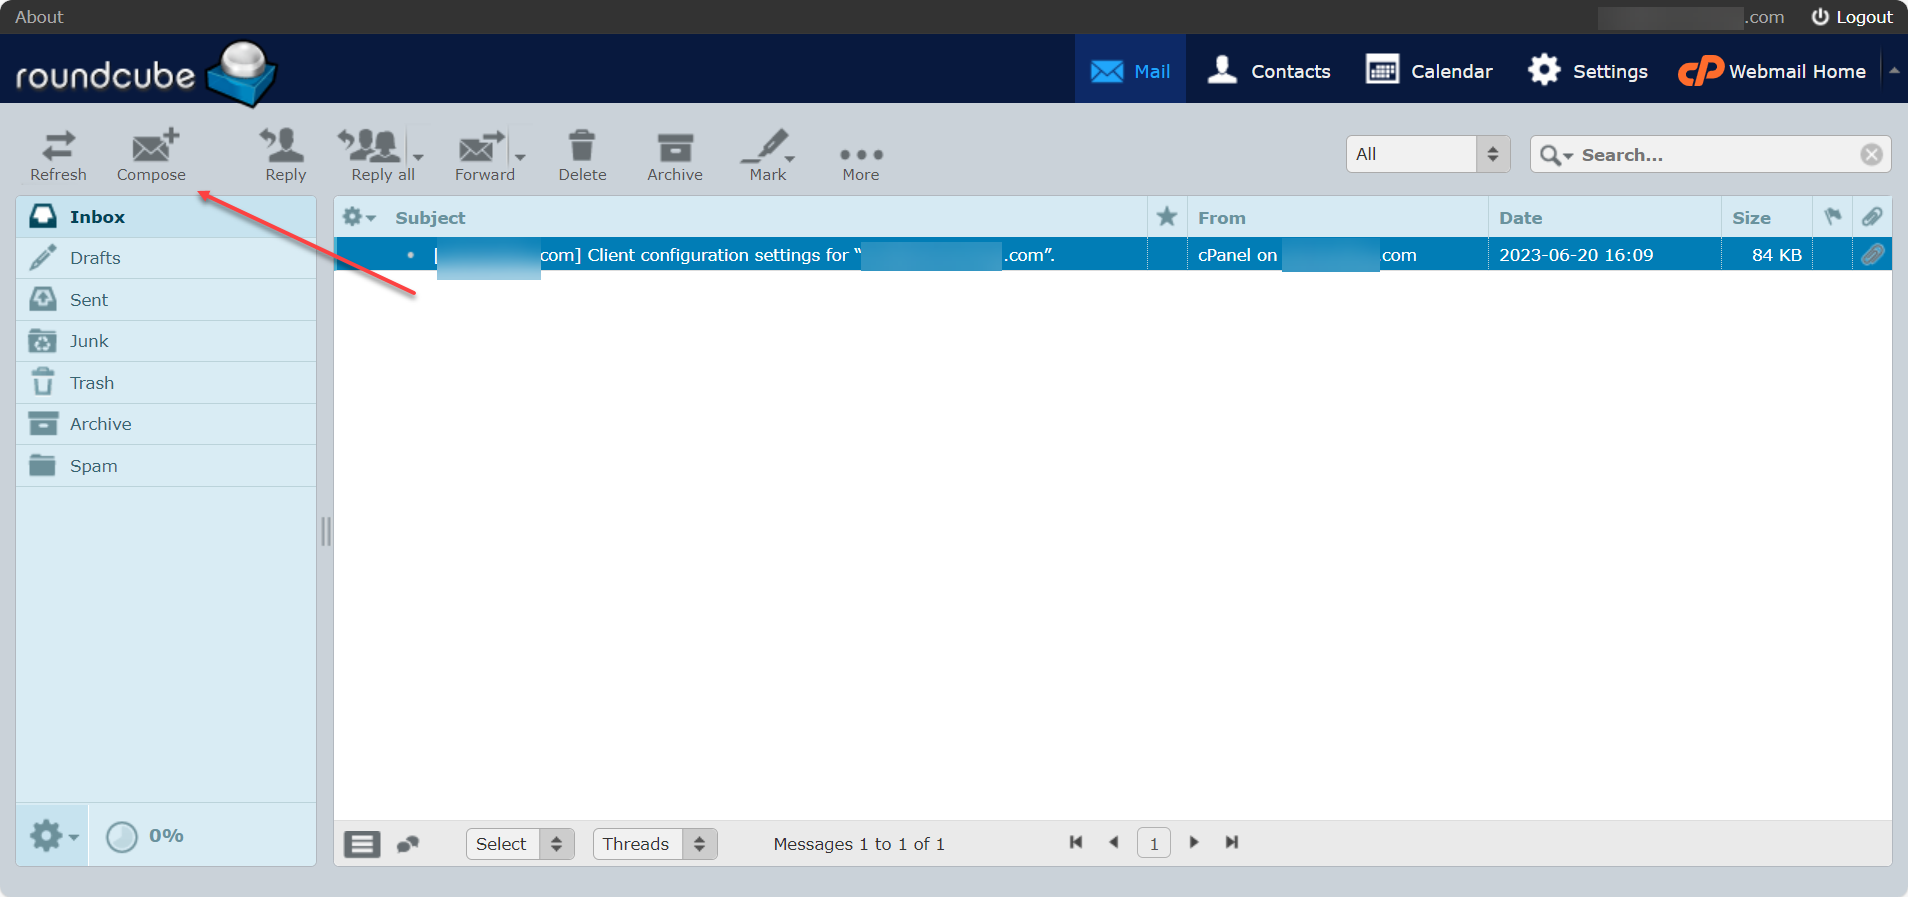
- You now have access to your emails.
How to Compose Emails
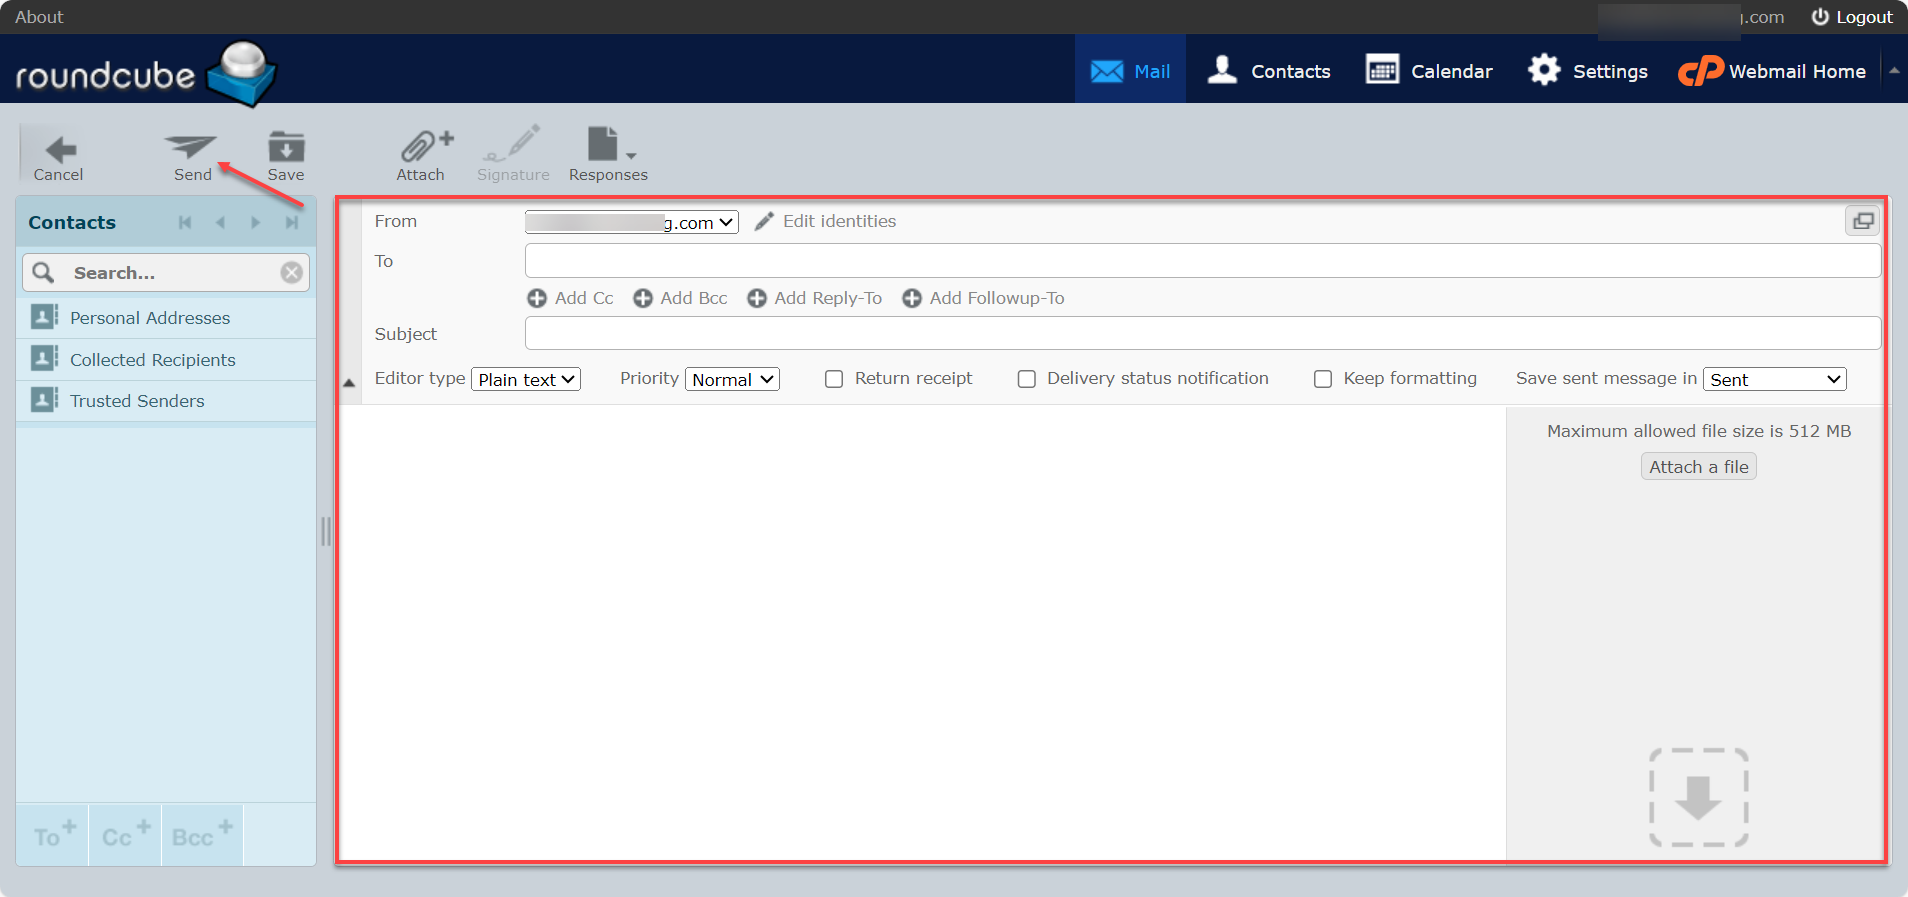
To send a new email:
- Click the Compose icon.
- You can send to multiple clients by separating email addresses with a comma.
- You can also add fields to send Carbon Copies, Blind Carbon Copies, or Reply-To addresses.
- The email can be composed in plain text or HTML.
- Once your email is ready to be sent, click the Send icon.
You can check your Sent folder to ensure the message went out.
Summary
To access your emails online, you can use RoundCube webmail. Whether you have a shared hosting account, VPS, or Dedicated Server, you can quickly install and start using RoundCube by following the step-by-step instructions in this guide.
If you need further assistance, Bluehost Chat Support is available 24 hours a day, 7days a week while Bluehost Phone Support is available 7 days a week from 7 am-12 midnight EST.
- Chat Support - While on our website, you should see a CHAT bubble in the bottom right-hand corner of the page. Click anywhere on the bubble to begin a chat session.
- Phone Support -
- US: 888-401-4678
- International: +1 801-765-9400
You may also refer to our Knowledge Base articles to help answer common questions and guide you through various setup, configuration, and troubleshooting steps.