Knowledge Base
Categories: Website Builders
Website Builder (for WordPress) - How-to add Social Media Buttons
The Social feature allows you to link your social media pages to your site, driving customers to your feeds for greater engagement and brand building. So in this article, we will walk you through how-to add the Social section to your Website Builder. Let's get started.
How-to add Social section
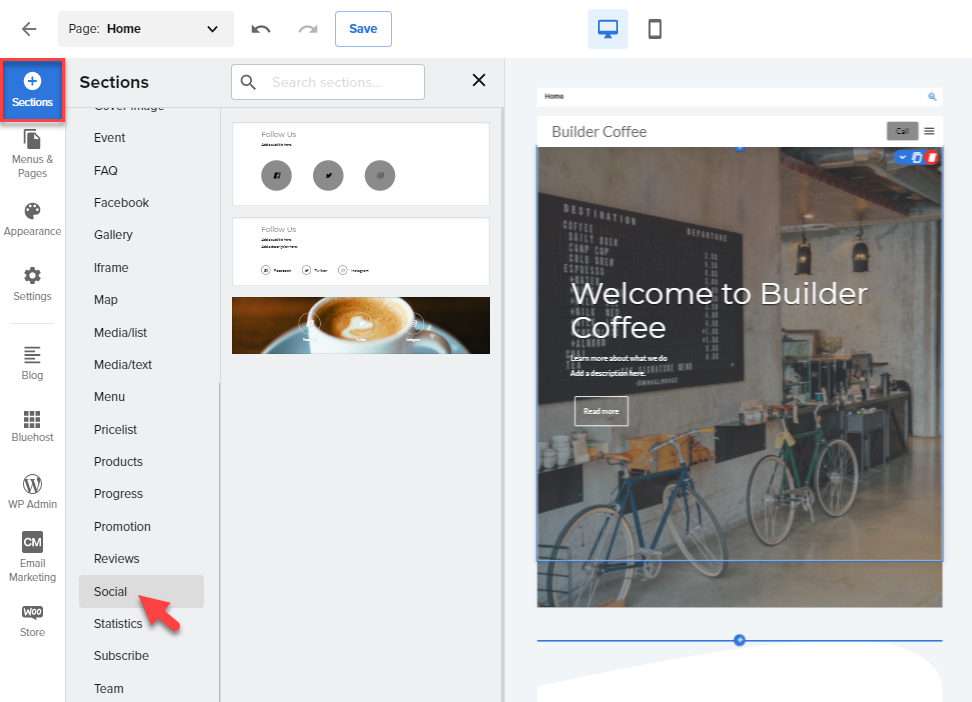
- Click the + (Sections) icon from your Website Builder, navigate through All categories, then select Social.
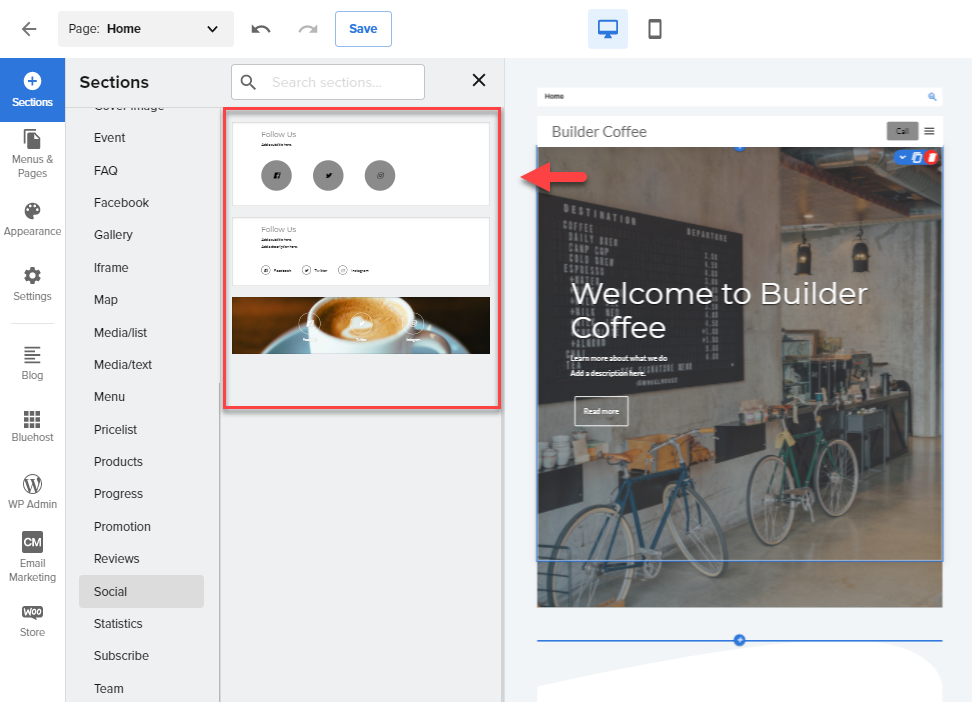
- Once you selected Subscribe, select the layout you prefer for the Subscribe section.
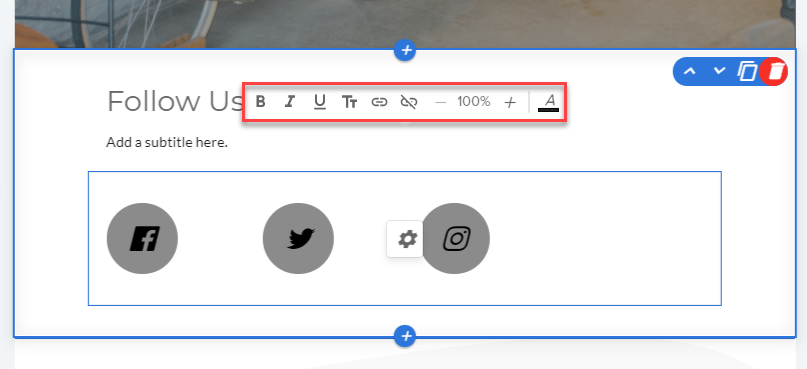
- To edit the text from the Social section, click on any description from the template, and the text toolbar will pop up to allow you to format your text.
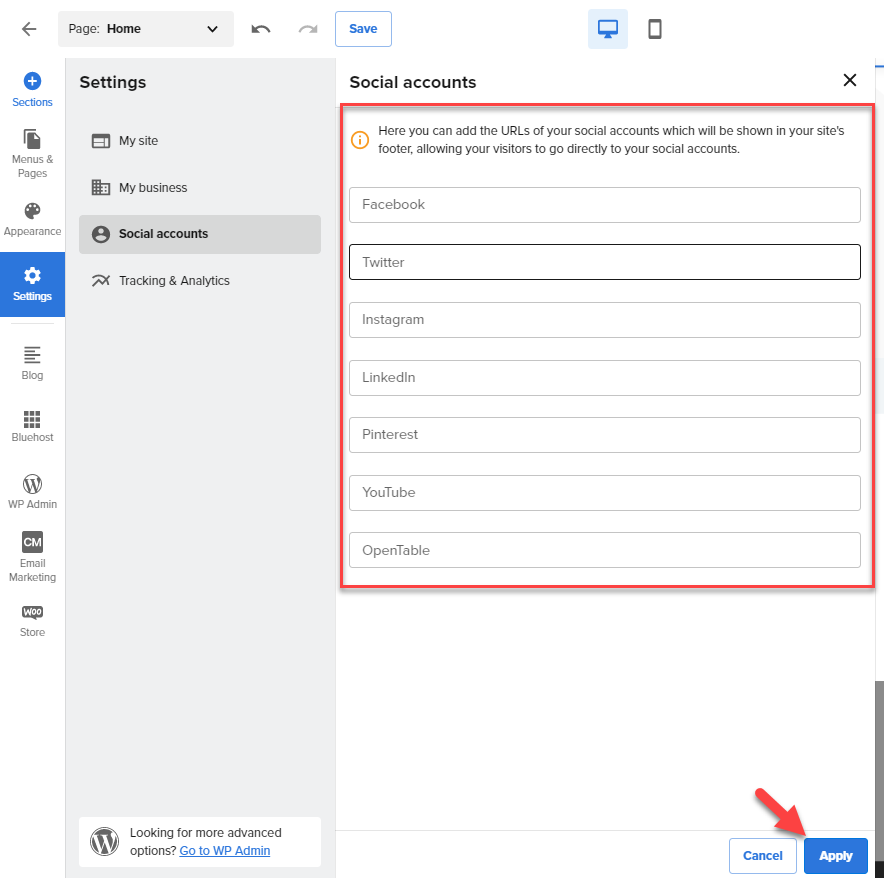
To add the Social accounts for your website, click the gear icon on the social media section template.
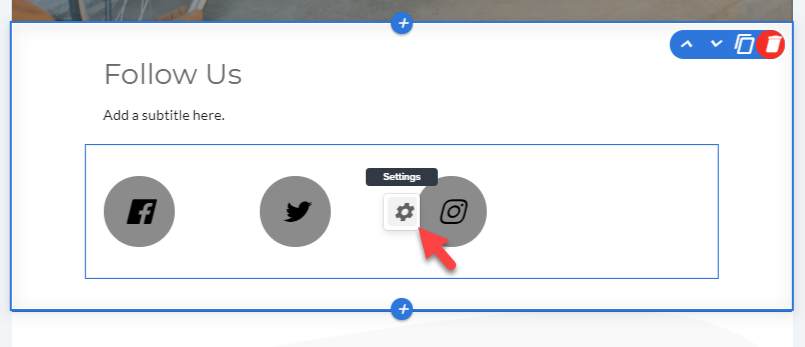
From the Social accounts field, from here you can add the URLs of your social accounts. Ensure to click Apply to save changes.
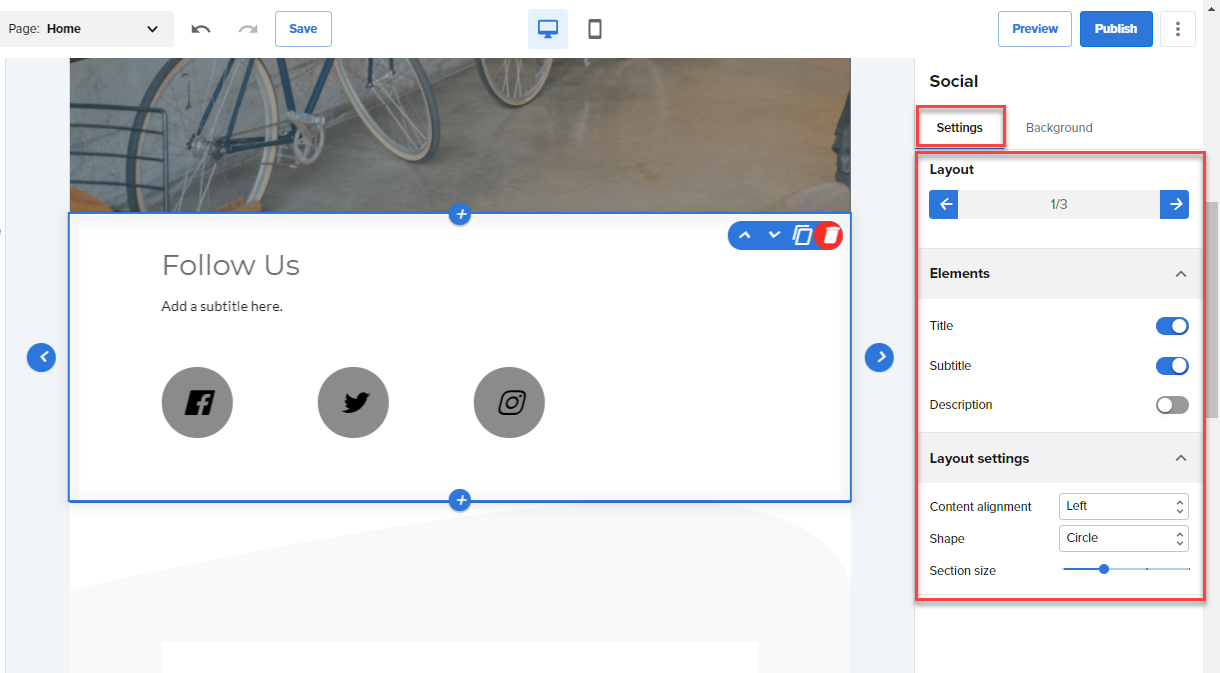
- To edit the Settings, navigate through to the right-hand side menu.
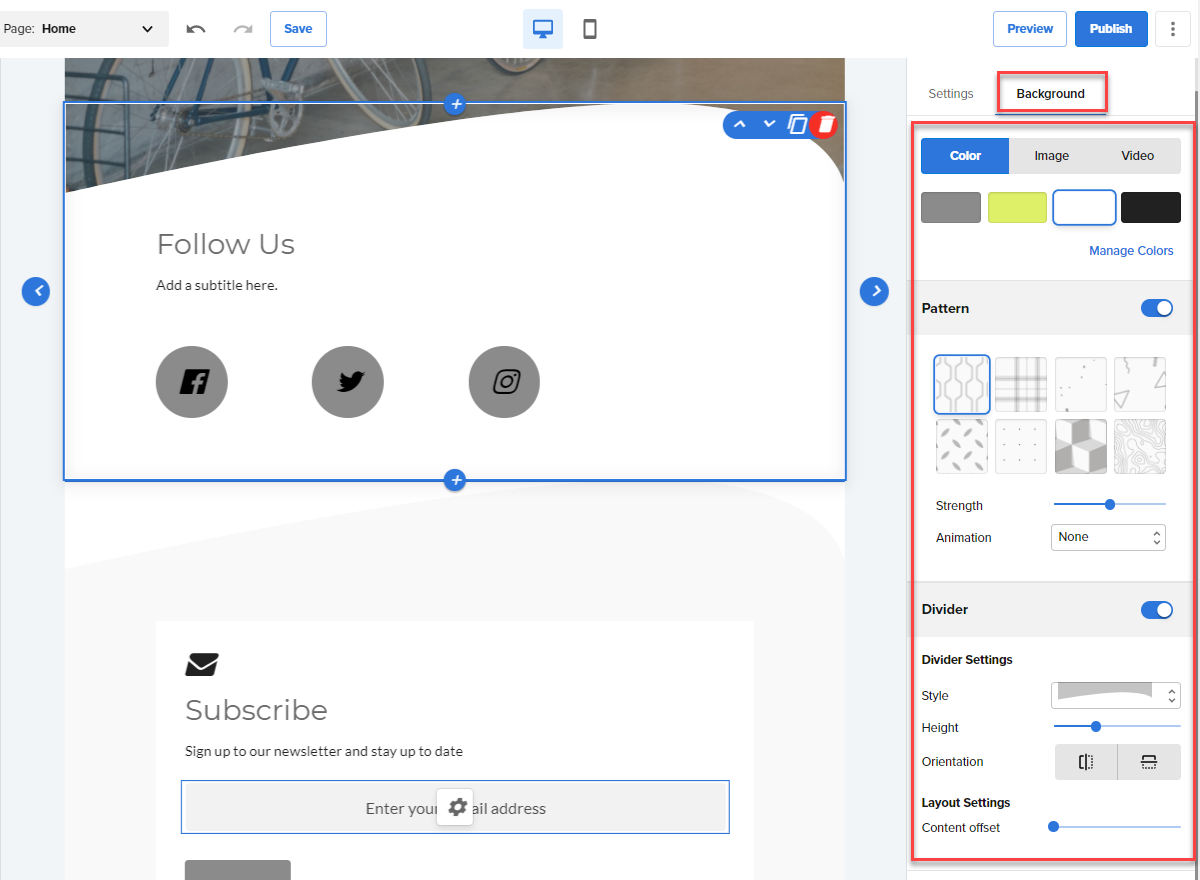
- Navigate through the Social > Background tab from the right-hand side navigation menu to design your Social section.
Note: Your edits and updates are reflected instantly in Website Builder, but don’t forget to hit Save or Publish to save your work.
* Your feedback is too short