How to Add WordPress Widgets
Are you excited to discover WordPress widgets and take your web design customization to another level? Easy! This easy-to-follow guide makes it easy to add, find, and show widgets in order to enhance the functionality and design of your website, whether it is about adding the recent posts, placing a contact form, or decorating the sidebar.
Watch this quick video on how to add widgets in WordPress.
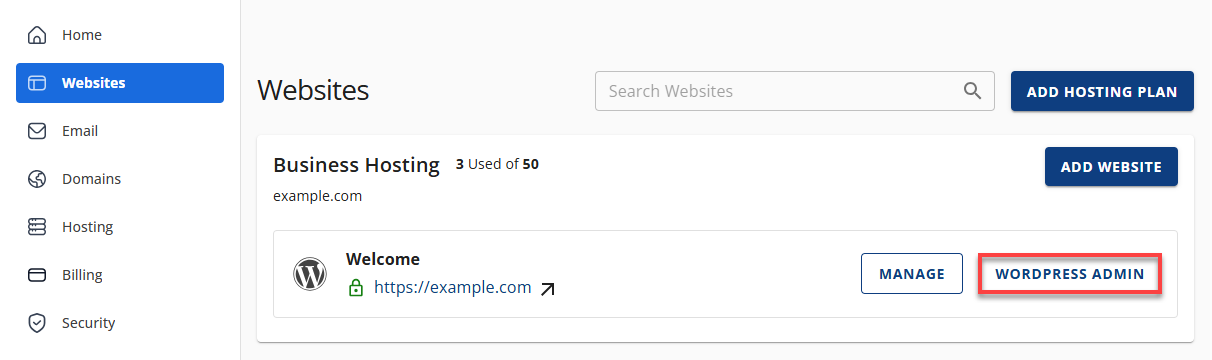
- Log in to your Bluehost Portal.
- In the left-hand menu, click Websites.
- Click the WordPress Admin button located next to the website you want to manage.
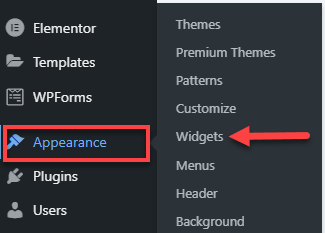
- From the main left menu, scroll down to Appearance and click on Widgets.
The option to add widgets is theme-dependent, so it may not appear in every WordPress setup.
- From here, you will be able to view your current widgets using your WordPress theme.
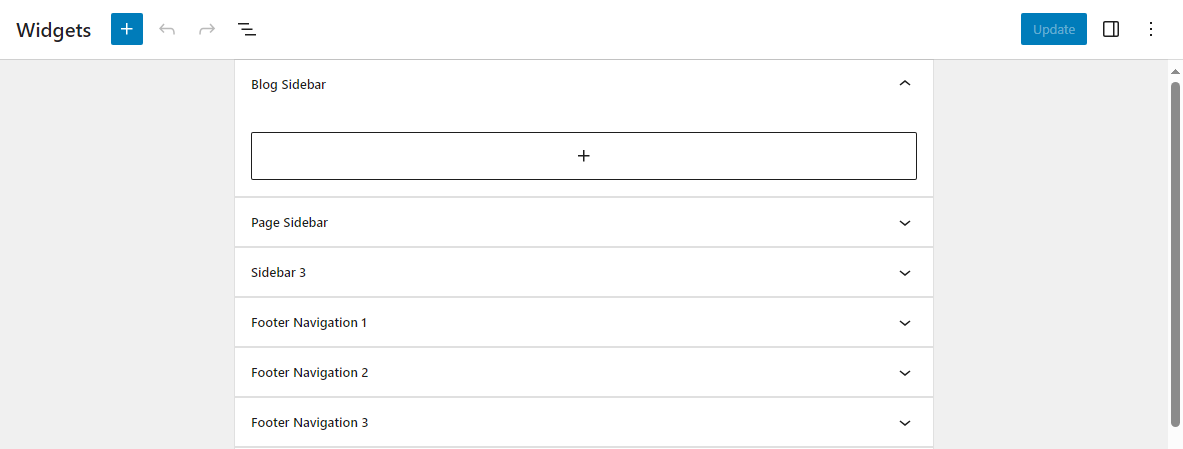
- Navigate to your existing widgets by clicking the down arrow button, which should allow you to customize the Widget.
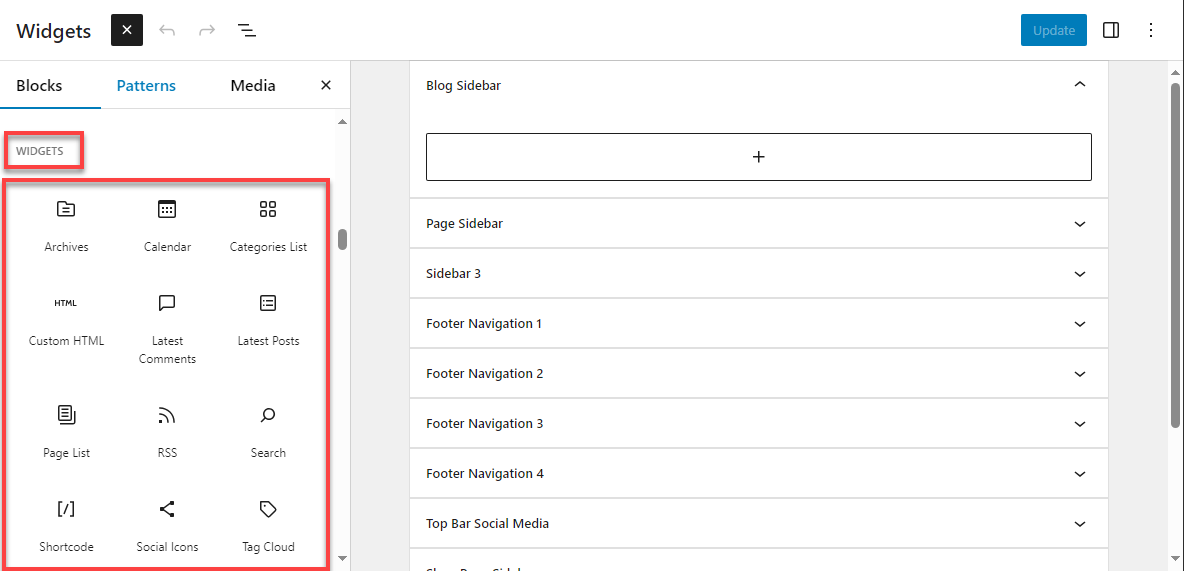
- Click the inserter [+] button from the upper left-hand side to add new widgets.
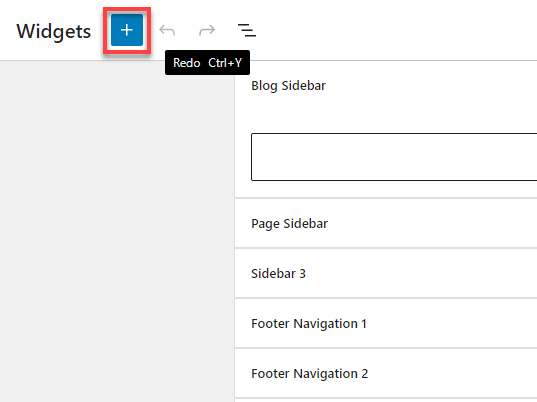
- Then, scroll down to the Widgets category.
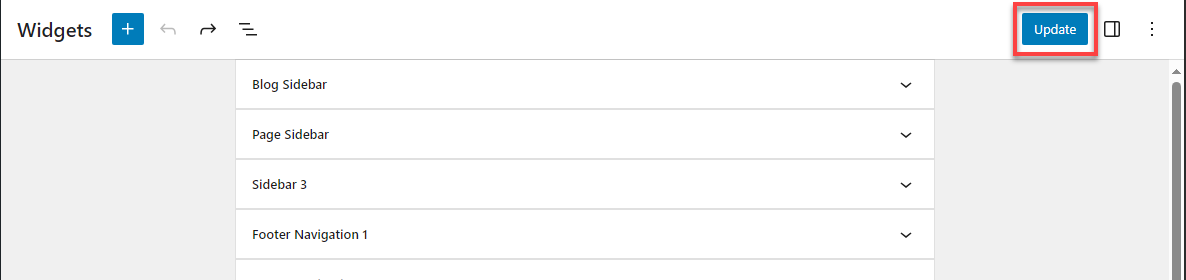
- Once you're done customizing or adding a new Widget, make sure to click Update.
Summary
You can now add WordPress widgets to your WordPress and customize them as you wish! This tutorial explains how to look for, and how to add these widgets, modify their settings and locate them in the various parts of your website. Feel free to test different widgets and layouts to discover what will better suit your needs and style.
If you need further assistance, Bluehost Chat Support is available 24 hours a day, 7days a week while Bluehost Phone Support is available 7 days a week from 7 am-12 midnight EST.
- Chat Support - While on our website, you should see a CHAT bubble in the bottom right-hand corner of the page. Click anywhere on the bubble to begin a chat session.
- Phone Support -
- US: 888-401-4678
- International: +1 801-765-9400
You may also refer to our Knowledge Base articles to help answer common questions and guide you through various setup, configuration, and troubleshooting steps.