How to Add a Column to a Database Table in phpMyAdmin
Want to add a column to your phpMyAdmin database table? It's simpler than you would suppose. This tutorial gives you a straightforward, step-by-step explanation of the process, starting with opening up your database and ending with specifying the new attribute of the new column. As a novice or veteran developer, you will have no problem enhancing your database's structure.
Accessing phpMyAdmin in cPanel
- Log in to your Bluehost Portal.
- Click Hosting in the left-hand menu.
- In the hosting details page, click the cPanel button.
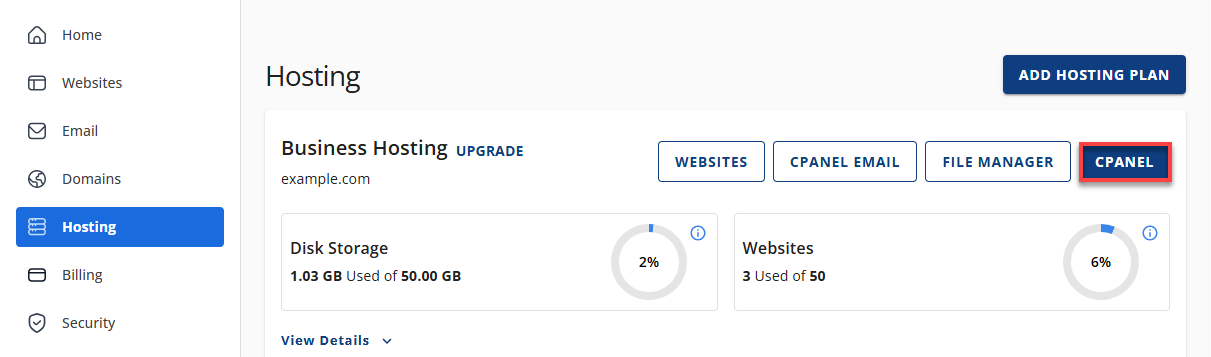
- Your cPanel will open in a new tab.
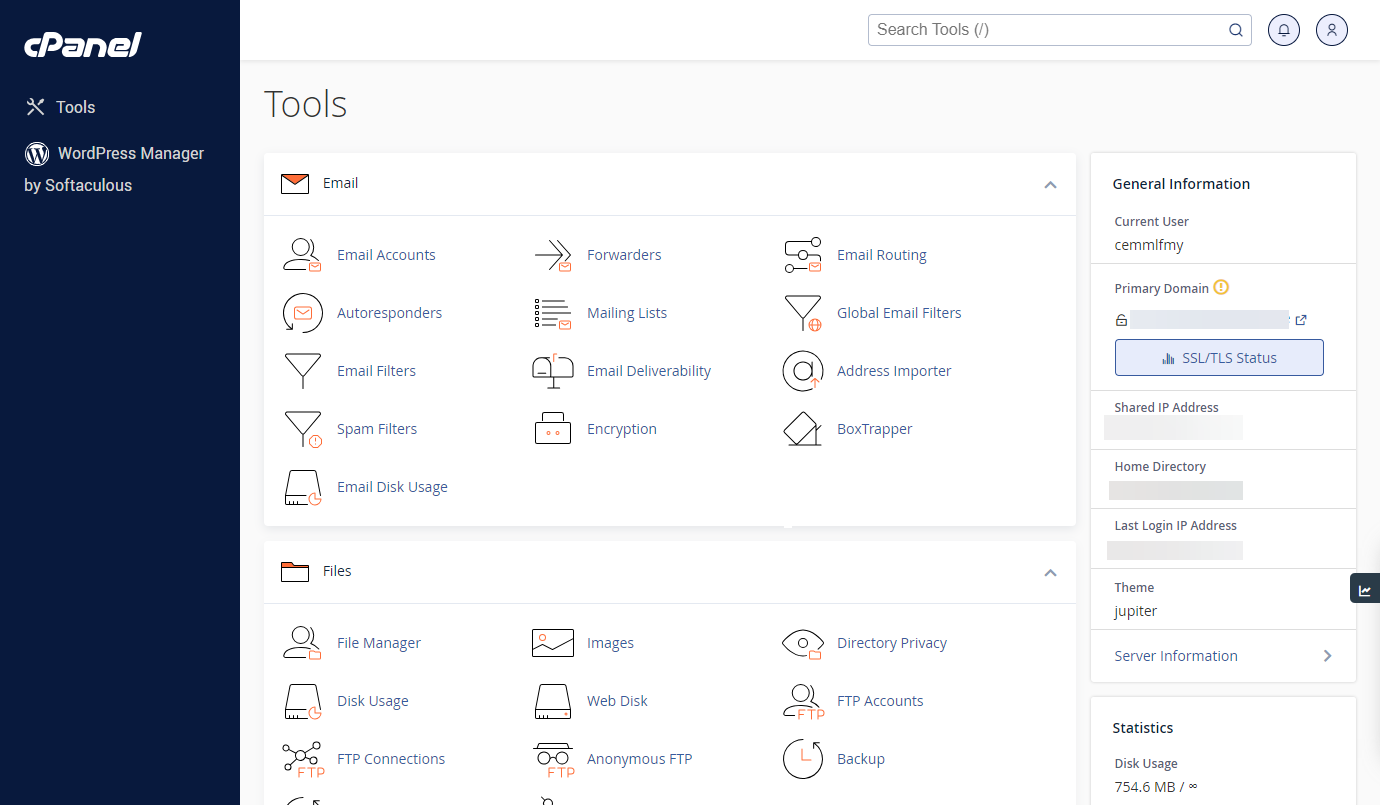
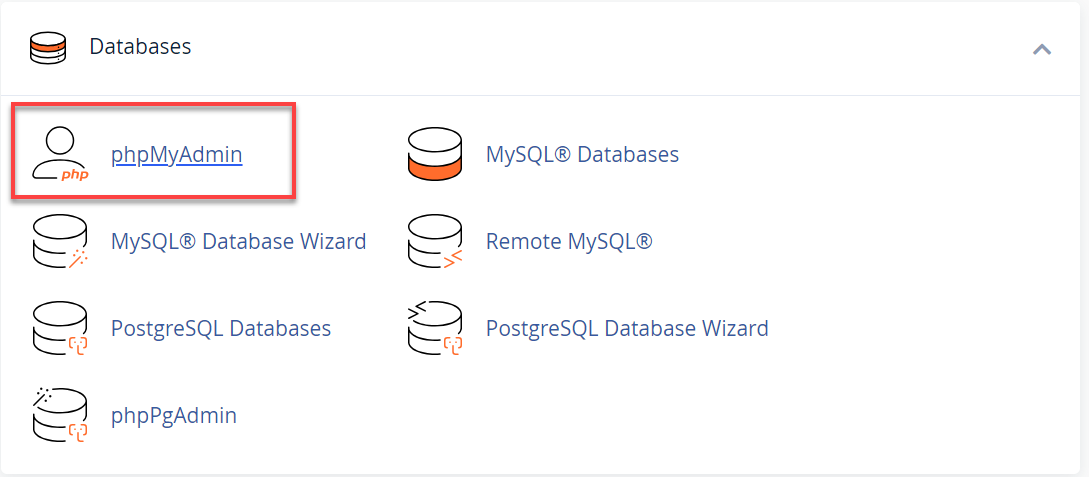
- In the Database section, select phpMyAdmin.
Selecting the Database and Table
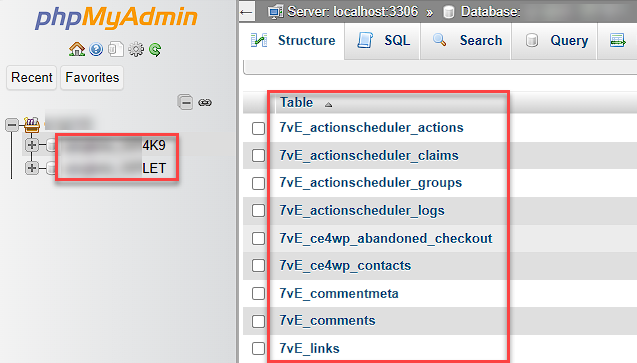
- Within phpMyAdmin, select the database you want to work with from the list in the left column.
- If the table doesn’t exist yet, add a new table first. To learn how to add a table, refer to How to add tables to a database in phpMyAdmin.
- Click on the table to view its current list of columns.
Adding a New Column to the Table
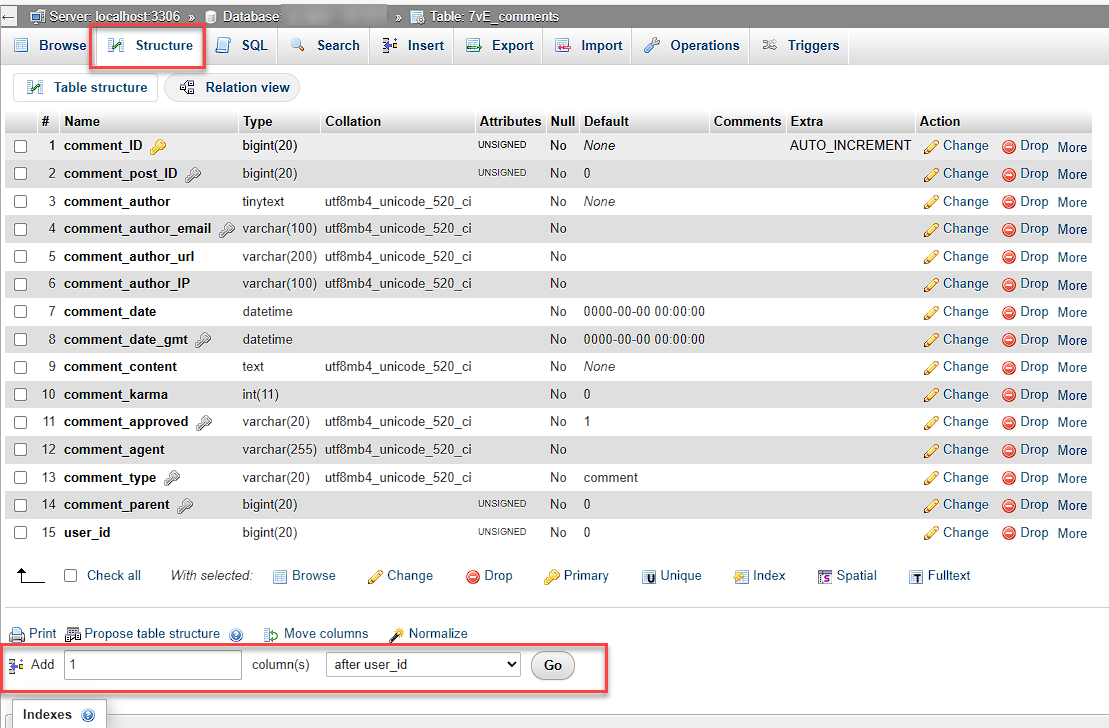
- In the tabs above the columns list, click on Structure.
- Scroll down to the section that says "Add 1 column(s)" and click the Go button.
Defining Column Attributes
When creating a new column, define the following attributes:
- Column Name: Enter the name of your new column.
- Data Type: Select the type of data the column will hold. Common types include:
- INT: For whole numbers.
- CHAR: Fixed-length text up to a certain length.
- VARCHAR: Variable-length text.
- TEXT: For large amounts of text.
- DATE: For storing dates only.
- DATETIME: For storing dates and times.
(Refer to the MySQL Data Types guide for more options.)
- Length/Values: Specify the length or allowed values if required (e.g.,
CHAR(50)).
Saving Changes
- Click Save to add the column.
- You should see a success message confirming that the table was altered successfully, and your new column will now appear in the column list.
Summary
And that's it! You now know how to add a new column to your database table using phpMyAdmin. Manipulate and alter your database structure on a whim. Now you're fully qualified to tackle any data growth requests that life throws your way.
If you need further assistance, Bluehost Chat Support is available 24 hours a day, 7days a week while Bluehost Phone Support is available 7 days a week from 7 am-12 midnight EST.
- Chat Support - While on our website, you should see a CHAT bubble in the bottom right-hand corner of the page. Click anywhere on the bubble to begin a chat session.
- Phone Support -
- US: 888-401-4678
- International: +1 801-765-9400
You may also refer to our Knowledge Base articles to help answer common questions and guide you through various setup, configuration, and troubleshooting steps.