How to Set Up Account Level Email Filters
Email filters help keep your inbox clean by automatically blocking messages you don’t want to see. You can set them up for just one email account or apply them across all the accounts you use. Here’s a simple guide to help you create an effective email filter.
How to Create an Email Filter
- Log in to your Bluehost Portal.
- Click Hosting in the left-hand menu.
- In the hosting details page, click the cPanel button.
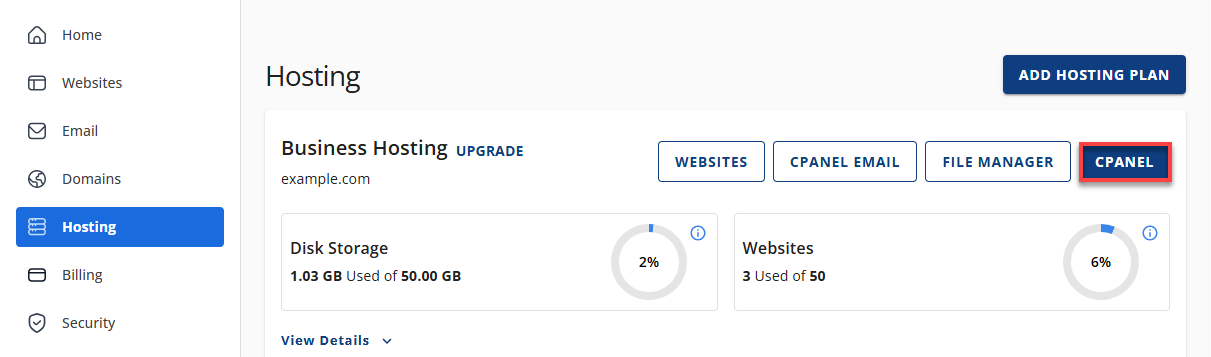
- Your cPanel will open in a new tab.
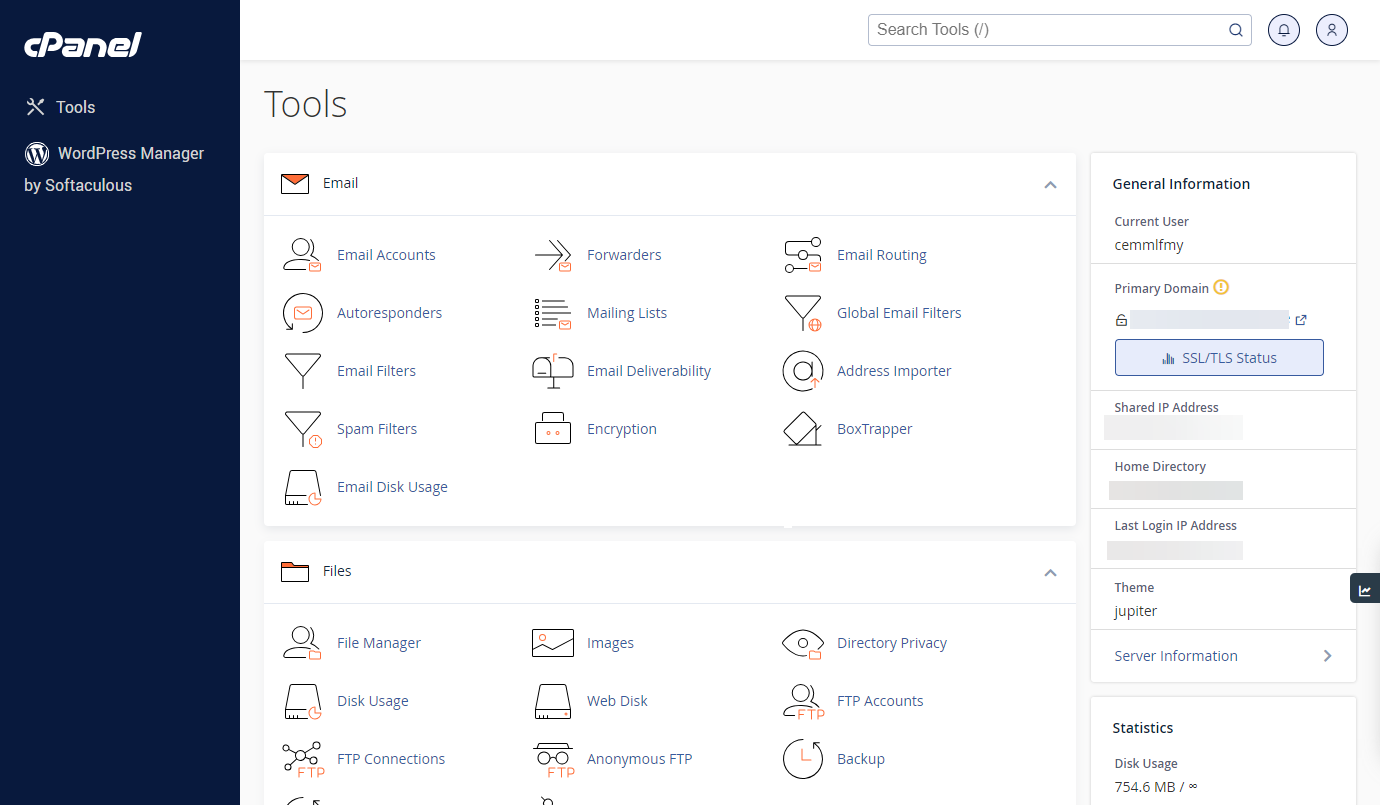
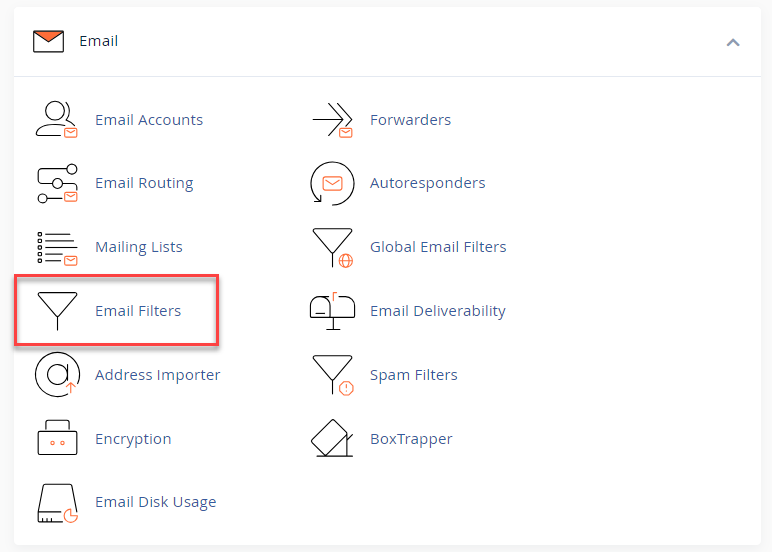
- On the cPanel dashboard, scroll down and locate Email. Then, click on Email Filters.
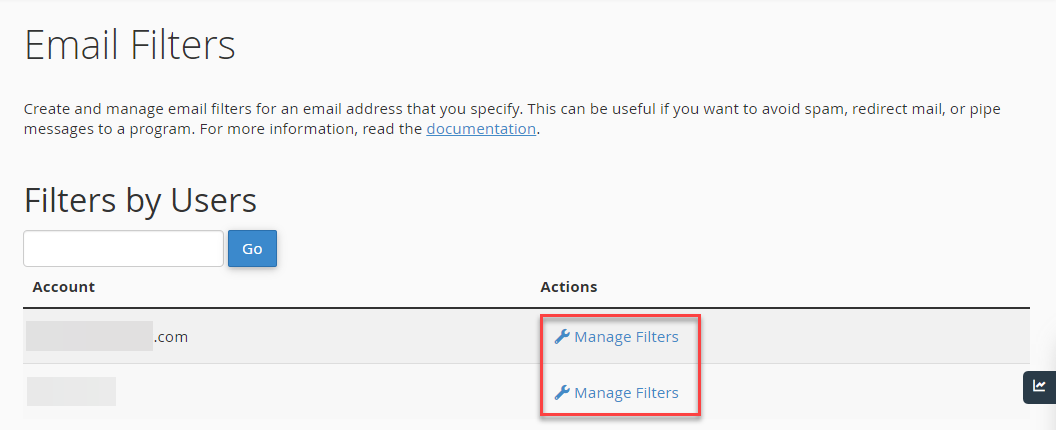
- Select the email address you're working with and click Manage Filters.
Understanding Email Filter Rules
Next, you're going to create a set of filter rules or if/then statements to define how your email is filtered. You can add and remove rules by clicking the + button.
When you create a filter using several operators, it may be useful to note that cPanel will always process the "and" operator before the "or" operator. As a result, email filters will be processed as follows:
- A and B or C will be processed as (A and B) or C.
- If you wish to create a filter such as (A or B) and (C or D), you would have to create it like so:
(A and C) or (A and D) or (B and C) or (B and D).
Follow the steps below to continue:
- In the first drop-down menu, select a message characteristic. Enter the Filter Name, and under the Rules section, click on the drop-down.
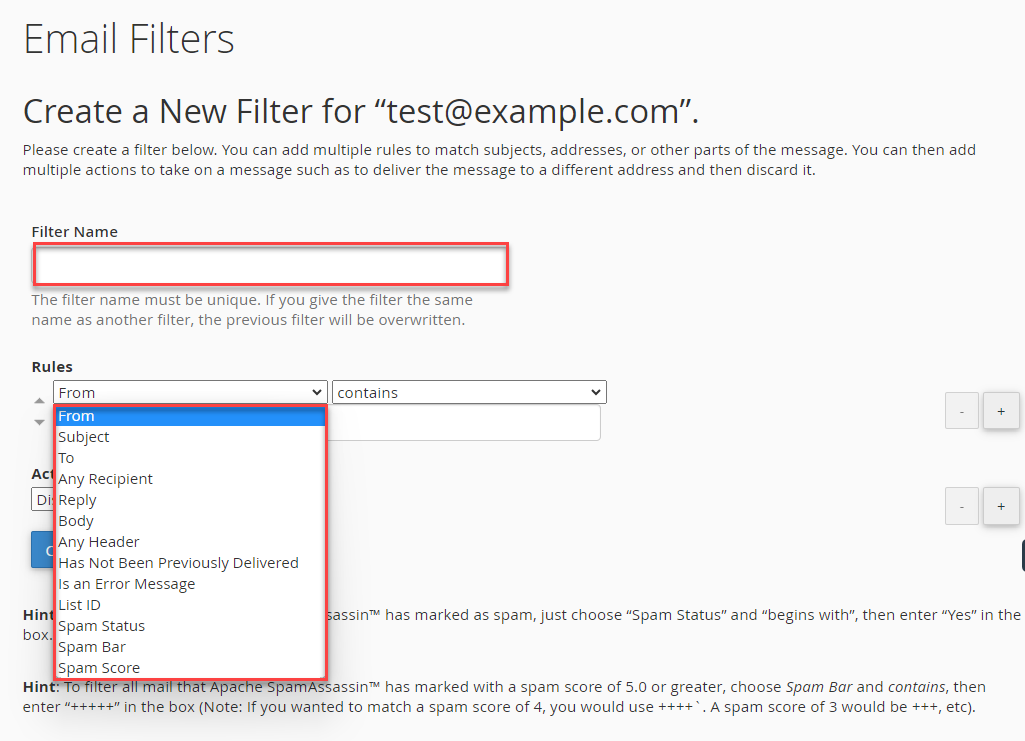
- From - address from which the message was sent.
- Subject - the subject line of the message.
- To - address to which the message was sent.
- Reply Address - the address to which the reply will be sent.
- Body - body or content area of the message.
- Any Header - a header of the message.
- Any recipient - a recipient of the message.
- Has not been previously delivered - affects messages still in the queue for delivery.
- Is an error message - this affects error messages received from an auto-response system.
- Spam Status - the status SpamAssassin has been conferred on the message; it begins with either "Yes." or "No.".
- Spam Bar - the content of the Spam Bar header that SpamAssassin has generated for this message. This header contains a plus (+) sign to denote the likelihood that the message is spam; more plus signs mean the message is more likely spam.
- Spam Score - the overall spam score assigned to the message by SpamAssassin, expressed in digits.
- In the next drop-down menu, select an operator.
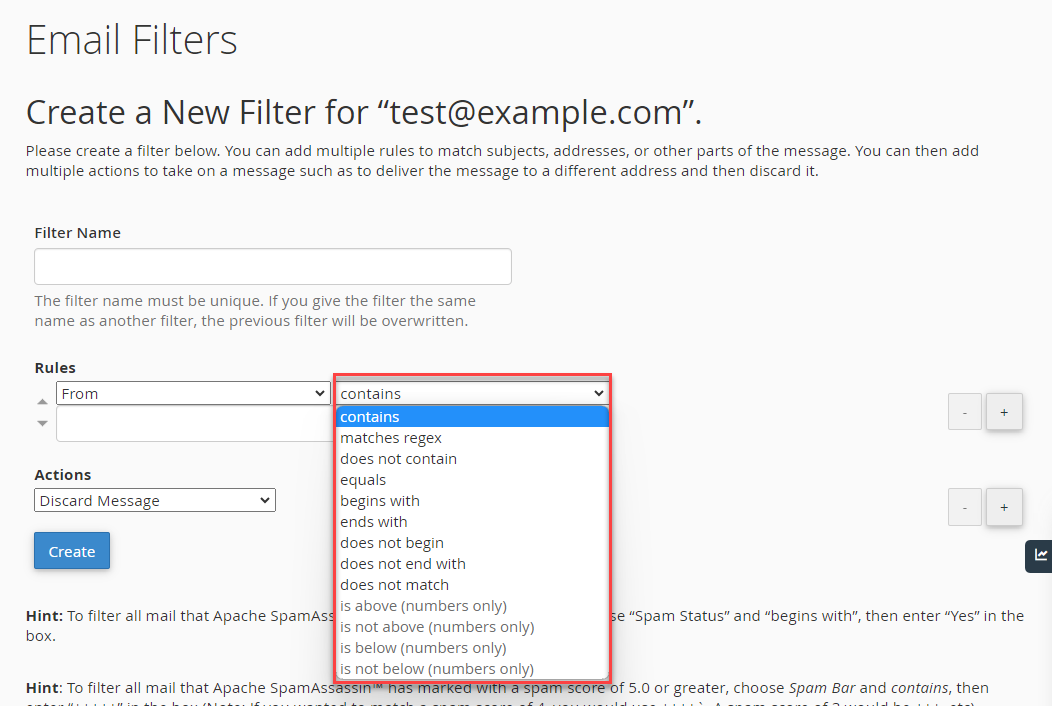
- Equals - exactly matches the string you define.
- Matches regex - matches a regular expression you define.
- Contains - contains the string you define.
- Does not contain - does not contain the string you define.
- Begins with - begins with the string you define.
- Ends with - ends with the string you define.
- Does not begin - does not begin with the string you define.
- Does not end with - does not end with the string you define.
- Does not match - is not equal to the string you define.
- In the text box, enter the characteristics to define your filter.
- In the Actions drop-down menu, select an action for the rule you created.
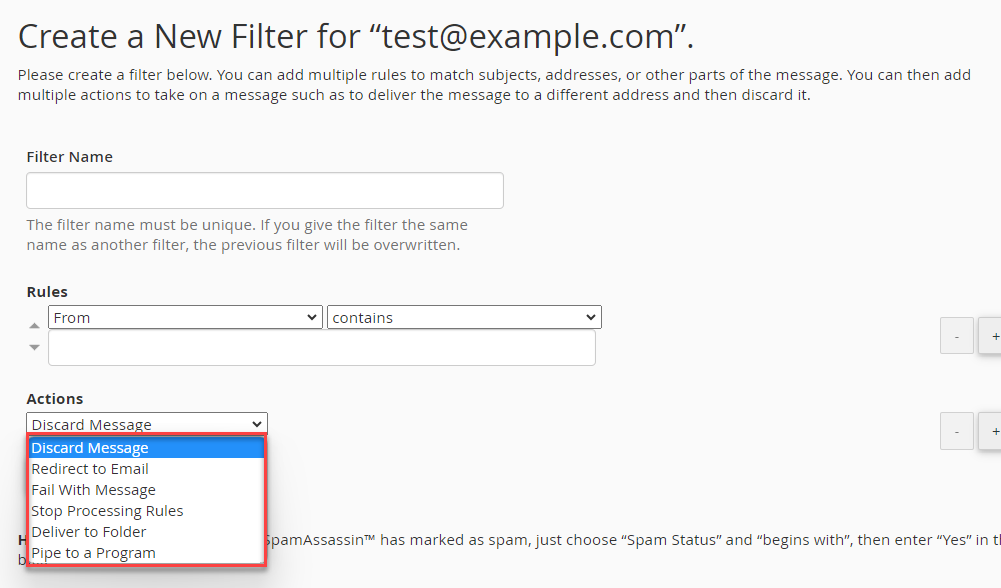
- Discard message - destroys the incoming message with no failure notice.
- Redirect to email - redirects the message to another email address that you specify.
- Fail with the message - discards the message and automatically returns a specified failure notice to the sender.
- Stop processing rules - skip all filter rules.
- Deliver to a folder - deposits the message into a specified folder.
- Pipe to a program - sends the incoming message to a program you have specified.
- Finally, click Create.
For more information about configuring mail filters, check out this cPanel article.
Summary
Learn to set up account-level email filters easily through your Bluehost BH Portal's cPanel. Tailored for administrators, this guide provides steps to streamline inbox organization. Log in, access Hosting, navigate to cPanel, and select Email Filters. Define rules based on message characteristics, select operators and actions, then create filters. Ensure efficient management of multiple accounts. For detailed instructions, refer to the provided cPanel article.
If you need further assistance, Bluehost Chat Support is available 24 hours a day, 7days a week while Bluehost Phone Support is available 7 days a week from 7 am-12 midnight EST.
- Chat Support - While on our website, you should see a CHAT bubble in the bottom right-hand corner of the page. Click anywhere on the bubble to begin a chat session.
- Phone Support -
- US: 888-401-4678
- International: +1 801-765-9400
You may also refer to our Knowledge Base articles to help answer common questions and guide you through various setup, configuration, and troubleshooting steps.