How to Create and Manage MySQL Databases and Users
Databases are the backbone of your website, storing, retrieving, and editing your data. Think of them as a digital file cabinet that holds all the information about your website—the site name, plugins, text, and more. This means the functionality and efficiency of web-based applications heavily rely on databases. As a business owner or website admin, managing your databases effectively is crucial. In this guide, we'll focus on managing your MySQL database in your Bluehost Portal, specifically on steps to create and manage MySQL databases and users in your Bluehost Portal. Let's get started!
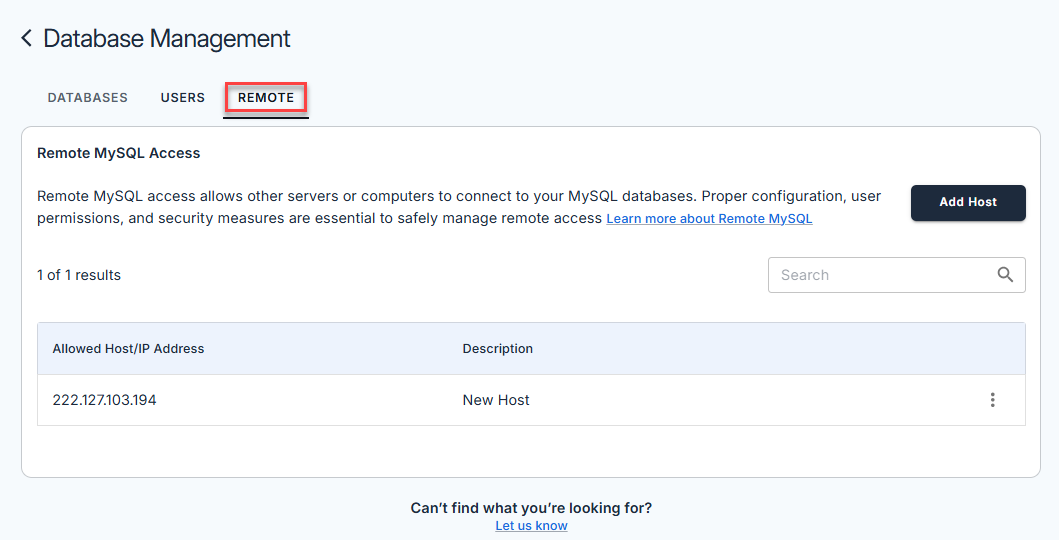
To learn how to set up remote access to your database, please refer to our article, How to Connect to a MySQL Database Using Bluehost Portal Remotely.
Accessing Database Management
- Log in to your Bluehost Portal.
- In the left-hand menu, click Websites.
- Click the Manage Site button located next to the website you want to manage.

- In the Overview page, click Databases to open the Database Management.
Here, you can view and manage your databases and users.
Database tab:
User tab: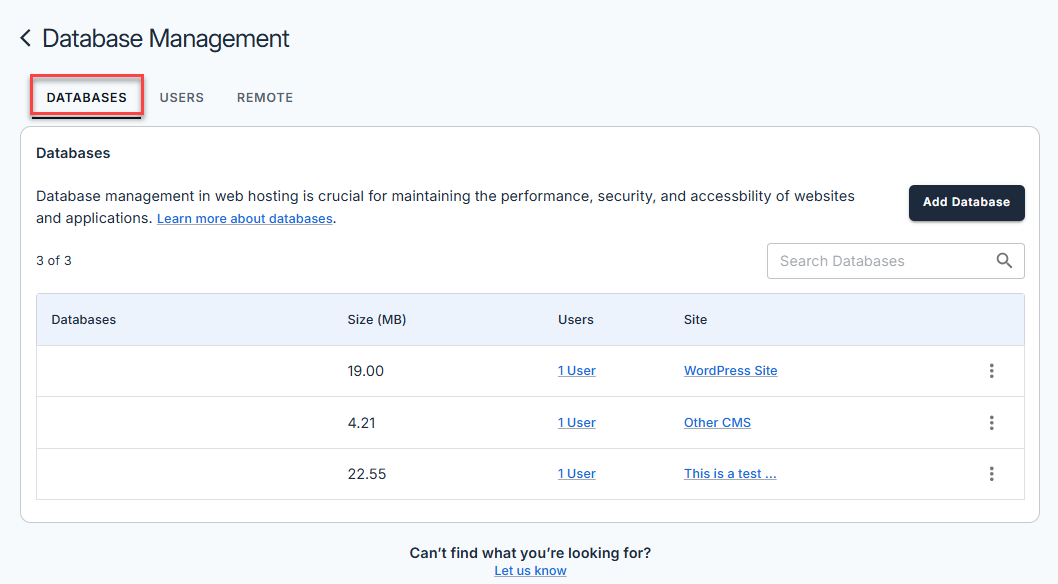
Remote tab: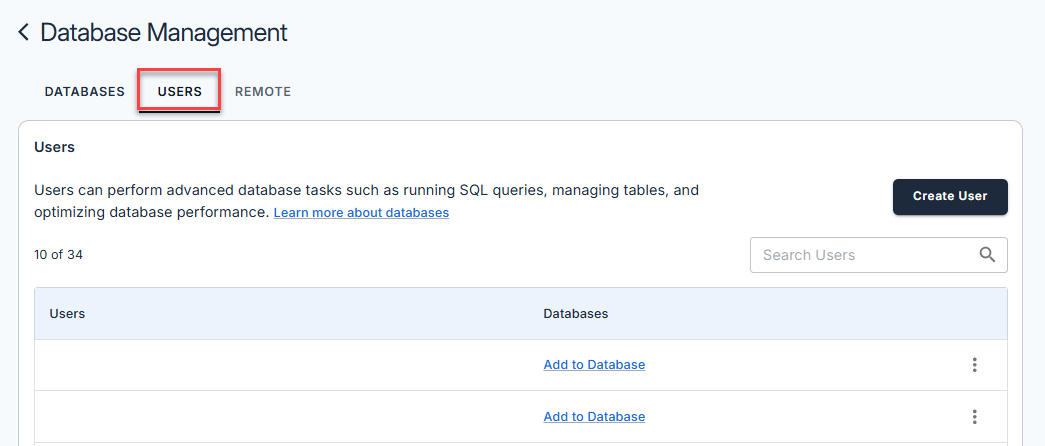
Managing MySQL Databases
Now that you have access to your Database Management, let's explore how to manage a MySQL database in your Bluehost Portal.
Here are the actions you can take within the Database tab:
- Create a MySQL database
- Search for a database
- Check a database
- Add a user
- Access the phpMyAdmin
- Delete a database
How to Create a MySQL Database
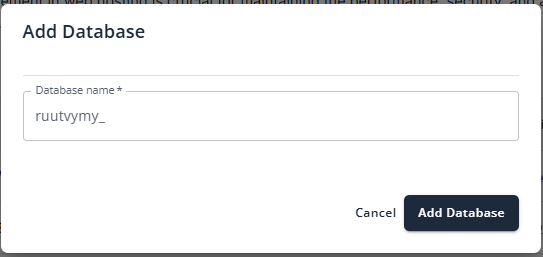
- Under the Database tab, click the Add Database button.
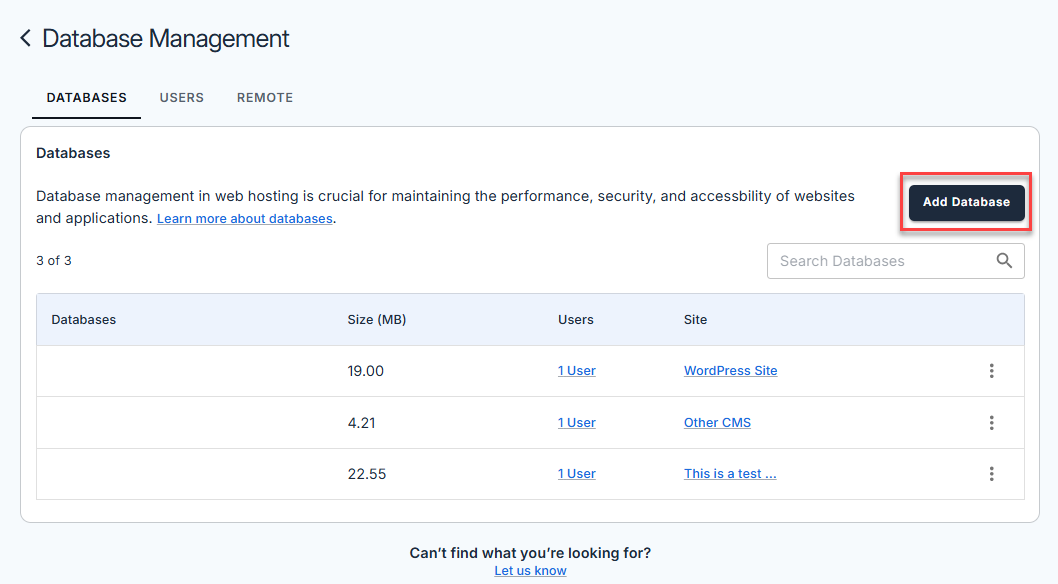
- In the Add Database, enter your database name and click the Add Database button.
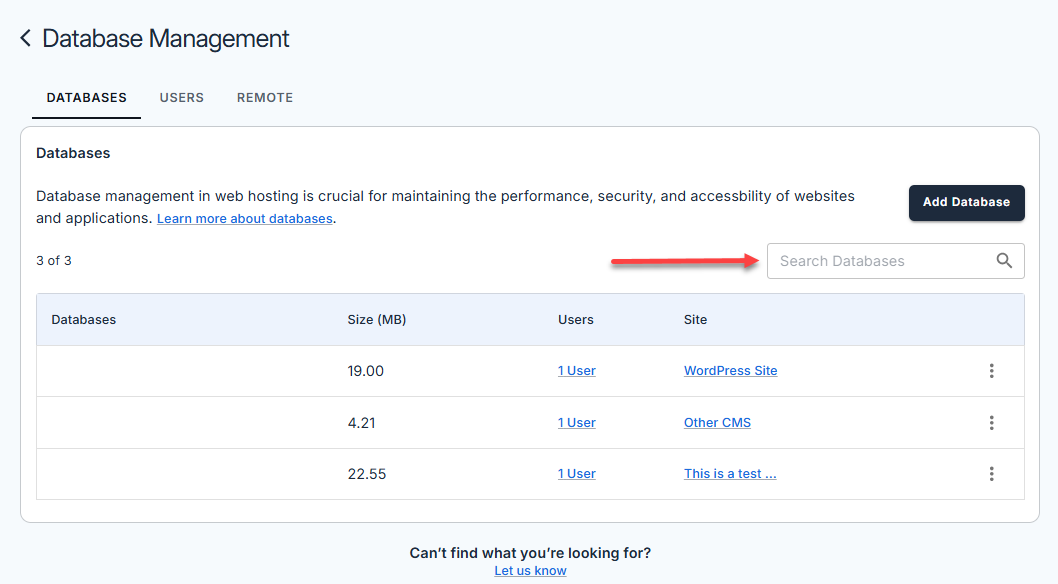
How to Search for a MySQL Database
Under the Databases tab, you can locate a specific database by using the search box.
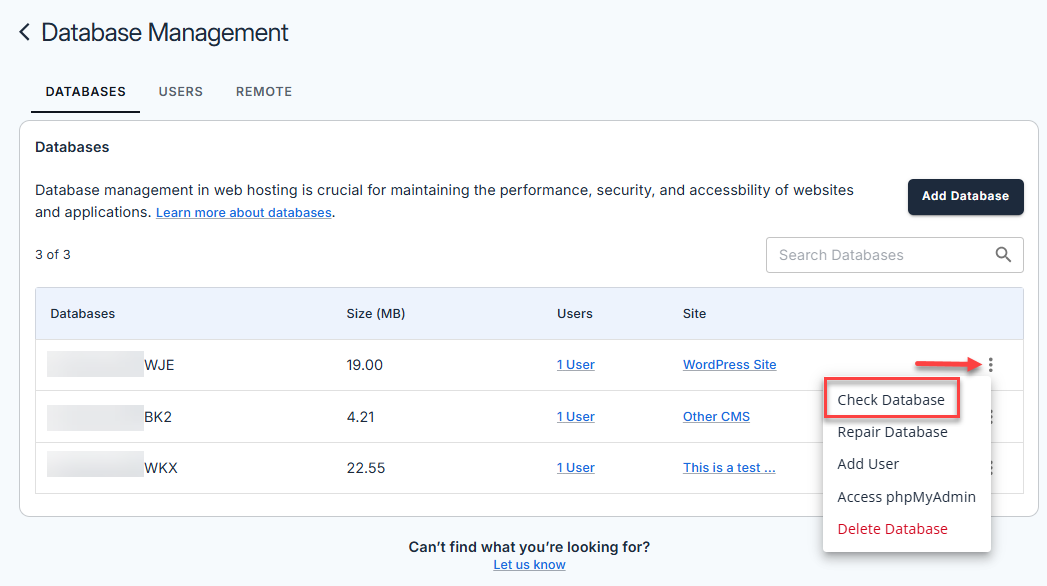
How to Check a MySQL Database
- Under the Databases tab, find the database name you want to check for errors.
- Click the vertical ellipsis icon on the right and select Check Database.
- The system will scan the database for errors and show the Table Name and Status.
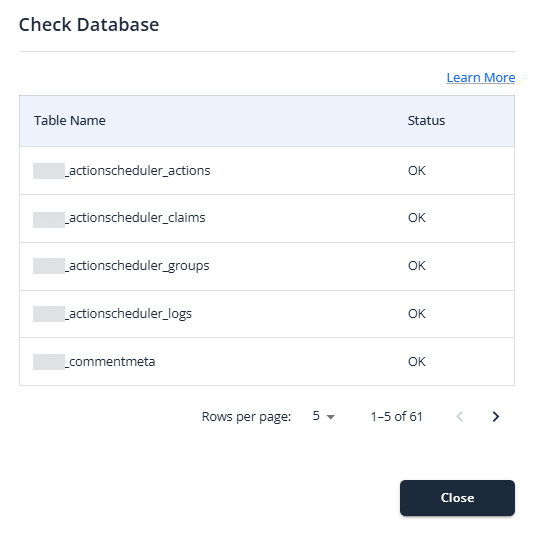
- If the status is OK, your database is functioning properly.
- If an issue is detected, click the vertical ellipsis (⋮) next to the affected database and select Repair Database. Refer to How to Repair a Broken Database in Bluehost Portal to identify and repair database issues.

How to Add a User
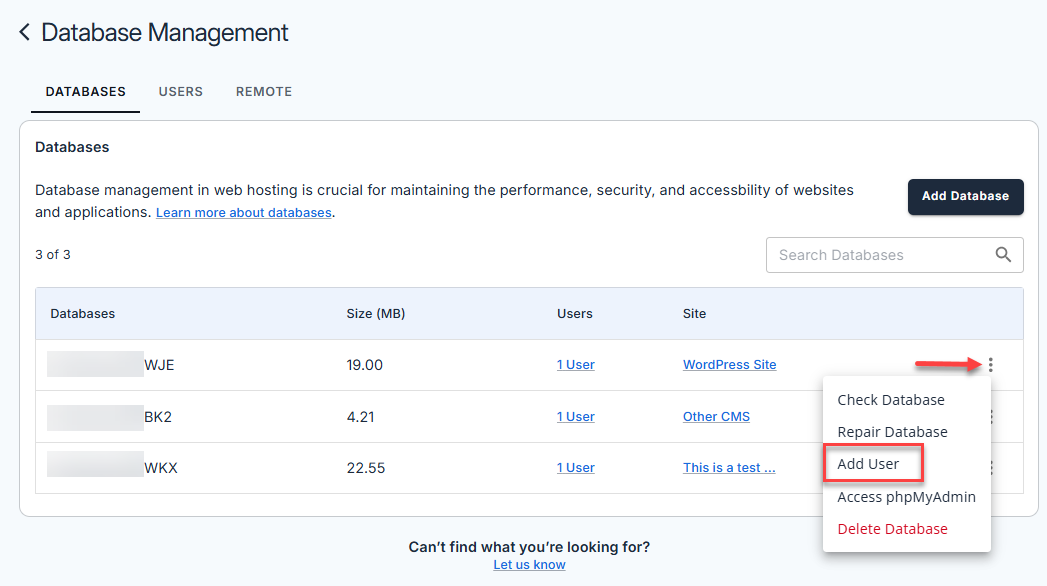
- Under the Databases tab, look for the database to which you want to add a new user.
- Click the vertical ellipsis icon on the right and select Add User.
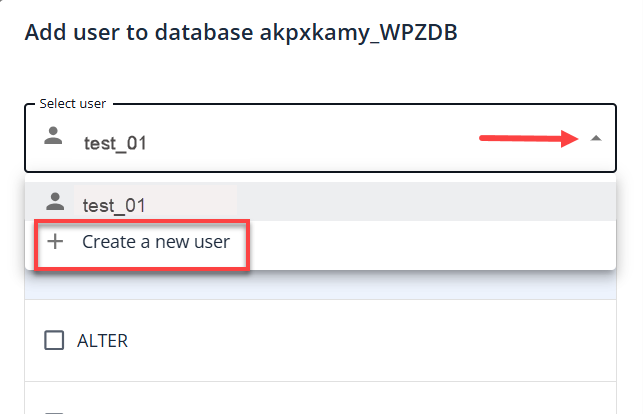
- Click the Select user dropdown menu, select + Create a new user, and click Add User.
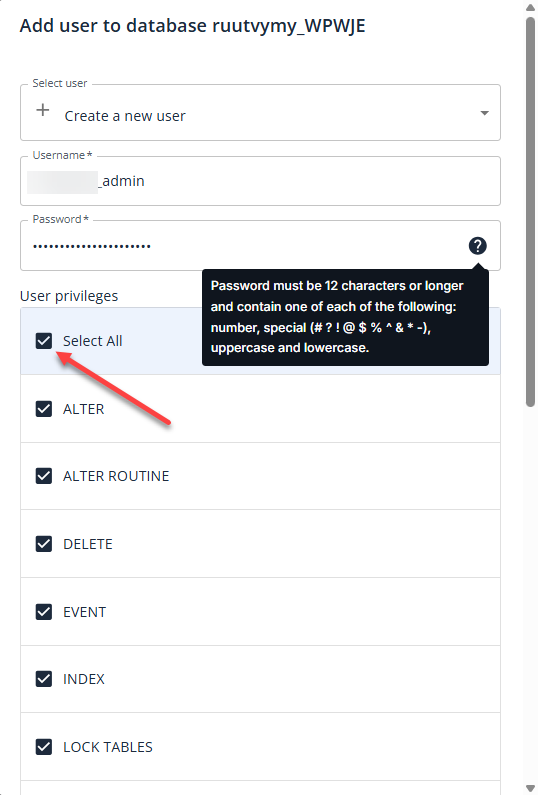
- Put in a new username and password, then click Select All to grant all privileges to the user.
Please make sure to note down your password securely. It should be at least 12 characters and include a mix of numbers, special characters (e.g., !, @, #, $, %), and both uppercase and lowercase letters. For security reasons, avoid writing it on paper or storing it in easily accessible places that could lead to accidental sharing or leakage.
- Once done, scroll down and click the Add User button.
How to Access the phpMyAdmin
- Under the Databases tab, locate the database from which you want to access the phpMyAdmin.
- Click the vertical ellipsis icon on the right and select Access phpMyAdmin.

The phpMyAdmin page will open in a new tab.
How to Delete a MySQL Database
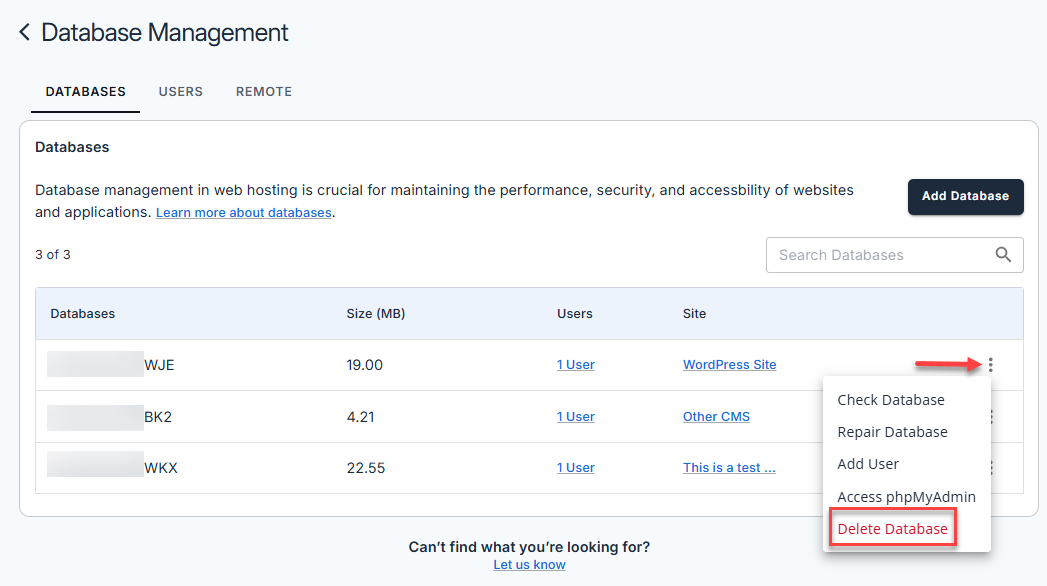
- Under the Databases tab, locate the database you want to delete
- Click the vertical ellipsis icon on the right and select Delete Database.
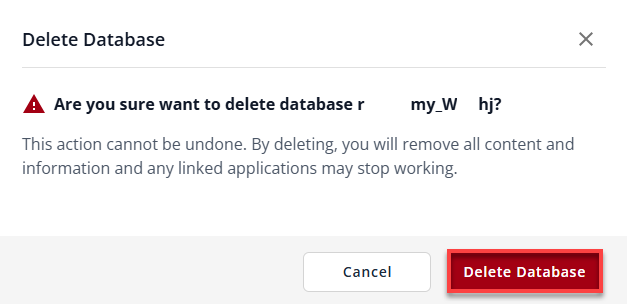
- An alert pop-up window will appear, informing you that deleting a database will remove all content. Click the Delete Database button to confirm.
Managing MySQL Database Users
On Database Management, you can create and manage the MySQL database users for your website.
Here are the actions you can take in the Users tab:
- Create a new database user
- Search for a database user
- Rename a database user
- Change the password of a specific database user
- Add a user to a database
- Delete a database user
How to Create a New Database User
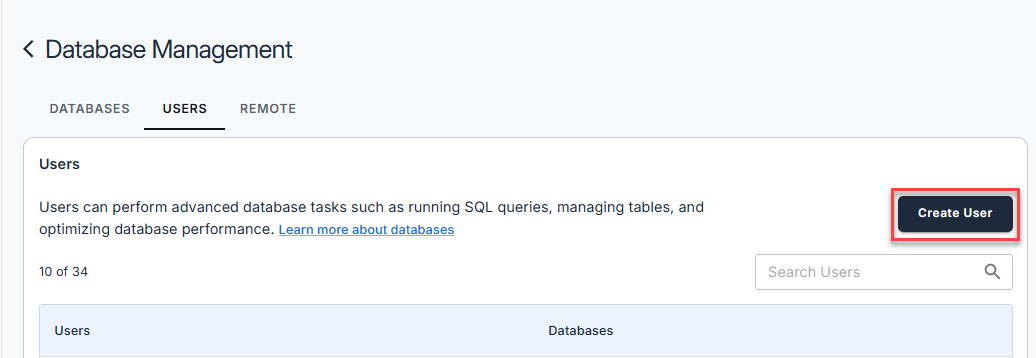
- Under the Users tab, click the Create User button.
- In Create New User, enter a username and password.
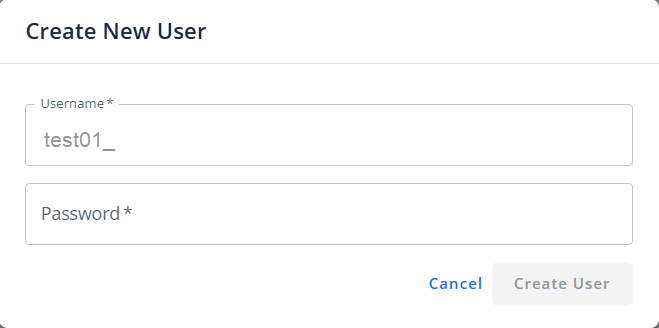
- Click the Create User button.
How to Search for a Database User
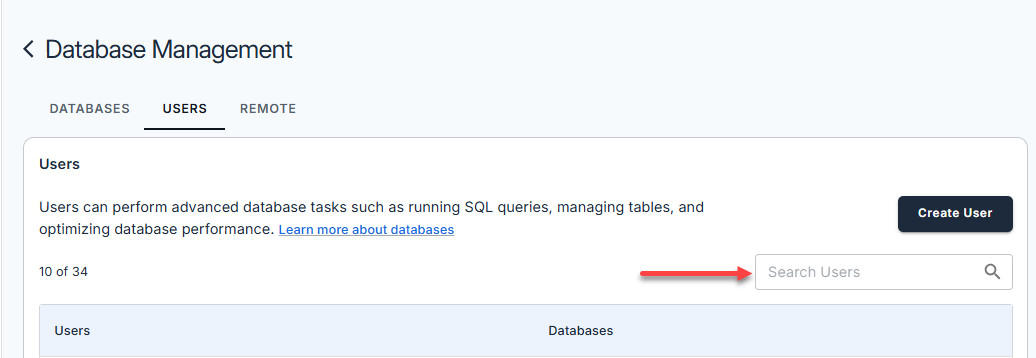
Under the Users tab, you can locate a database user by using the search box.
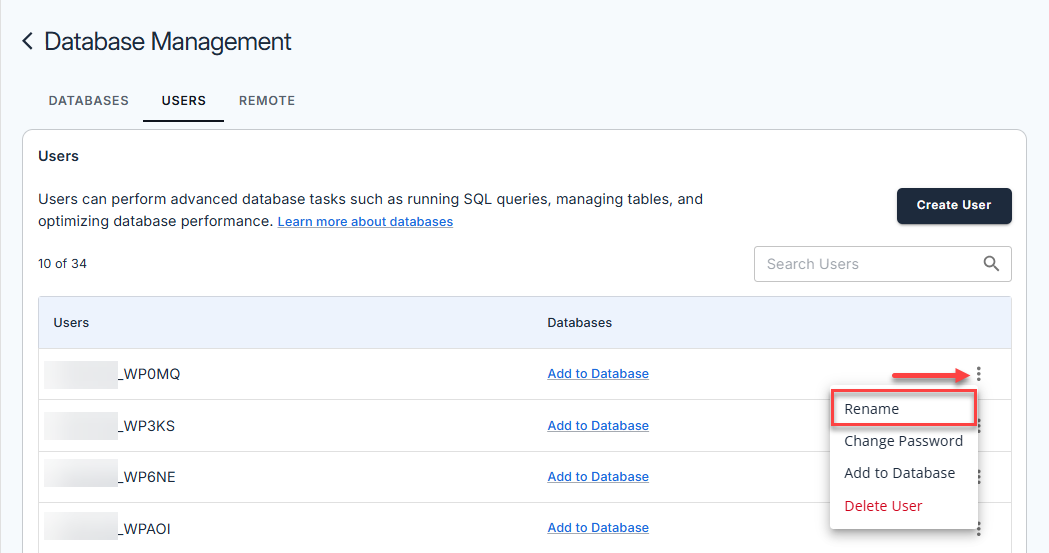
How to Rename a Database User
- Under the Users tab, locate the database user you want to rename.
- Click the vertical ellipsis icon on the right, then select Rename.
- Enter a new username in Rename User to change the name of the database user.
- Click Update to save the new username.

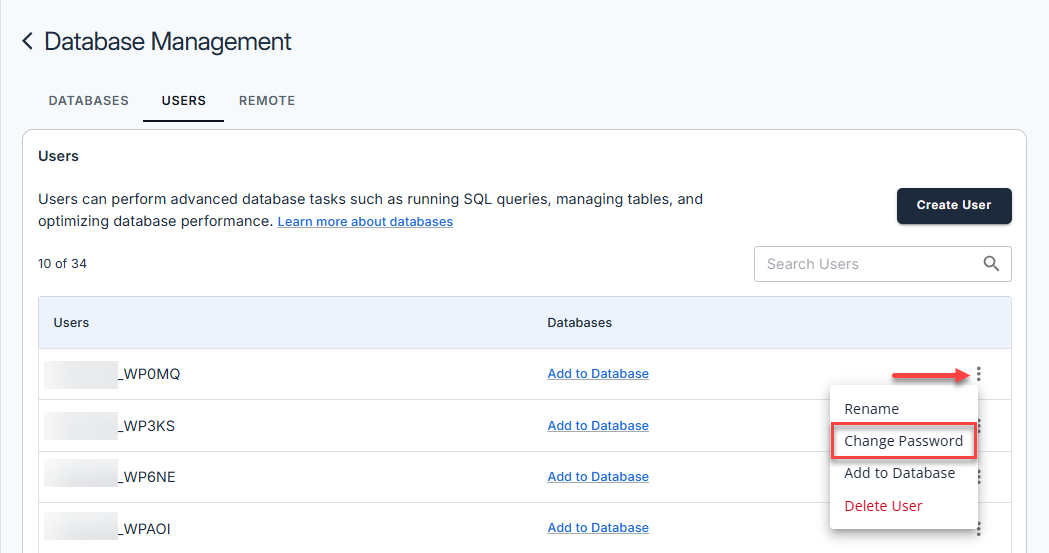
How to Change the Password of a Database User
- Under the Users tab, locate the database user for whom you want to change the password.
- Click the vertical ellipsis icon on the right, then select Change Password.
- Enter the new password in Change MySQL User Password to change the password for the selected username.
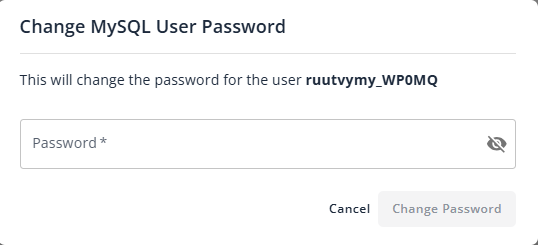
- Click the Change Password button.
How to Add a User to a Database
- Under the Users tab, locate the database user that you want to add to a database.
- Click the vertical ellipsis icon on the right and select Add to Database.

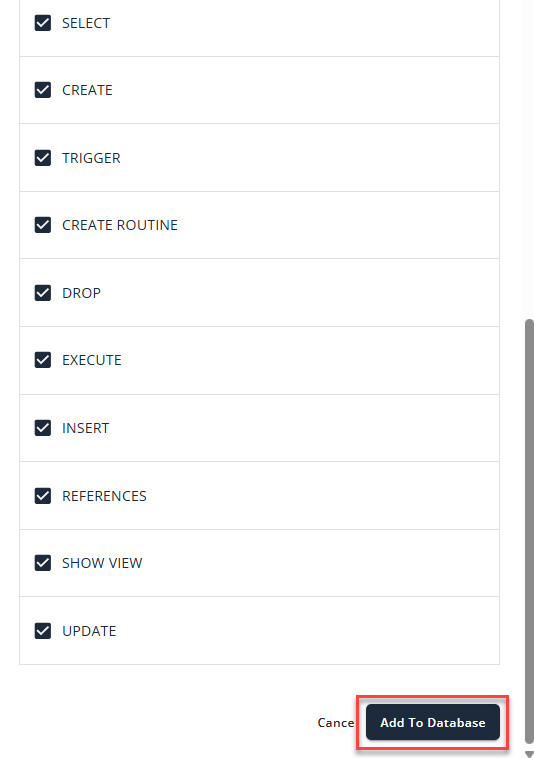
- Select the database you want to add to the user, then click Select All to grant all privileges to the selected user.
- Once done, scroll down and click the Add to Database button.
How to Delete a Database User
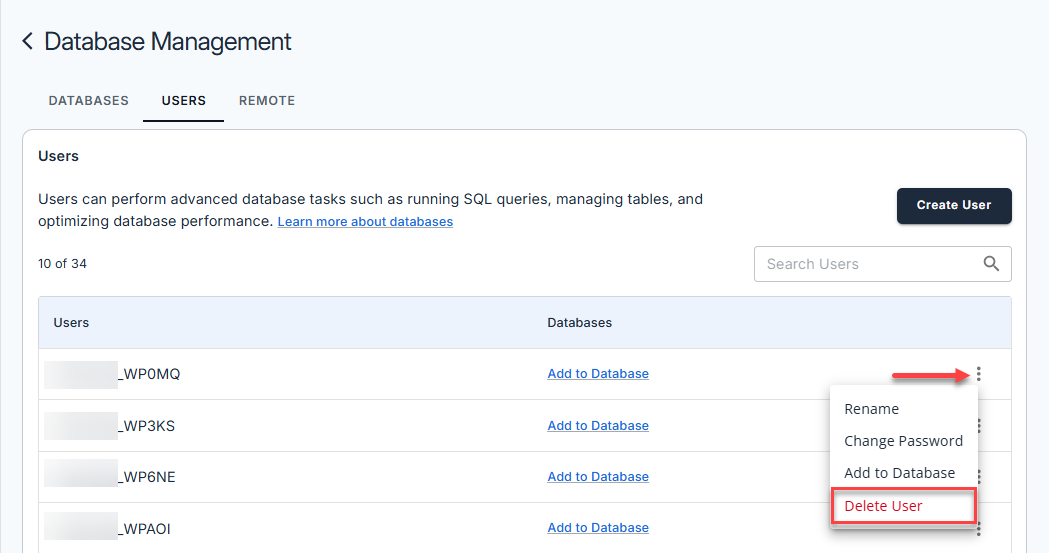
- Go to the Users tab and find the user you want to remove.
- Click the vertical ellipsis icon on the right and select Delete User.
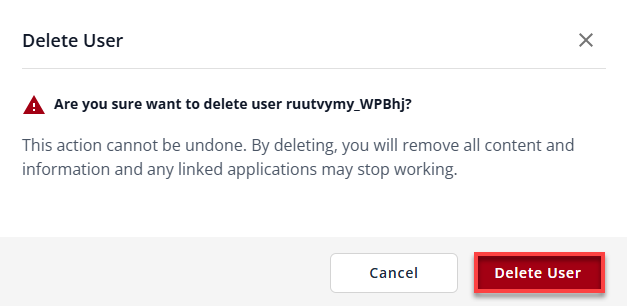
- An alert pop-up will appear, informing you that deleting a database user will remove all content for that user. Confirm the action by clicking the Delete User button.
Summary
Managing MySQL databases in the Bluehost Portal helps keep your website secure, reliable, and efficient. You can create, check, repair, and delete databases, access phpMyAdmin, and fully manage database users—including creating users, assigning permissions, updating passwords, and removing access. By following these steps and best practices, such as using strong passwords and backing up data, you can maintain smooth website performance and protect your data effectively.
If you need further assistance, Bluehost Chat Support is available 24 hours a day, 7days a week while Bluehost Phone Support is available 7 days a week from 7 am-12 midnight EST.
- Chat Support - While on our website, you should see a CHAT bubble in the bottom right-hand corner of the page. Click anywhere on the bubble to begin a chat session.
- Phone Support -
- US: 888-401-4678
- International: +1 801-765-9400
You may also refer to our Knowledge Base articles to help answer common questions and guide you through various setup, configuration, and troubleshooting steps.