How to Enable and Manage Bluehost Directory Privacy
Keeping sensitive data safe is a top priority for any website owner, and Bluehost’s Directory Privacy feature makes that easier. It lets you password-protect specific folders on your site, so only people you authorize can access or make updates to them.
This extra layer of security helps prevent data breaches and keeps your website’s content secure and trustworthy. Whether you're protecting customer info, internal documents, or private resources, Directory Privacy gives you more control over who sees what.
Enable Directory Privacy Protection
- Log in to your Bluehost Portal.
- In the left-hand menu, click Websites.
- Click the Manage Site button located next to the website you want to manage.

- This will redirect to the OVERVIEW page.
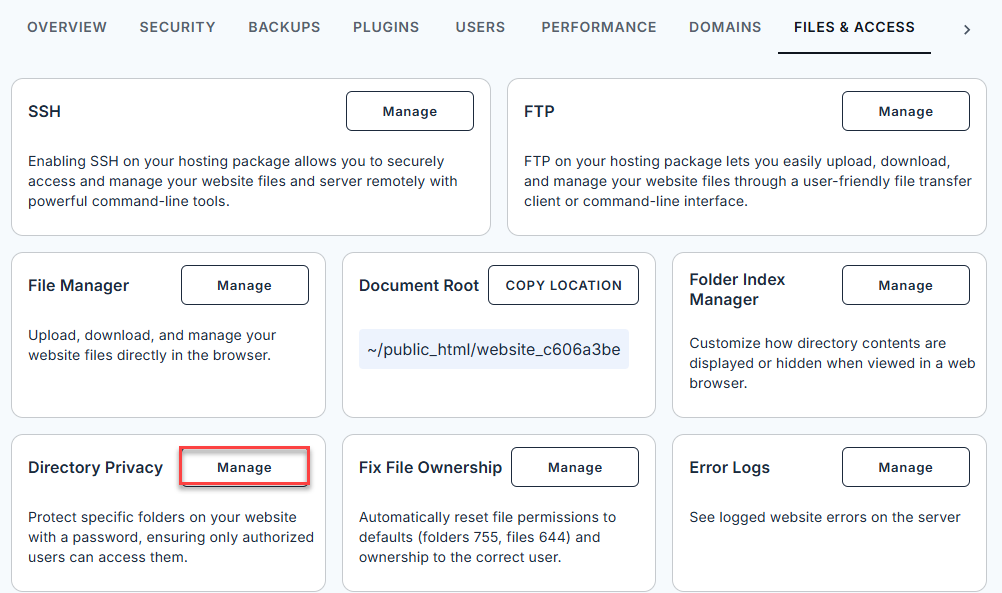
- Navigate to Files & Access, and under Directory Privacy, click the Manage button.
- Click ADD PRIVACY.

- In the Add Privacy pop-up window:
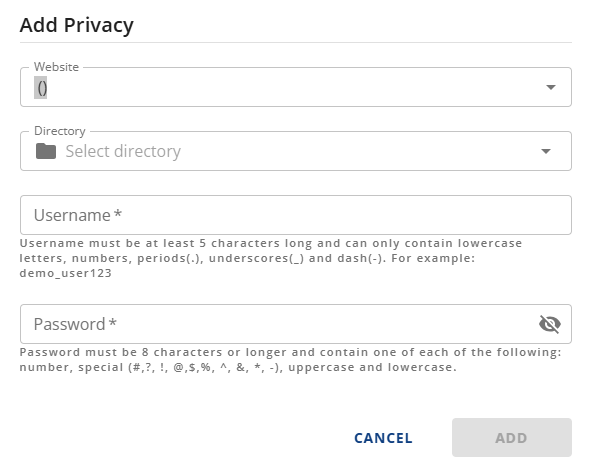
- Select the website and directory you want to protect.
- Create a username that:
- is at least five characters long
- only uses lowercase letters, numbers, periods (.), underscores (_), or dashes (-)
Example:demo_user123.”
- Create a password that is at least eight characters long and includes:
- 1 uppercase letter
- 1 lowercase letter
- 1 number
- 1 special character (#, ?, !, @, $, %, ^, &, , -).
- Once you have set up your username and password, click the ADD button below.
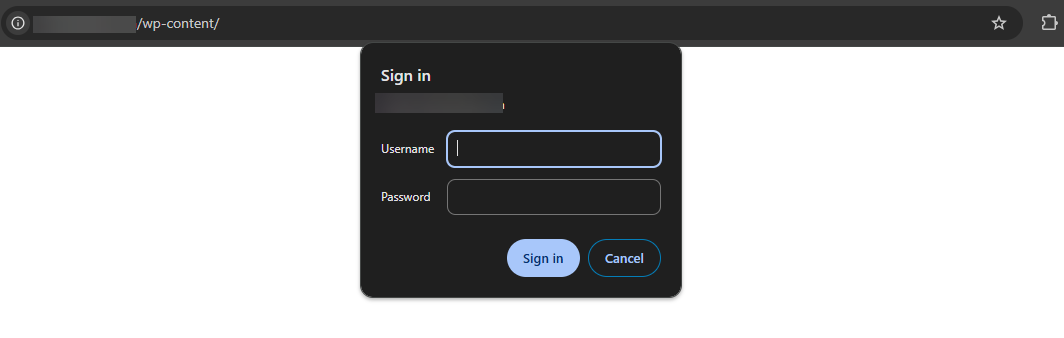
Now, accessing the directory will require login credentials.
Remove Directory Privacy Protection
- Log in to your Bluehost Portal.
- In the left-hand menu, click Websites.
- Click the Manage Site button located next to the website you want to manage.
- This will redirect to the OVERVIEW page.
- Navigate to Files & Access, and under Directory Privacy, click the Manage button.
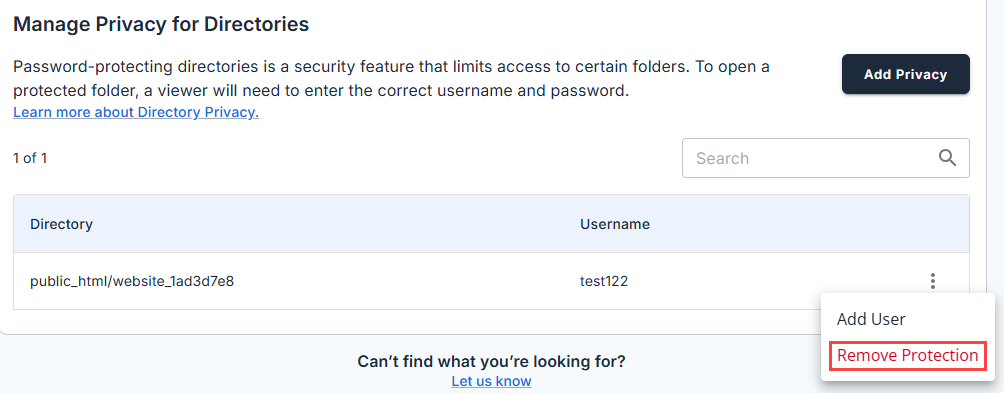
- Locate the protected directory and click the vertical ellipsis (⋮).
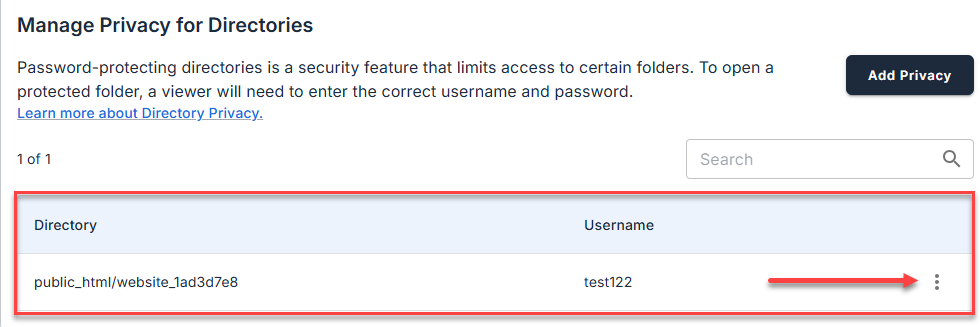
- Select and press Remove Protection.
- Confirm the action by clicking REMOVE in the pop-up.
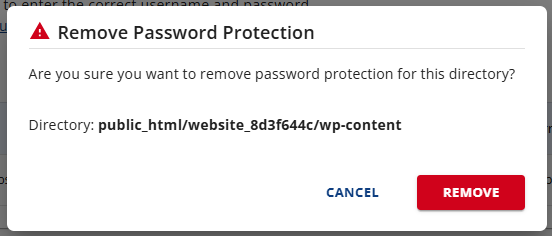
A confirmation banner will appear once the protection is removed.
Summary
Bluehost Directory Privacy feature is an essential tool for safeguarding your website’s sensitive data. Whether you're enabling or removing protection, the process is simple and user-friendly. By securing your directories, you not only prevent unauthorized access but also reinforce your website’s credibility and trustworthiness. For anyone serious about website security, enabling Bluehost Directory Privacy is a smart and necessary step.
If you need further assistance, Bluehost Chat Support is available 24 hours a day, 7days a week while Bluehost Phone Support is available 7 days a week from 7 am-12 midnight EST.
- Chat Support - While on our website, you should see a CHAT bubble in the bottom right-hand corner of the page. Click anywhere on the bubble to begin a chat session.
- Phone Support -
- US: 888-401-4678
- International: +1 801-765-9400
You may also refer to our Knowledge Base articles to help answer common questions and guide you through various setup, configuration, and troubleshooting steps.