Use an IP Blocker to Secure a Website from Malicious Traffic
Protecting your online presence from malicious actors requires proactive security measures, and one effective tool available in Bluehost is the IP Blocker. This feature allows you to control access to your website by restricting specific IP addresses or IP ranges, helping prevent unwanted traffic from hackers, spammers, and malicious bots.
When an IP address is blocked, visitors from that address will receive a 403 Forbidden error, indicating that access has been denied. Taking this proactive approach significantly reduces the risk of data breaches, website defacement, and other cyberattacks.
How to Block an IP Address
Follow these steps to block an IP address using the Bluehost Portal:
- Log in to your Bluehost Portal.
- In the left-hand menu, click Websites.
- Click the Manage Site button located next to the website you want to manage.

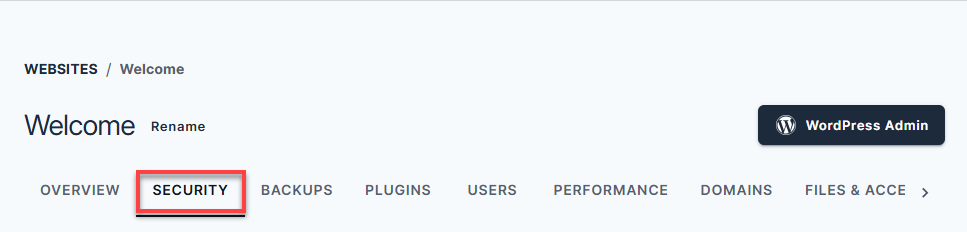
- Navigate to the SECURITY tab.
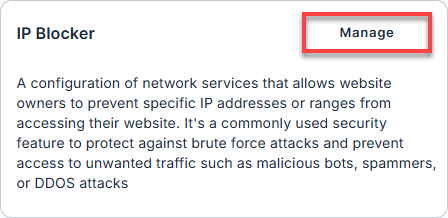
- Locate the IP Blocker section and click Manage.
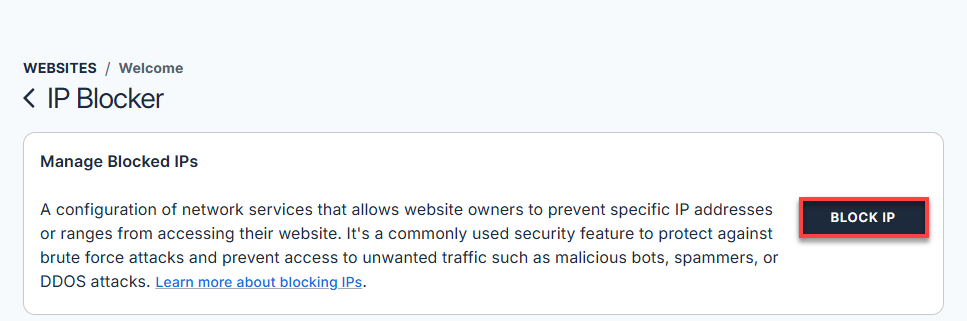
- In Managed Blocked IPs, click BLOCK IP.
- Enter the IP address or IP range you want to block.
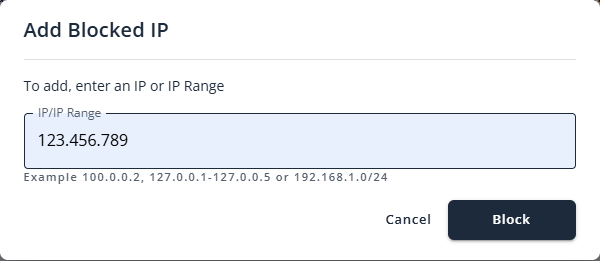
- Click Block to confirm.
A confirmation message will appear, and the blocked IP address will be added to the list of restricted IPs.
How to Remove a Blocked IP Address
To restore access for a previously blocked IP address:
- In Manage Blocked IPs, locate the IP address you want to remove.
- Click the vertical ellipsis (⋮) next to the IP address and select Delete.

- Confirm the deletion.
Once confirmed, you’ll receive a notification indicating that the IP address has been successfully removed.
How to Block All Access
In extreme cases, you may choose to block all incoming traffic to your website using the .htaccess file:
deny from all
allow from 12.34.567.890 (Example of allowing your own IP)
allow from 123.456.789.000 (Example of allowing another specific IP)
- Caution: Blocking all access can lock you out of your website.
- To avoid losing access, make sure to explicitly allow your own IP address using the allow from directive.
- You can find your current IP address by searching “what is my IP” on Google.
- For detailed steps, refer to the article How to Edit Your .htaccess File.
- In most cases, blocking specific IP addresses is safer and more practical than blocking all traffic.
Summary
By using Bluehost’s IP Blocker feature, you take an essential step toward protecting your website from malicious activity. Regularly reviewing and updating your blocked IP list helps maintain strong security while ensuring legitimate users can still access your site. Advanced options—such as blocking all access via .htaccess—should be used cautiously and only when absolutely necessary. Proactive security management is one of the most effective ways to safeguard your online presence against evolving cyber threats.
If you need further assistance, Bluehost Chat Support is available 24 hours a day, 7days a week while Bluehost Phone Support is available 7 days a week from 7 am-12 midnight EST.
- Chat Support - While on our website, you should see a CHAT bubble in the bottom right-hand corner of the page. Click anywhere on the bubble to begin a chat session.
- Phone Support -
- US: 888-401-4678
- International: +1 801-765-9400
You may also refer to our Knowledge Base articles to help answer common questions and guide you through various setup, configuration, and troubleshooting steps.