Bluehost Self-Managed VPS: Reimage Your Server for ISPConfig 3 Installation
ISPConfig 3 is a flexible and feature-rich server control panel that helps you manage websites, email accounts, databases, DNS zones, FTP users, and multiple servers from a single web interface. Designed for both individual users and hosting providers, ISPConfig 3 makes server administration easier while maintaining the flexibility of a Self-Managed VPS. This guide walks you through installing ISPConfig 3 using the Bluehost Portal.
Reimage Your Server for HestiaCP Installation
- You can install only one application using the one-click installer.
- To change or delete your application, follow the guide: Bluehost Self-Managed VPS: How to Change and Delete an Application. Create a backup of your existing applications or templates.
- If you want to keep your current template, install the new application manually using SSH. The system will automatically apply the recommended OS for ISPConfig 3.
- Log in to your Bluehost Portal.
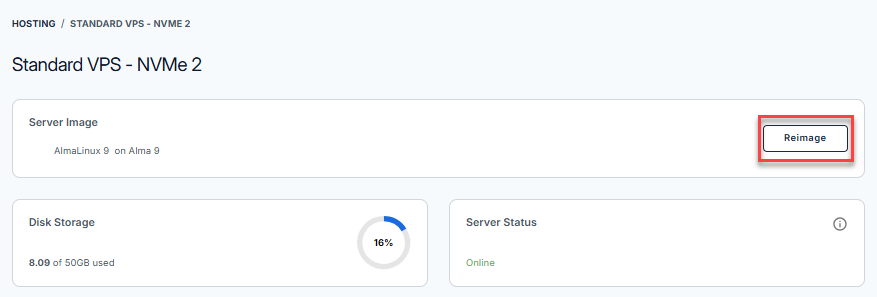
- In the left-hand menu, click Hosting.

- Click the Manage button on the Self-Managed VPS package.

- Click the Reimage button.
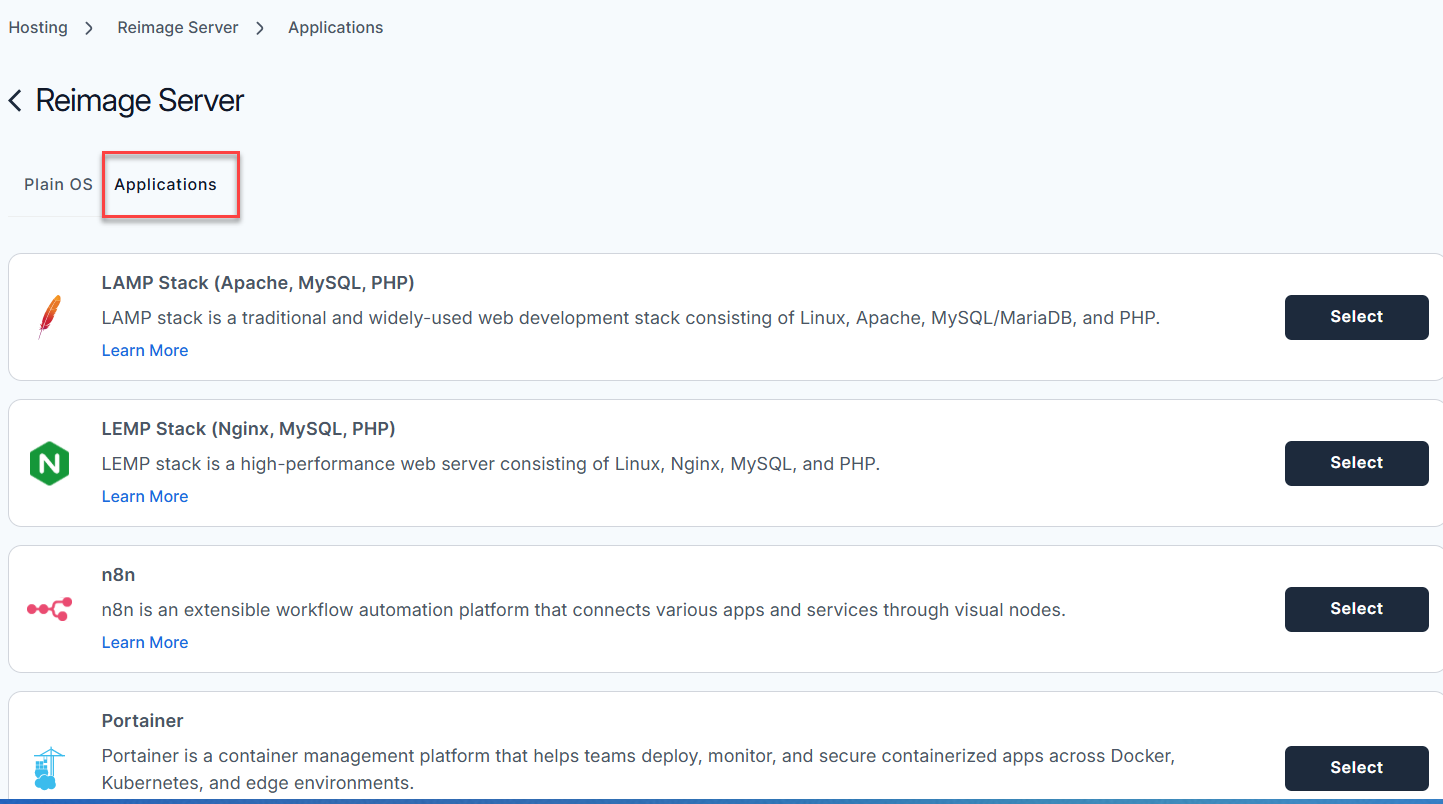
- Select the Applications tab.
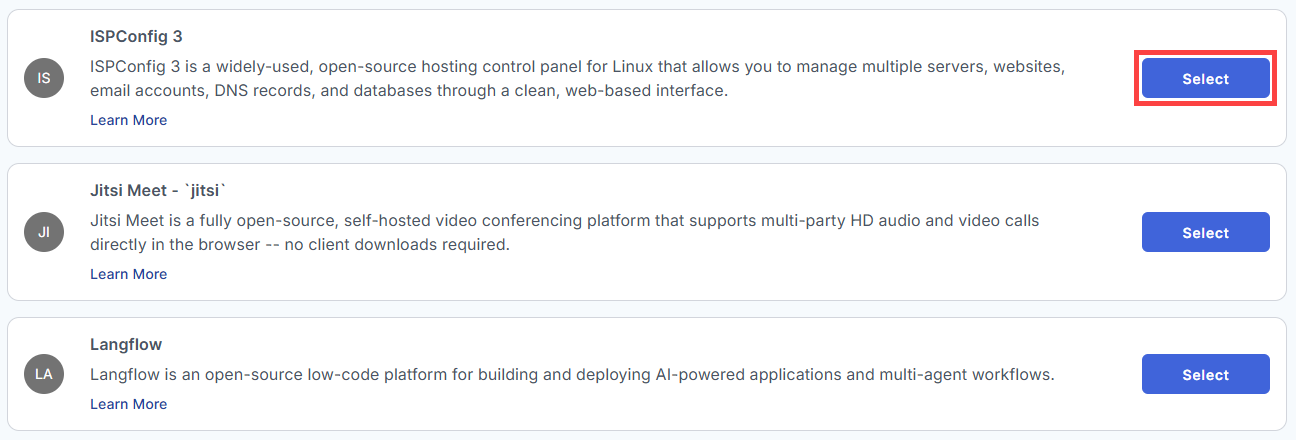
- From the list, locate ISPConfig 3 and click Select.
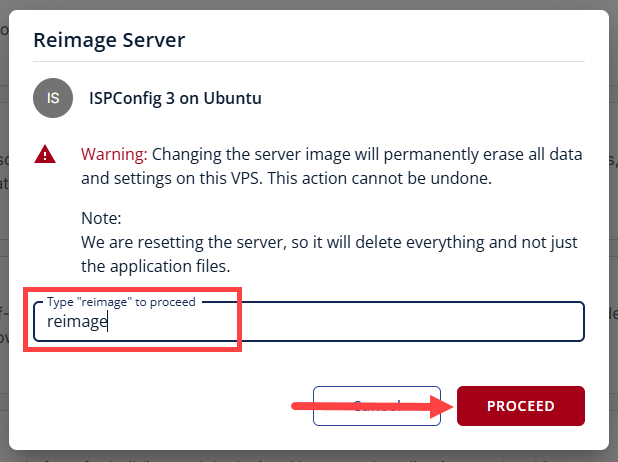
- To confirm, type "reimage" and then click Proceed to start the process.
- Wait a few minutes while the installation completes.

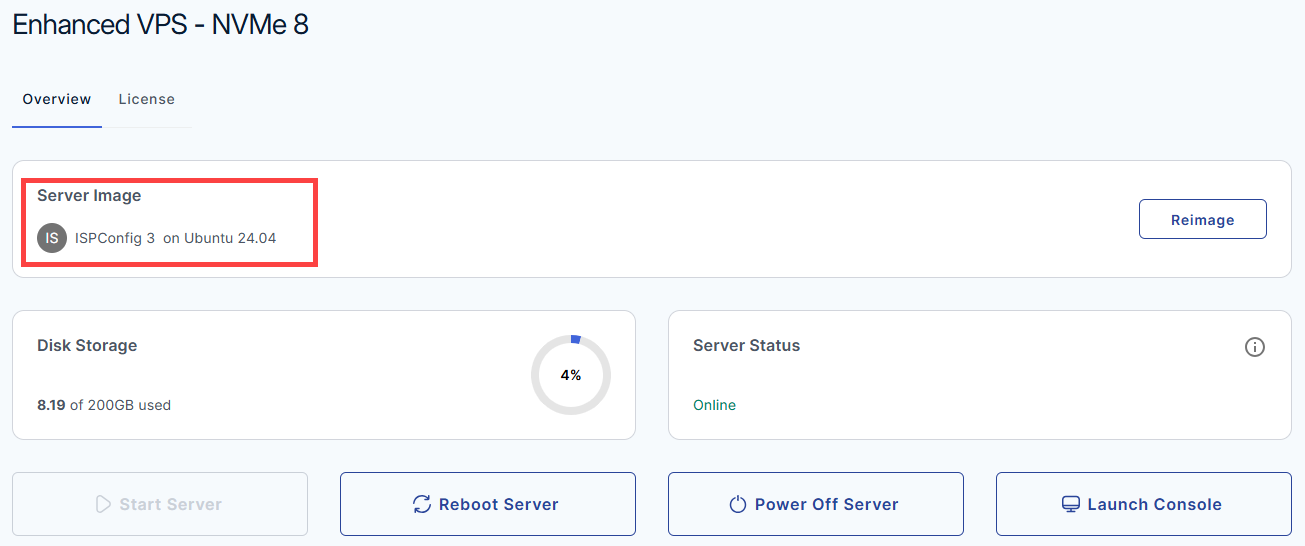
- Once completed, you will see ISPConfig 3 listed in the Server Image section.
Summary
ISPConfig 3 simplifies server administration by providing a comprehensive web interface for managing websites, email accounts, databases, DNS zones, FTP users, and multiple servers. Its flexible feature set makes it suitable for individuals, developers, and hosting providers alike. Whether you're managing a single website or multiple hosting environments, ISPConfig 3 helps you get the most out of your Self-Managed VPS while keeping server management efficient and organized.