How to Navigate the Nameservers Tab in Bluehost Portal
Nameservers point to where the zone files for a domain are managed. Zone files, such as A records, MX records, and CNAME records, direct where parts of a domain point to, such as a website, email, etc. Where name servers for a domain are directed can be changed only with the registrar where the domain is currently registered. By default, domains registered with us are pointed at the designated name server for that brand.
What are Nameservers?
A nameserver, also known as a “DNS name server,” translates human-friendly domain names into IP addresses. It acts as a directory, guiding computers, tablets, and other devices to the correct location within the Domain Name System (DNS). By responding to queries, nameservers ensure that users can easily access websites using familiar domain names instead of complex numerical addresses.
Any server with DNS software can work as a caching nameserver. However, people usually use the term to refer to servers run by hosting providers. These servers handle and manage domain names for their clients. They make sure that:
- Website names are linked to IP addresses in the right way, helping to send traffic to the correct web server.
- DNS questions are answered quickly, which is important for the speed and dependability of getting to websites.
- Knowing this role is important for managing website operations. It is especially true when setting up your site’s settings. This helps ensure your site is available and works well on the internet.
What are the Default Nameservers for Bluehost?
Your Bluehost nameservers can be found in the order confirmation email after signing up for Bluehost. You can also find this information in your Bluehost Portal.
Here are the Bleuhost default nameservers.
- NS1.BLUEHOST.COM
- NS2.BLUEHOST.COM
Here is a video to guide you in changing your nameservers in your Bluehost Portal.
How to Change Your Nameservers
- Log in to your Bluehost Portal.
- In the left-hand menu, click Domains.
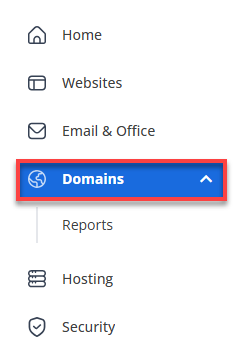
- If you have one domain in your account, you will be taken directly to the domain management panel.

- If you have multiple domains in your account, click the domain you wish to manage to access the domain management panel.
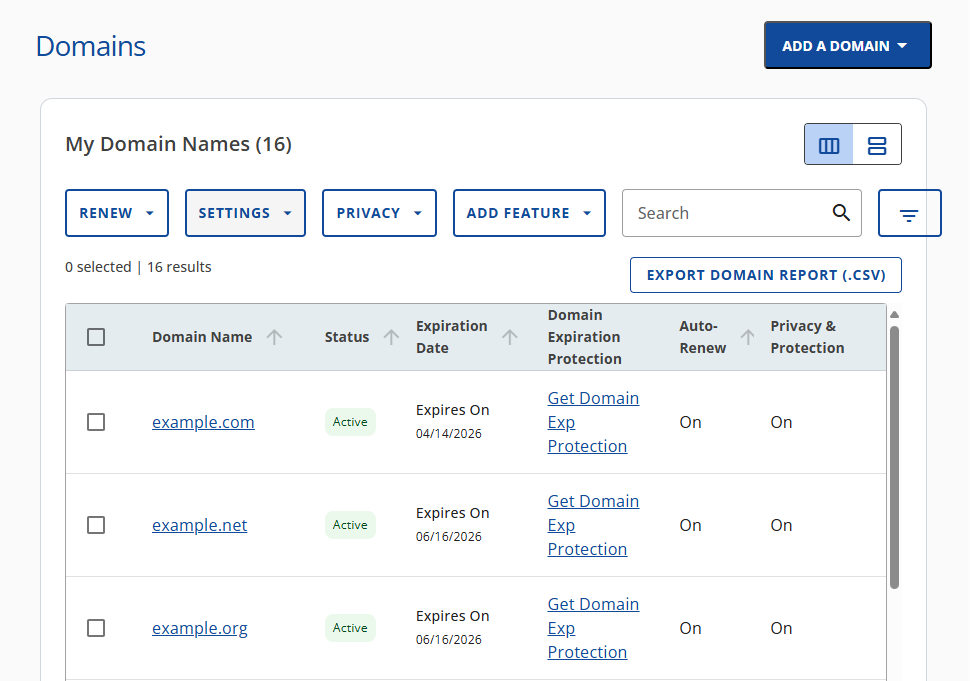
- If you have one domain in your account, you will be taken directly to the domain management panel.
- Click Nameservers in the top menu.

- Click the Change Nameservers button.
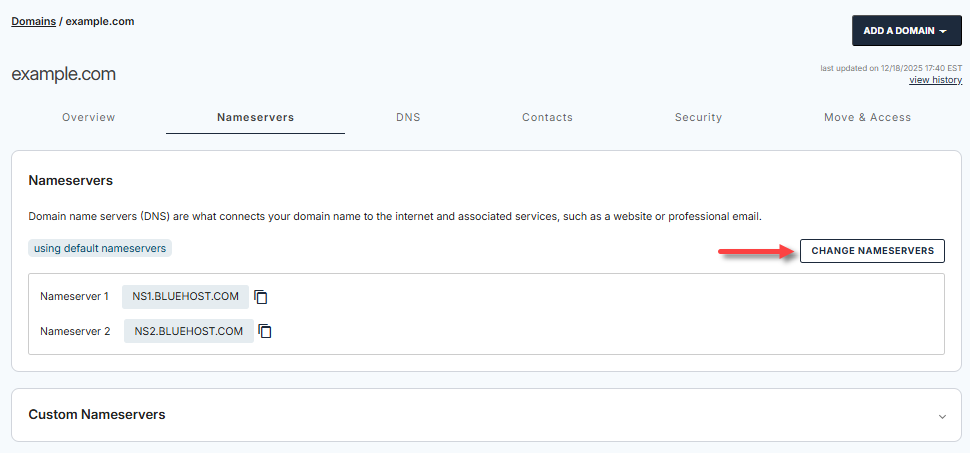
- Enter the new nameservers.
- Click the Save button.

- Allow a propagation time of 24 to 48 hours.
What are Custom Nameservers?
Custom nameservers (also called private or child nameservers) are DNS servers that are associated with a specific domain instead of the default nameservers provided by your hosting provider. If you have a VPS or Dedicated hosting plan, you can use custom nameservers.
Please refer to the VPS and Dedicated Hosting: Setting Up Private Nameservers for more details.
Benefits of Using Custom Nameservers
- Branding: Using your own nameservers allows you to create a more professional and branded look for your website, using your domain name in the nameserver name.
- Flexibility: If you decide to switch hosting providers, you only need to update the IP addresses of your nameservers, rather than changing the nameservers for each domain.
- Control: You have more control over your DNS records, allowing you to manage special settings that might not be available with regular hosting nameservers.
- Privacy and Security: Your domains won't directly link to your hosting provider's public nameservers, offering more privacy and potentially improving security by reducing the need for third-party DNS services.
- Easier for Clients: If you run several websites or offer hosting services, a private nameserver makes it easier for clients to connect their domain to your brand.
How to Add Custom Nameservers
- Log in to your Bluehost Portal.
- In the left-hand menu, click Domains.
- If you have one domain in your account, you will be taken directly to the domain management panel.
- If you have multiple domains in your account, click the domain you wish to manage to access the domain management panel.
- If you have one domain in your account, you will be taken directly to the domain management panel.
- Select Nameservers from the top menu.
- At the bottom part of the Nameservers tab, expand the Custom Nameservers section and click +Add.
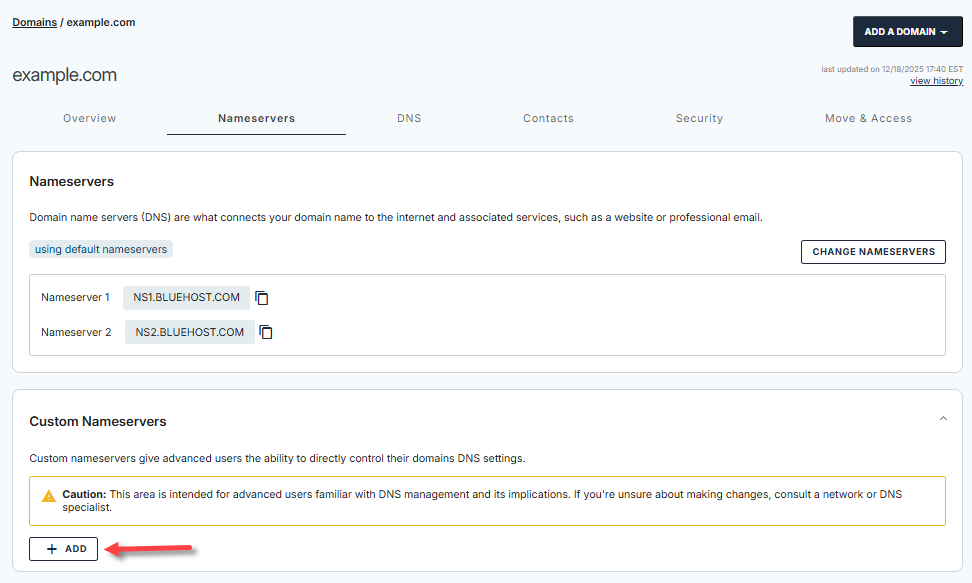
- In the pop-up, enter your custom nameserver hostname and IP address.
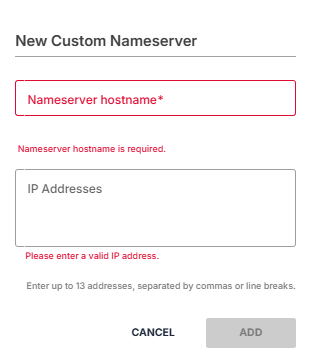
- Click on Add to save your custom nameservers.
- A confirmation banner will appear at the top after successfully adding your new custom nameservers.

Summary
Nameservers are important for directing domain traffic by managing zone files, such as A, MX, and CNAME records. This article discusses what nameservers are, how to change them in the Bluehost Portal, the default Bluehost nameservers, and the benefits of creating custom nameservers for branding, flexibility, control, and security.
If you need further assistance, Bluehost Chat Support is available 24 hours a day, 7days a week while Bluehost Phone Support is available 7 days a week from 7 am-12 midnight EST.
- Chat Support - While on our website, you should see a CHAT bubble in the bottom right-hand corner of the page. Click anywhere on the bubble to begin a chat session.
- Phone Support -
- US: 888-401-4678
- International: +1 801-765-9400
You may also refer to our Knowledge Base articles to help answer common questions and guide you through various setup, configuration, and troubleshooting steps.