OX Email - How to Create a Mailbox Using External Domain Name
Bluehost's Account Manager now offers a new email service that enables you to manage your email account with us. In this article, we will guide you through the step-by-step process of creating a mailbox using your email plan, even if your domain name is registered with another company.
These instructions are for the Account Manager interface; if you need help determining your account's user interface, please check out our article, New vs Old View Side-by-Side Comparison, to learn more.
Create an OX Mailbox in Bluehost Account Manager
- Log in to your Bluehost Account Manager.
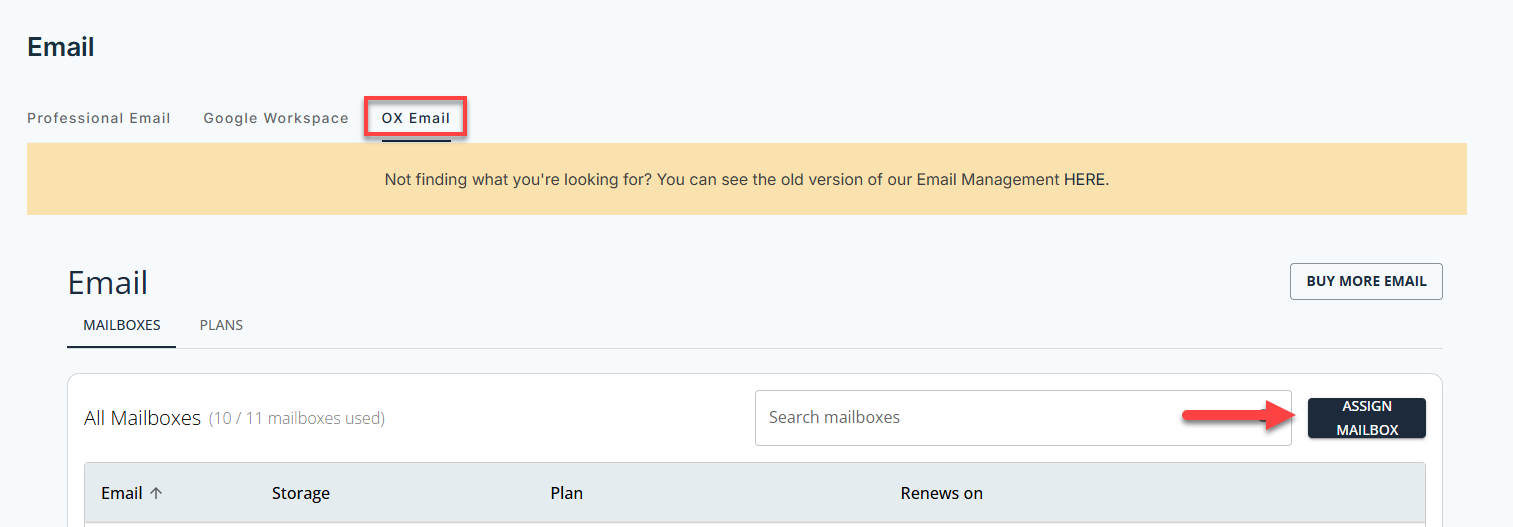
- From the left-hand navigation menu, click on the Email section and select the OX Email tab.

- Once you are in the OX Email service details page, click Assign Mailbox.

- The Assign Mailboxes window will appear, and you will click on the drop-down menu to select the preferred plan.

- Enter the necessary details such as Mailbox Name, Domain Name, Mailbox Password, and Confirm Password Field. Once you're done, click Assign.

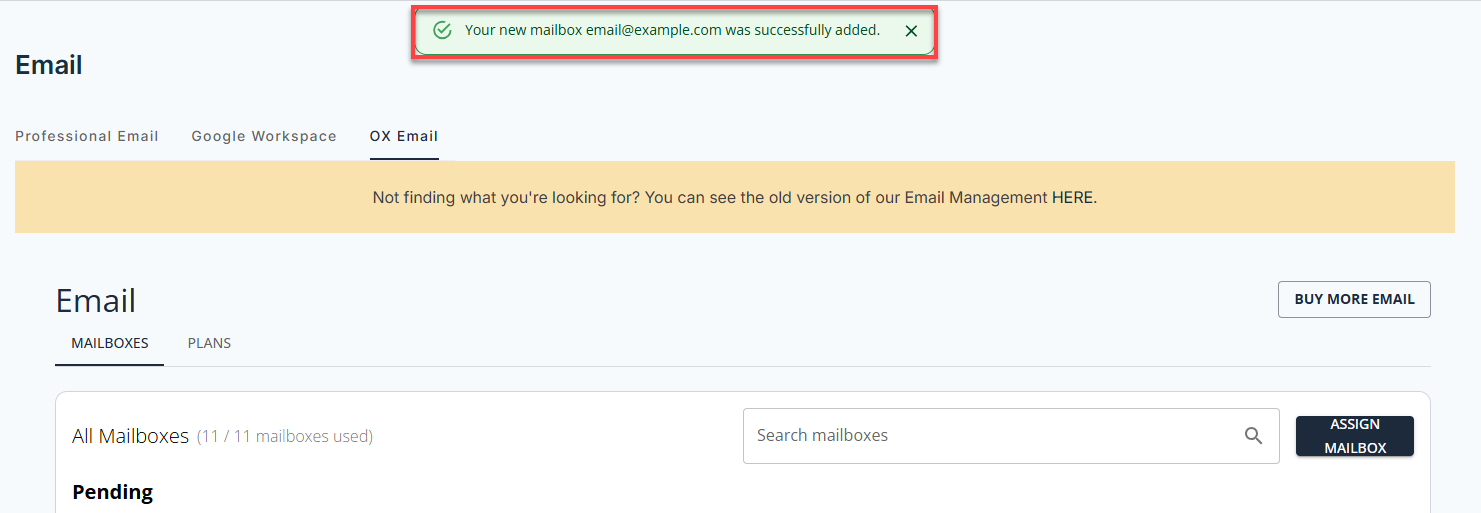
- Once you're done, you'll see the confirmation pop-up showing it has been successfully added.

After creating your mailbox, you must obtain the DNS settings and change them with your current registrar.
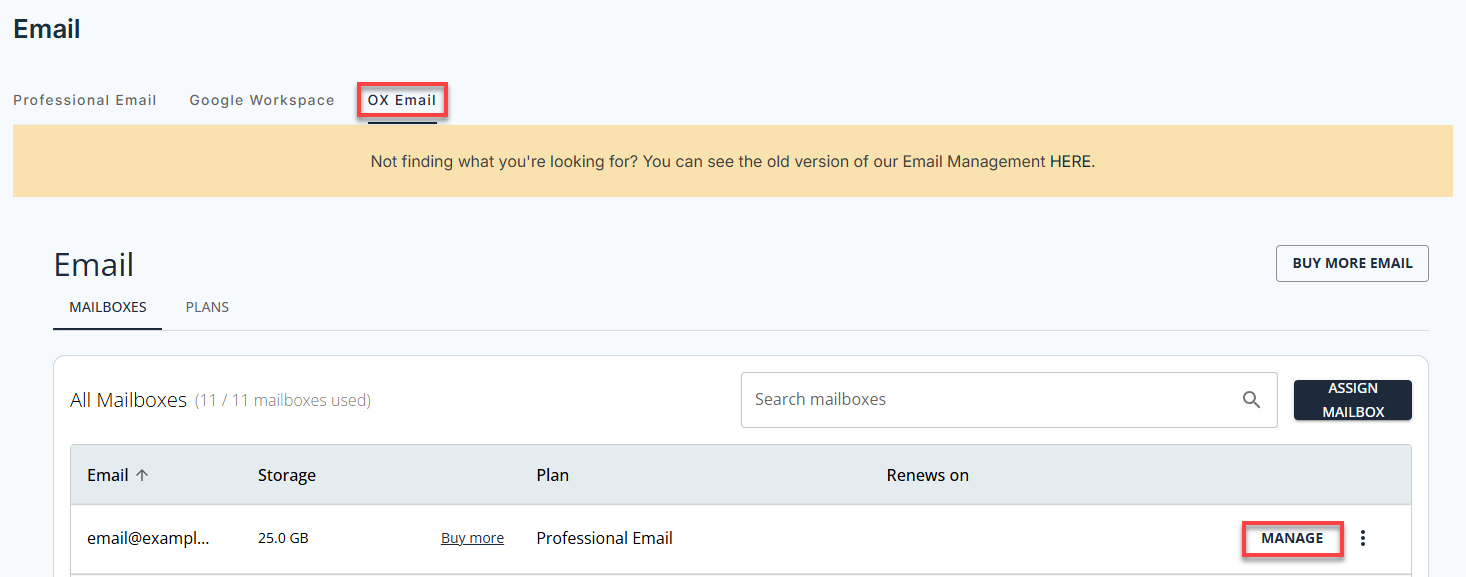
- Click Email on the website's left side and then select the OX Email tab to get back to the service details page.

- Find the newly created mailbox and select it by clicking the Manage option.

When DNS records are added or updated to your registrar, Changes to your DNS will take 24 - 48 hours to update throughout the internet; this period is called propagation. To learn more, you can check out our article DNS Propagation.
Summary
Following these steps, you will have successfully created a mailbox using your Bluehost's new email service. Do not forget to update your DNS settings at your current registrar to make sure your email will work, and remember the DNS propagation time.
If you need further assistance, feel free to contact us via Chat or Phone:
- Chat Support - While on our website, you should see a CHAT bubble in the bottom right-hand corner of the page. Click anywhere on the bubble to begin a chat session.
- Phone Support -
- US: 888-401-4678
- International: +1 801-765-9400
You may also refer to our Knowledge Base articles to help answer common questions and guide you through various setup, configuration, and troubleshooting steps.