Bluehost Self-Managed VPS: How to Set Up Paperclip
Paperclip is a ready-to-use application environment that helps you run and manage your web application on a VPS in a stable and organized way.
In the previous article, "How to Install Paperclip," the installation on your Bluehost VPS was completed successfully. Now that Paperclip is already installed, the next step is to set it up. This guide walks you through configuring your application, starting the service, and making it accessible in your browser.
How to Set Up the Paperclip
After installation completes, follow the steps below to set up the paperclip application:
- Log in to your Bluehost Portal.
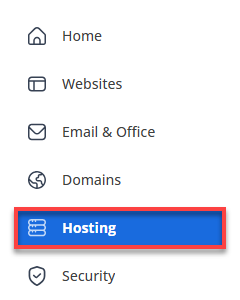
- Click Hosting in the left-hand menu.
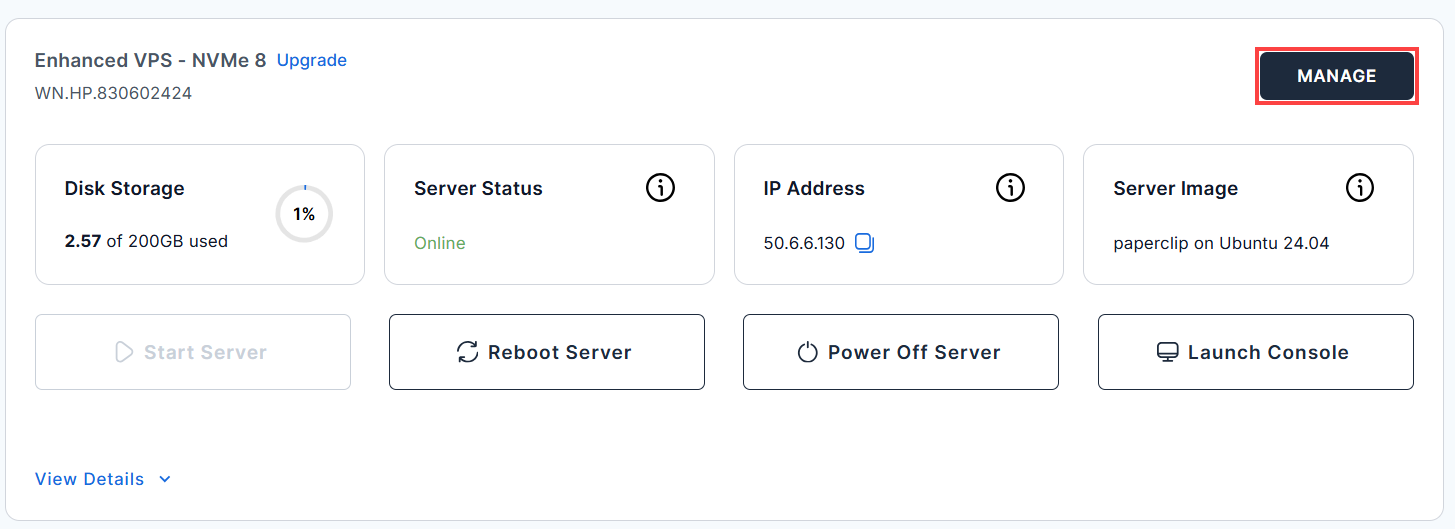
- Click the Self-Managed VPS package where Paperclip is installed, and click Manage.
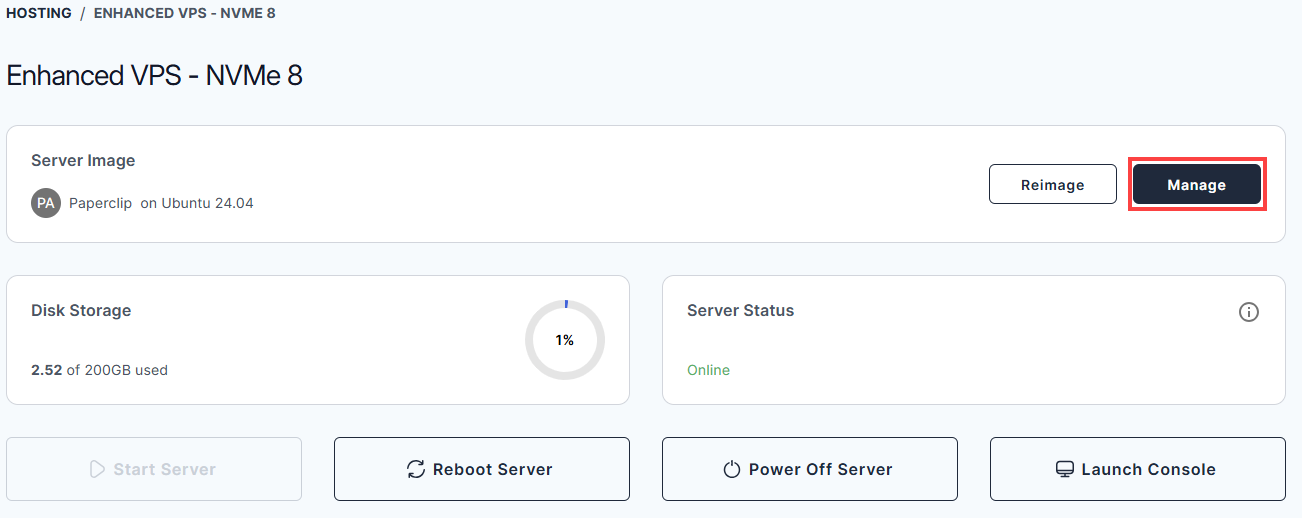
- In the Application tab, click Manage under the Server Image tab.
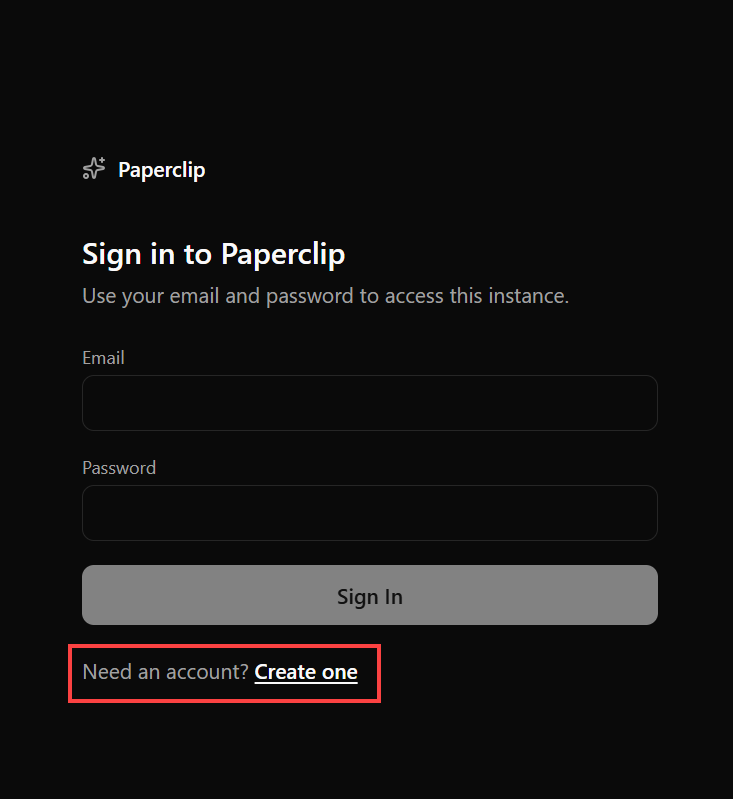
- The Paperclip dashboard login page will open in a new browser tab.
-
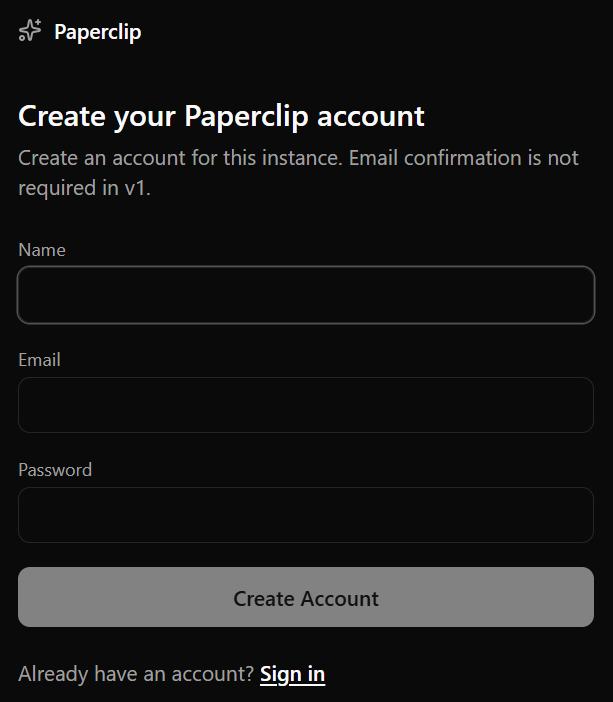
Click Create one to create an account.
- Fill in the details to create your account, then click Create Account.
- After signing in, the first step is to define your company. Click Next to continue.
- In the Company tab, enter your Company Name. This represents the organization your agents will work for.
- (Optional) Add a Mission / Goal. Describe what your company is trying to achieve.
Example: “Build scalable web solutions and grow a strong engineering team.”
Tip: Choose the adapter based on the type of work your agent will handle.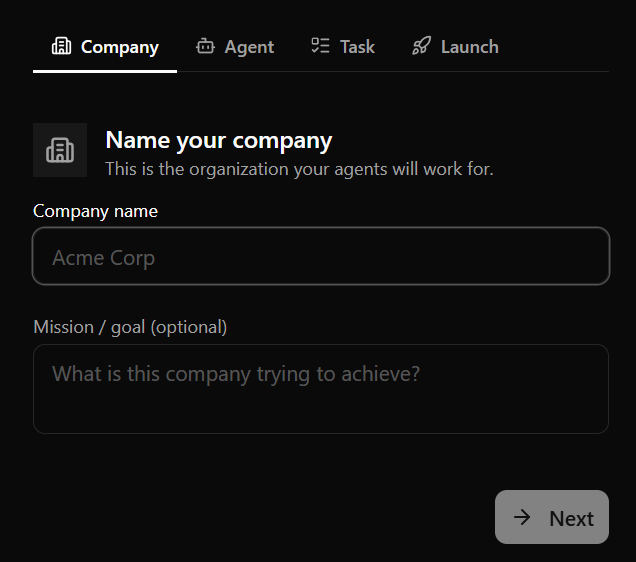
- Next, you’ll create an agent that will perform tasks on your behalf.
- In the Agent tab, enter an Agent Name.
Use role-based names like CEO, Developer, or Marketing Manager. - Choose an Adapter Type. The available adapters may vary depending on your Paperclip setup. Different adapters may perform better depending on the type of workflow or tasks you want the agent to handle.
For example:
- Some adapters may work better for coding, scripting, and technical tasks
- Others may be more suitable for planning, content generation, or workflow automation
Select the adapter that best fits your intended use case.
- Depending on the adapter you select, you may be asked to choose an authentication method. Follow the on-screen prompts to connect your account or provide the required credentials. Common authentication options may include:
- Signing in to your account
- Connecting through OAuth authentication
- Entering an API key
- If prompted for an API key, copy the key from your provider account and paste it into the required field. Make sure the API key has the correct permissions enabled before continuing.
- Select a Model if you would like to use a specific one for your agent. This step is optional, and you can also configure or change the model later while using Paperclip.
- Click Test now under Adapter environment check to verify the setup is working.
- Once everything looks good, click Next.
Tip: Choose the adapter based on the type of work your agent will handle.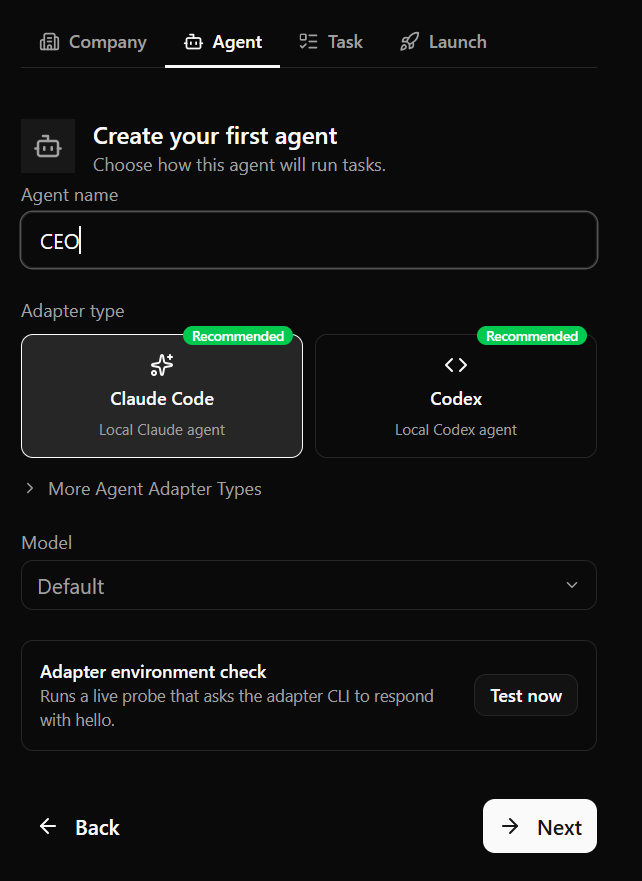
- In the Agent tab, enter an Agent Name.
- Now it’s time to give your agent something to do.
- In the Task tab, enter a clear Task Title.
Example: Hire your first engineer and create a hiring plan. - (Optional) Add a Description to guide the agent.
-Define the agent’s role
-Provide step-by-step instructions or goals
Examples:- You are the CEO. You set the direction for the company.
- Hire a founding engineer
- Write a hiring plan
- Break the roadmap into actionable tasks
- Start delegating work
- Click Next to proceed.
Tip: The more detailed your instructions, the better your agent’s output will be.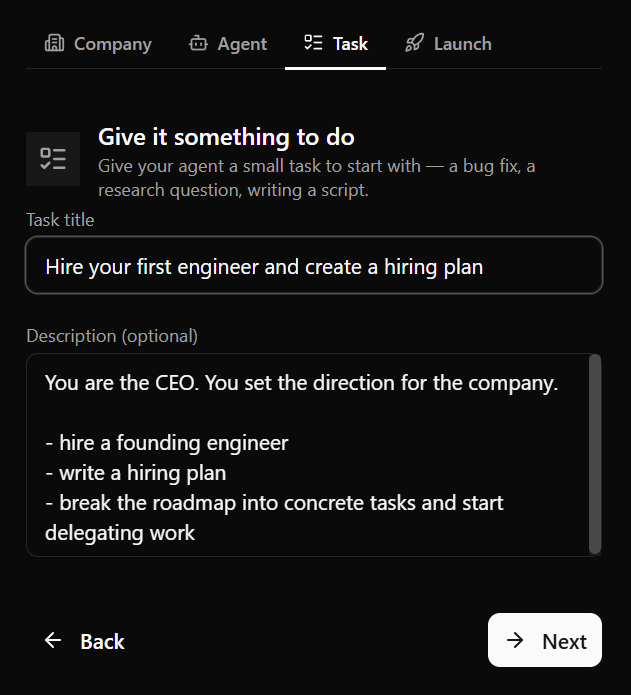
- In the Task tab, enter a clear Task Title.
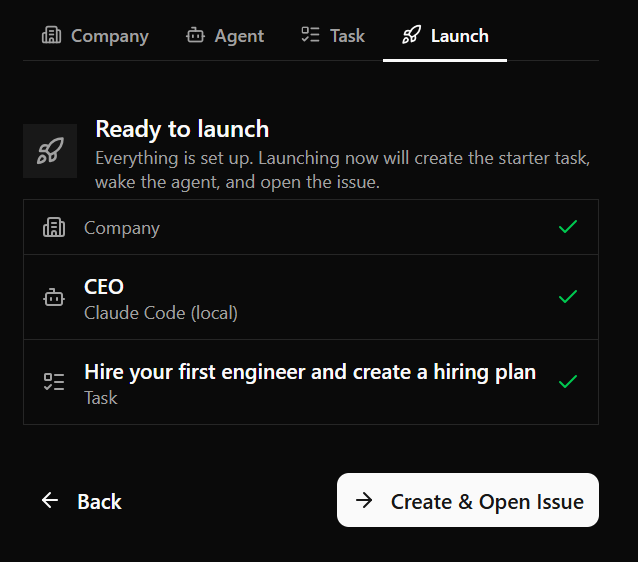
- After completing all steps, review your setup (company, agent, and task). Click Create & Open Issue to complete.
Best Practices
Following a few best practices can help you get better results with Paperclip, especially if you are new to AI tools and automation.
Provide Clear Instructions
AI agents give better results when your instructions are clear and detailed. Instead of giving short or vague requests, try to explain exactly what you want the agent to create or do. Adding details about the style, purpose, or features can make a big difference in the final output.
For example, instead of saying:
“Create a website.”
You can say:
“Create a modern coffee shop website with a homepage, contact form, and mobile-friendly design.”
Please provide more context so AI can better understand your intent. This gives the AI a better understanding of your goal, enabling it to generate results more similar to what you expect.
Assign Agents to Specific Roles
Paperclip works best when agents have one particular job. The agents are given specific roles to keep the workflows organized, and each one can focus on a specific task.
For example:
- Use one agent to write content.
- Use another agent to handle coding.
- Use another agent to test or review the results.
Splitting tasks this way can make your workflow easier to manage and often leads to better overall results.
Start with Simple Tasks
If you are new to Paperclip, it is best to start with small and simple tasks first. This gives you time to learn how agents respond to prompts and how workflows operate before working on larger projects.
You can begin with tasks like:
- Creating a simple webpage
- Generating content
- Testing a basic workflow
Once you become more comfortable using the platform, you can gradually move on to more advanced tasks and automations.
Improve Your Prompts Over Time
It is normal for the first result not to be perfect. If needed, adjust your instructions and try again. Even small prompt changes can improve the final output.
You can refine things like:
- Writing style
- Design preferences
- Formatting
- Technical requirements
Experimenting with prompts is a normal part of working with AI tools.
Break Large Tasks Into Smaller Steps
Large projects are often easier to manage when divided into smaller tasks. This also helps agents generate more accurate and organized results.
For example, instead of asking an agent to build an entire website all at once, you can break it down into steps such as:
- Create the homepage
- Add navigation menus
- Build the contact page
- Optimize the layout for mobile devices
Working step-by-step usually produces better results and makes troubleshooting easier.
Review AI-Generated Results
AI can save time, but it is still important to review generated content, code, or configurations before using them in a live environment.
Always check for:
- Errors or missing information
- Correct formatting
- Proper functionality
- Security settings
Testing and reviewing outputs can help prevent issues later on.
Save Prompts That Work Well
If you find prompts that consistently produce good results, save them for future use. Reusing successful prompts can help speed up future projects and keep outputs consistent.
Many users create reusable prompts for common tasks, such as:
- Website creation
- Content writing
- SEO optimization
- Troubleshooting
- Documentation generation
Having a small library of useful prompts can help speed up and ease future workflows.
Summary
Once Paperclip is installed, your VPS is ready to run and manage AI-powered agents. You’ve defined your company, created a role based agent and assigned clear tasks. You’ve created a structured workflow that’s easy to extend. As you go along, you can fine tune instructions and scale your set-up to efficiently handle more complex processes.