How to Migrate WordPress With Bluehost Cloud Migration Tool
Transferring your WordPress site to a new hosting provider can initially feel overwhelming. But don't worry—once you have the right tools and know-how, the process is more straightforward than it sounds. This guide will show you how to migrate WordPress with the Bluehost Cloud Migration Tool. We'll take you step-by-step through adding your site to the tool and troubleshooting common issues that might come up during the migration. By the end, you'll feel confident in quickly making the switch.
Migrate WordPress With Bluehost Cloud Migration Tool
Step 1: Access the Cloud Hosting Section
- Log in to your Bluehost Portal.
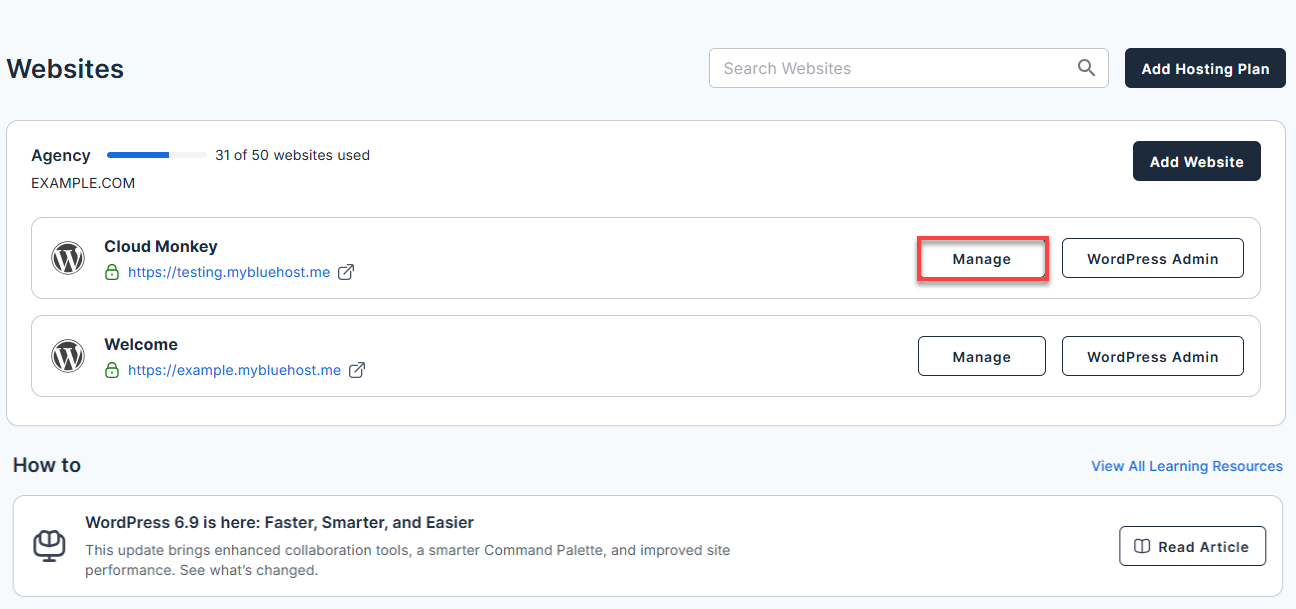
- In your Bluehost Portal, click Websites on the left menu.
In the Cloud Hosting area, you can manage and add additional sites to your hosting account.
Step 2: Start the Migration Process
To begin migrating your WordPress site:
- Click the Add Website button.
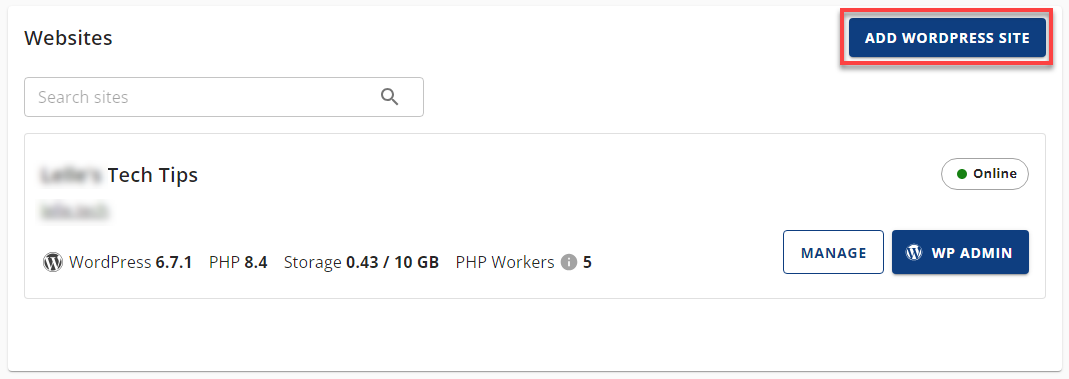
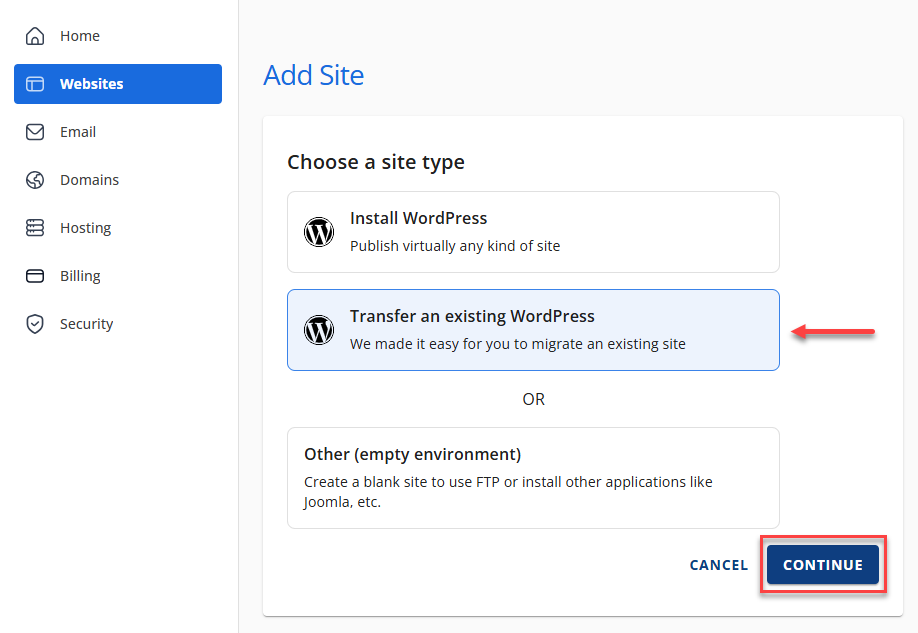
- Select the Transfer WordPress Website option.
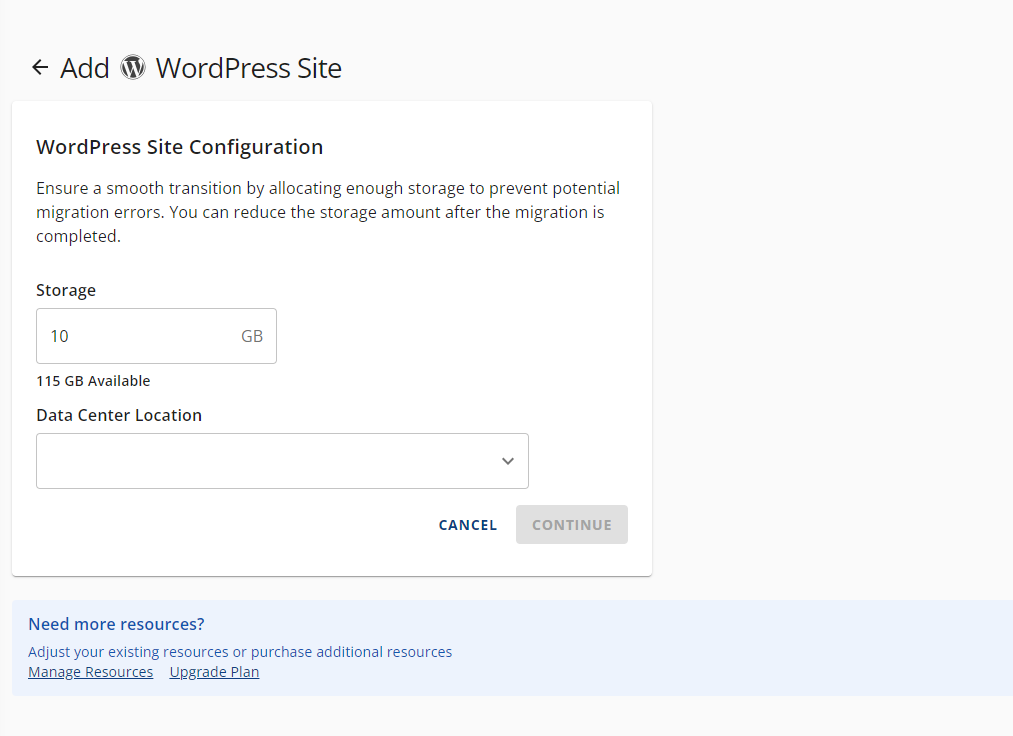
Step 3: Choose Your Storage and Data Center
On the next page, you'll be prompted to select the storage amount for your new site and choose the data center location for your hosting. Make sure to select the appropriate settings based on your site's requirements.
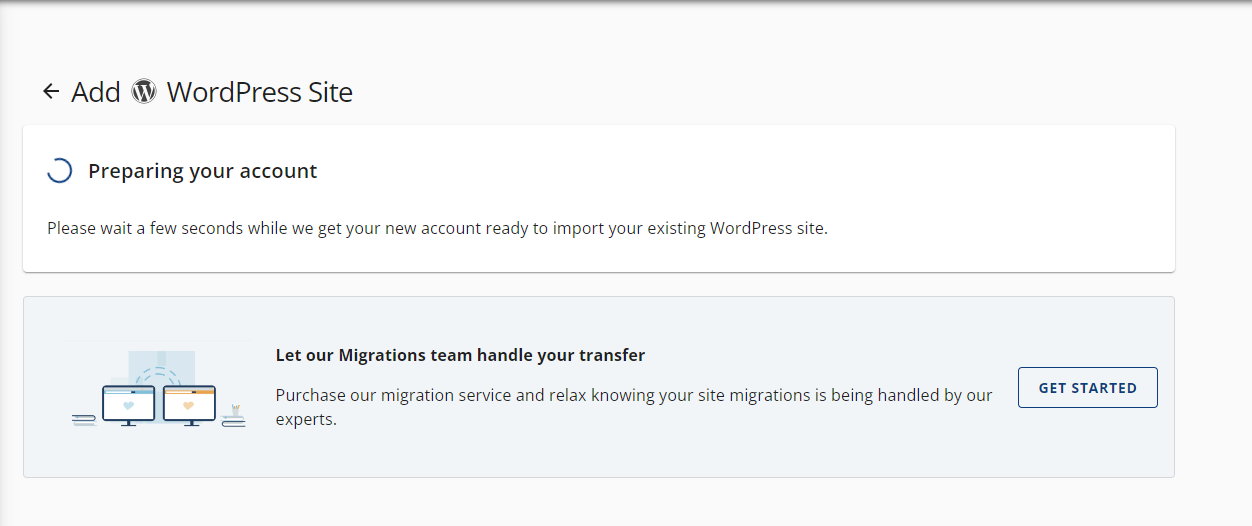
Step 4: Prepare for Migration
Once you choose your settings, you'll receive a notification confirming that your account is being prepared for the migration.
At this point, a pop-up window will appear, prompting you to click Start Transfer to begin the migration process.
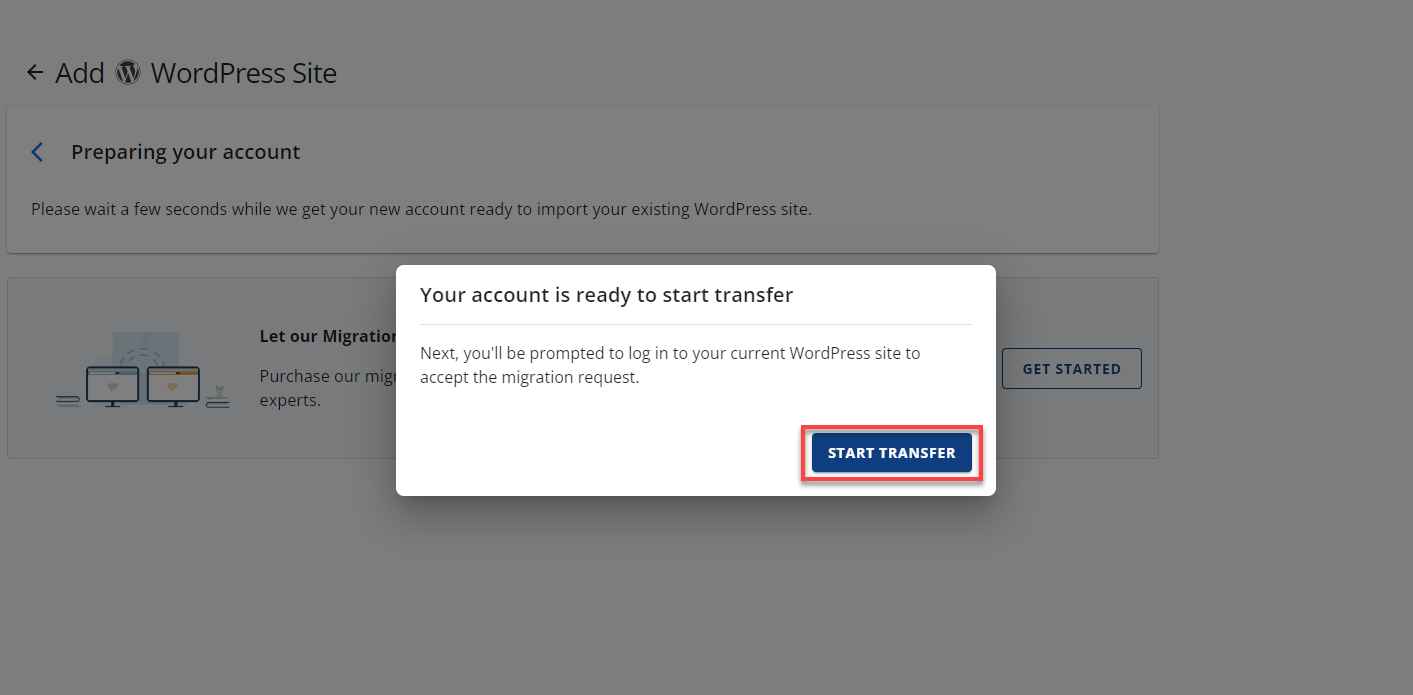
After clicking Start Transfer, you will see a few screens while being redirected to the WordPress Dashboard.

Step 5: Connect to Your WordPress Site
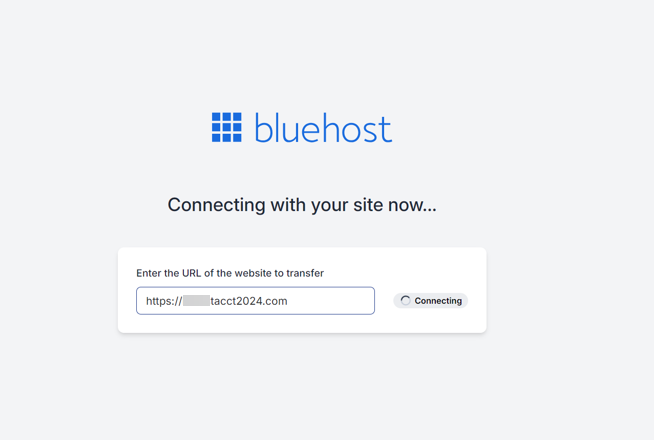
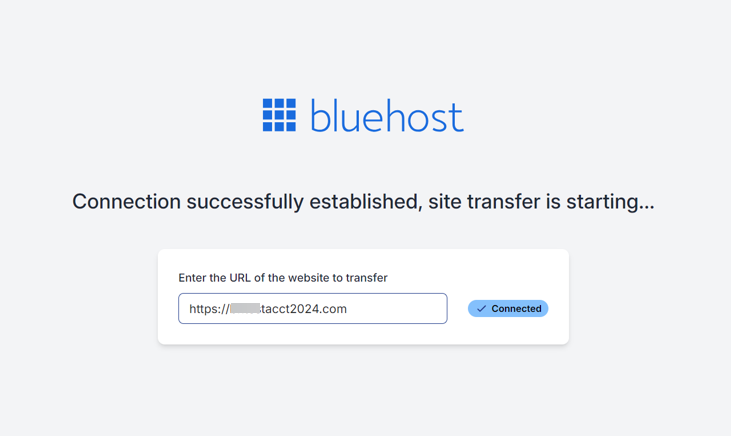
- Enter the site's URL you want to transfer. Make sure the URL is secured (i.e., it includes "https://").
- Enter the URL and click Connect.
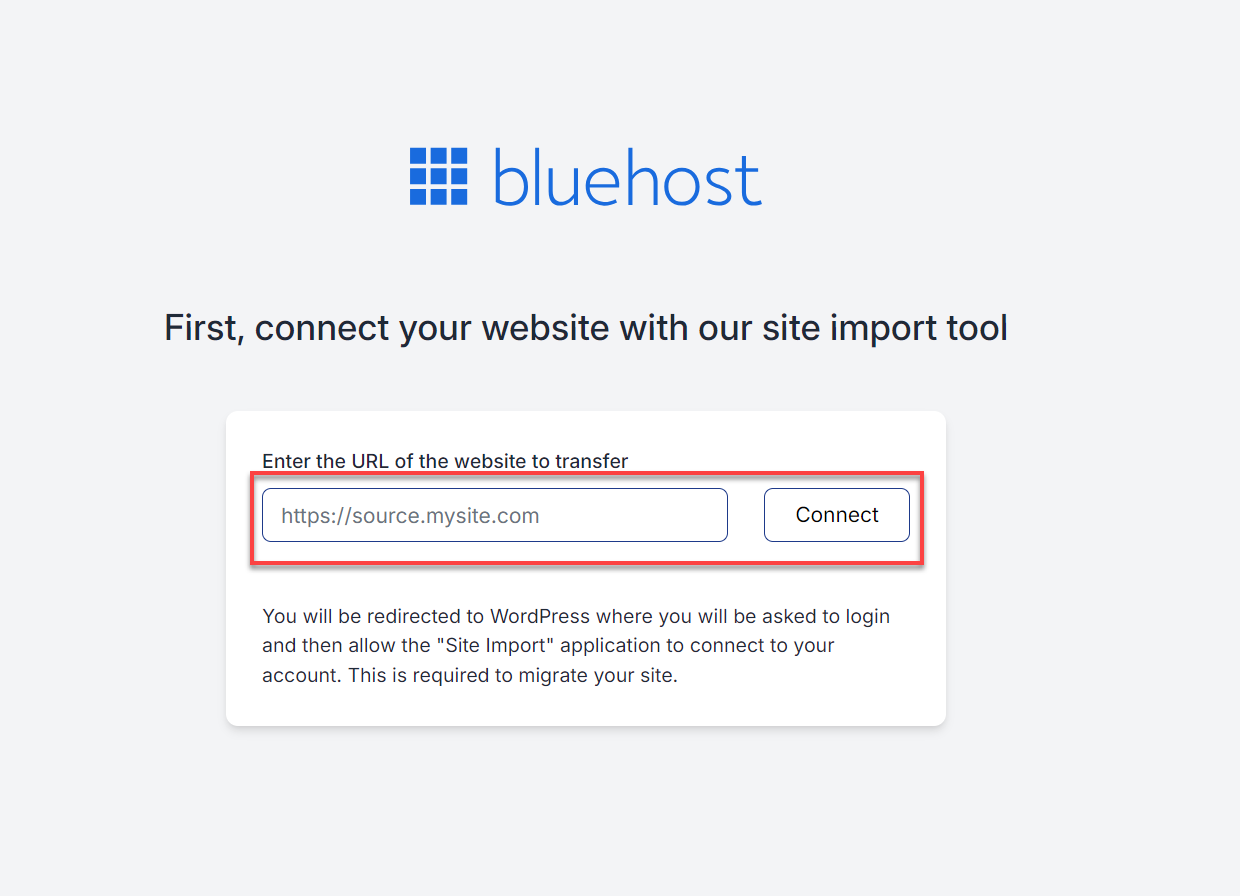
- You'll then see a progress screen indicating that the system is connecting to your site.
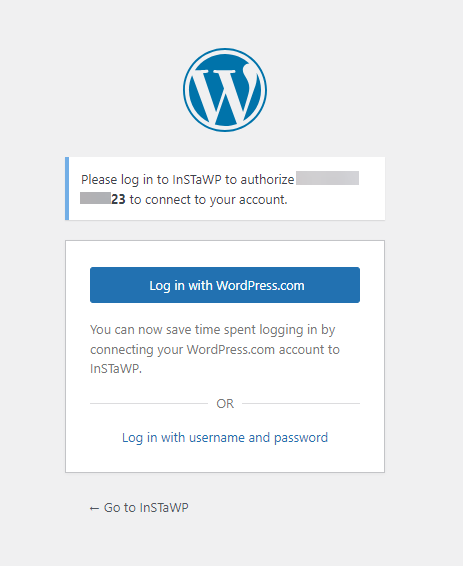
- Once connected, you'll be asked to log into the source WordPress site's dashboard.
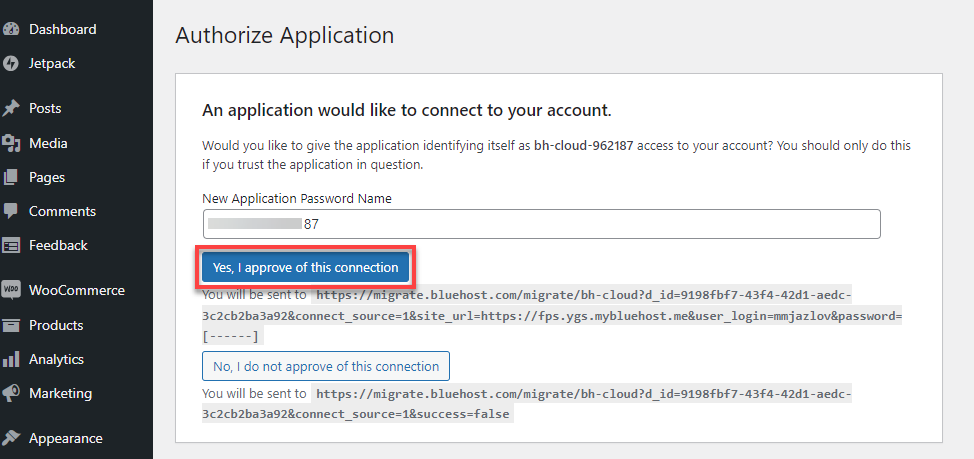
Step 6: Approve the Connection
- Once logged in to the WordPress Dashboard, look for the Authorize Application section and click the Yes, I approve of this connection button. This step ensures that the migration tool has permission to access your site's files, content, and database.
- Once you approve the connection, you'll see a status screen as the site attempts to connect.
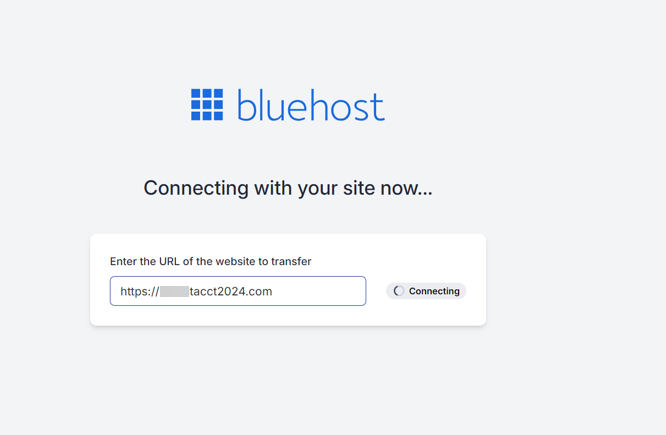
- On the next screen, you'll see an established connection.
Step 7: Migration Progress and Completion
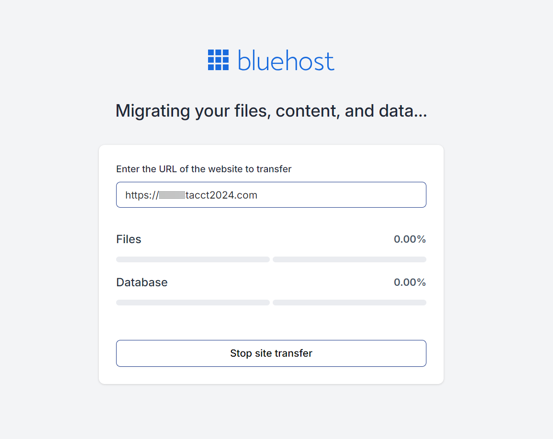
The next screen will show the progress of the migration as files, content, and the database are transferred to your Bluehost Cloud hosting. If everything goes smoothly, you will see a successful connection screen and the migration progress.
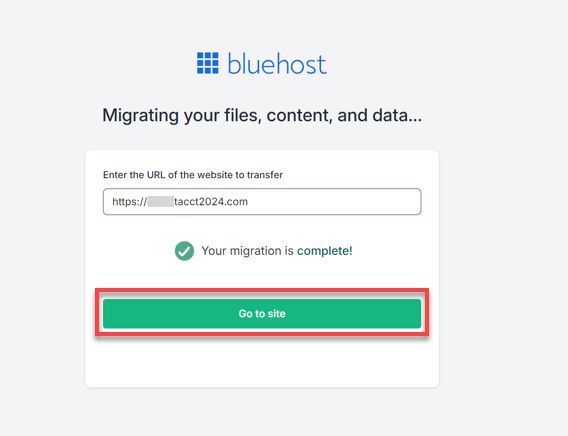
Once the migration is done, you'll see a confirmation screen. Click the Go to site button to check your site and verify the migration's success.
Troubleshooting Common Migration Issues
While migrating a site, you may encounter common issues like errors or a white screen. Here are some solutions to help resolve these issues:
Migration Failure Scenarios
- Error Messages: You may need to troubleshoot the issue if you receive error messages during the migration. Common issues could include server configuration problems or file transfer issues.
- White Screen: A white screen can sometimes occur if the site has issues connecting or transferring data. If this happens, contact support to report the problem and get further assistance.
Workarounds to Fix Migration Failures
If the migration fails, try the following:
- Try a different browser: Occasionally, your browser can cause issues during migration. Switching to another browser might help resolve any problems.
- Disable plugins: Some plugins can create conflicts during the migration process. Try deactivating any active plugins on your site before starting the transfer.
- Use an alternative migration method: If the Transfer an Existing WordPress option doesn't work, consider using a manual WordPress Migration to move your site.
Summary
Migrating your WordPress site with the Bluehost Cloud Migration Tool is fast and hassle-free. With our easy-to-follow guide, you can transfer your site smoothly, choose the best storage and data center for your needs, and keep an eye on your progress as you go. If you run into any issues, you'll find simple troubleshooting steps to help you get back on track. The flexible process allows you to pause, stop, or retry transfers as needed—whether moving a single site or several.
If you need further assistance, Bluehost Chat Support is available 24 hours a day, 7days a week while Bluehost Phone Support is available 7 days a week from 7 am-12 midnight EST.
- Chat Support - While on our website, you should see a CHAT bubble in the bottom right-hand corner of the page. Click anywhere on the bubble to begin a chat session.
- Phone Support -
- US: 888-401-4678
- International: +1 801-765-9400
You may also refer to our Knowledge Base articles to help answer common questions and guide you through various setup, configuration, and troubleshooting steps.