How to Change Reported Time Zone in PHP
Adjusting the time zone settings on your Bluehost-hosted site helps ensure that time-sensitive features like scheduled tasks and timestamps function accurately. It’s a quick way to keep your site aligned with your local time or your audience’s region.
Configure Time Zone in PHP
Follow these steps to change your reported time zone in PHP:
- Log in to your Bluehost Portal.
- In the left-hand menu, click Websites.
- Click the Manage Site button located next to the website you want to manage.

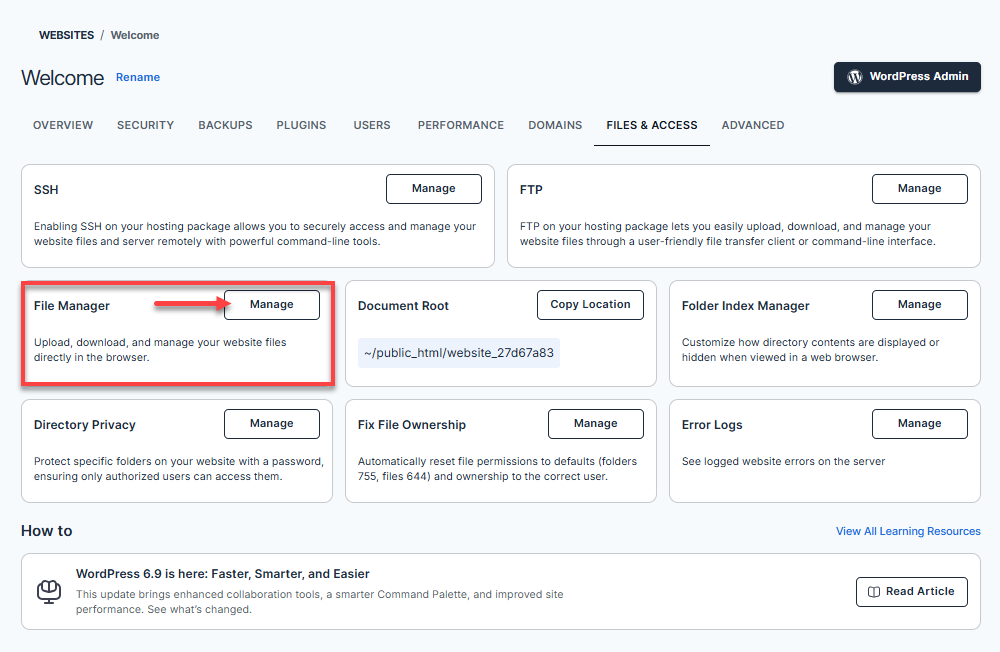
- Go to the Files & Access tab and click Manage on the File Manager tile.
- Open the public_html folder.
- Click the Settings button at the top right corner.
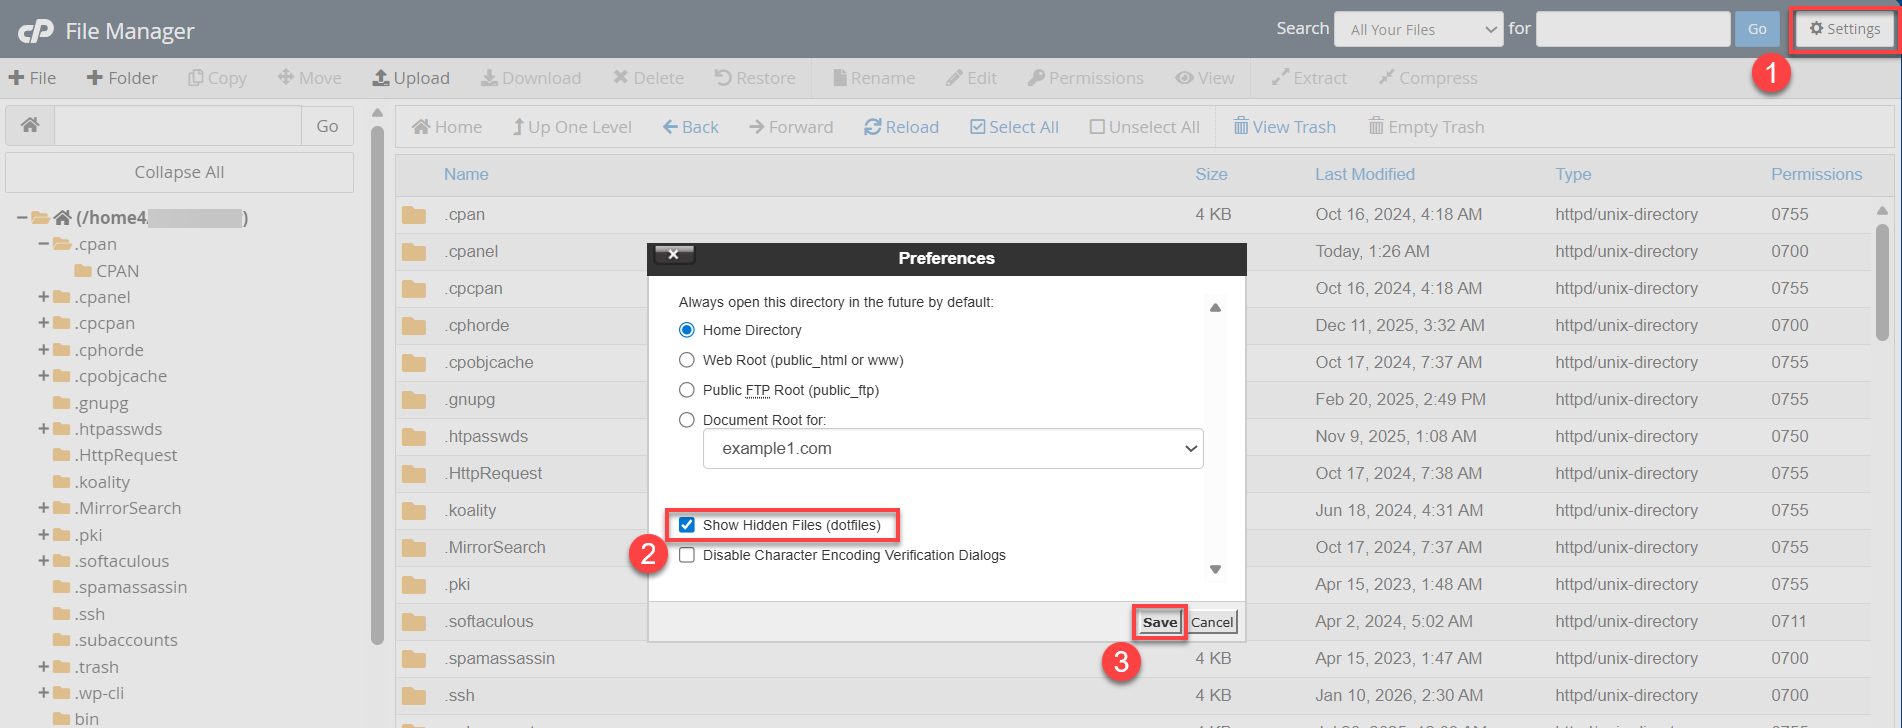
- Make sure that there is a check mark on Show Hidden Files (dotfiles), then hit Save.
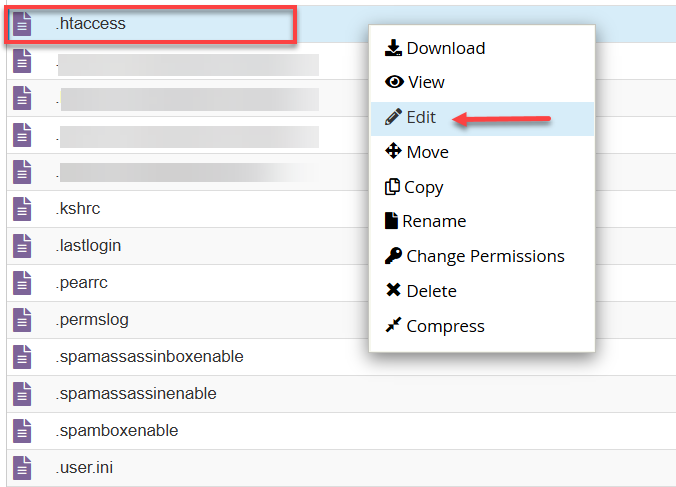
- Navigate to the folder that contains the .htaccess file and click the Edit icon in the Toolbar.
Alternatively, you can right-click on the selected file and click on Edit from the drop-down menu.
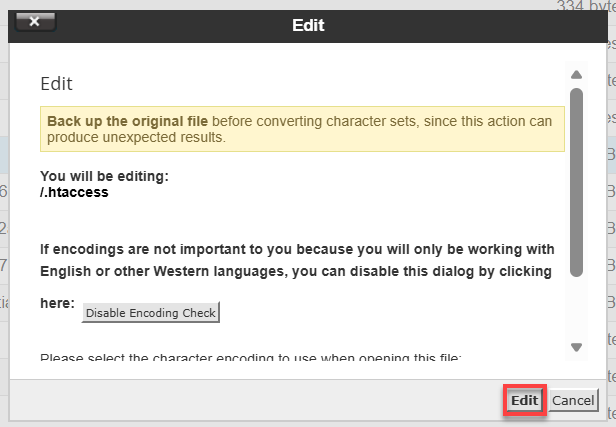
- Click on the Edit button again.
- Press Ctrl+F (Shortcut to find the section easily) and enter the <IfModule lsapi_module>.
- For example, you can add the line php_value date.timezone "America/Denver." Check the list of supported time zones by PHP at http://php.net/timezones.
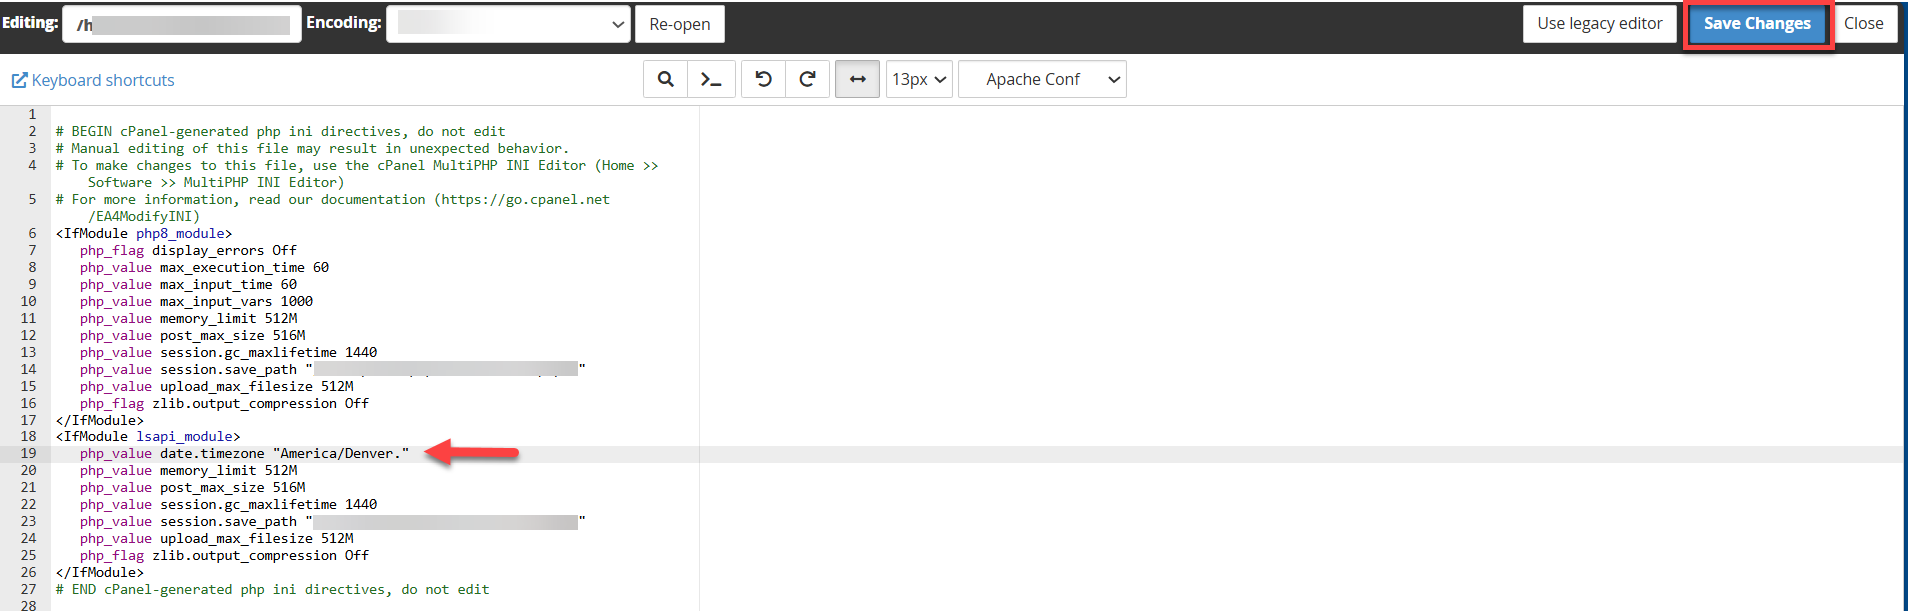
- Click the Save Changes button in the top-right corner of your screen.
Summary
To adjust the time zone for a PHP application, you will need to add a line in your .htaccess file. Log in to your Bluehost Portal, then access your File Manager from there. Once you open your File Manager, look for your .htaccess file and make the necessary changes to your "php_value date.timezone" to successfully change the reported time zone in PHP.
If you need further assistance, Bluehost Chat Support is available 24 hours a day, 7days a week while Bluehost Phone Support is available 7 days a week from 7 am-12 midnight EST.
- Chat Support - While on our website, you should see a CHAT bubble in the bottom right-hand corner of the page. Click anywhere on the bubble to begin a chat session.
- Phone Support -
- US: 888-401-4678
- International: +1 801-765-9400
You may also refer to our Knowledge Base articles to help answer common questions and guide you through various setup, configuration, and troubleshooting steps.