How to Install SSL Certificate on VPS and Dedicated Servers
An SSL Certificate is essential for securing your website and ensuring your visitors' data is encrypted. In this guide, we'll walk you through how to install an SSL Certificate on VPS and Dedicated servers. Whether you're using Apache or Nginx as your server software, we'll cover the installation process and provide troubleshooting tips to ensure everything goes smoothly.
Install SSL Certificate on VPS and Dedicated
- Log in to your Bluehost Portal.
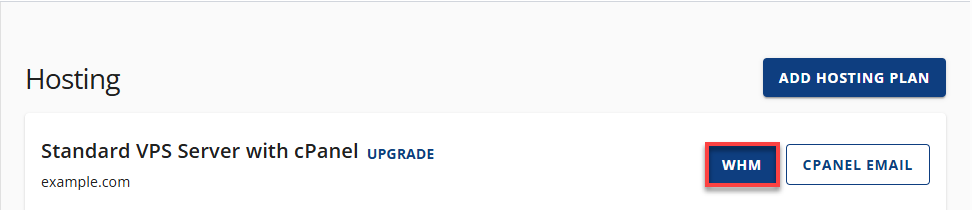
- Click Hosting in the left-hand menu.
- In the hosting details page, click the WHM button.
- Once logged in, you'll need to use the SSL Installation tool in WHM:
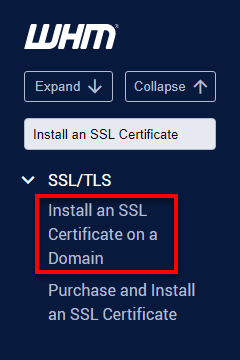
- In the WHM search box on the left side, type Install an SSL Certificate.
- Click on the Install an SSL Certificate on a Domain link in the search results.
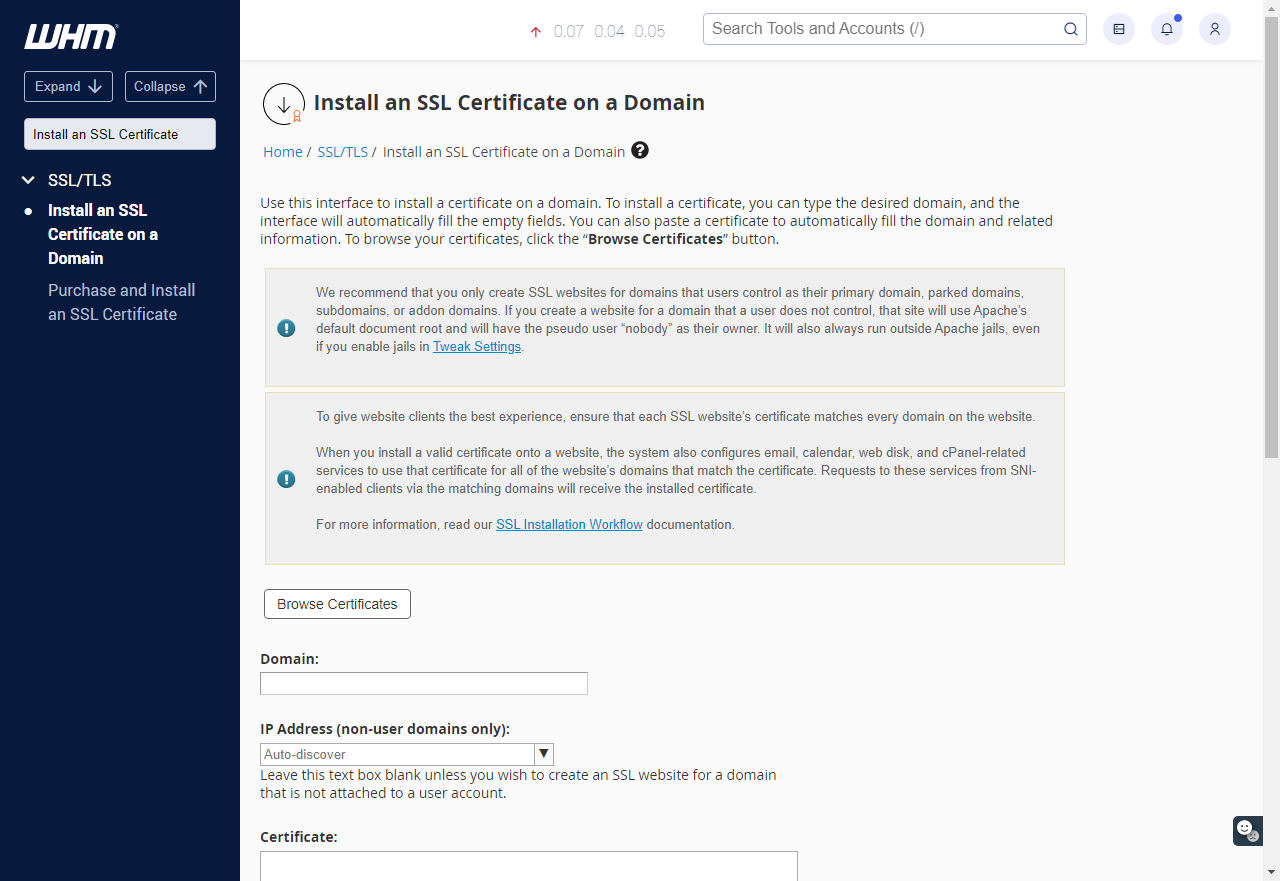
- You should now be at the Install an SSL Certificate on a Domain page in the WHM.
- Prepare Your SSL Certificate Files
Before you can install your SSL certificate, ensure you have the necessary files:If you purchased the SSL certificate from a provider, they should have supplied these files. If not, contact them to retrieve them.- Private Key: This was generated when you created the CSR (Certificate Signing Request).
- Certificate: The certificate authority (CA) issued the SSL certificate to you.
- CA Bundle: The Certificate Authority (CA) bundle ensures that browsers and users trust the SSL certificate.
- Install the SSL Certificate on Your Server
- On the Install an SSL Certificate on a Domain page in WHM, enter the domain for which the certificate was issued in the Domain section.
- Paste the Certificate, Private Key, and CA Bundle into their boxes.
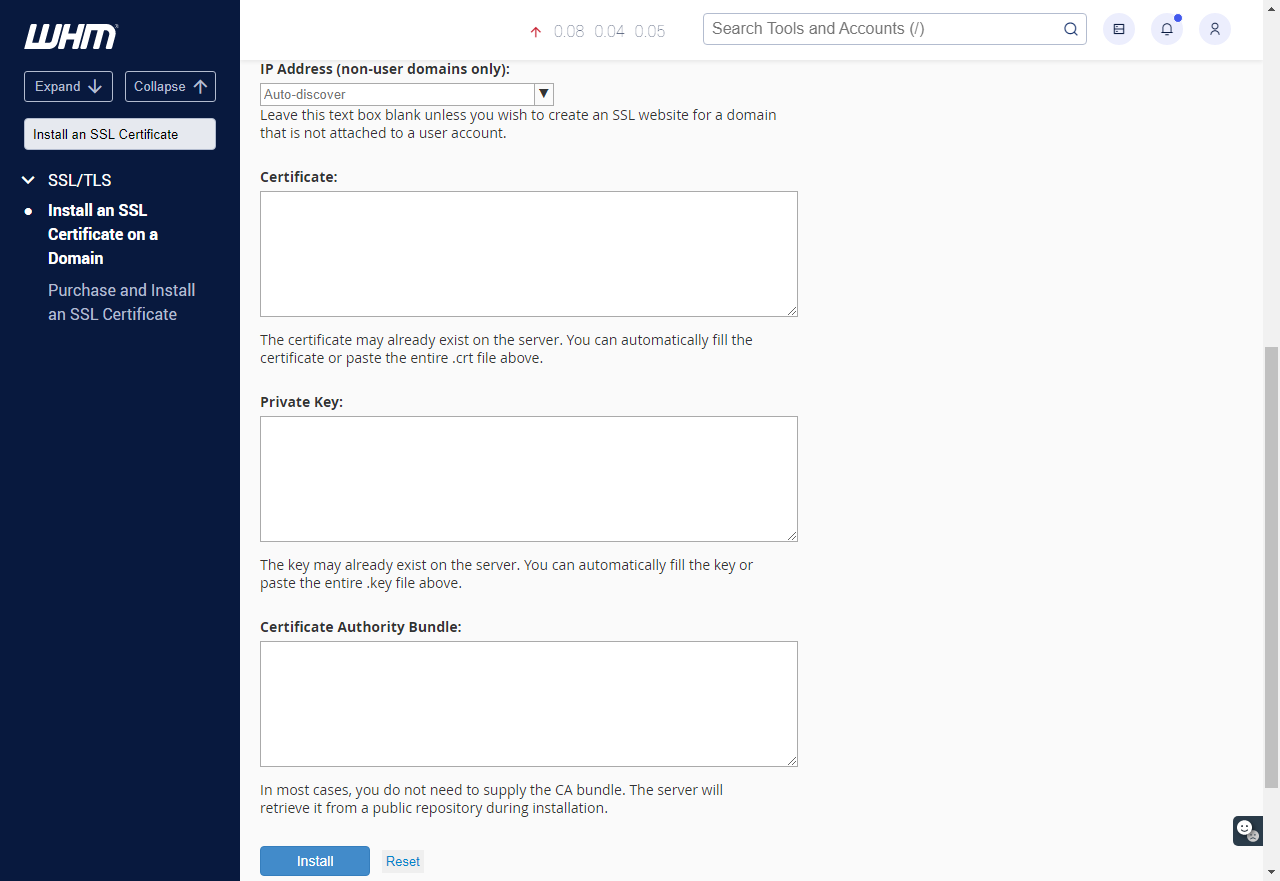
- Click the Install button to complete the installation.
- On the Install an SSL Certificate on a Domain page in WHM, enter the domain for which the certificate was issued in the Domain section.
- Verify the Installation
After installation, it's essential to verify that the SSL certificate is correctly installed:- Use an SSL checker tool to verify the certificate installation.
- Check your website by visiting it with HTTPS (e.g., https://yourdomain.ext). Your browser should show a padlock symbol next to the URL, indicating a secure connection.
SSL Certificate Installation Troubleshooting
While SSL installation is usually straightforward, some common issues may arise:
SSL Certificate Not Trusted
- Cause: This can happen if the CA Bundle is missing or incorrect.
- Solution: Ensure the entire CA bundle is correctly pasted into the "CA Bundle" box during installation. Check that all parts of the certificate are included.
Mixed Content Warnings
- Cause: This occurs if your website loads some resources over HTTP (non-secure) while the page is loaded over HTTPS (secure).
- Solution: Update all internal links, images, and scripts to HTTPS instead of HTTP. Use a tool like the "Better Search Replace" plugin (for WordPress) to make bulk changes to your database.
Certificate Expired or Invalid
- Cause: Your SSL certificate may have expired or not match the domain.
- Solution: Renew your SSL certificate with your certificate provider and reinstall it following the above steps.
Incompatible Server Configuration
- Cause: Incorrect server configurations (Apache vs. Nginx) or missing SSL modules.
- Solution: Ensure your server's SSL module is enabled (for Apache, you may need to ensure
mod_sslis loaded; for Nginx, ensure SSL is configured correctly in the server block).
SSL Installation on Apache
- Open your Apache server configuration file (
httpd.conforssl.conf). - Ensure the following lines are included:
SSLEngine on SSLCertificateFile /path/to/your/certificate.crt SSLCertificateKeyFile /path/to/your/private.key SSLCertificateChainFile /path/to/your/ca-bundle.crt - Restart Apache to apply the changes:
sudo systemctl restart apache2
Summary
Installing an SSL Certificate on a VPS and a Dedicated server is straightforward if you follow these steps carefully. You can secure your website with HTTPS by logging into WHM, accessing the SSL tool, and correctly installing the certificate files. Don't forget to update any URLs on your site to reflect the new HTTPS protocol and verify your SSL installation to ensure everything functions correctly.
For additional assistance, consult our SSL Web Hosting: How to Add HTTPS to Your Domain guide for further troubleshooting help.
If you need further assistance, Bluehost Chat Support is available 24 hours a day, 7days a week while Bluehost Phone Support is available 7 days a week from 7 am-12 midnight EST.
- Chat Support - While on our website, you should see a CHAT bubble in the bottom right-hand corner of the page. Click anywhere on the bubble to begin a chat session.
- Phone Support -
- US: 888-401-4678
- International: +1 801-765-9400
You may also refer to our Knowledge Base articles to help answer common questions and guide you through various setup, configuration, and troubleshooting steps.