What are the Calendar Components in OX Mail?
Ever feel a bit lost in your OX Mail calendar? Don't worry; we've got you covered! This guide will walk you through all the important calendar components in OX Mail so you can become a scheduling whiz in no time.
New Appointment Button
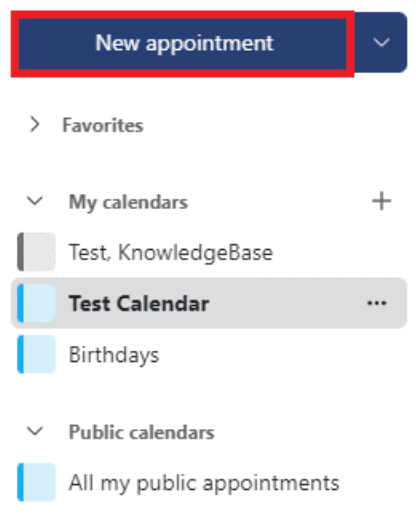
The New Appointment button allows you to create appointments. The drop-down arrow beside the button has further options, which enable you to do the following:
- Show the Scheduling view
- Subscribe to shared calendars, subscribe to or import other calendars
- Create a new email, contact, or task
Mini Calendar
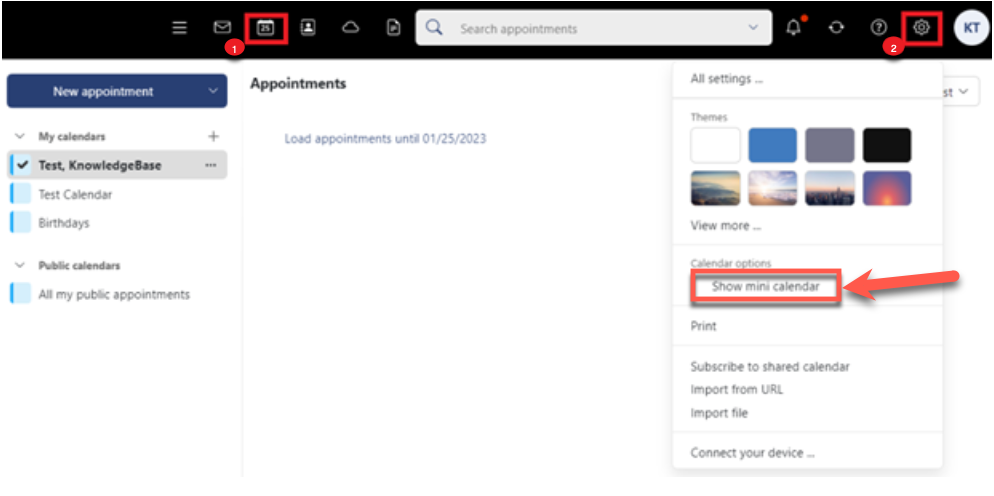
The mini calendar will display an overview of a specific month, year, or several years. To display the mini calendar, go to the calendar app, click the Settings icon, then select Show mini calendar from the options.
Calendar Folder View
If you have more than one calendar, you can use the calendar Folder view by clicking the Open folder view icon on the bottom left of the calendar app.
Folder View Content
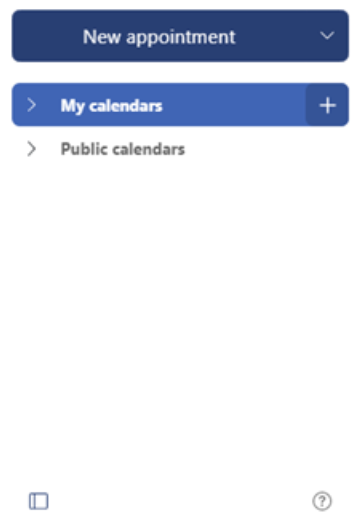
- My Calendars- contain your personal calendars.
- Public calendars- include calendars shared with all users. Enabling the All My Public Appointments checkbox will record the public appointments you participate in.
- Shared calendars- contain calendars shared with you by other users.
Folder View Functions
- Clicking on a calendar will display appointments within that calendar.
- Enabling the checkbox before the calendar name will display the calendar's appointments in addition to the current appointments of another calendar.
- Double-clicking on a calendar will only display the appointments in the calendar. Double-clicking on the calendar again will show the previously displayed calendars.
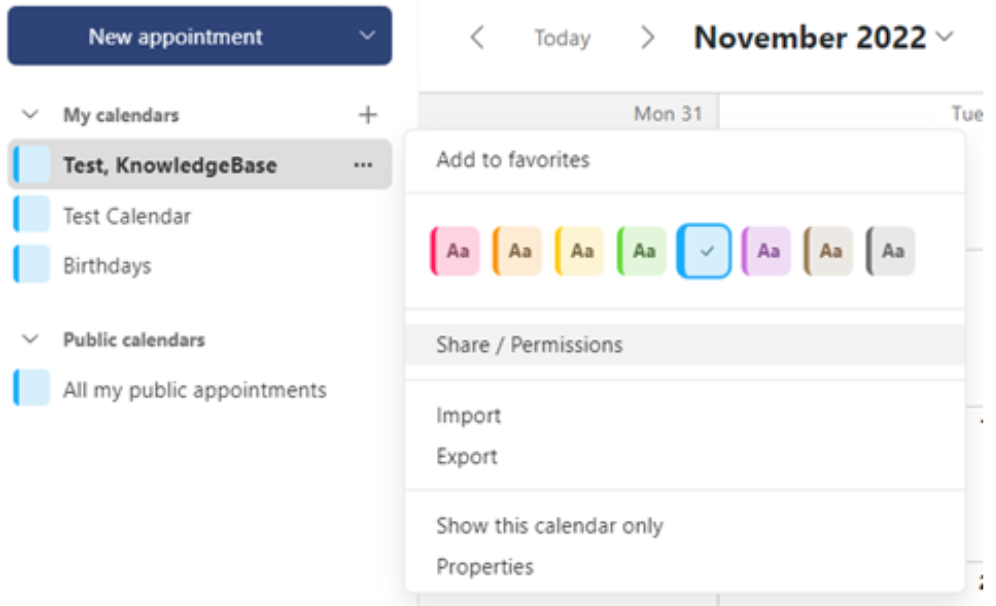
- The Actions icon, which is next to a selected calendar, offers the following functions:
- Select calendar color
- Organize data
- Exchange data
- Display calendar properties (available depending on the calendar)
- To adjust the Folder view width, hover over the line between the Folder view and the display area on the right. Then, drag the border towards the right or left.
Calendar Display Area
The Calendar display area includes a calendar view or a list view of the appointments. To select a view, click on the drop-down box on the top-right portion of your calendar.
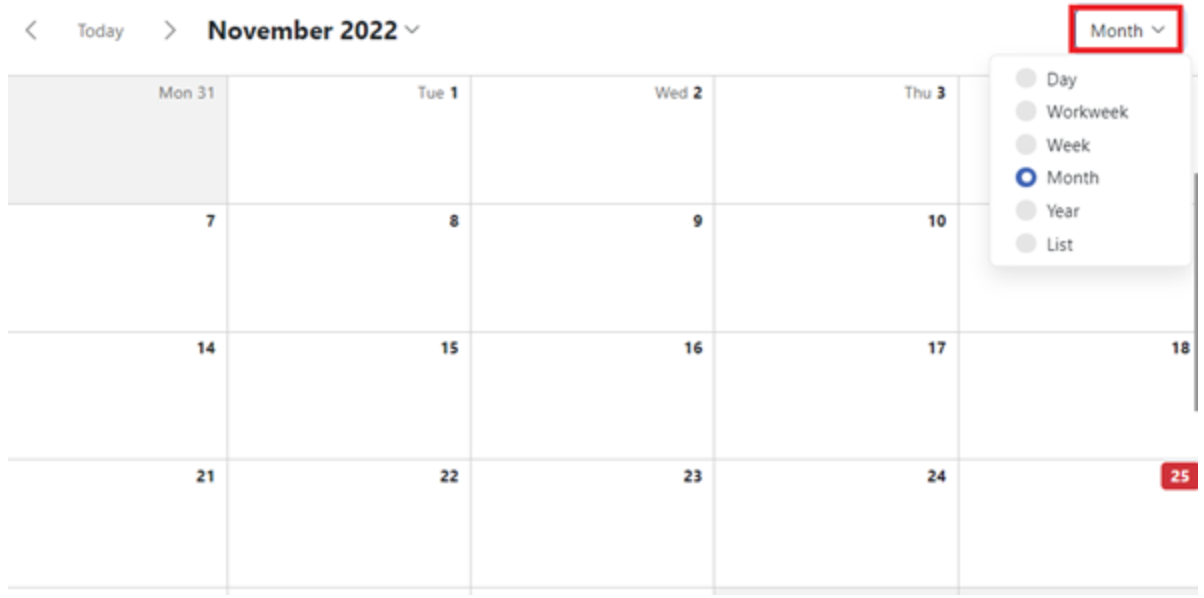
These views show the appointments of the calendars selected in the Folder view. Clicking on an appointment will display its data in a pop-up.
You can enable the following settings: Day, Workweek, Week, Month, or Year.
Date Picker
The date picker has similar functions to the mini calendar. To learn more, please see the information about the Mini Calendar above.
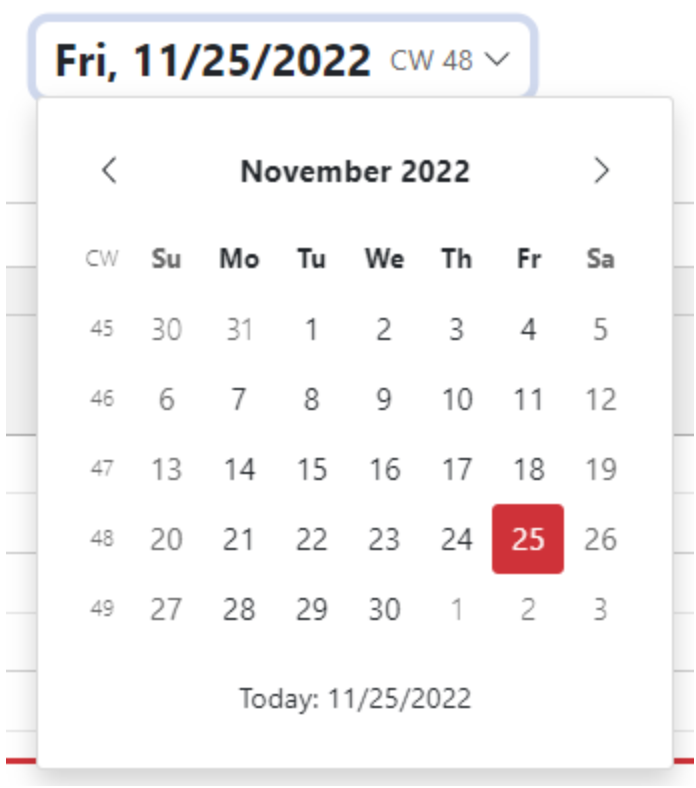
To open the date picker, do any of the following:
- Click on the date of the Day, Workweek, or Week calendar view.
Hide the mini calendar to open the date picker. To do so, click the Settings icon, then uncheck the Show mini calendar option.
- Click a date on the Scheduling view. To open the Scheduling View, click the drop-down arrow beside the New Appointment button, then select Scheduling.
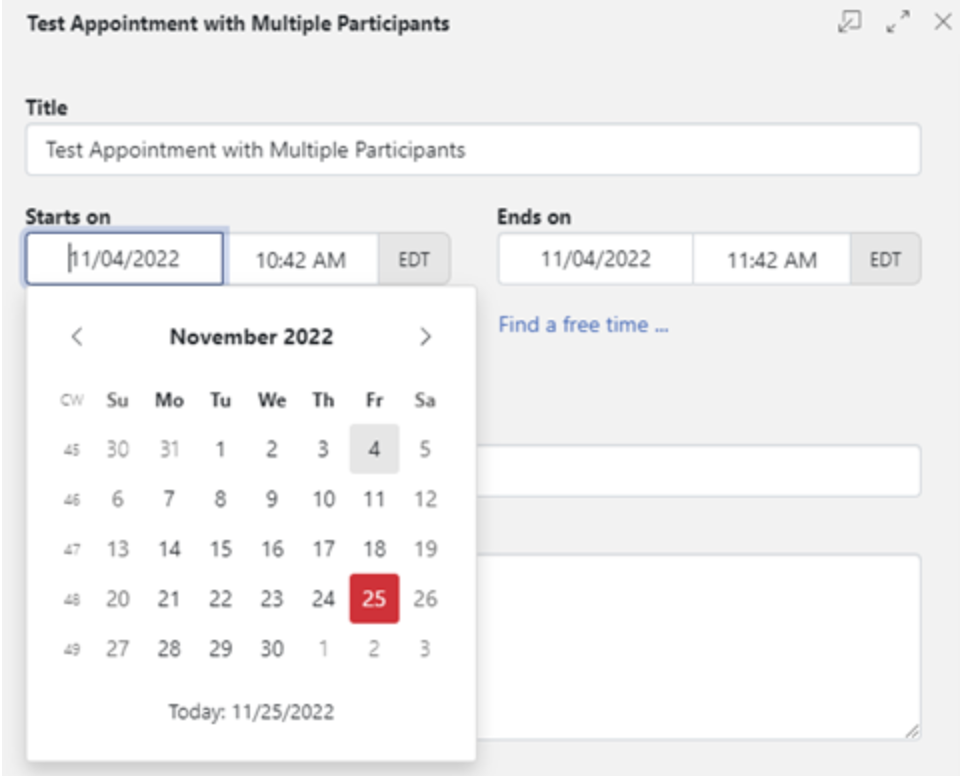
- When editing an appointment, click on the date input field below Starts On or Ends On.
Calendar Pop-Up
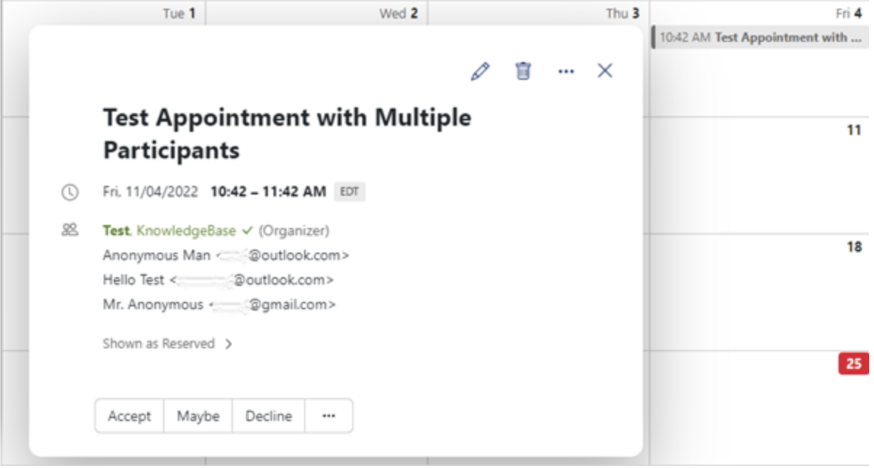
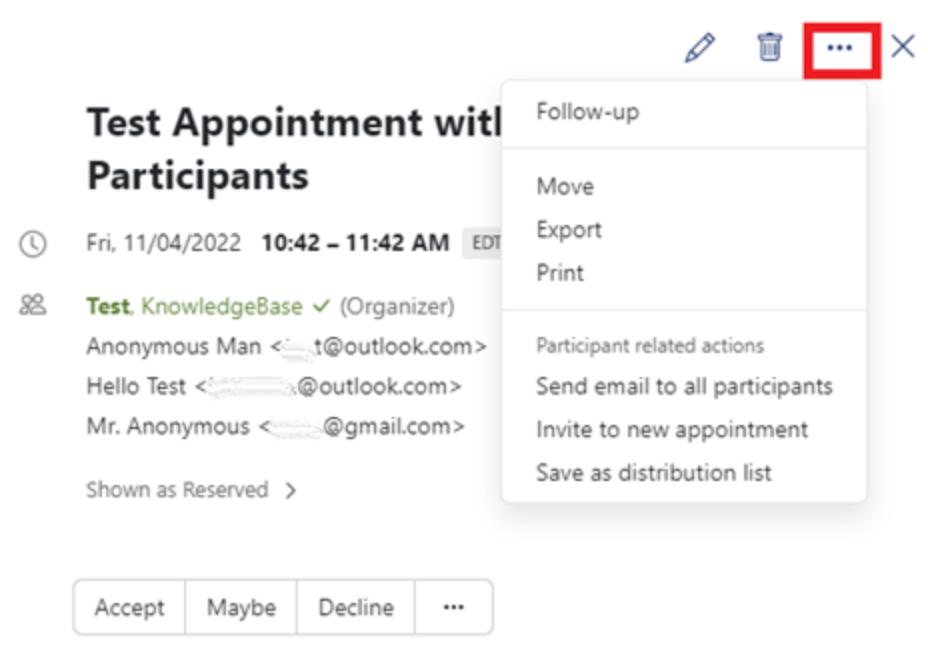
The Calendar Pop-up will show the data of the appointment you select in the calendar sheet.
Content
- Accept, Maybe, Decline, and Change Confirmation (horizontal ellipsis).
- The following limitations might prevail depending on the configuration:
- Some functions for appointments in your private calendar are only available if you have the appropriate permissions. To view and edit permissions, click the Actions icon next to a specific calendar and select Share/Permissions.
- You cannot change or delete an appointment as a participant.
- You must keep your status as the organizer.
- More actions- opens a menu with other functions.
Calendar List
The Calendar List will show a list of the appointments of the calendar you select in the Folder view. To display the list view, select List from the drop-down box on the top right portion of your calendar.

Calendar List Content
- Each appointment displays a date in the header.
- Each appointment will display the following details: date, time, color, private appointment icon, subject, and location.
Calendar List Functions
- Clicking on an appointment will display its data on the right.
- To select multiple appointments, click on the checkbox of the selected appointments.
- To adjust the list width, hover over the line between the list and the detail view. Then, drag the line to the left or right.
Calendar Details View
The Calendar detail view displays the data of the appointment you choose in the list. Double-clicking on the appointment in the list will show the data in another window.

Calendar Detail View Content
Depending on the appointment date, the following will be displayed in the detail view:
- Appointment data:
- Title
- Date, time, time zone
- For recurring appointments: the recurrence type
- Appointment location
- To modify your confirmation status, click the Accept, Maybe, or Decline buttons.
- Clicking the More Actions icon will open a window to change your confirmation status and add a comment.
- Further appointment data, if set:
- Attachments
- Definition
- Organizer, additional recipients, resources
- Clicking on a name will open a pop-up that displays the participant's data in the Halo View.
- If the appointment has more than five participants, the number of participants and the participants who accepted the appointment will be displayed.
- Click the Shown as Free or Shown as Reserved link for additional appointment details:
- Appointment's organizer
- Calendar with the appointment
- Creator's name
- Name of the last editor
Summary
And there you have it! We have covered all these basic Calendar Components in OX Mail: how to create new appointments and navigate between different views, and most importantly, how to manage your schedule effectively. With that in mind, you are now well on your way to mastering this cloud-based calendar and staying organized!
If you need further assistance, feel free to contact us via Chat or Phone:
- Chat Support - While on our website, you should see a CHAT bubble in the bottom right-hand corner of the page. Click anywhere on the bubble to begin a chat session.
- Phone Support -
- US: 888-401-4678
- International: +1 801-765-9400
You may also refer to our Knowledge Base articles to help answer common questions and guide you through various setup, configuration, and troubleshooting steps.