How to Manage DNS in Agency Hosting
The Domain Name System (DNS) is the backbone of the Internet. It translates human‑readable domain names like example.com into IP addresses that guide users to the correct web server. Proper DNS configuration in Agency Hosting is essential for optimal site performance, security, and reliable accessibility. This guide explains how to manage DNS records, set up Cloud Hosting requirements, and map your root domain—whether your domain is registered with Bluehost or a third‑party provider.
Key DNS Requirements for Agency Hosting
To properly configure DNS for Cloud Hosting, the following requirements must be met:
- Only the root domain (e.g.,
example.com) can be set as the primary domain. - The www version (
www.example.com) must be redirected to the root domain using a CNAME record. - Cloud Hosting requires two A records pointing to two different IP addresses to support load balancing and redundancy.
Example Cloud Hosting DNS Setup
- Type: A Record
- Refers to: @
- Points to (Target): IP #1
- Type: A Record
- Refers to: @
- Points to (Target): IP #2
- Type: CNAME
- Refers to: www
- Alias to (Target): root domain or @
What is DNS and How It Works
DNS functions like the Internet’s phonebook:
- A user enters a domain name into a browser.
- DNS servers locate the corresponding IP address.
- The browser connects to the server hosting the website.
Efficient DNS configuration helps ensure faster load times, reduced latency, and consistent availability.
For a deeper background, see What Are DNS Records? Understanding the Basics, which explains common DNS record types and how they connect domains to websites.
Benefits of Managing DNS in Agency Hosting
Managing DNS directly in Agency Hosting offers several advantages:
- Improved Performance: Optimized DNS resolution helps deliver faster page loads worldwide.
- Scalability: Easily manage multiple domains and subdomains as your site grows.
- Enhanced Security: Helps reduce risks such as DNS spoofing and cache poisoning.
- Centralized Control: Manage DNS records, email routing, and subdomains from a single interface.
Accessing the Advanced DNS Records
You can access and manage DNS records through either the Domains tab or the Websites tab in your Bluehost control panel.
Access via the Domains Tab
- Log in to your Bluehost Portal.
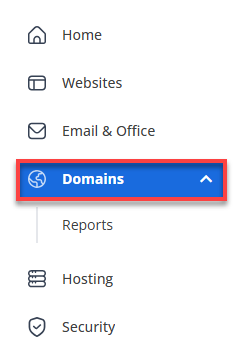
- In the left-hand menu, click Domains.
- If you have one domain in your account, you will be taken directly to the domain management panel.

- If you have multiple domains in your account, click the domain you wish to manage to access the domain management panel.
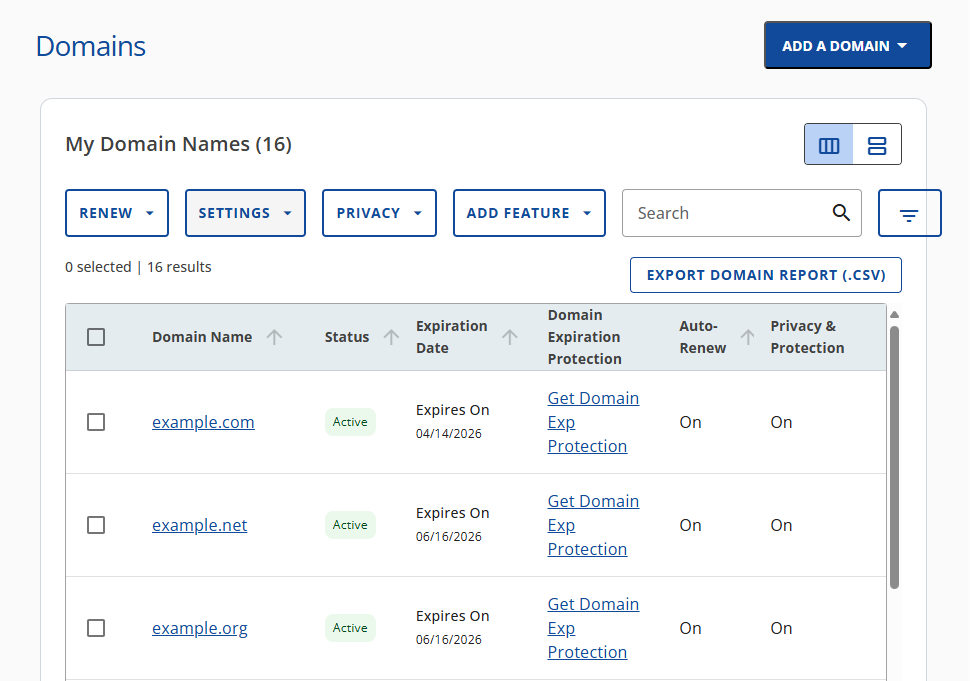
- If you have one domain in your account, you will be taken directly to the domain management panel.
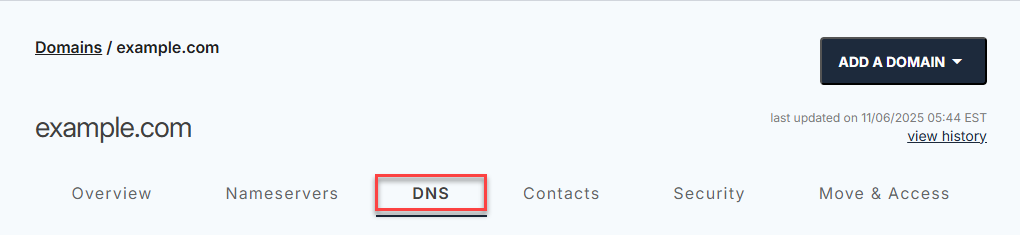
- Click the DNS tab.
Access via the Websites Tab
- Log in to your Bluehost Portal.
- In the left-hand menu, click Websites.
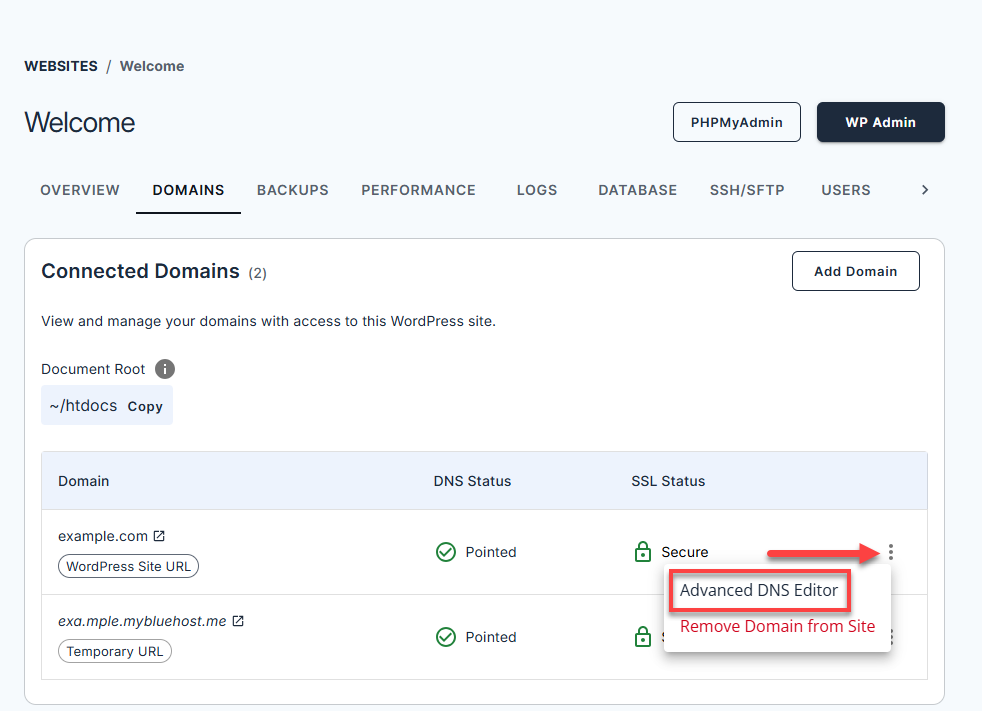
- Click the Manage Site button located next to the website you want to manage.

- Navigate to the Domains tab in the top menu.
- Click the vertical ellipsis (⋮) icon next to the domain.
- Select Advanced DNS Editor.
Managing Advanced DNS Records
Adding New DNS Records
- In Manage Advanced DNS Records, click + ADD RECORD.
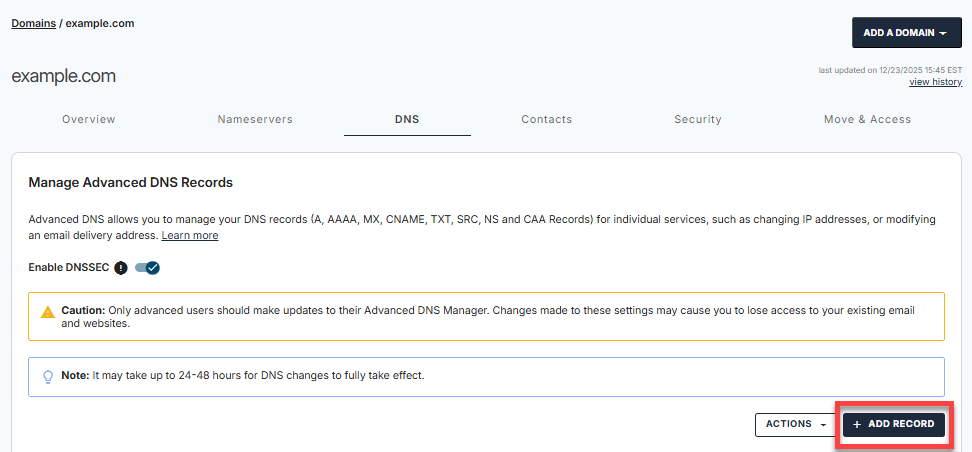
- Choose either:
- Single Advanced DNS Record (add one record at a time).
- Select the record type and enter its values.
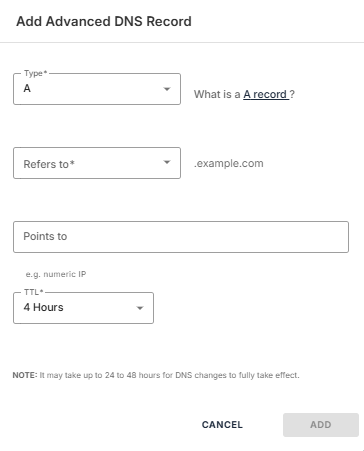
- Click ADD to save the new DNS record.
- Select the record type and enter its values.
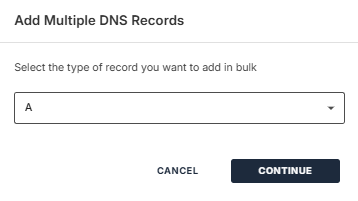
- Multiple Advanced DNS Records (add several records at once).
- Select the record type from the dropdown, then click on CONTINUE.
- Click the + ADD MORE RECORDS button to add more DNS records
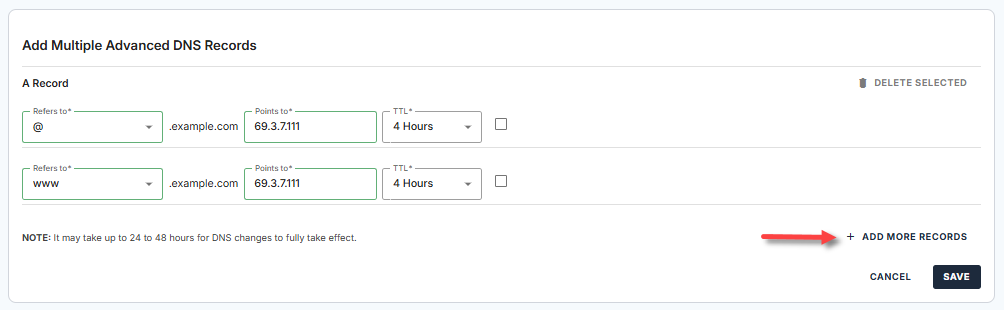
- Click the SAVE button.
- Select the record type from the dropdown, then click on CONTINUE.
- Single Advanced DNS Record (add one record at a time).
Modifying Existing DNS Records
- In Manage Advanced DNS Records, locate the DNS record you want to update.
- Click the vertical ellipsis (⋮) icon on the right, select Edi.
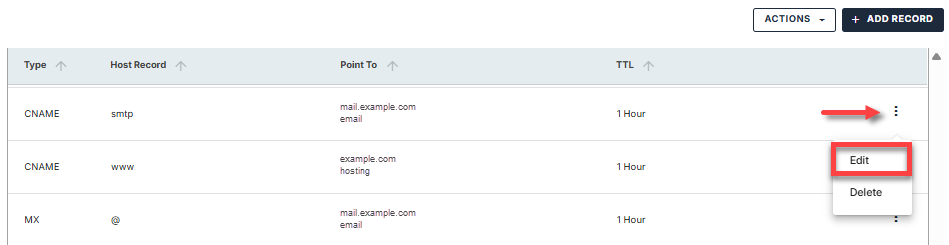
- Make the necessary changes.
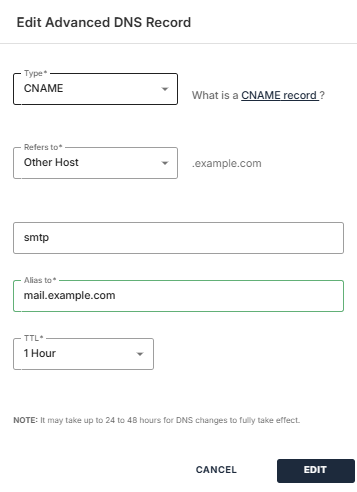
- Click EDIT to save
Deleting DNS Records
- In Manage Advanced DNS Records, locate the DNS record you want to remove.
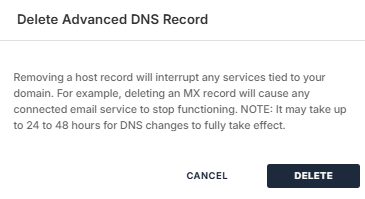
- Click the vertical ellipsis (⋮) icon on the right, select Delete.
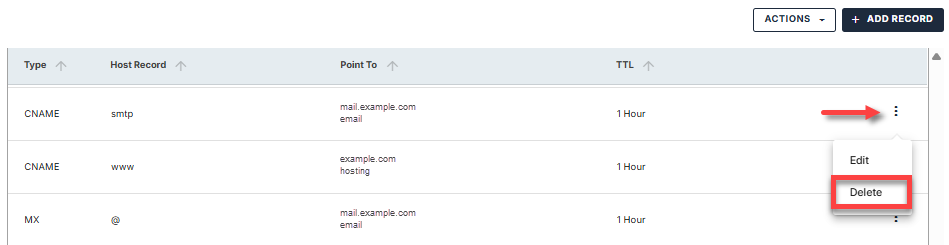
- Click DELETE to confirm.
Summary
Effective DNS management in Agency Hosting is critical to maintaining website performance, availability, and security. By following this guide, you’ve learned how to:
- Meet Cloud Hosting DNS requirements
- Access the Advanced DNS Manager
- Add, modify, and delete DNS records confidently
- Properly map your root domain and configure CNAME records
If you need further assistance, Bluehost Chat Support is available 24 hours a day, 7days a week while Bluehost Phone Support is available 7 days a week from 7 am-12 midnight EST.
- Chat Support - While on our website, you should see a CHAT bubble in the bottom right-hand corner of the page. Click anywhere on the bubble to begin a chat session.
- Phone Support -
- US: 888-401-4678
- International: +1 801-765-9400
You may also refer to our Knowledge Base articles to help answer common questions and guide you through various setup, configuration, and troubleshooting steps.