Guide to Purchasing Dedicated Server Hosting with Bluehost
Bluehost offers Bluehost Dedicated Servers, you get exclusive power, security, and control—all yours!
Say goodbye to slowdowns and limitations. Enjoy long‑term stability, easy scalability, and the freedom to customize your setup exactly how you want it.
Power your future with a server built for where you’re headed.
We offer the following Dedicated Server hosting plans:
- Standard NVMe 32
- Enhanced NVMe 64
- Premium NVMe 128
- Custom Dedicated Server
This video will walk you through the steps in purchasing a Dedicated Server hosting plan.
How to Purchase a Dedicated Server Hosting
- In your browser, go to https://www.bluehost.com/dedicated-hosting.
- Click the Choose Plan button for the Dedicated Server plan you prefer.

- On the next page, do the following:
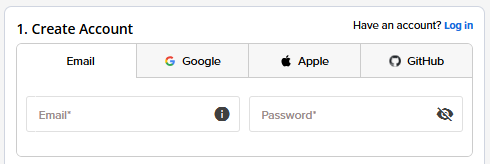
- Create an Account: Create your Bluehost account. You can do this easily by using your email address or by connecting with your Google, Apple, or GitHub account — whichever you prefer!
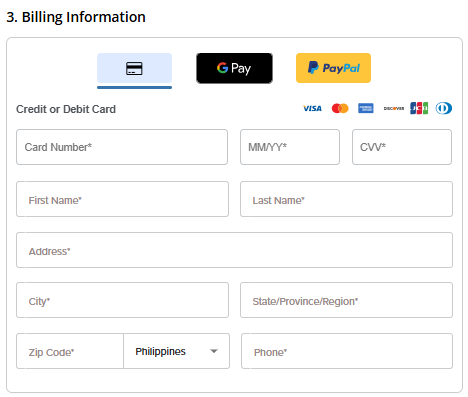
- Billing Information: Select your preferred payment method: credit card, Google Pay, or PayPal. Enter your billing information.
- Create an Account: Create your Bluehost account. You can do this easily by using your email address or by connecting with your Google, Apple, or GitHub account — whichever you prefer!
- In the Shopping Cart section, adjust the terms as needed. Click Submit Payment to complete the purchase.

Post Purchase
You will receive an order confirmation email from Bluehost with information about your account.
Summary
A Dedicated Server with Bluehost gives you the power, performance, and control needed to scale with confidence. It’s a smart choice for websites and applications that demand speed, security, and reliability. If you're ready to grow without limits, Bluehost’s dedicated hosting is a strong place to start.
If you need further assistance, Bluehost Chat Support is available 24 hours a day, 7days a week while Bluehost Phone Support is available 7 days a week from 7 am-12 midnight EST.
- Chat Support - While on our website, you should see a CHAT bubble in the bottom right-hand corner of the page. Click anywhere on the bubble to begin a chat session.
- Phone Support -
- US: 888-401-4678
- International: +1 801-765-9400
You may also refer to our Knowledge Base articles to help answer common questions and guide you through various setup, configuration, and troubleshooting steps.