Bluehost Self-Managed VPS: Reimage Your Server for Dify Installation
Use our one-click installer to quickly set up Dify on your Self-Managed VPS. This guide shows you how to clear your current server and deploy Dify from your dashboard.
Reimage Your Server for Dify Installation
Important:
- You can install only one application using the one-click installer.
- To change or delete your application, follow the guide: Bluehost Self-Managed VPS: How to Change and Delete an Application. Create a backup of your existing applications or templates.
- If you want to keep your current template, install the new application manually using SSH. The system will automatically apply the recommended OS for Dify.
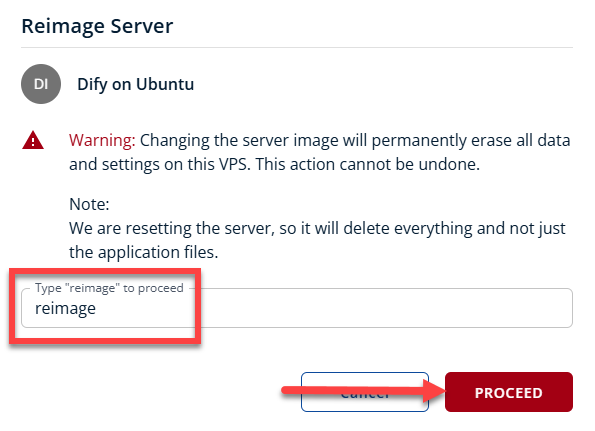
Changing the server image will permanently erase all data and settings on this VPS. This action cannot be undone.
- Log in to your Bluehost Portal.
- In the left-hand menu, click Hosting.

- Click the Manage button on the Self-Managed VPS package.

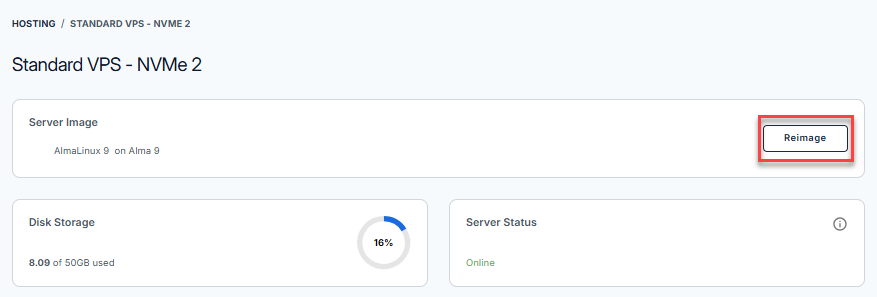
- Click the Reimage button.
- Select the Applications tab.
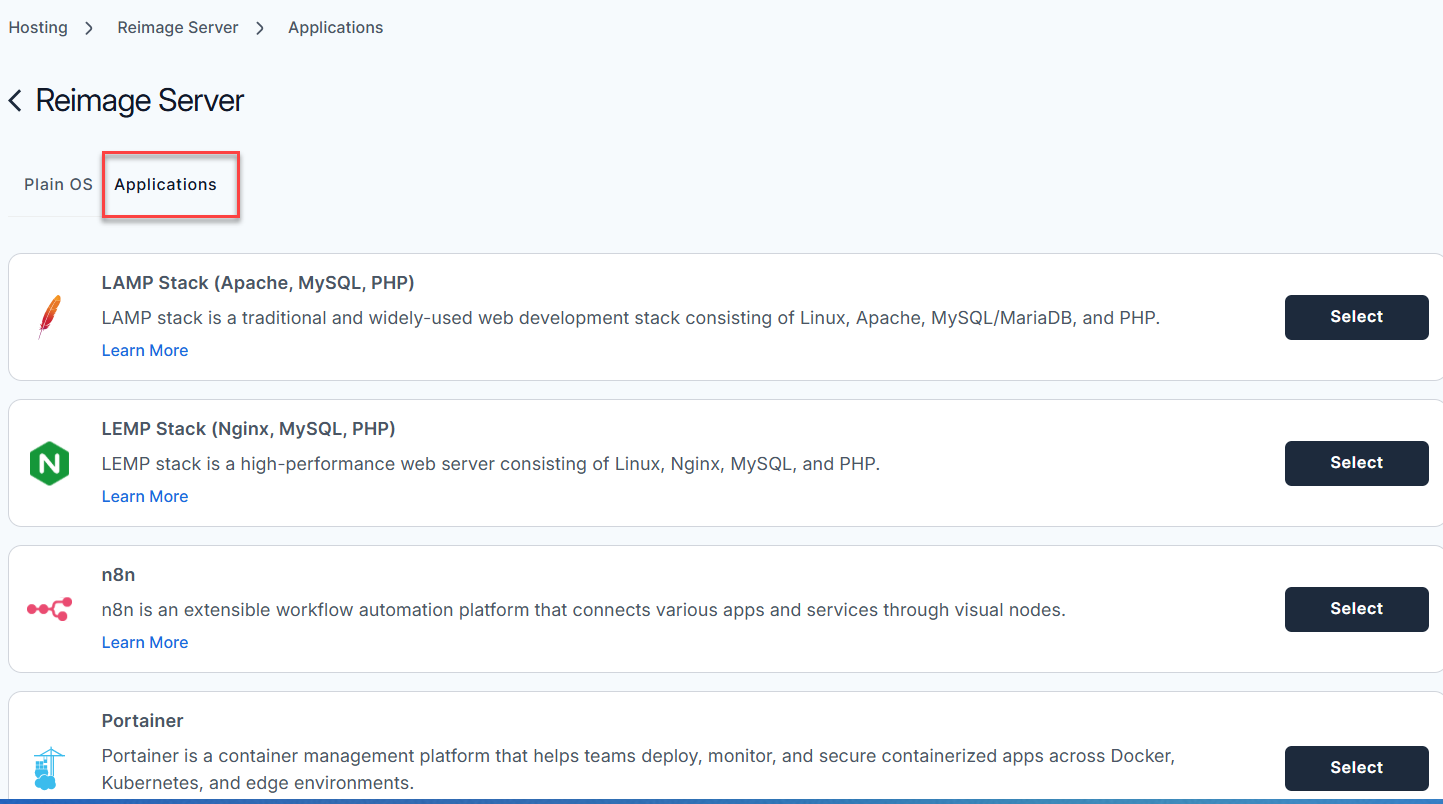
- From the list, locate Dify and click Select.

- To confirm, type "reimage" and then click Proceed to start the process.
- Wait a few minutes while the installation completes.

- Once completed, you will see Dify listed in the Server Image section.
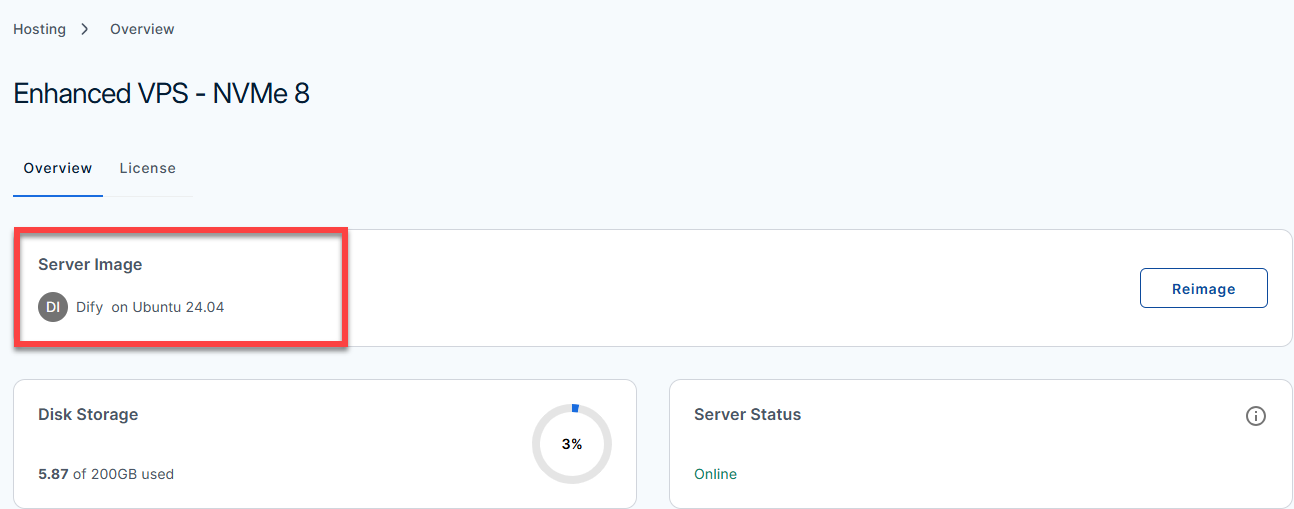
- Once completed, you will see Dify listed in the Server Image section.
Summary
Reimaging your Self-Managed VPS allows you to quickly deploy pre-configured environments like Dify via a one-click installer. However, because this process completely overwrites your current server disk, it is vital to back up any critical data before proceeding. If you need to run multiple environments or preserve existing data, opt for a manual installation via SSH instead.
Did you find this article helpful?