Bluehost Self-Managed VPS: Reimage Your Server for Hermes Agent Installation
Use the Bluehost Portal to easily get Hermes Agent up and running on your Self-Managed VPS. Follow this guide’s simple steps to install Hermes Agent and access your dashboard. You'll manage and automate business apps effortlessly in no time at all.
Install Hermes Agent Using Bluehost Portal
To install Hermes Agent:
- You can install only one application using the one-click installer.
- To change or delete your application, follow the guide: Bluehost Self-Managed VPS: How to Change and Delete an Application. Create a backup of your existing applications or templates.
- If you want to keep your current template, install the new application manually using SSH. The system will automatically apply the recommended OS for Hermes Agent.
- Log in to your Bluehost Portal.
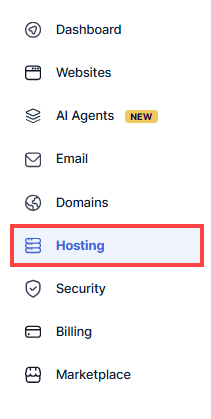
- In the left-hand menu, click Hosting.
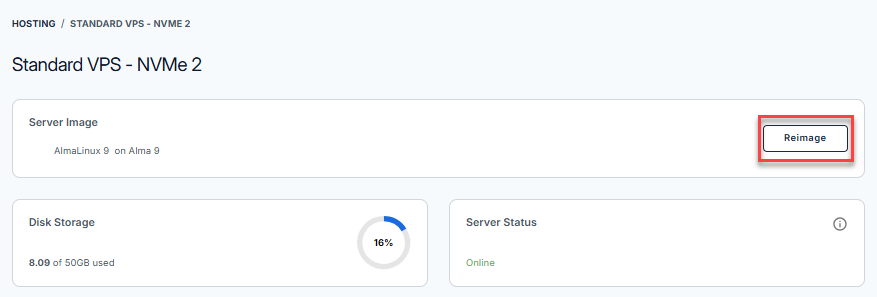
- Click the Manage button on the Self-Managed VPS package.

- Click the Reimage button.
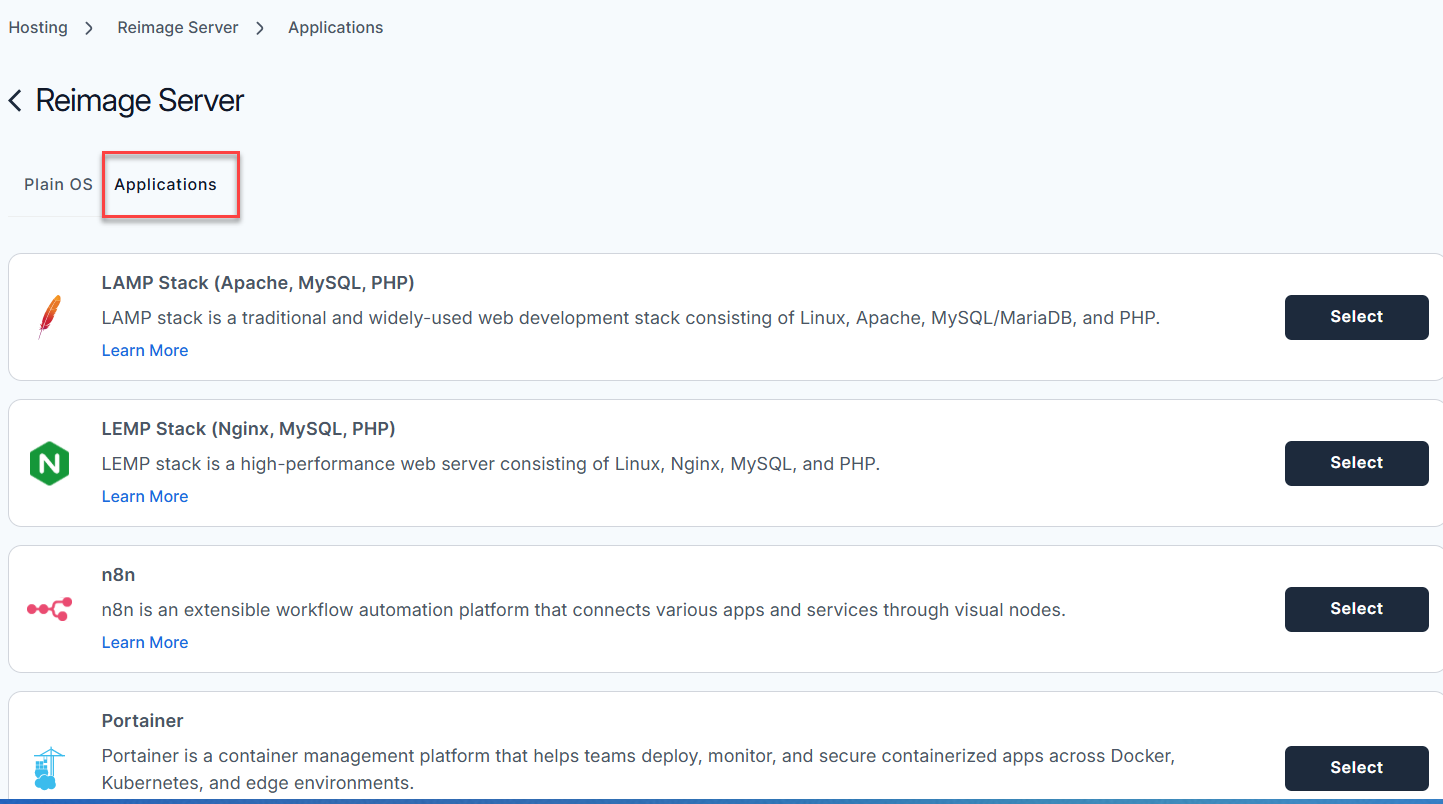
- Select the Applications tab.
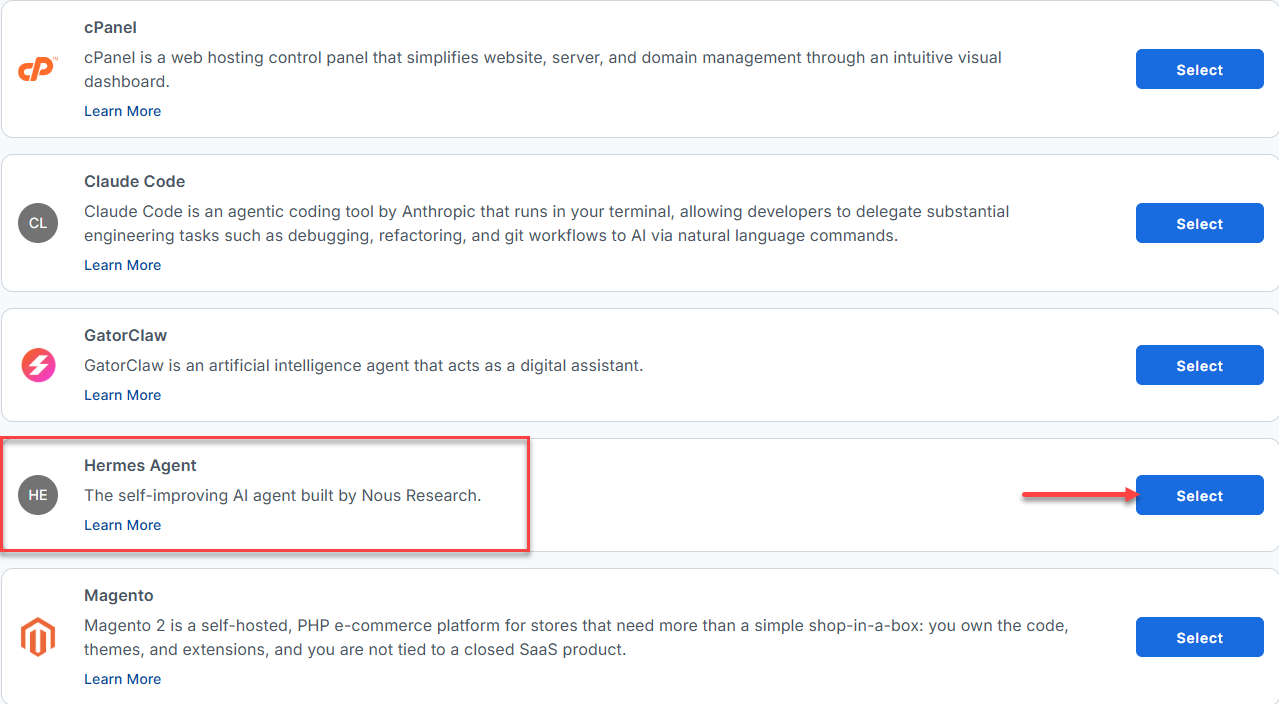
- From the list, find Hermes Agent and click Select.
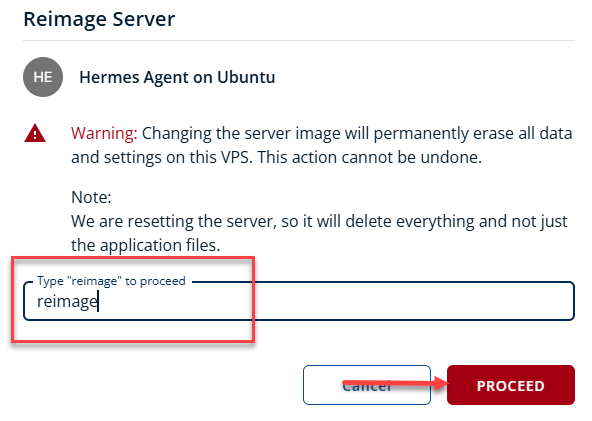
- To confirm, please type "reimage" and then click Proceed to start the process.
- Wait a few moments while the installation completes.

- Once completed, you will see Hermes Agent listed in the Server Image section.
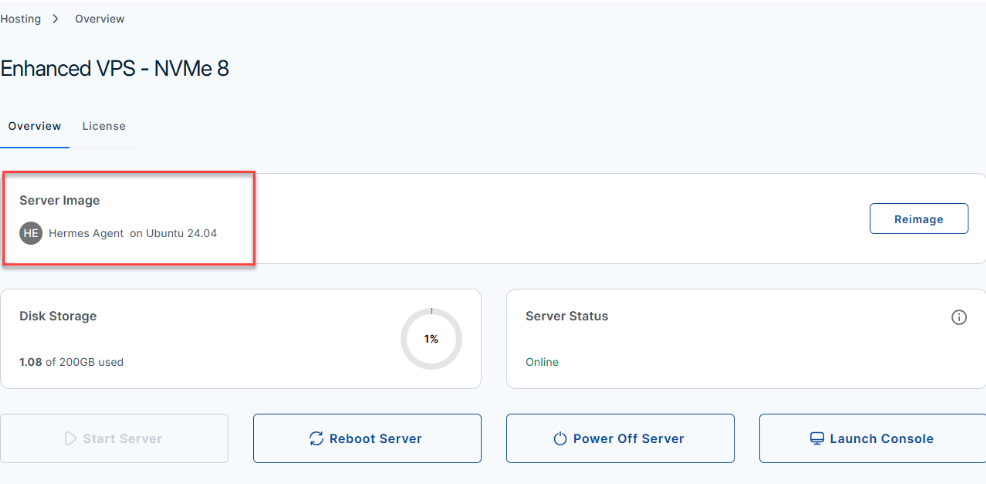
- Once completed, you will see Hermes Agent listed in the Server Image section.
How to Get and Set Up Hermes Agent
- Log in to your server via SSH.
When you log in to your server for the first time via SSH, you're greeted with a welcome message that includes all the essential commands and instructions for updating and setting up Hermes Agent.Welcome to Ubuntu 24.04.4 LTS (GNU/Linux 6.8.0-111-generic x86_64) ******************************************************************************** Hermes is running on this server. The UFW firewall is enabled. All ports are BLOCKED except 22 (SSH) How To Use Log in to your server and type hermes to get started. To ensure the most up-to-date experience update Hermes before starting the setup process. hermes update hermes setup For more details please see /root/README.md To delete this message of the day: rm -rf /etc/update-motd.d/99-hermes ******************************************************************************** - Update Hermes Agent for the latest features:
hermes updateExample Output:
root@server-123456:~# hermes update ⚕ Updating Hermes Agent... → Fetching updates... ✓ Code updated! → Syncing bundled skills... ✓ Update complete! Tip: You can now select a provider and model: hermes model # Select provider and model - Start the Hermes Agent setup wizard:
hermes setupYou’ll see a setup menu (navigate with arrow keys):
How would you like to set up Hermes? ↑↓ navigate ENTER/SPACE select ESC cancel → (●) Quick Setup (Nous Portal) — free OAuth login, no API keys, model + tools (recommended) (○) Full setup — configure every provider, tool & option yourself (bring your own keys)- Quick Setup: Recommended for most users (uses OAuth, no API keys needed).
- Full Setup: For advanced users who want to bring their own API keys and configure every provider/tool.
- If you select Quick Setup:
- You’ll be prompted to log in via your browser. Open the provided link, and if prompted, enter the code shown.
┌─────────────────────────────────────────────────────────┐ │ ⚕ Hermes Agent Setup Wizard │ ├─────────────────────────────────────────────────────────┤ │ Let's configure your Hermes Agent installation. │ │ Press Ctrl+C at any time to exit. │ └─────────────────────────────────────────────────────────┘ ◆ Nous Portal One subscription, 300+ models, plus the Tool Gateway: web search, image generation, TTS, browser automation. Sign up: https://portal.nousresearch.com/manage-subscription Not logged into Nous Portal. Starting login... Starting Hermes login via Nous Portal... Portal: https://portal.nousresearch.com To continue: 1. Open: https://portal.nousresearch.com/manage-subscription?user_code=VYWR-6QX5 2. If prompted, enter code: VYWR-6QX5 Waiting for approval (polling every 1s)... - After you approve login in your browser, your terminal will show confirmation and link your Hermes Agent to Nous Portal:
✓ Login approved!
✓ Connected as [email protected]
✓ Hermes Agent is ready to use.
- You’ll be prompted to log in via your browser. Open the provided link, and if prompted, enter the code shown.
- Start Hermes Agent when setup is complete:
hermesExample Output:
root@server-123456:~# hermes

Welcome to Hermes Agent TUI (Terminal User Interface)
─────────────────────────────────────────────────────

Type 'help' or use arrow keys for navigation.
Select an action:

→ Run a skill         (browse and execute available skills)
  Manage models       (select or switch AI providers)
  Project memory      (review/recall agent insights)
  Messages            (send/reply to Telegram, Discord, etc.)
  Shell/DevOps        (terminal automation and scripting)
  Settings            (view or edit configuration)
  Update Agent        (self-update and skill sync)
  Exit

Agent is ready. Press 'q' to quit.
or view help:
hermes helpExample Output:
root@server-123456:~# hermes help

Hermes Agent CLI - Command Reference
────────────────────────────────────

Usage:
  hermes [command]

Available commands:

  setup       Start the Hermes Agent setup wizard
  update      Update the Hermes Agent software/skills
  tui         Start the interactive Terminal UI (default for 'hermes')
  model       Select AI model/provider
  skill       List or run installed skills
  memory      Access agent memory and context
  shell       Run shell/DevOps commands with Hermes
  help        Show this help

For the full user guide, visit:
https://hermes-agent.nousresearch.com/docs/user-guide/
Additional Information and Example Documentation Output
For advanced configuration, usage instructions, and details about skills or integrations, review the Hermes Agent documentation by running:
cat /root/README.md
Example Output:
root@server-123456:~# cat /root/README.md
# Hermes Agent

## Description

The self-improving AI agent built by Nous Research. The only agent with a
built-in learning loop - it creates skills from experience, improves them
during use, nudges itself to persist knowledge, and builds a deepening
model of who you are across sessions.

## Services

Service | Ports | Purpose
--------|-------|---------
OpenSSH | 22    | SSH

## How-to-use

Log in to your server and type `hermes` to get started. To ensure the most up-to-date experience update Hermes before starting the setup process.

hermes update
hermes setup

## Links

Using Hermes CLI Interface: https://hermes-agent.nousresearch.com/docs/user-guide/cli

Using Hermes TUI Interface: https://hermes-agent.nousresearch.com/docs/user-guide/tui
Summary
With Hermes Agent installed on your Bluehost VPS, you have an always-on, self-evolving AI assistant ready to boost productivity for your business applications. After installing through the Bluehost Portal, just log in via SSH, follow the interactive update and setup instructions, and you’ll be ready to manage coding, research, and communications from anywhere. Use the built-in help system and documentation links to unlock more advanced, autonomous features as needed.