Bluehost Self-Managed VPS: Reimage Your Server for Rocket.Chat Installation
Rocket.Chat is an open-source team communication platform. It provides secure workspace messaging, voice and video calling and file sharing in real-time. Self-hosted, giving organizations full control over their data, customization, and server environment.
Server Requirements and System Health
To keep your team communications lightning-fast, smooth, and reliable, your server infrastructure needs to meet certain hardware standards. Rocket.Chat handles complex database tasks and active, real-time user connections, so having the right amount of "breathing room" prevents system slowdowns.
Make sure your hosting provider meets or exceeds these baseline specs:
| Resource | Minimum Requirement | What It Handles |
|---|---|---|
| CPU | 2 vCPUs | Handles live chat traffic, message processing, and simultaneous user requests. |
| RAM | 6 GB | Powers the core Rocket.Chat application and keeps your MongoDB database running smoothly in memory. |
| Disk Space | 20 GB | Stores the system software, database logs, and shared files or media your team uploads. |
Install Rocket.Chat Using Bluehost Portal
To install Rocket.Chat
- You can install only one application using the one-click installer.
- To change or delete your application, follow the guide: Bluehost Self-Managed VPS: How to Change and Delete an Application. Create a backup of your existing applications or templates.
- If you want to keep your current template, install the new application manually using SSH. The system will automatically apply the recommended OS for Rocket.Chat.
- Log in to your Bluehost Portal.
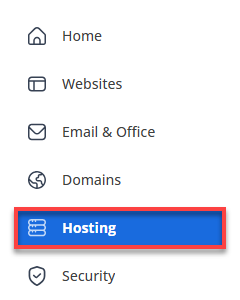
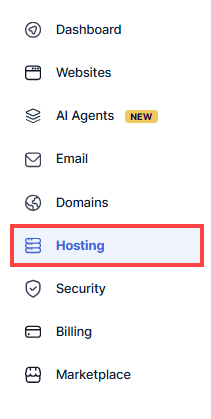
- Click Hosting in the left-hand menu.
- Click the Manage button on the Self-Managed VPS package.

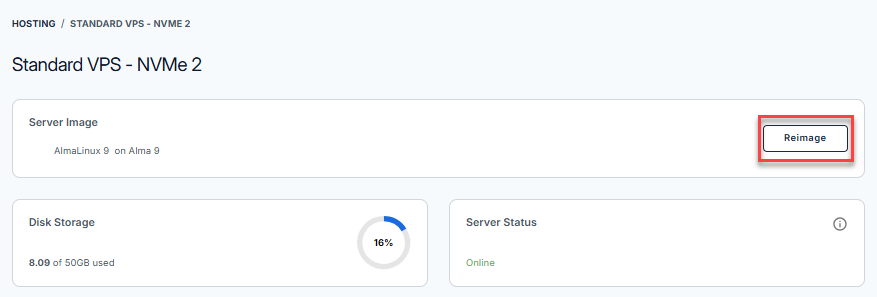
- Click the Reimage button.
- Select the Applications tab.
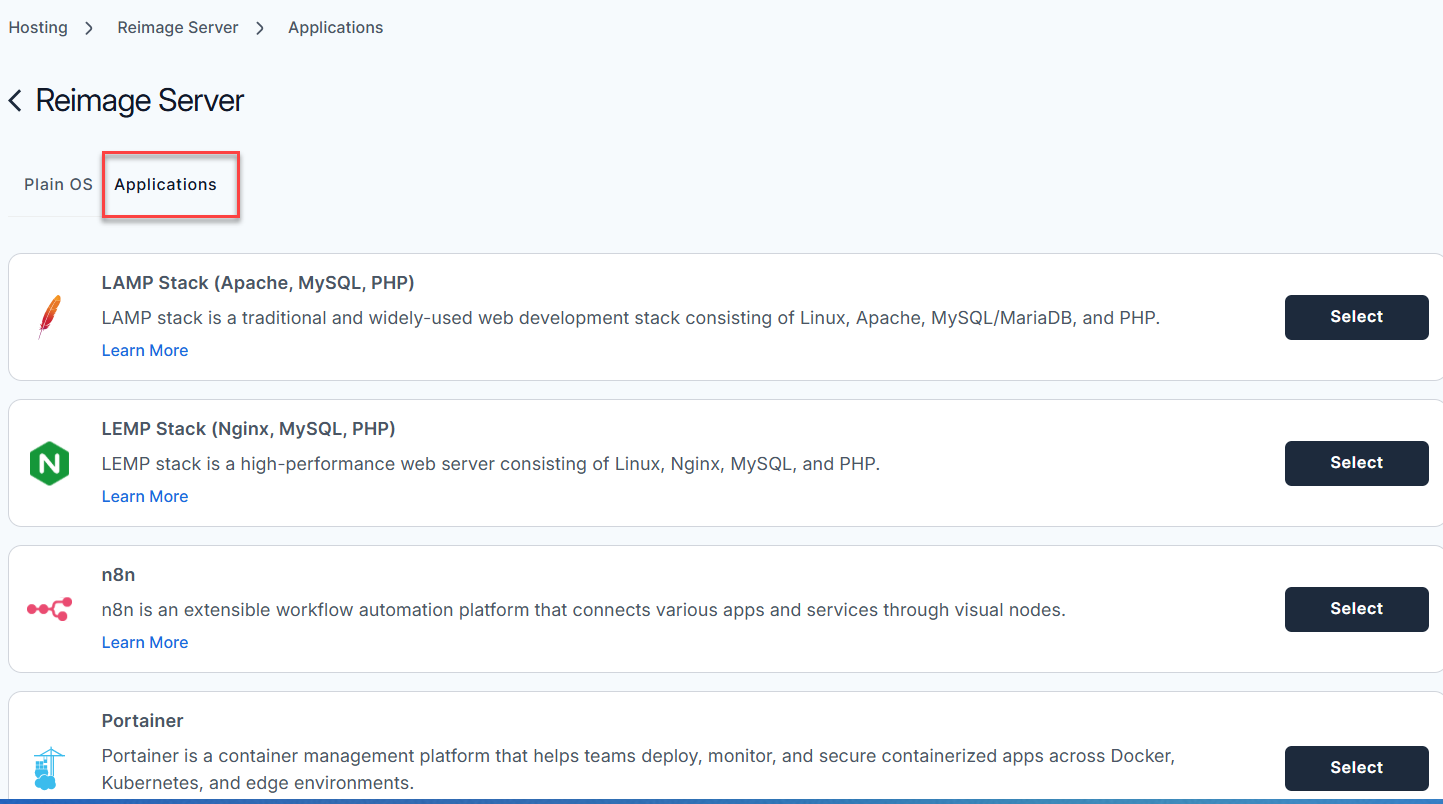
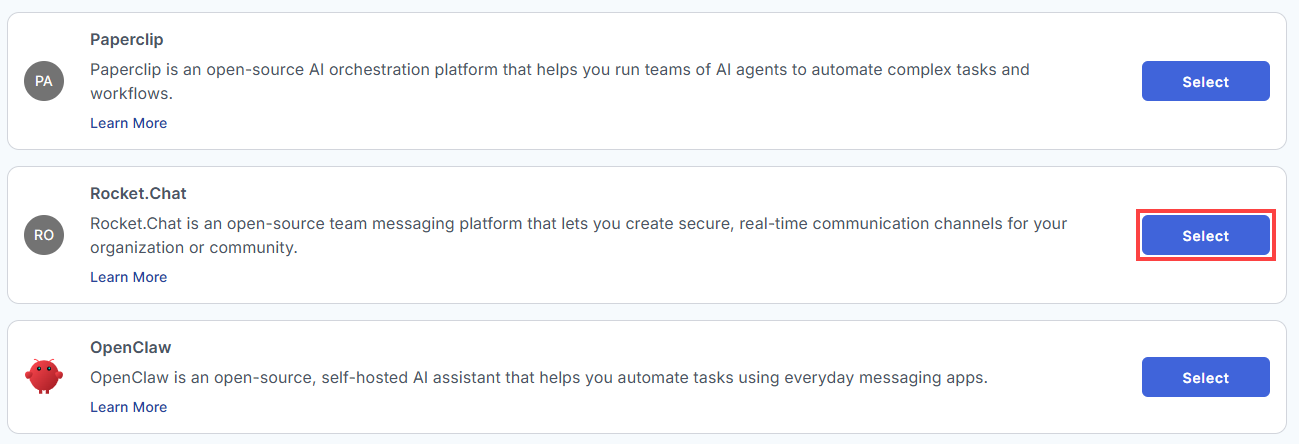
- From the list, find Rocket.Chat and click Select.
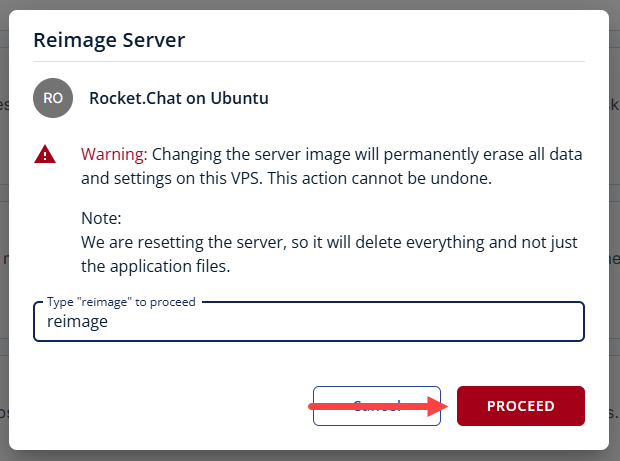
- To confirm, please type "reimage" and then click Proceed to start the process.
- Wait a few moments while the installation completes.

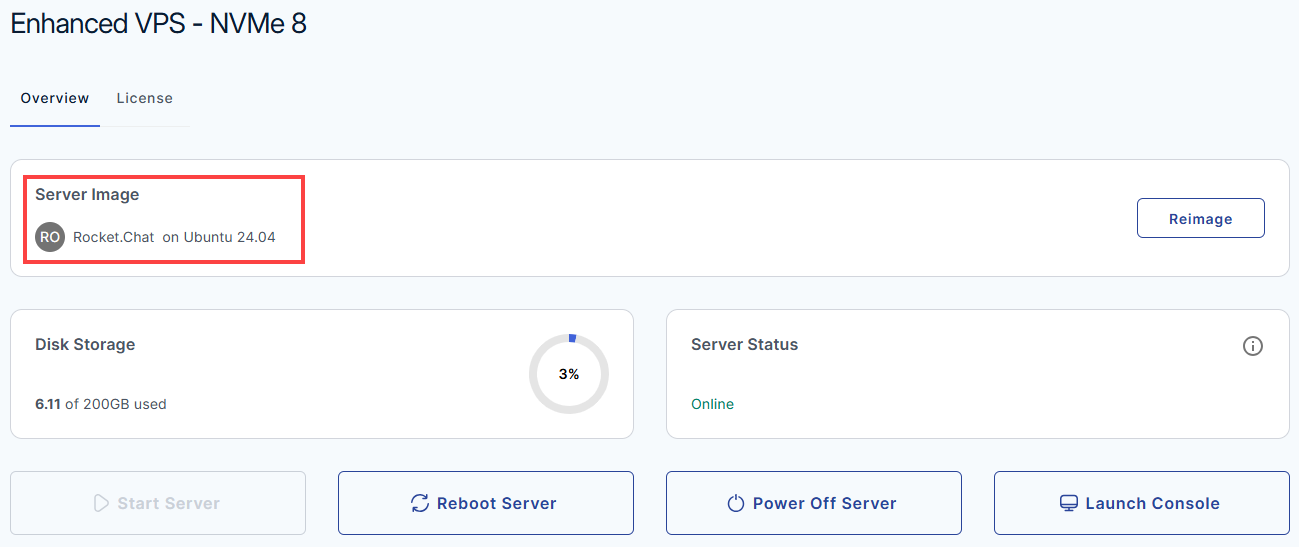
- Once completed, you will see Rocket.Chat is listed in the Server Image section.
Getting Started with Your New Rocket.Chat Server
- Rocket.Chat (Version 8.3.2): This is the actual application, workspace, and chat interface you see in your browser. It runs inside an isolated environment called a Docker container.
- MongoDB (Version 8.0): This is the database backend. It lives in its own secure container and stores all your messages, user profiles, channels, and system settings.
- Nginx: This acts as a security guard and traffic controller (a reverse proxy). Instead of exposing the chat app directly to the wild internet, Nginx sits at the front door (ports 80 and 443), handles the secure HTTPS encryption, and passes the traffic safely to Rocket.Chat internally.
- UFW (Firewall): It locks down the server so unauthorized users can't try to access your database or backend services directly. Only web traffic and your secure terminal access (SSH) are allowed in.
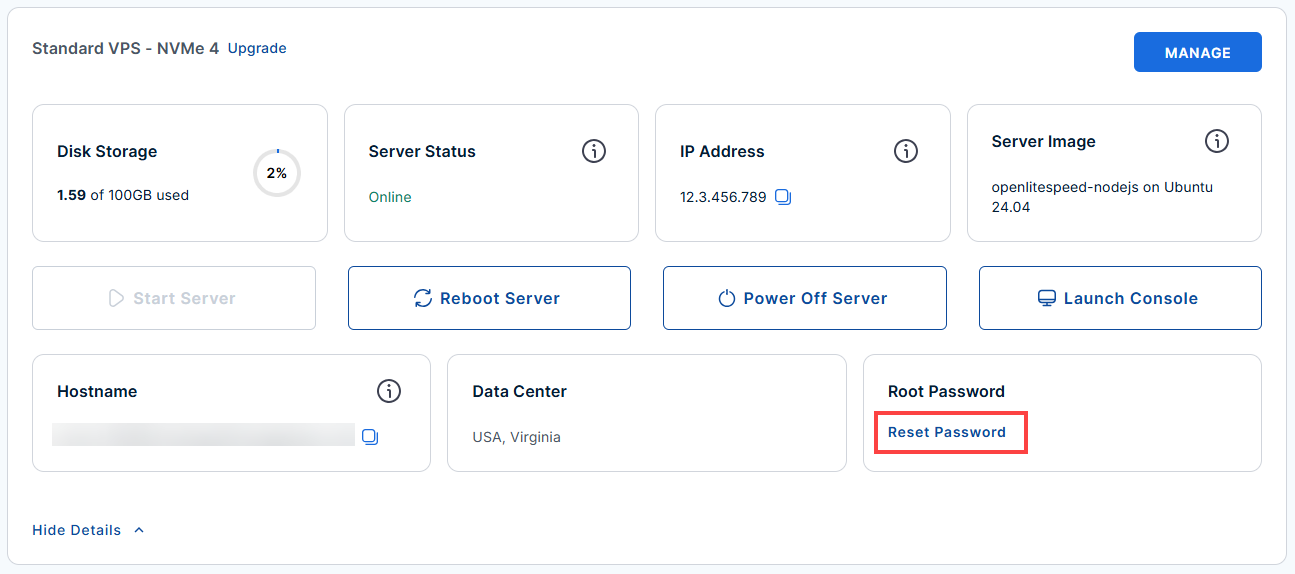
- Log in to your Bluehost Portal.
- In the left-hand menu, click the Hosting tab.
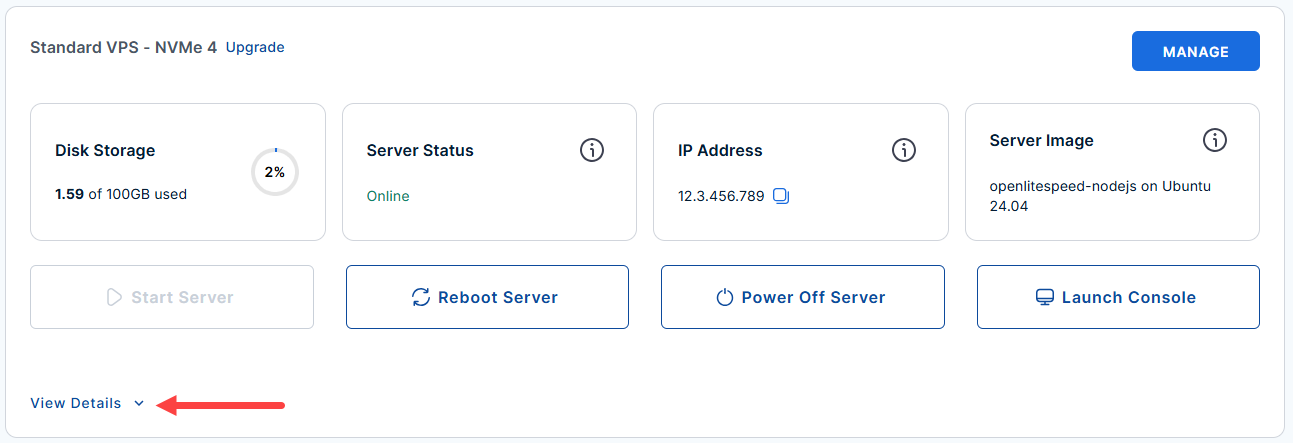
- Look for the server you want to manage then click the View Details to see more options.
- Click the Reset Password.
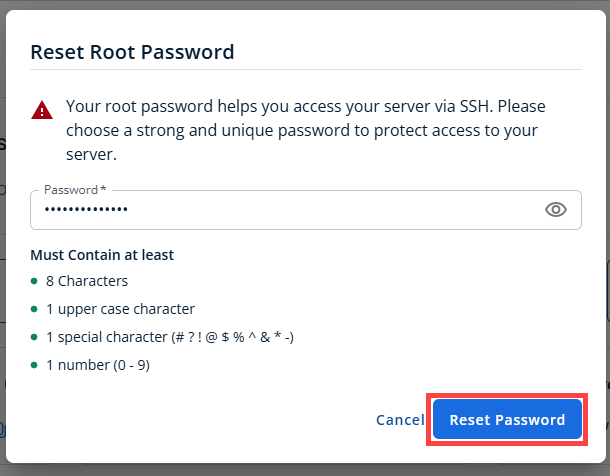
- In the pop-up window, type your new root password, then click Reset Password again to confirm and save the changes.
- Connect to your VPS via SSH.
Open your computer's terminal (or an SSH client like PuTTY) and run the following command to log into your server as the administrator, using your server's public IP address:
Follow the prompts and enter the new root password you created in the step above.ssh root@your_server_ip - Now that you are connected to the server, run the following command to view your pre-configured site URL:
cat /root/.app_passwordsExample result:
root@server-123456:~# cat /root/.app_passwords SITE_URL=https://12.3.4.567 - Copy the site URL displayed on your screen and paste it into your preferred web browser. This will automatically route you to the Rocket.Chat landing page to begin your configuration.
Activating Your New Workspace
- Create Your Admin Account
First, create your primary administrator profile. Enter your name, choose a username, and pick a strong password. This account will have full master control over your entire chat platform.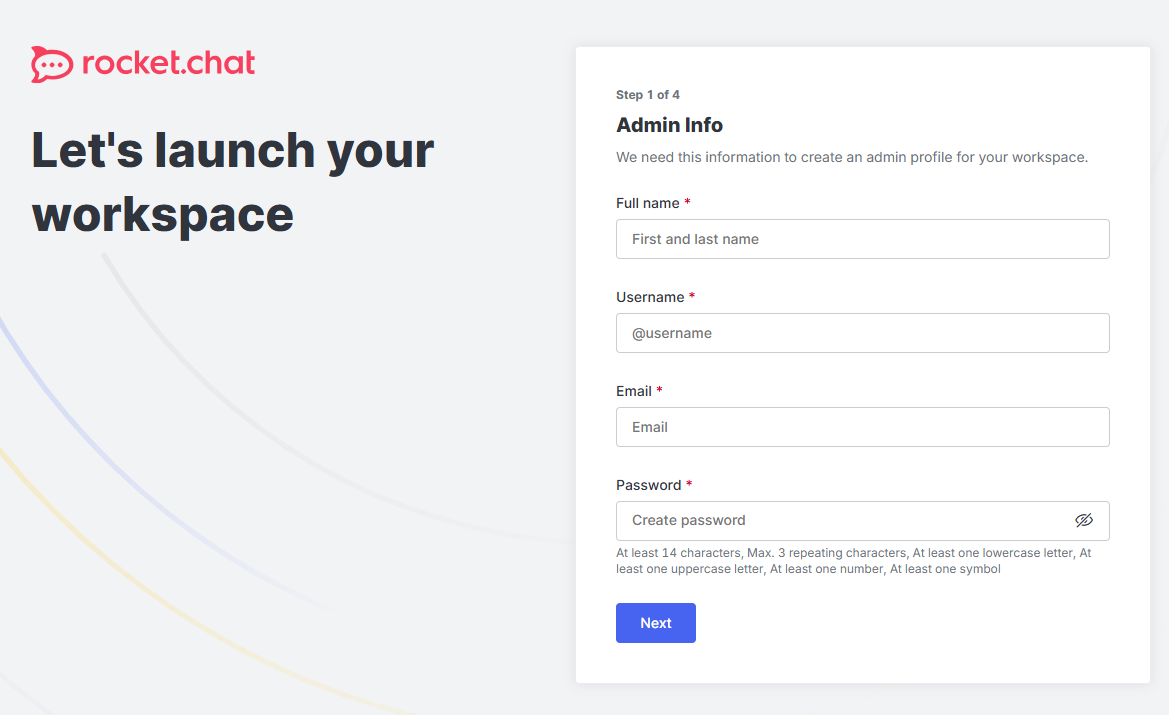
- Enter Your Organization Details
Tell the system a little bit about your team. You will be asked to select your organization type, your company name, and your expected team size so Rocket.Chat can properly optimize your environment.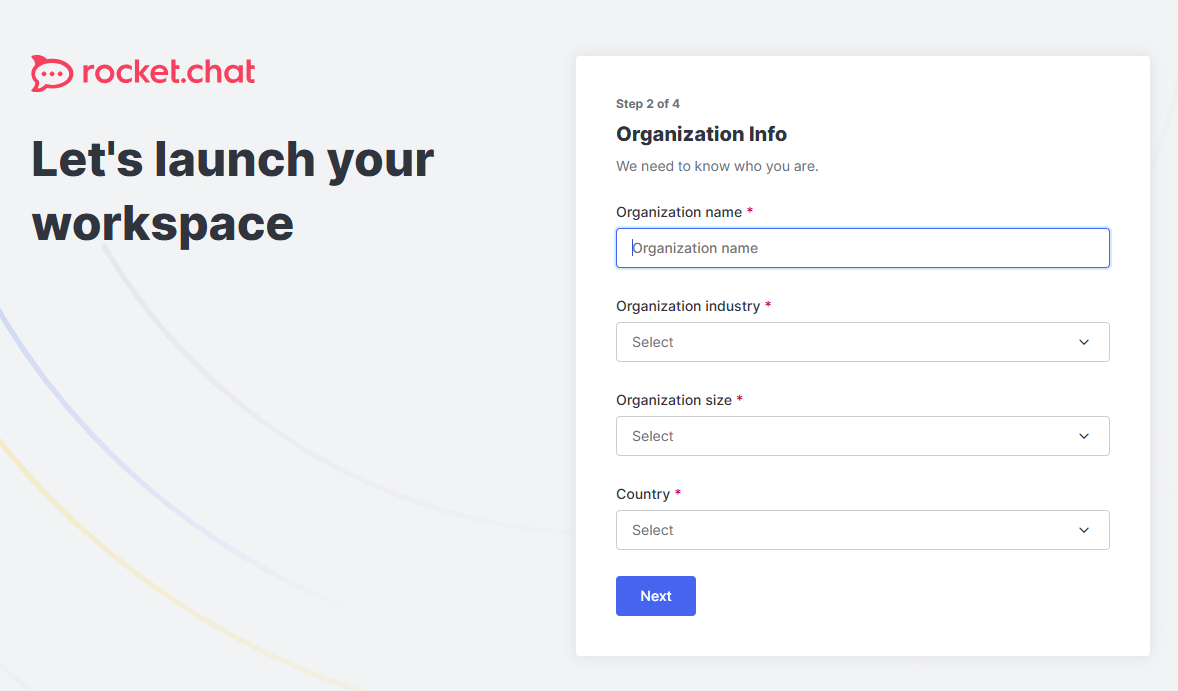
- Register Your Workspace
To unlock important features like push notifications for mobile devices and the app marketplace, you will be prompted to register your server. Simply input your preferred Admin Email Address to link this server to the Rocket.Chat network.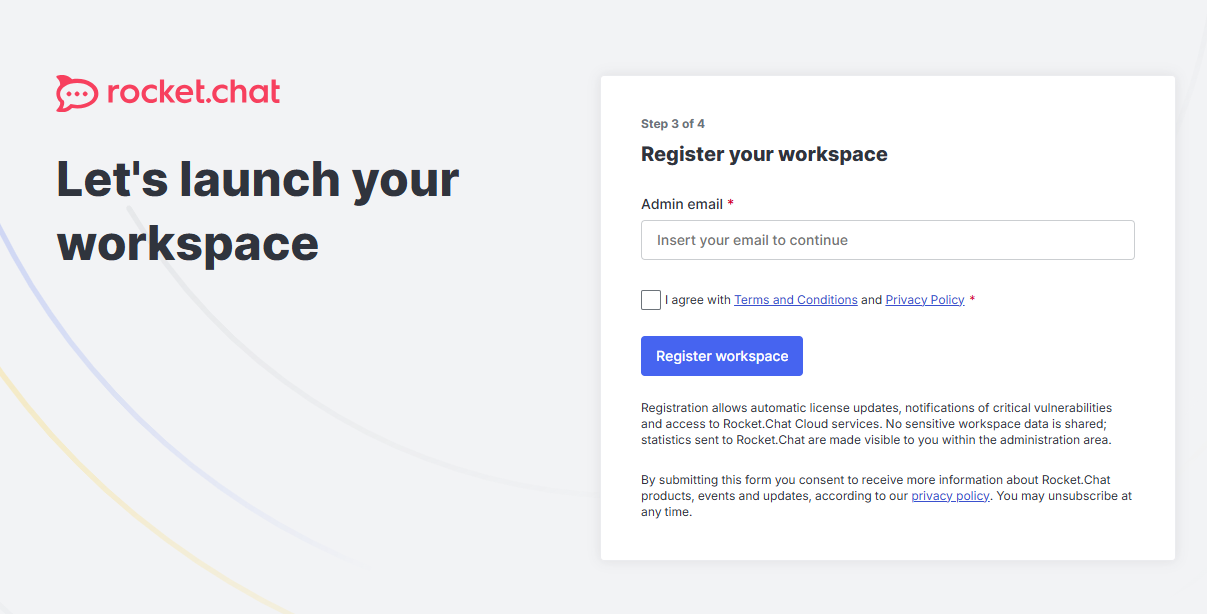
- Confirm and Verify Your Registration
Check your inbox! Rocket.Chat will automatically send a security confirmation email to the address you just provided.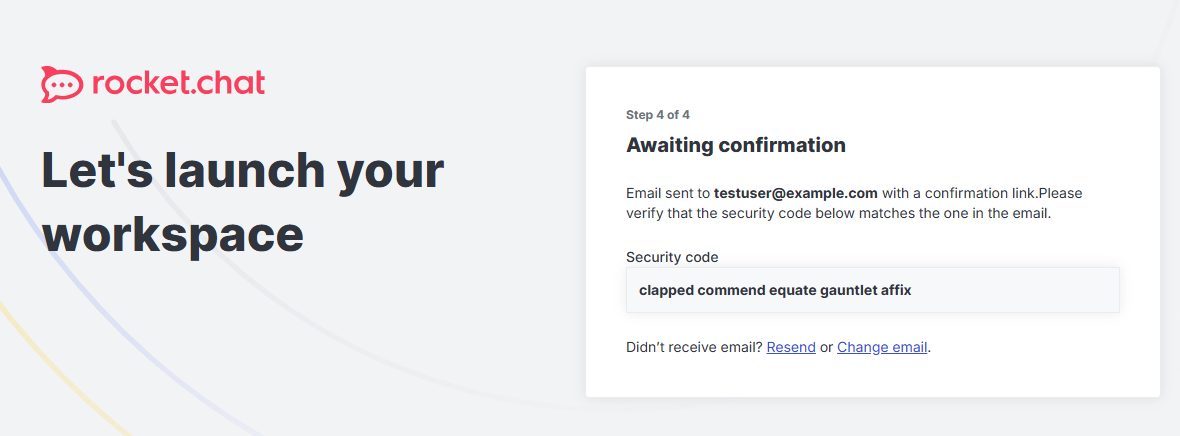
- Open the email and click the Verify Registration button.
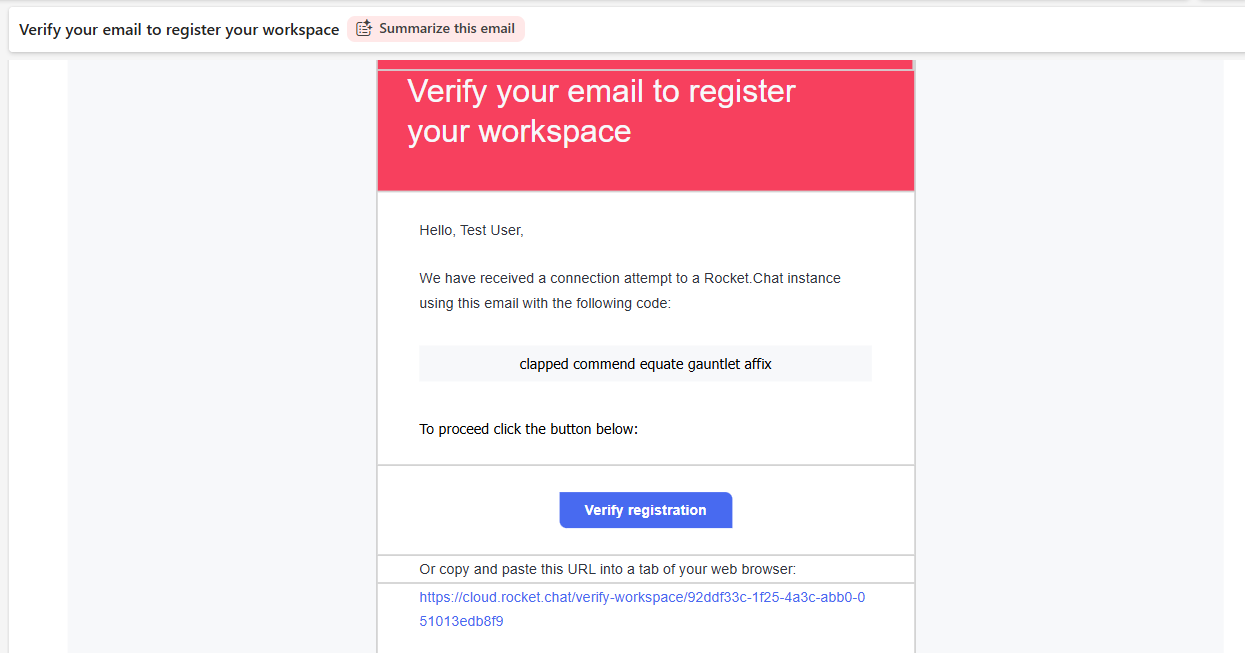
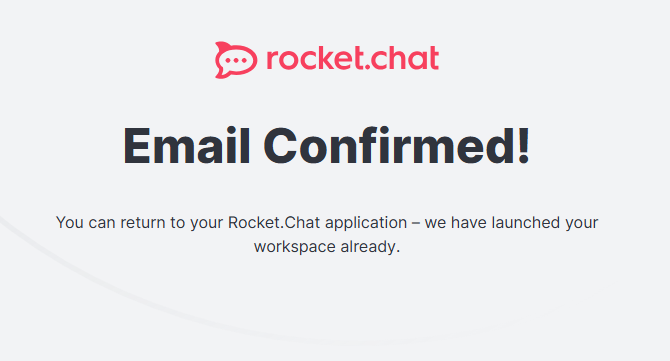
- A new browser tab will open, confirming your account is verified.
- You will also receive a second email confirming that you have been successfully placed on the Rocket.Chat Starter Plan.
- Open the email and click the Verify Registration button.
- Access Your Dashboard
Switch back to your original setup wizard page. You will be securely logged right into your brand-new Rocket.Chat administration dashboard!
Additional Information & Example Documentation Output
You can run cat /root/README.md to see more information and useful commands:
Example Output:
root@server-123456:~# cat /root/README.md
# Rocket.Chat

## Description

Rocket.Chat is an open-source team messaging platform that lets you create secure, real-time communication channels for your organization or community.
It supports channels, direct messages, video calls, file sharing, and integrations with third-party apps, giving teams a fully self-hosted way to stay connected and collaborate efficiently.

---

## Image contents

This image installs and configures:
- Rocket.Chat 8.3.2 running via Docker
- MongoDB 8.0 running via Docker with replica set rs01
- Docker and Docker Compose for container management
- Nginx as a reverse proxy with HTTP and HTTPS support
- UFW firewall with ports 22, 80, and 443 open
- Log rotation at /etc/logrotate.d/rocketchat
- This README at /root/README.md

---

## Services

| Service     | Ports   | Purpose                                        |
|-------------|---------|------------------------------------------------|
| Rocket.Chat | 3000    | Rocket.Chat application (internal only)        |
| Nginx       | 80, 443 | TLS termination and reverse proxy to port 3000 |
| MongoDB     | 27017   | Database backend (container only)              |
| OpenSSH     | 22      | Remote access                                  |

Ports are protected using UFW. MongoDB port 27017 is not exposed externally.

---

## How-to-use

### 1. Access Rocket.Chat

Once the server has booted, open your browser and navigate to:

```
https://
```

Accept the self-signed certificate warning on first access, then complete
the setup wizard to create your admin account.

### 2. Get your credentials

The site URL is stored in /root/.app_passwords:

```bash
cat /root/.app_passwords
```

### 3. SSL / HTTPS certificate behavior

On first boot, a TLS certificate is automatically provisioned:

- A Let's Encrypt certificate is requested for the server's public IP.
- If Let's Encrypt is unavailable, a self-signed certificate valid for
  365 days is generated automatically as a fallback.

Nginx terminates TLS on port 443 and proxies traffic to Rocket.Chat on
port 3000. The X-Forwarded-Proto: https header signals HTTPS to Rocket.Chat.

To manually request a Let's Encrypt certificate after deployment:

```bash
/opt/certbot/bin/certbot certonly --webroot --webroot-path /var/www/html \
  -m [email protected] --agree-tos --non-interactive --ip-address

nginx -t && systemctl reload nginx
```

### 4. Useful commands

```bash
docker ps                              # Check container status
docker logs rocketchat --tail 50       # Recent Rocket.Chat logs
docker logs mongo --tail 20            # Recent MongoDB logs
docker compose -f /opt/rocketchat/docker-compose.yml restart   # Restart all
systemctl status nginx                 # Nginx status
systemctl status ssh                   # SSH status
```

### 5. MongoDB

```bash
docker exec mongo mongosh                             # Open MongoDB shell
docker exec mongo mongosh --eval "rs.status()"        # Check replica set health
```

---

## Minimum Resources

| Resource | Minimum |
|----------|---------|
| CPU      | 2 vCPUs |
| RAM      | 6 GB    |
| Disk     | 20 GB   |

---

## Security hardening

| Hardening    | Detail                                             |
|--------------|----------------------------------------------------|
| UFW firewall | Only ports 22, 80, 443 open. Default deny incoming |
| SSH          | Port 22 rate limited - brute force protection      |
| MongoDB      | Not exposed externally - container only            |
| Credentials  | Stored in /root/.app_passwords (mode 0600)         |

---

## Configuration files reference

| File                                           | Purpose                         |
|------------------------------------------------|---------------------------------|
| /opt/rocketchat/docker-compose.yml             | Docker Compose configuration    |
| /etc/systemd/system/rocketchat.service         | Rocket.Chat systemd service     |
| /etc/nginx/sites-available/rocketchat          | Nginx site config               |
| /var/lib/cloud/scripts/per-instance/001_onboot | First-boot configuration script |
| /root/.app_passwords                           | Site URL (generated at boot)    |
| /etc/logrotate.d/rocketchat                    | Log rotation config             |

---

## Links

- Manage: [https://{server_ip}](https://{server_ip})
- Documentation: [https://docs.rocket.chat](https://docs.rocket.chat)
- Ubuntu deployment guide: [https://docs.rocket.chat/docs/deploy-with-ubuntu](https://docs.rocket.chat/docs/deploy-with-ubuntu)
- Rocket.Chat releases: [https://github.com/RocketChat/Rocket.Chat/releases](https://github.com/RocketChat/Rocket.Chat/releases)
Summary
This guide explains how to install and access Rocket.Chat, an open-source team communication platform, on a Bluehost Self-Managed VPS using the Bluehost Portal. Once installed, users can manage messaging, calls, and collaboration features through the Rocket.Chat dashboard hosted on their VPS.