Setting Up CodeGuard for Backups
Want to make sure your website stays safe and sound? Setting up CodeGuard backups is an extremely important step to secure your website and its data. In this guide, we are going to take you through the process step by step, which will make it easy for you to configure CodeGuard and gain peace of mind with automated backups.
Configuring CodeGuard's First Backup
To begin, you will need:
- Website URL
- Hostname/IP address
- SFTP/FTP username
- SFTP/FTP password
- Port number
Once you have gathered this information:
- Log in to your Bluehost Portal.
- In the left-hand menu, click Websites.
- Click the Manage Site button located next to the website you want to manage.

- From the horizontal menu, select the Backups tab.

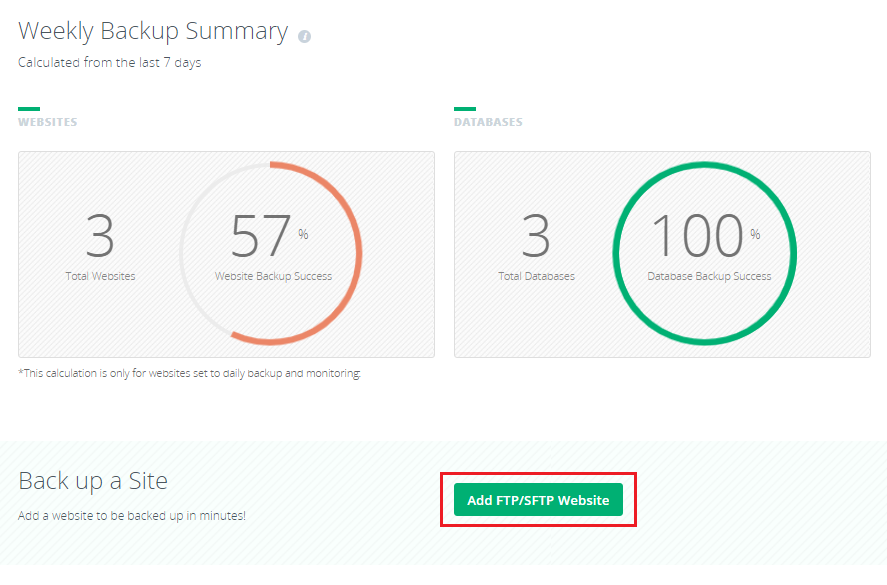
- In the CodeGuard section, click on Manage.

- From here, click the Add FTP/SFTP Website button.
- Enter your SFTP/FTP server credentials.
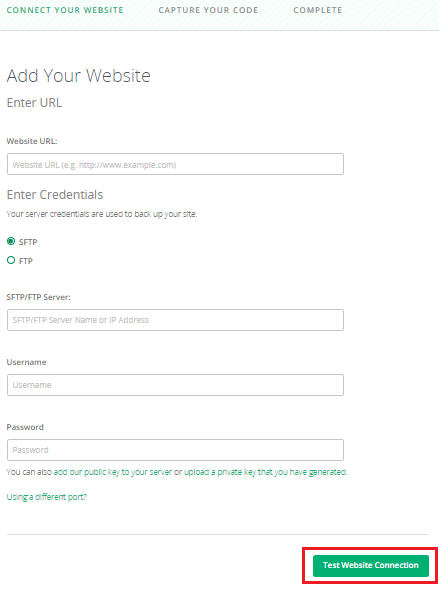
- Once credentials have been entered, click the Test Website Connection button.
If the credentials you entered are correct, you will be brought to the next step.
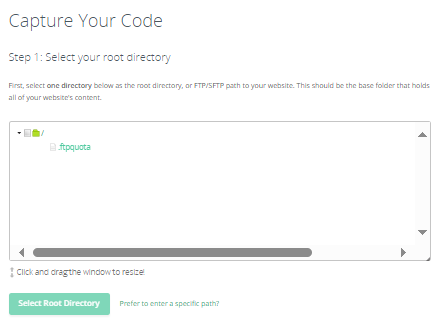
- To select which files are backed up, check the box next to the directory you would like to be the root directory.
We recommend choosing the directory that contains all the files you would like backed up. Keep in mind that any new files/folders added to your root directory in the future will be added to your backups.
- Once a folder has been selected, click Select Root Directory.
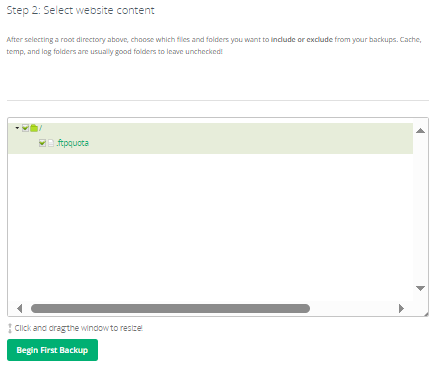
- Scroll down to the next section to select the content that you would like backed up.
- To select everything inside the designated root directory, simply click the checkbox next to the root directory. Selecting any folder will automatically include its entire contents.
- Click Begin First Backup to start backing up files.
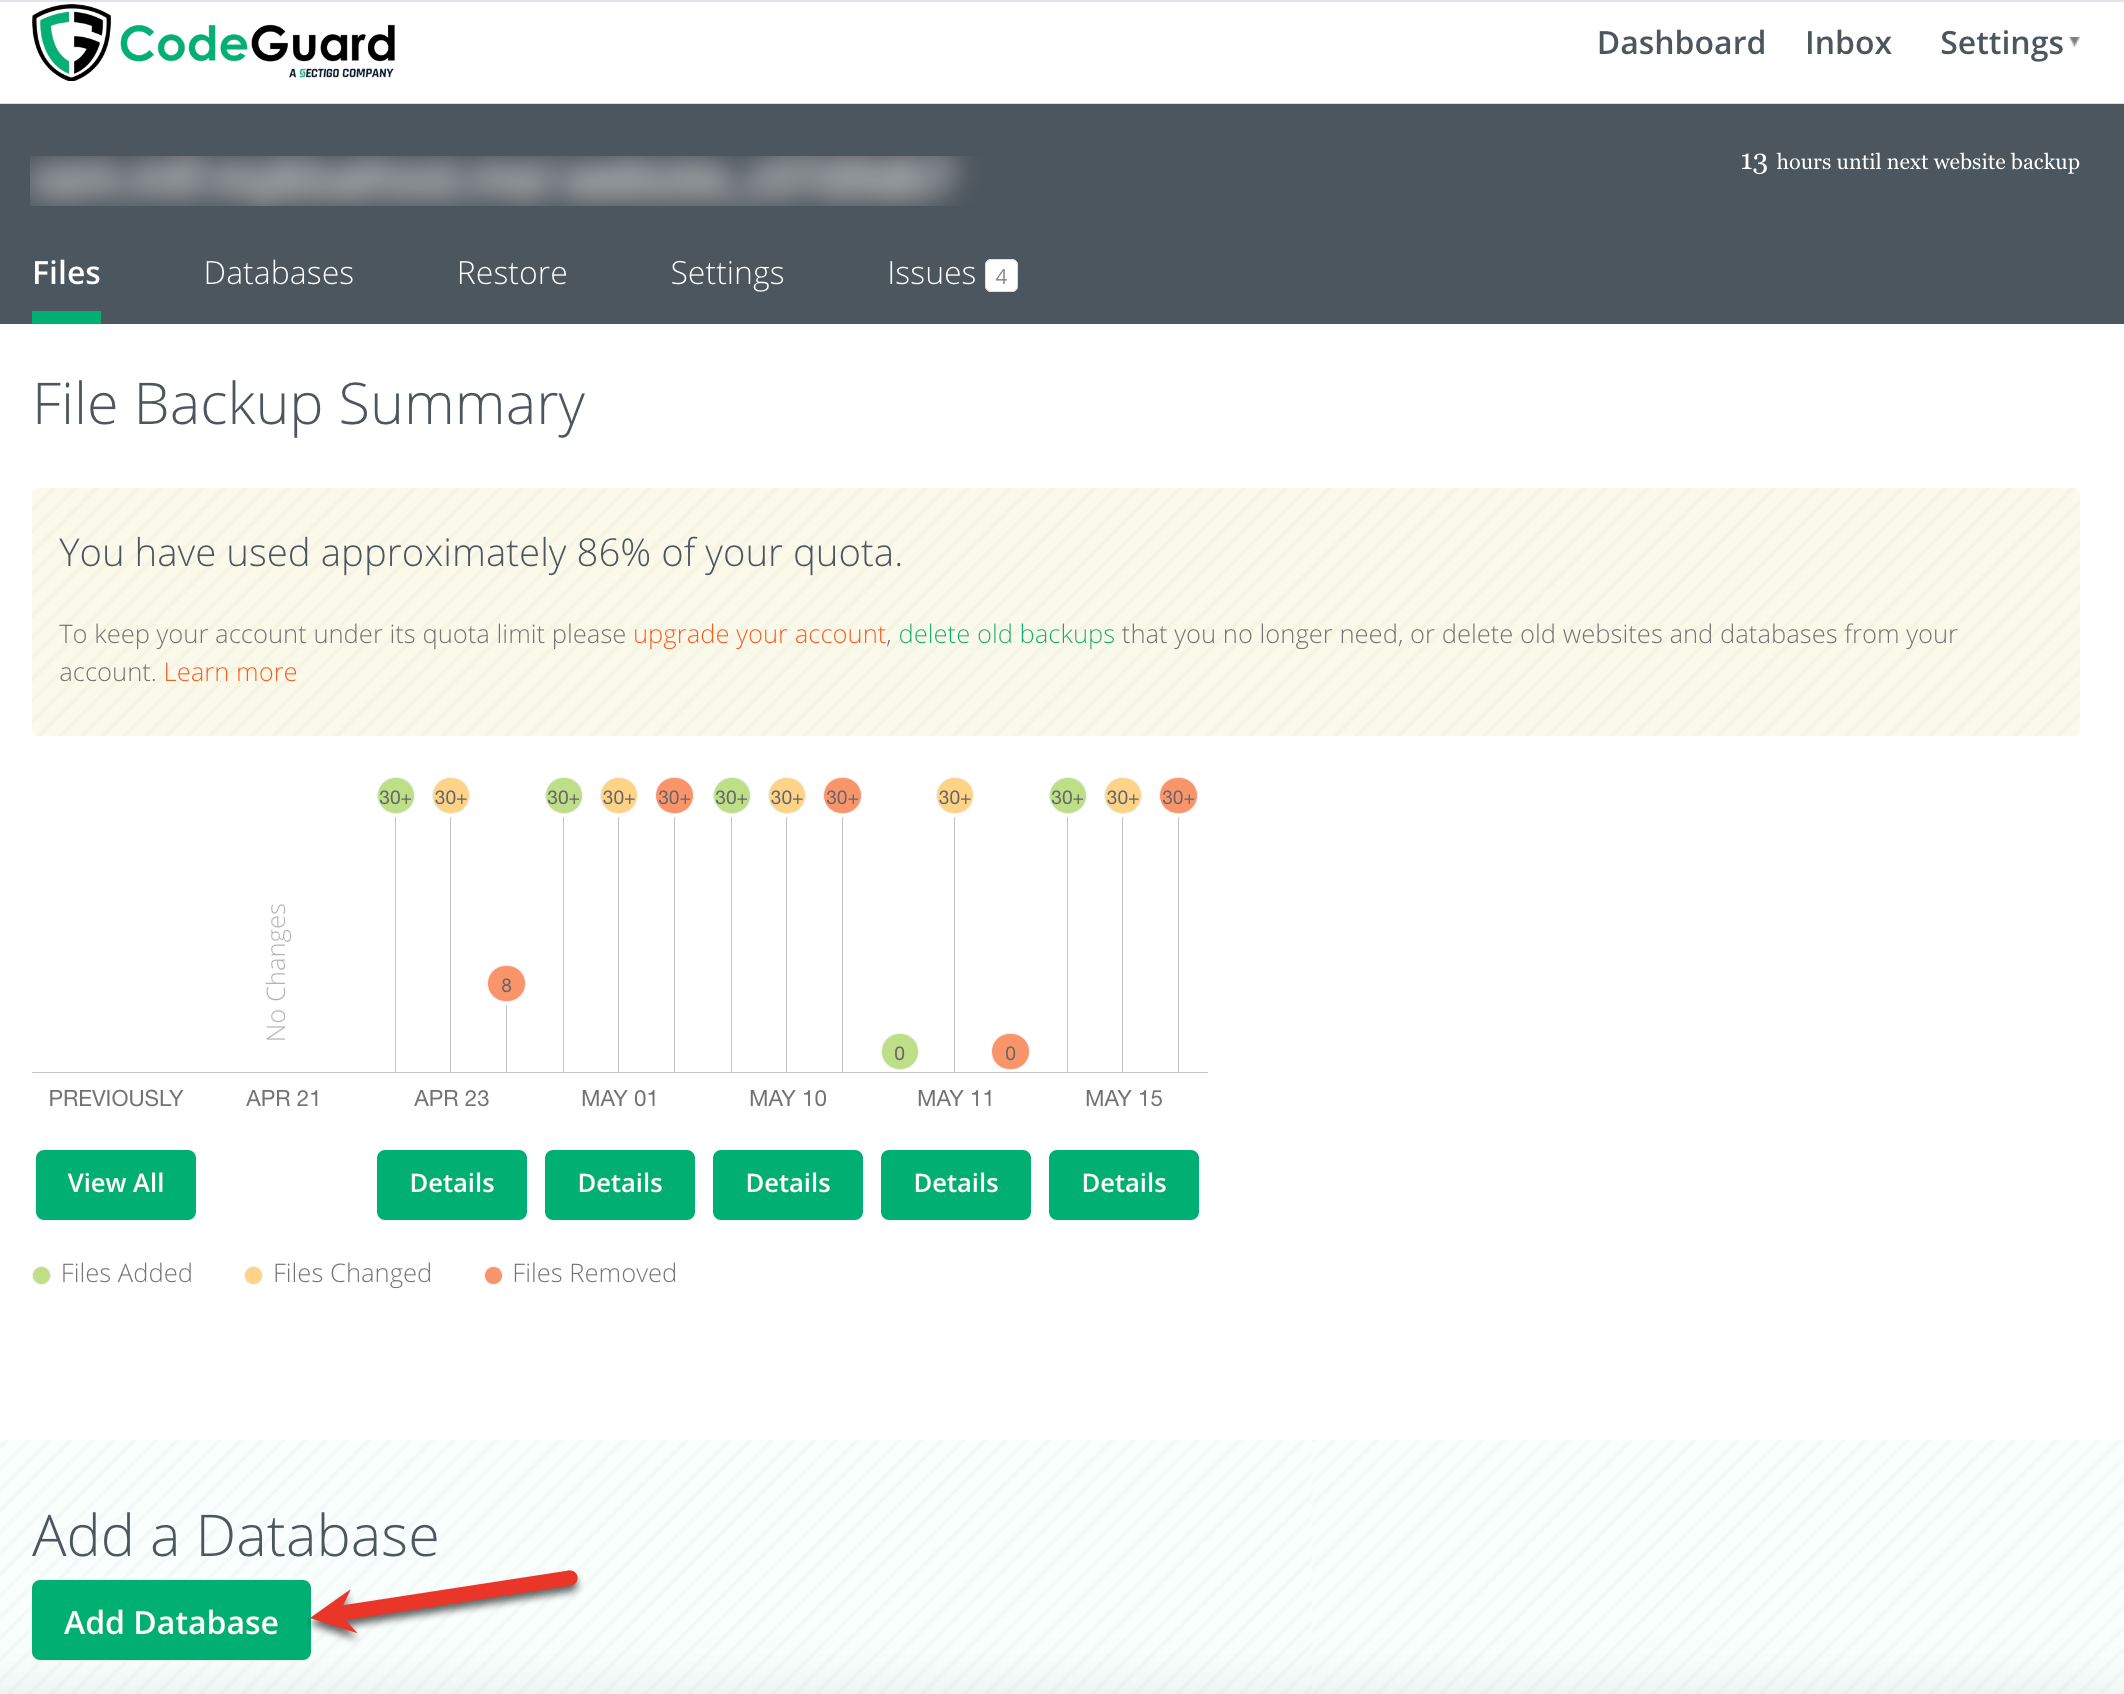
- Once the website backup has begun, you will be prompted to add a database.
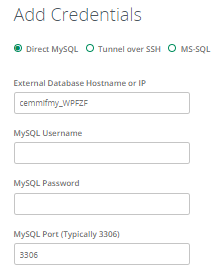
- Under the Files section, click the Add Database button.
- Enter your database hostname or IP Address to test the connection.
To know more about how to get the database information, please visit this page: How to Add a Database to Your CodeGuard Account.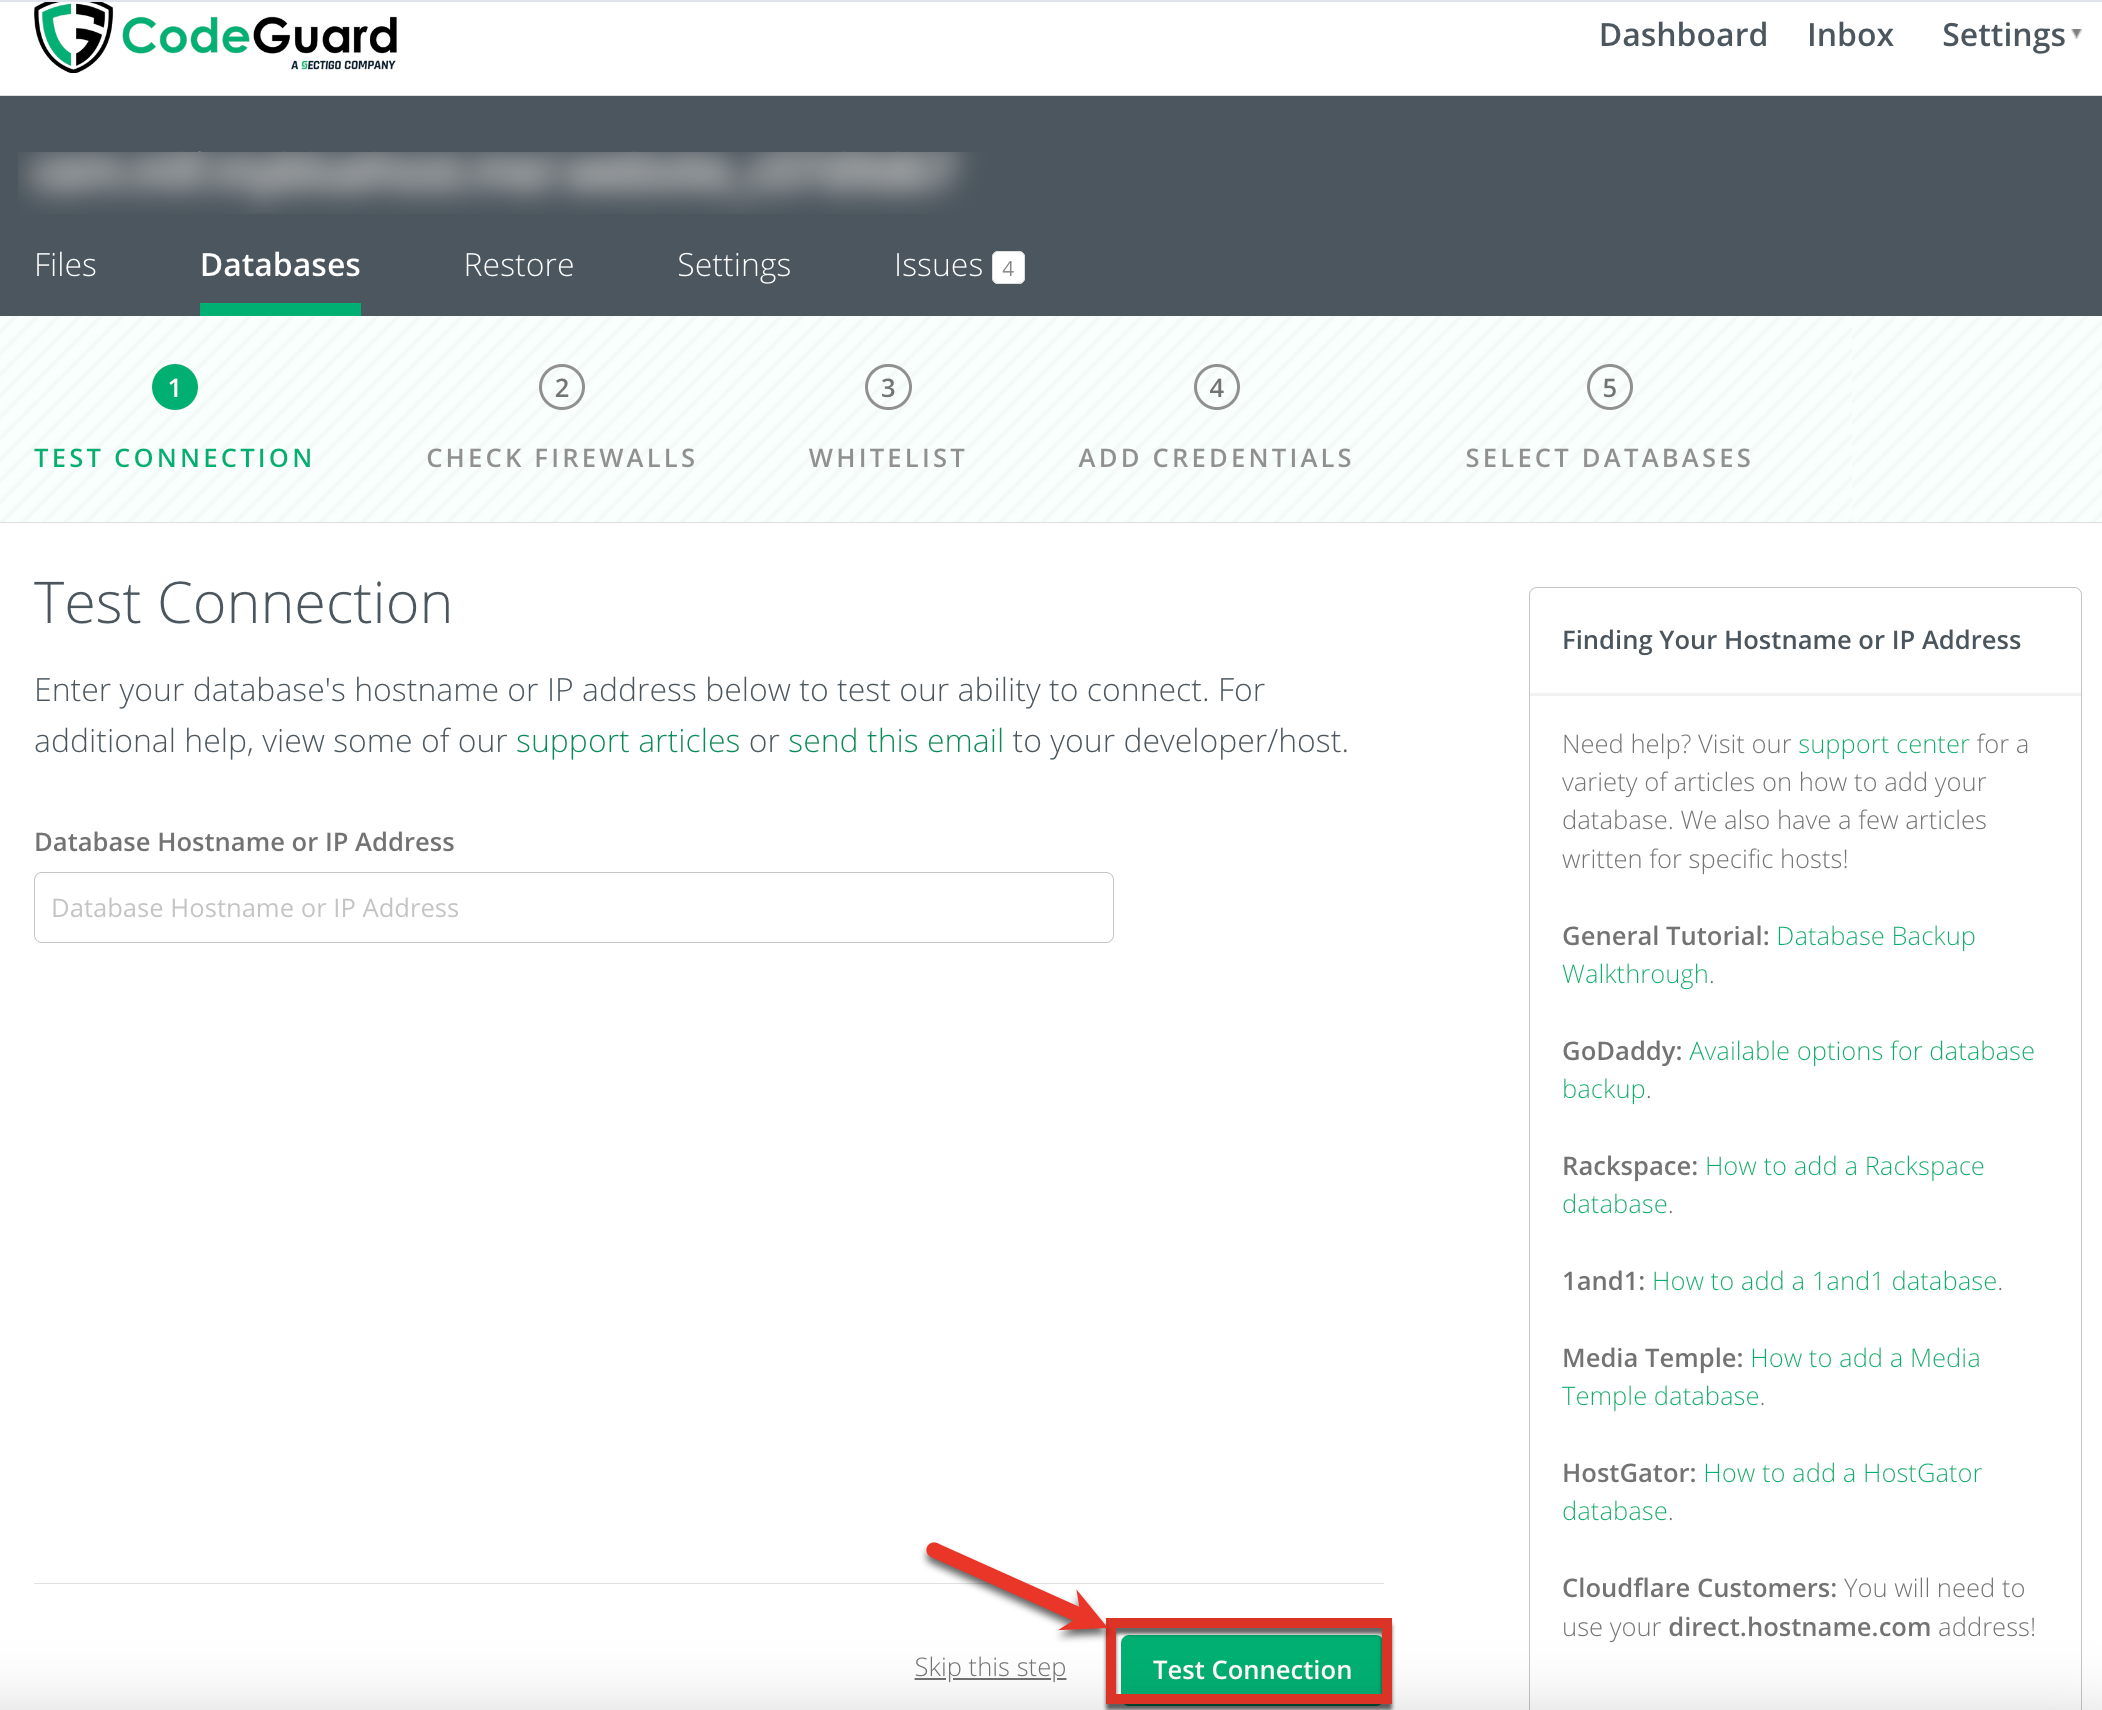
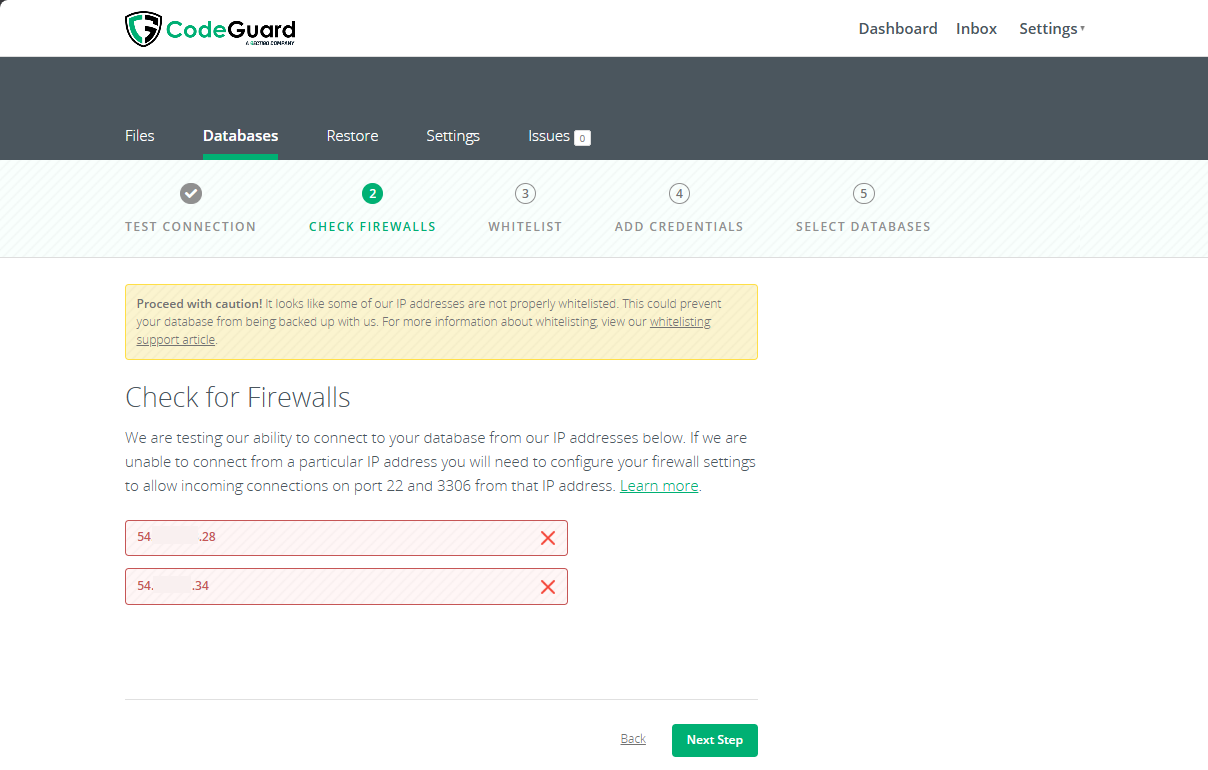
- After testing the connection, check firewalls, then click Next Step.
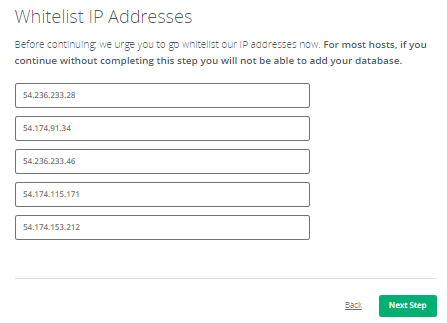
- Make sure all IP Addresses are listed, then click Next Step.
- You will be asked to enter database credentials. Add the database username and password, and click Next Step.
- Add any other databases you wish to have backed up, then click Next Step.
Congratulations! The first scan has been set up. You can return to the Dashboard to monitor progress at any time.
Summary
Setting up CodeGuard backups is essential for protecting your website and data. By following the steps in this guide, you can be assured that your site is protected and secure. Never forget to monitor your backups regularly and update the settings as you may like. With CodeGuard in effect, you can have full confidence that your website is entirely secure.
If you need further assistance, Bluehost Chat Support is available 24 hours a day, 7days a week while Bluehost Phone Support is available 7 days a week from 7 am-12 midnight EST.
- Chat Support - While on our website, you should see a CHAT bubble in the bottom right-hand corner of the page. Click anywhere on the bubble to begin a chat session.
- Phone Support -
- US: 888-401-4678
- International: +1 801-765-9400
You may also refer to our Knowledge Base articles to help answer common questions and guide you through various setup, configuration, and troubleshooting steps.