Configuring Your Server with WHM (Part 2)
This guide continues the process of configuring WHM. If you are new to WHM, the setup process may feel overwhelming at first. This article covers several essential steps and foundational settings required to properly prepare your server.
*The appearance and layout of your control panel may vary depending on your WHM/cPanel version, theme, and operating system. Despite these differences, the available features and functionality remain largely the same.
This tutorial focuses on continuing the initial setup of a cPanel server. Use the links below to jump to specific sections.
Skeleton Directory
The skeleton directory defines the default file and folder structure applied to newly created cPanel accounts. Any content placed in this directory is automatically copied into each new account’s /public_html and /public_ftp directories during account creation.
To locate the skeleton directory:
- Sign in to WHM.
- Search for Skeleton Directory using the search field on the left-hand menu or at the top of the WHM dashboard.
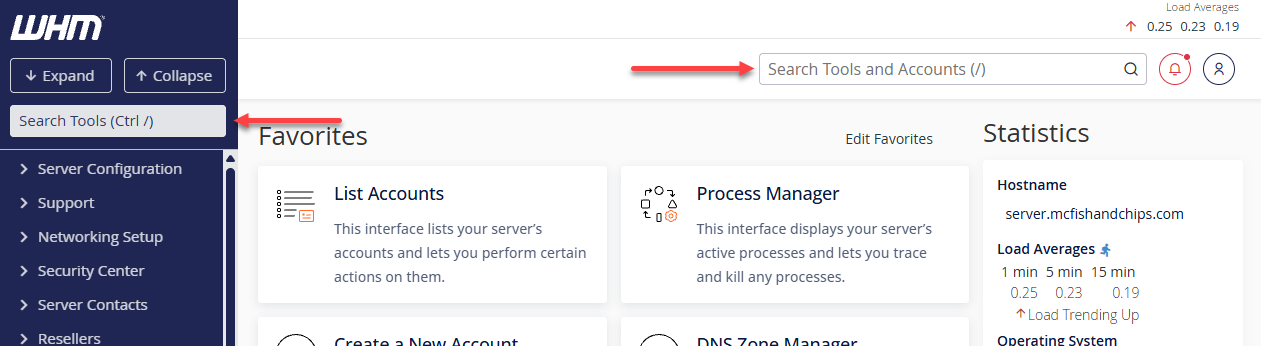
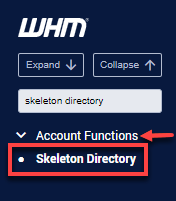
Alternatively, expand the Account Functions section in the left menu, then click Skeleton Directory.
- The full system path of the root user’s skeleton directory is shown at the top of the page (for example:
/root/cpanel3-skel).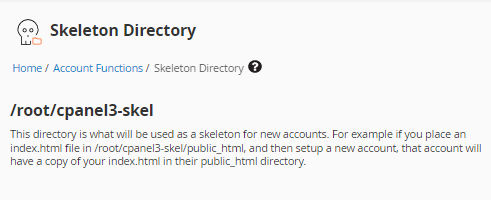
If you need to customize the skeleton directory:
- Create and organize the required folders.
- Upload the files that should be duplicated across new accounts using an FTP (or SCP) client, or via the command line.
- These files will automatically be copied into new accounts during account creation.
Unlike reseller skeleton directories, the root user’s skeleton directory cannot be accessed through File Manager. For security reasons, FTP access for the root user should remain disabled. Using an SCP-capable client is recommended when transferring files to root-only directories.
Add the Account for the Primary Domain
WHM enables you to create a cPanel account for your primary domain. For step-by-step instructions, refer to the article below:
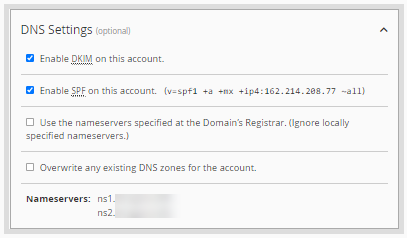
If you want to replace an existing DNS zone, check Overwrite any existing DNS zones for the account under the DNS Settings section.
DNS Zone
The next step is configuring DNS records for your hostname and name servers within the DNS zone of your primary domain.
Step 1: Access the DNS zone editor.
- Log in to WHM.
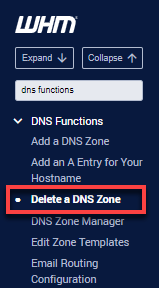
- Locate DNS Functions via the search bar or the left-hand menu.
Step 2: Remove unnecessary preconfigured DNS zones.
- Select Delete a DNS Zone from the DNS Functions menu.
- Choose the zones to delete, using CTRL to select multiple entries.
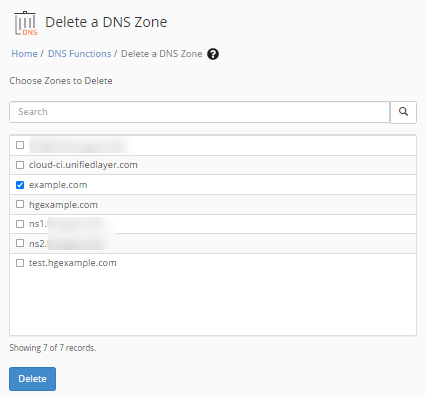
- Click Delete.
Step 3: Manage DNS records.
Once the domain zone exists, remove separate hostname and nameserver zones and add the required records directly into the domain zone to prevent conflicts.
- Select DNS Zone Manager under DNS Functions.
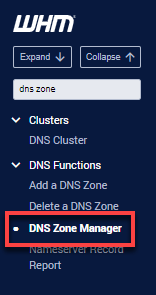
- Find the appropriate domain and click Manage.
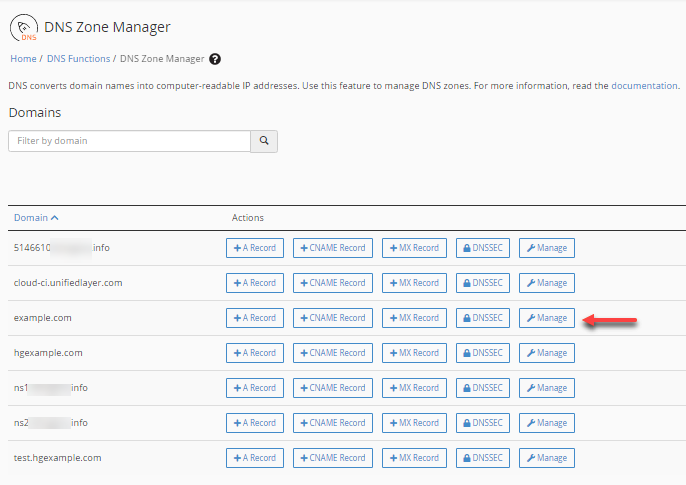
- Edit or add records using the Edit or +Add Record buttons.
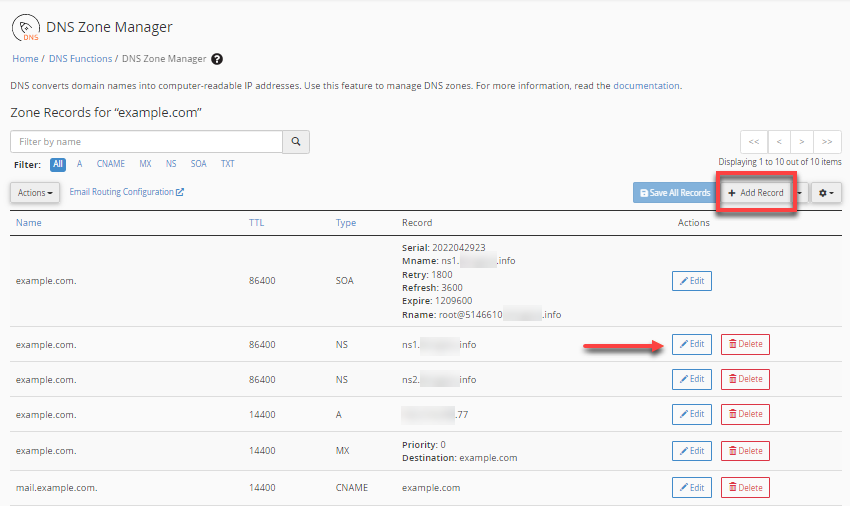
- Save your changes by clicking Save Record.
Adding an A Record
Ensure fully qualified domain names end with a period (.) when used as absolute references. Avoid pointing A records to hostnames; use CNAME records instead.
Adding an SPF Record
SPF records define which servers are authorized to send email for a domain. These are added as TXT records and are critical for email deliverability.
Accept Local Email
- Always enable local mail acceptance, even if the primary MX record points elsewhere.
- Since email is hosted on this server, keep this option enabled.
DNS Settings and Email
SPF records should ideally be added to the DNS zone template so they are automatically included for every new domain.
Ensure the PTR (reverse DNS) record for your primary IP resolves to your hostname. Since PTR records are controlled by the IP provider, contact them to request updates.
Incorrect or missing PTR records can cause email delivery failures with some mail servers.
Server Contacts
System-generated messages from cPanel, Apache ("nobody"), and root should be forwarded to a monitored email address.
Configure these settings in Edit System Mail Preferences to ensure all alerts reach the intended inbox.
Contact Manager
The Contact Manager determines which system events trigger alerts and how notifications are delivered.
Use the Communication Type and Notifications tabs to adjust priority levels and delivery methods.
SQL Services
The MySQL root user initially has no password, which poses a security risk.
Set a strong password for the MySQL root user using the built-in password generator in WHM. This password can always be reset if necessary.
Server IP addresses
IP addresses are allocated by the hosting provider and may be assigned in blocks. Your server typically has all initial IPs configured automatically.
Additional IPs can be viewed and managed under IP Functions in WHM.
Congratulations! You have now completed the essential steps for the initial setup of a cPanel server using WHM.
Summary
The guide outlined the essential post-installation steps for configuring a cPanel server using WHM, including skeleton directory setup, account creation, DNS management, email configuration, system notifications, SQL security, and IP address verification. Following these steps helps ensure a secure, well-organized, and fully functional hosting environment.
If you need further assistance, Bluehost Chat Support is available 24 hours a day, 7days a week while Bluehost Phone Support is available 7 days a week from 7 am-12 midnight EST.
- Chat Support - While on our website, you should see a CHAT bubble in the bottom right-hand corner of the page. Click anywhere on the bubble to begin a chat session.
- Phone Support -
- US: 888-401-4678
- International: +1 801-765-9400
You may also refer to our Knowledge Base articles to help answer common questions and guide you through various setup, configuration, and troubleshooting steps.