VPS & Dedicated Hosting: How to Set Up Custom Name Servers
Custom name servers must manage multiple cPanel accounts on a VPS and a Dedicated plan. This guide walks through how to set up Custom Name Servers, ensuring your domains point correctly and reliably to your server.
When to Use Custom Name Servers
If you're hosting multiple websites or reselling web hosting through WHM, setting up private (custom) name servers gives your hosting environment a more professional appearance and full DNS control.
Set Up Custom Name Servers
Once you’ve added your custom nameservers, the next step is to ensure they are properly connected to your server. This requires setting up custom A records so your nameservers point to the correct IP address.
Add the Custom Nameservers
- Log in to your Bluehost Portal.
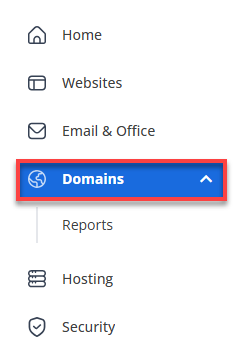
- In the left-hand menu, click Domains.
- If you have one domain in your account, you will be taken directly to the domain management panel.

- If you have multiple domains in your account, click the domain you wish to manage to access the domain management panel.
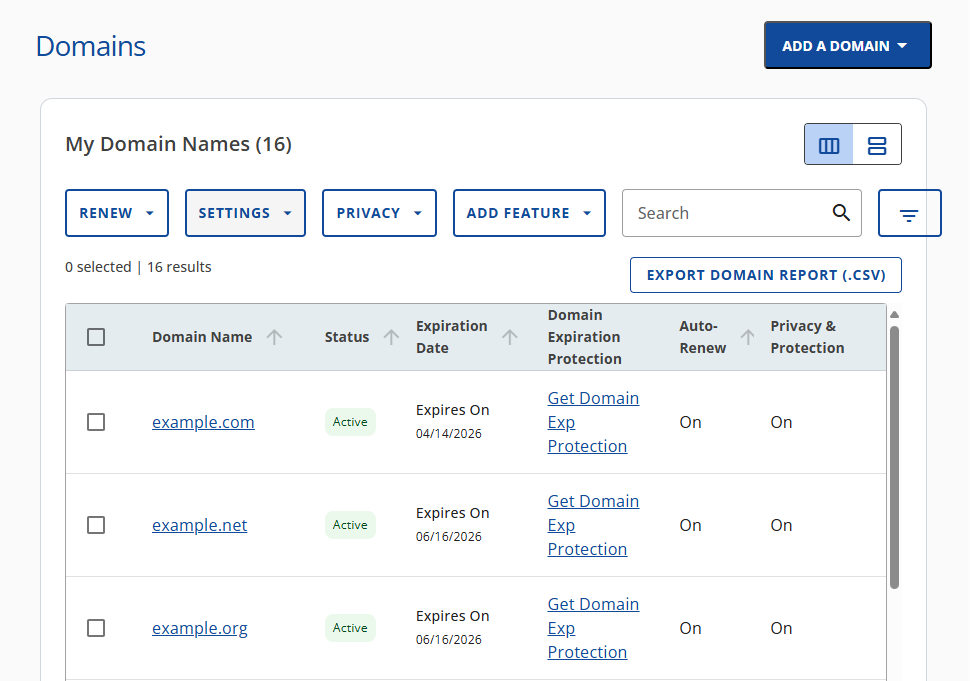
- If you have one domain in your account, you will be taken directly to the domain management panel.
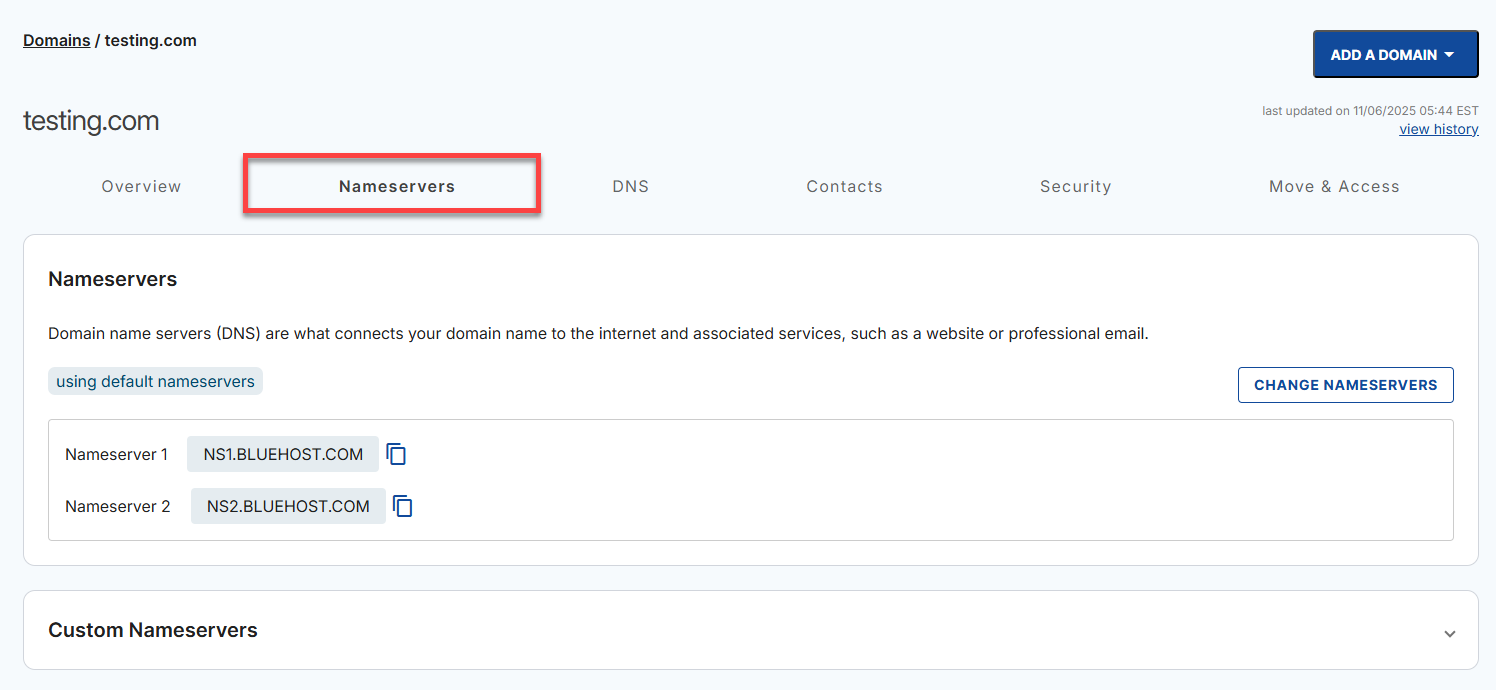
- Go to the Nameservers tab.
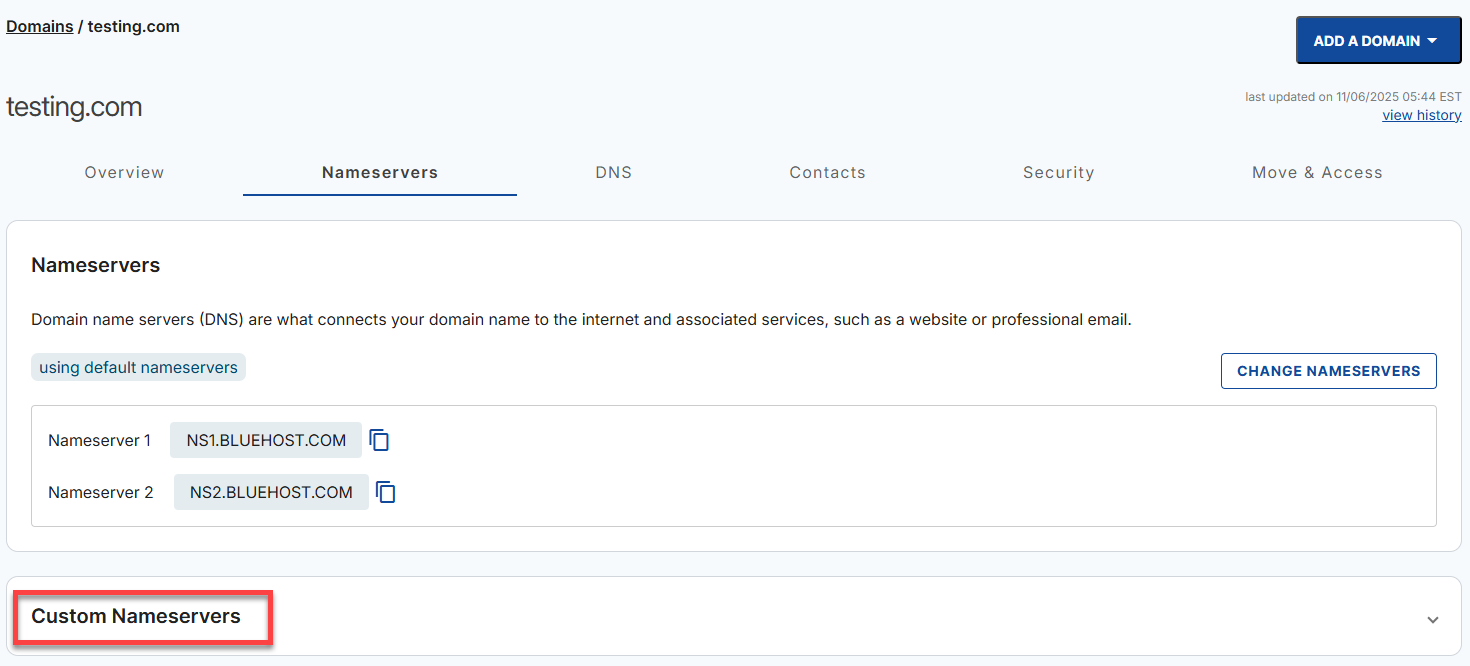
- Click Custom Nameservers.
- Click + ADD.

- Enter the customized nameserver and make sure to include the IP address. Click ADD.

Set Custom A Records for Nameservers
If not already done, you must point these custom nameservers to your server's IP address.
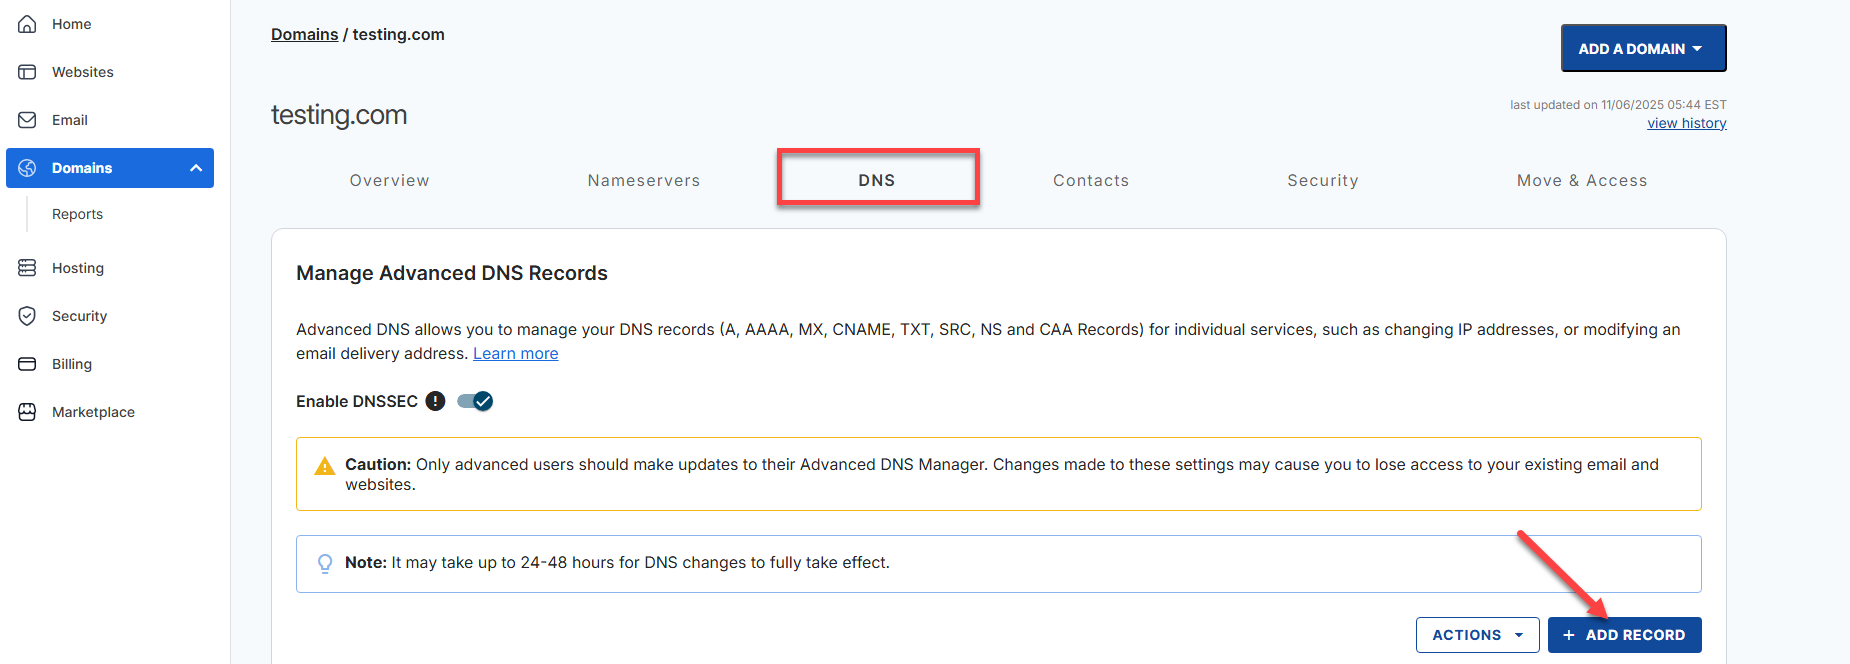
- From the Domain Overview page, click the DNS tab.
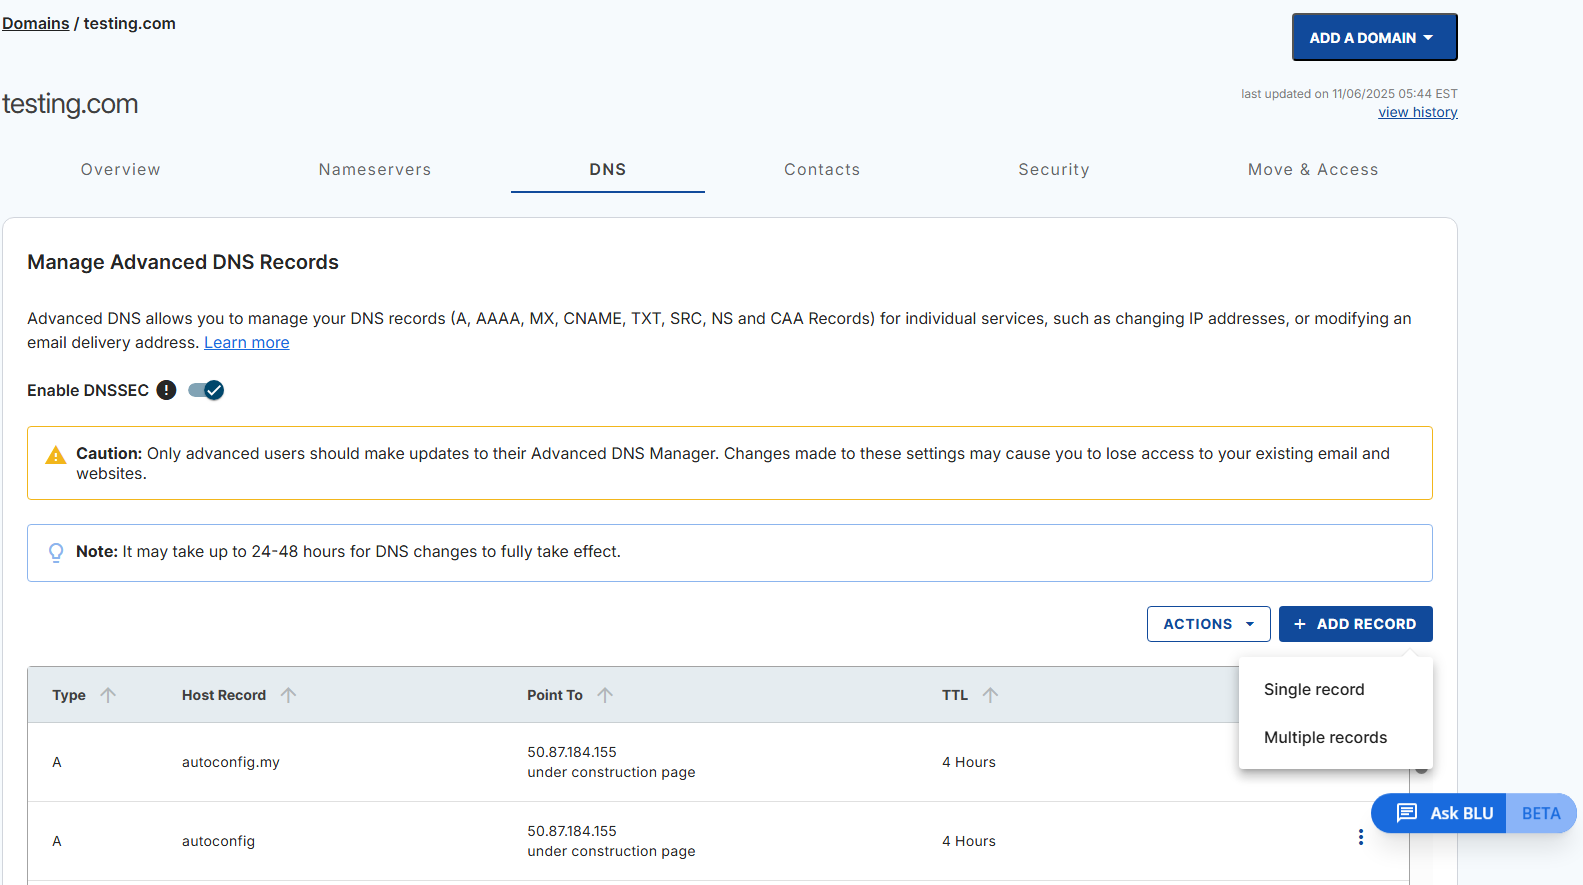
- In Manage Advanced DNS Records, click the + ADD RECORD button.
- You can either add Single or Multiple Advanced DNS records.
- If you choose the Single record option, you can only add one DNS record at a time.
- Select the record type and enter its values.
- If you choose the Multiple records option, you can add one or more DNS records.
- Select the record type from the dropdown.
- Click CONTINUE, then the ADD MORE RECORDS button to add more DNS records.
- If you choose the Single record option, you can only add one DNS record at a time.
- Enter:
- Name:
ns1/ns2 - Value: your server's IP address
- TTL: default or 14400
- Name:
- Save the record.
Register Custom Nameservers with a Third-Party Domain
If your domain is registered outside Bluehost, you must register these nameservers through your registrar's dashboard. This process varies, so here are some helpful links:
- GoDaddy: Edit My Domain Name Servers
- Namecheap: How do I register personal nameservers for my domain?
- Domain.com: DNS: Guide to Understanding Domain Name System.
Summary
Correctly setting up custom name servers is critical to ensuring full control and branding for your VPS and Dedicated hosting environment. From configuring A records to updating third-party registrar settings, following these steps guarantees reliable DNS routing and a polished, professional domain setup.
If you need further assistance, Bluehost Chat Support is available 24 hours a day, 7days a week while Bluehost Phone Support is available 7 days a week from 7 am-12 midnight EST.
- Chat Support - While on our website, you should see a CHAT bubble in the bottom right-hand corner of the page. Click anywhere on the bubble to begin a chat session.
- Phone Support -
- US: 888-401-4678
- International: +1 801-765-9400
You may also refer to our Knowledge Base articles to help answer common questions and guide you through various setup, configuration, and troubleshooting steps.