How to Set Up Email on Windows 10 Mail
Once you've created an email account in your Bluehost account, you can access, manage, and set up an email on Windows 10 Mail for your convenience. If you have a Windows 10 PC, you'll be pleased to know that it comes with the Windows Mail App installed by default. This app is designed to make it easy to configure your email accounts, manage your inbox, and stay on top of your messages. The Mail App is also available on Windows 8 and its variants, allowing you to follow this guide on both Windows 10 and Windows 8.
One of the great things about the Mail App is that it's designed to be user-friendly and intuitive. This means you don't need to be a tech expert to get started and can easily customize your settings to suit your preferences. For example, you can choose how often the app checks for new messages, whether you want to receive notifications for new messages, and how you want to organize your inbox. If you're looking for a professional email solution to complement your Windows Mail App experience, consider exploring Bluehost's professional email services today!
Set up an Email on Windows 10 Mail
- Type Mail into the search bar next to the start menu.
- Click the Mail icon that appears in the search results.
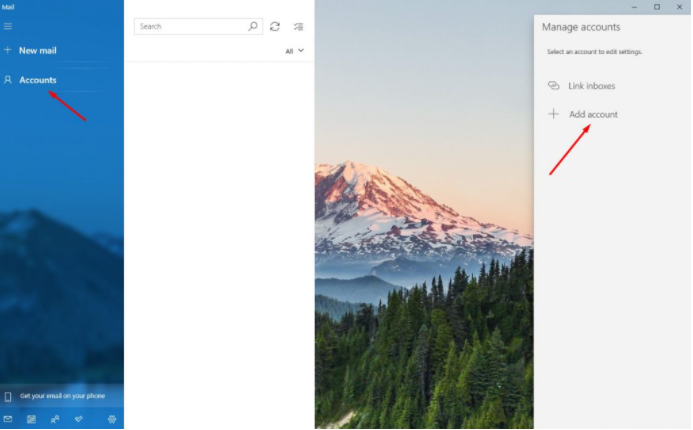
- Launch the Windows 10 Mail App. On the left, you will see an option called Accounts. Click on it, and a new column will slide in on the right. Click on Add Account.
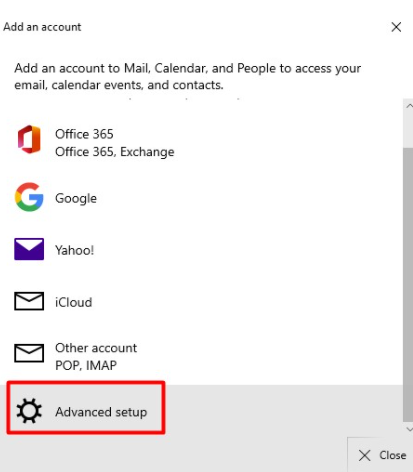
- Select Advanced setup.
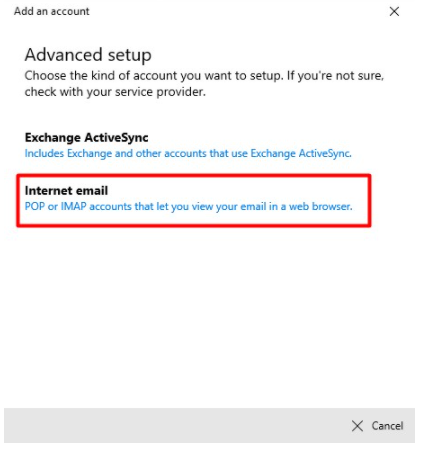
- Select Internet email.
- Refer to the email client settings below, and based on your preferences, enter the respective hostnames, port numbers, and encryption methods for the Incoming Mail and Outgoing Mail servers. Then, click on Next.
Setting SSL/TLS (Recommended) Incoming Server mail.example.com
(Replace "example.com" with your actual domain name.)Incoming Port 993 (IMAP) or 995 (POP3) Outgoing Server mail.example.com
(Replace "example.com" with your actual domain name.)Outgoing Port 465 (SMTP) Authentication Password Setting Non-SSL Incoming Server mail.example.com
(Replace "example.com" with your actual domain name.)Incoming Port 143 (IMAP) or 110 (POP3) Outgoing Server mail.example.com
(Replace "example.com" with your actual domain name.)Outgoing Port 25 (SMTP) or 587 (Alternate) Authentication Password - Your email account has been configured successfully!
Click on Done to conclude the process.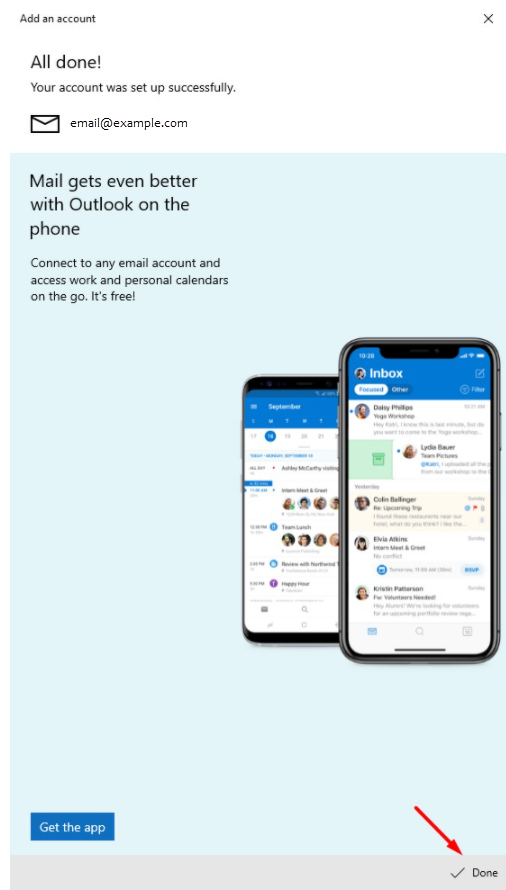
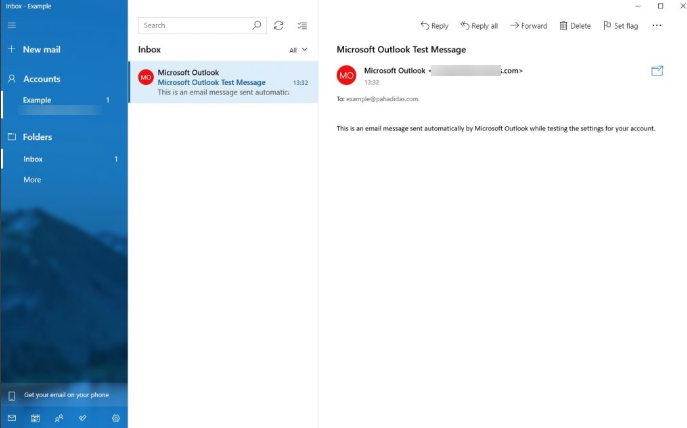
- You can now send and receive emails from your email client.
If you have any trouble configuring your email client, double-check the settings you've entered. You should also make sure your domain name is pointed to Bluehost. If your domain isn't registered with Bluehost, you may need to update your domain's name servers. For more information on this, refer to the Change Nameservers with Other Registrars article.
Summary
The Windows Mail App is a powerful yet intuitive tool for managing your email accounts on Windows 8 and 10 devices. Following the instructions in this article on setting up an email on Windows 10 Mail, you can easily set up your email account on the app and customize your settings to suit your preferences. With its user-friendly interface and advanced features, the Windows Mail App is a great choice for anyone looking to stay on top of their messages, no matter where they are.
If you would like to know more about the settings that you need to use for your email account and access links to our setup guides for the most commonly used email clients, please visit the How to Set Up cPanel Email with POP and IMAP Settings article.
If you need further assistance, Bluehost Chat Support is available 24 hours a day, 7days a week while Bluehost Phone Support is available 7 days a week from 7 am-12 midnight EST.
- Chat Support - While on our website, you should see a CHAT bubble in the bottom right-hand corner of the page. Click anywhere on the bubble to begin a chat session.
- Phone Support -
- US: 888-401-4678
- International: +1 801-765-9400
You may also refer to our Knowledge Base articles to help answer common questions and guide you through various setup, configuration, and troubleshooting steps.