How to Set Up Google Workspace: Initial Setup Guide
Prepare to harness the power of Google Workspace for your business email to enhance team collaboration and productivity. After purchase, you can set up and manage your Google Workspace account in your Bluehost Portal. To learn more about Google Workspace and its features, visit the What is Google Workspace? article.
To learn more about how to purchase Google Workspace, visit the How to Purchase Google Workspace article.
We have created a video that guides you through setting up Google Workspace.
How to Set up Google Workspace
The setup process may vary depending on the domain you used for Google Workspace.
Domain Registered with Bluehost
- Once logged into the Bluehost Portal, click Email in the left menu.
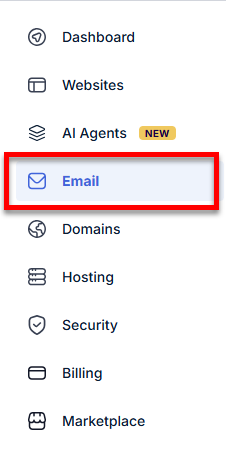
- Click the Google Workspace tab.

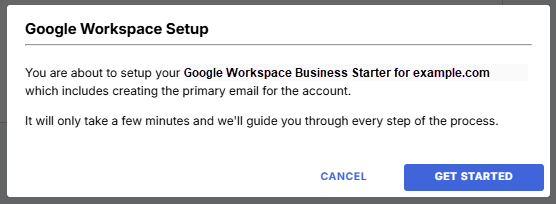
- For new purchases, a pop-up will appear. Click Get Started to proceed.
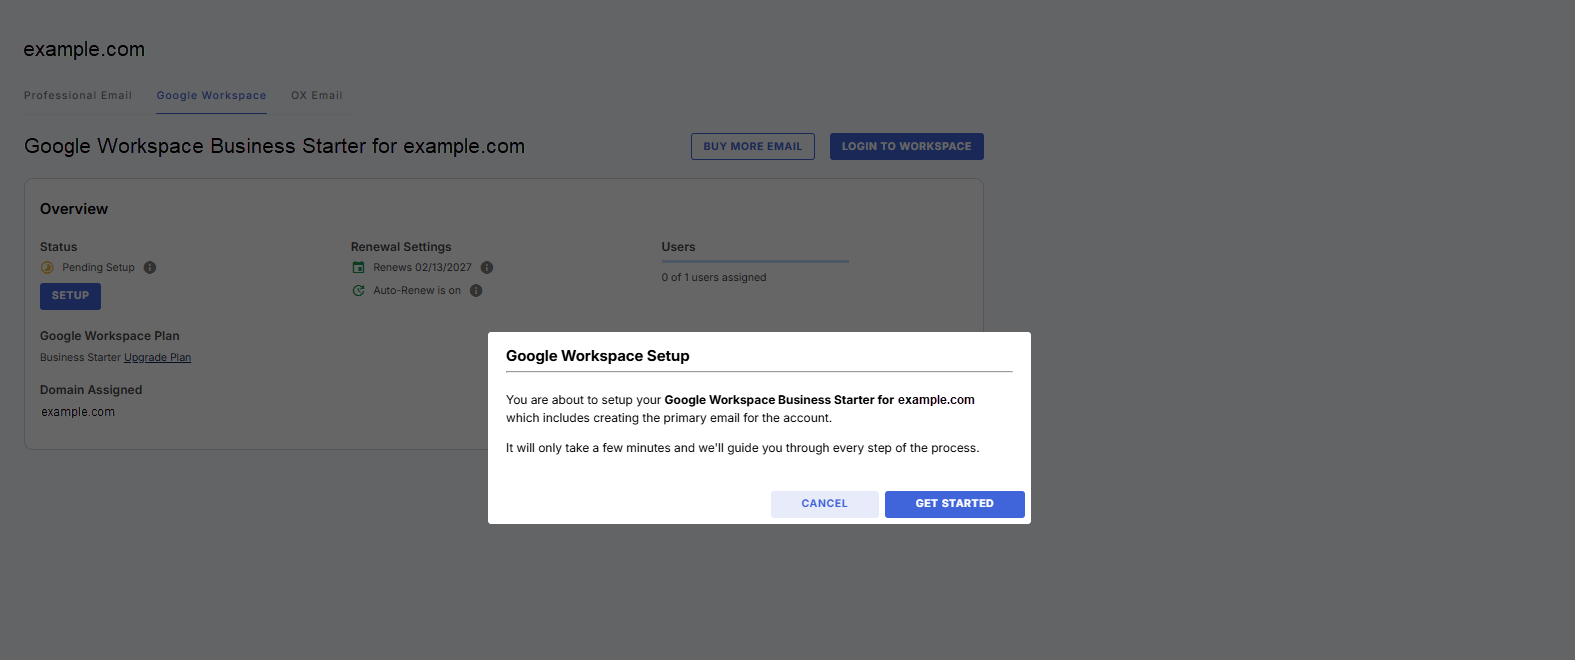
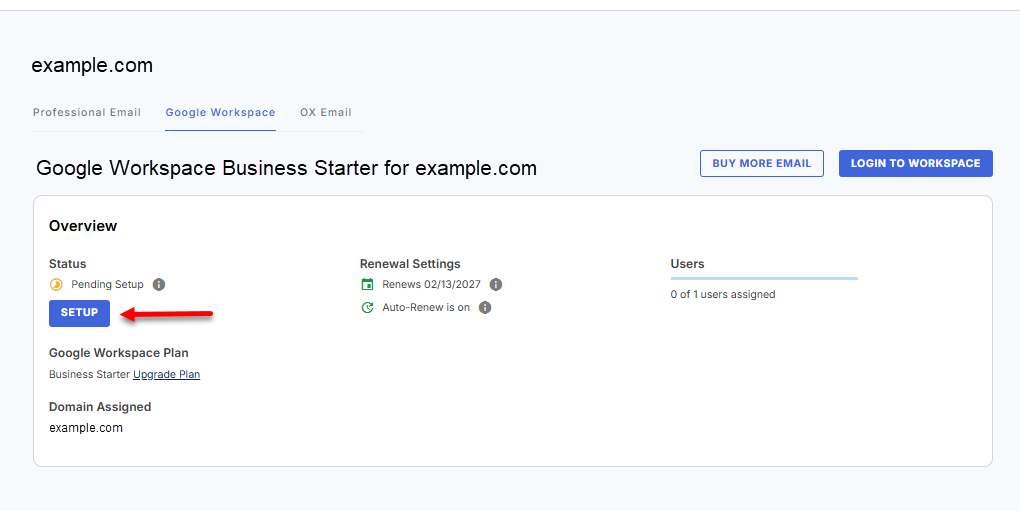
If you missed the pop-up or decide to set it up later, click the Setup button in the Overview button.
- In the pop-up, enter your email username and your name. Providing your organization is optional, so you can leave it blank if you prefer!
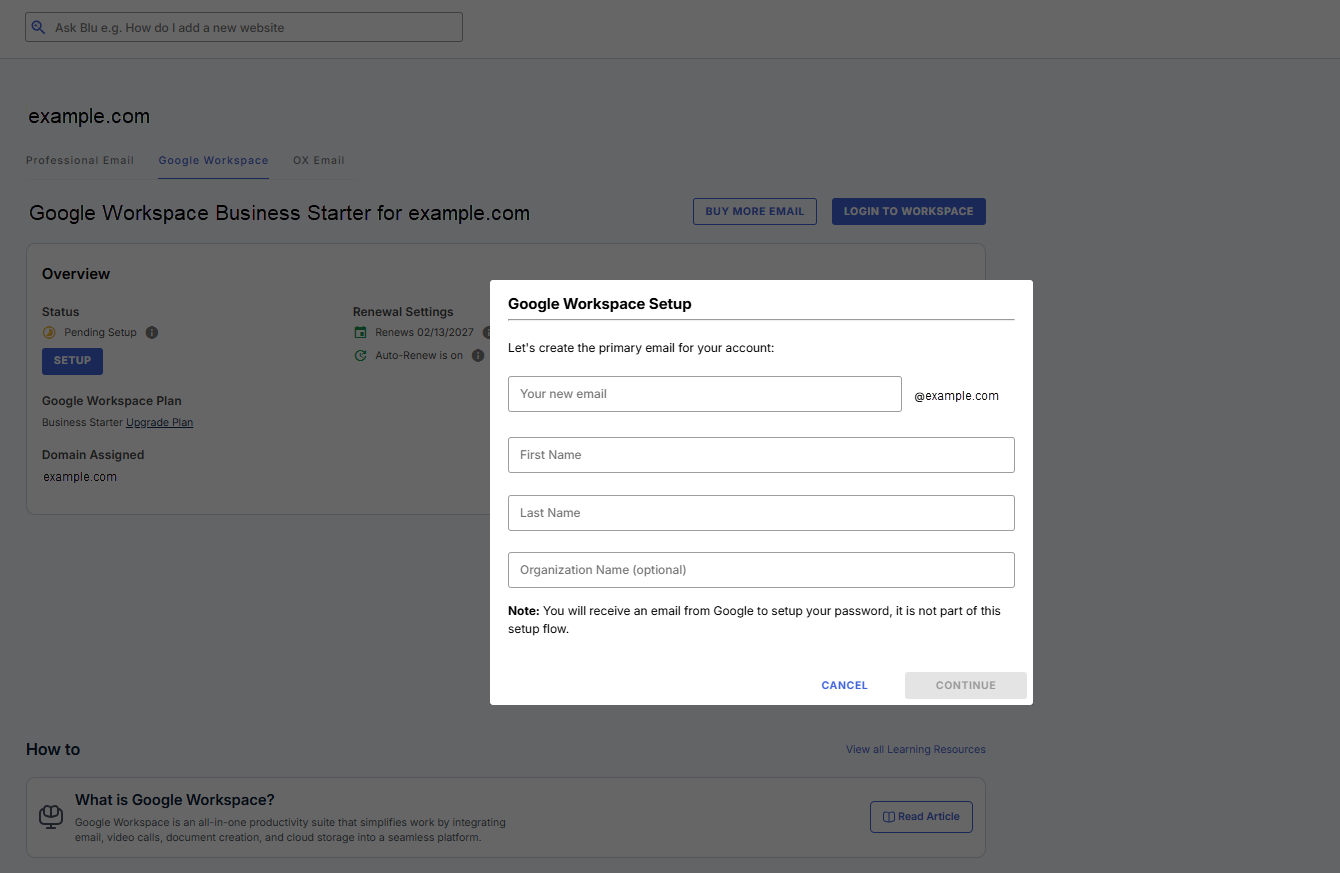
- Click Continue.
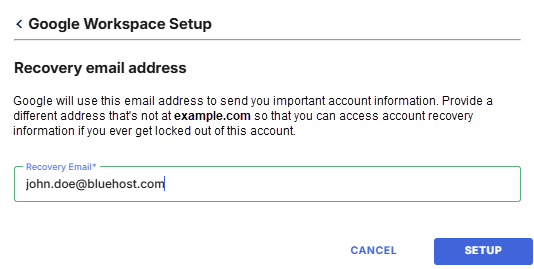
- In the next pop-up, enter your recovery email address, then click Setup.
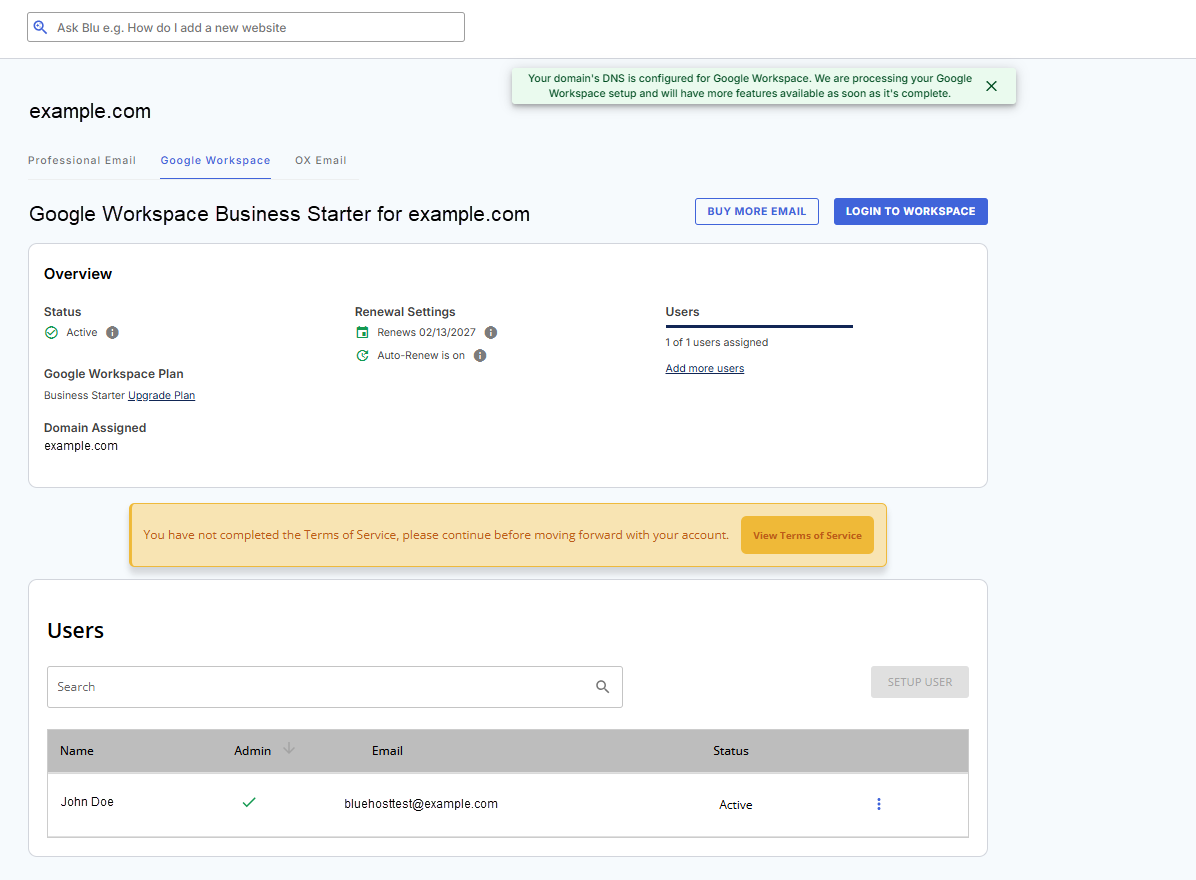
- A banner will appear at the top of the screen to notify you that the setup is in progress. If your domain is registered with Bluehost and is not being used with any other Bluehost email service, your DNS records will be configured automatically.
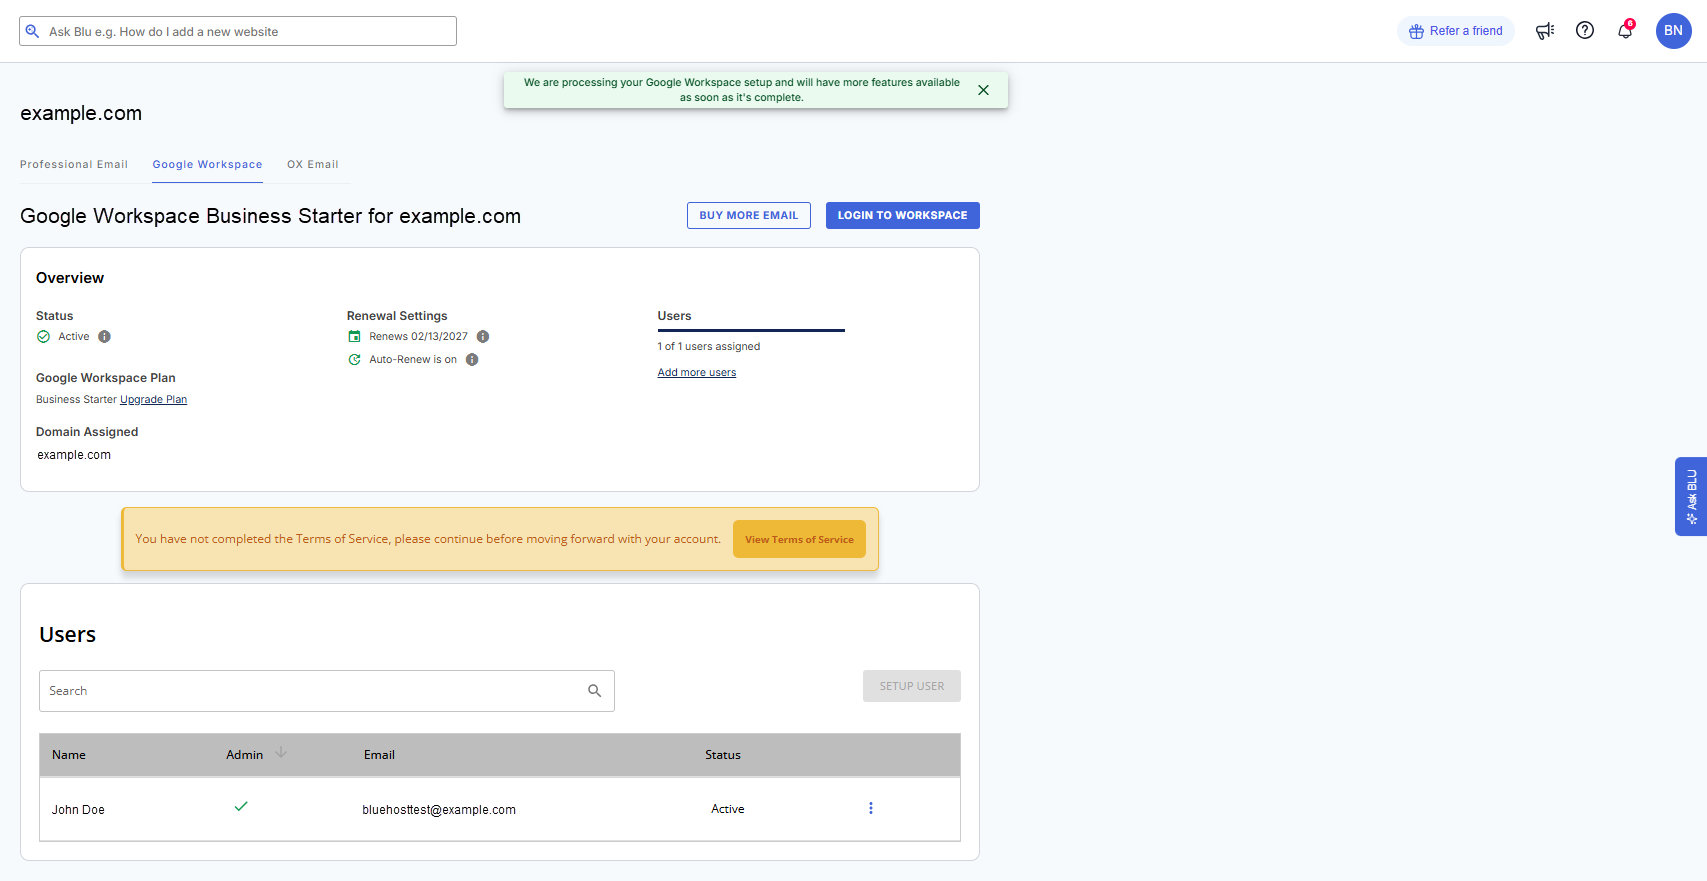
- You can accept your Terms of Service and begin using your Google Workspace account.
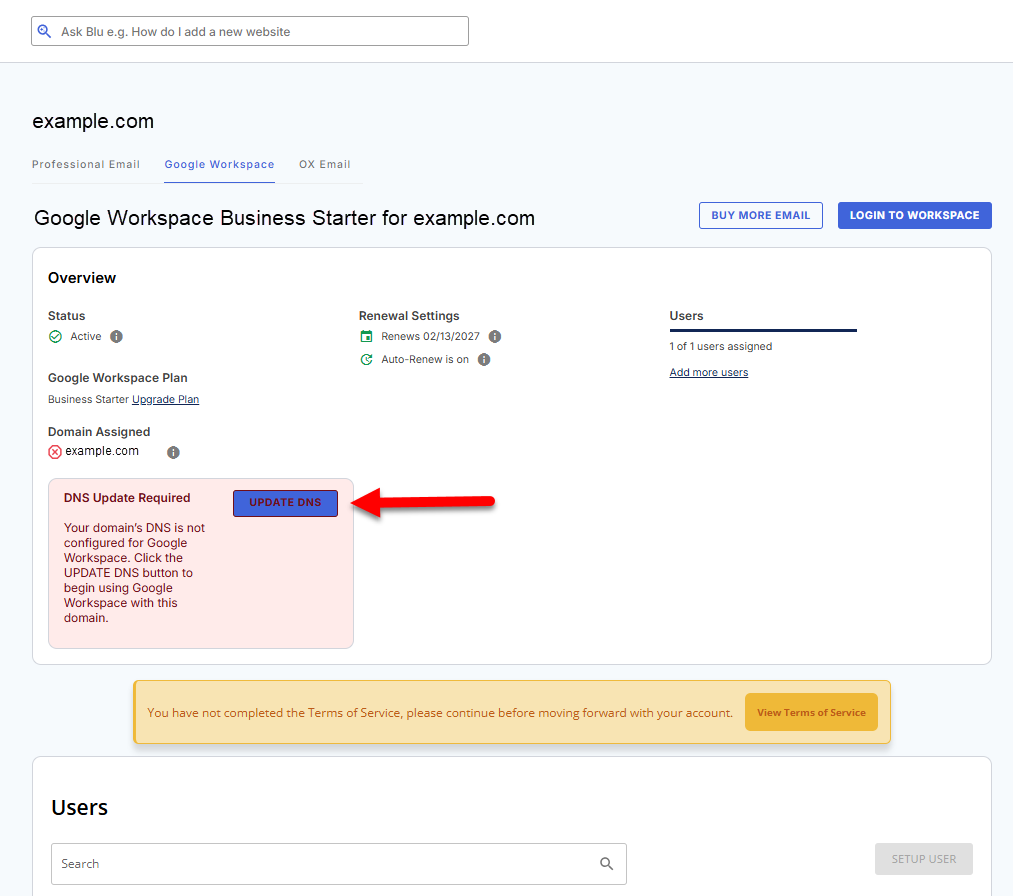
- However, if your domain is currently linked to an existing email service, you will need to update your DNS records. Click Update DNS to proceed.
- In the pop-up, select "Yes, I want to reconfigure my DNS for Google Workspace" and then click on Update DNS. This action will replace any existing email service.
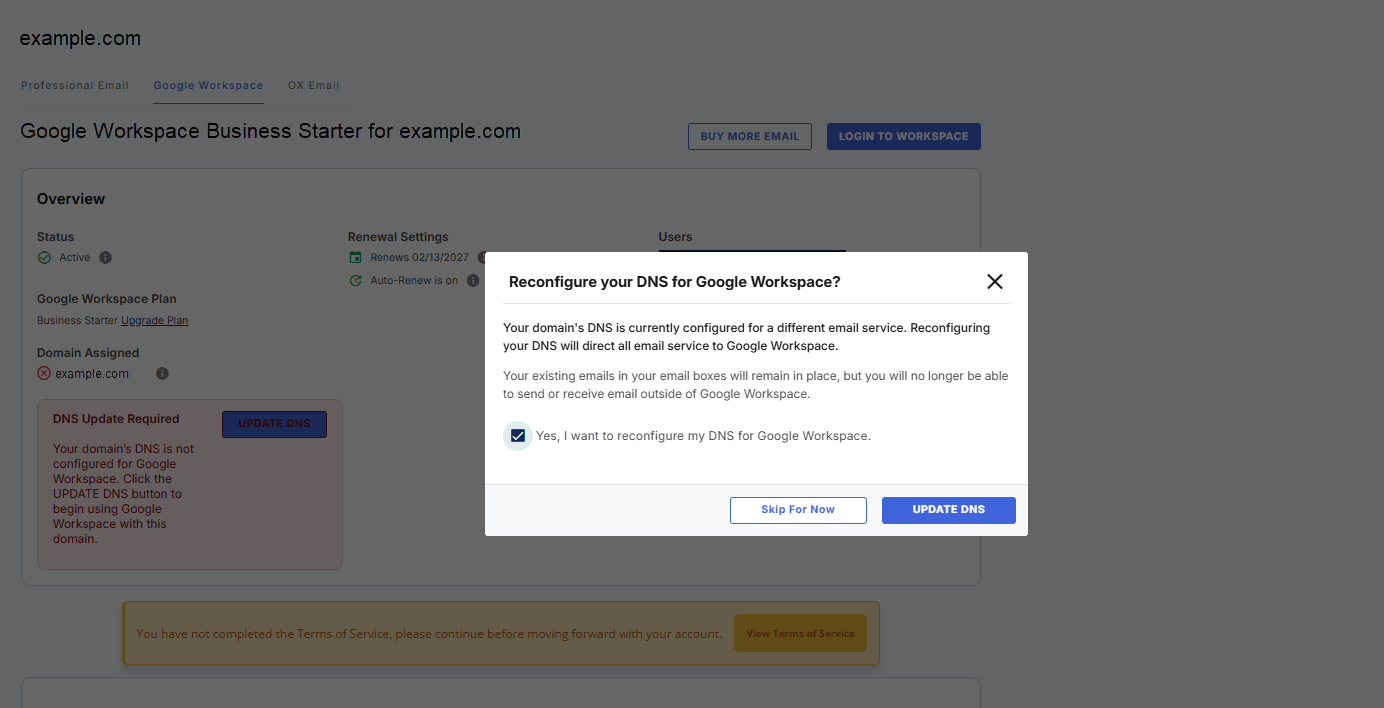
- A banner will appear at the top stating that your DNS is now configured for Google Workspace.
- You can check your MX records by scrolling down to the Advanced section.

Domain Not Registered with Bluehost
If the domain is not registered with Bluehost, there are two extra steps: verify your domain and update your MX records.
Step 1: Verify Your Domain
- In your Bluehost Portal, click Setup.
- In the pop-up, click on Get Started.
- Enter your email username, name, and organization name (optional).
- Enter your recovery email, then click Setup.
- The next step is to copy the verification code provided. This code is in the form of a TXT record. (The image below shows a sample verification code.)

- Navigate to your registrar or hosting provider's domain panel. If you need assistance finding it, please contact their support team.
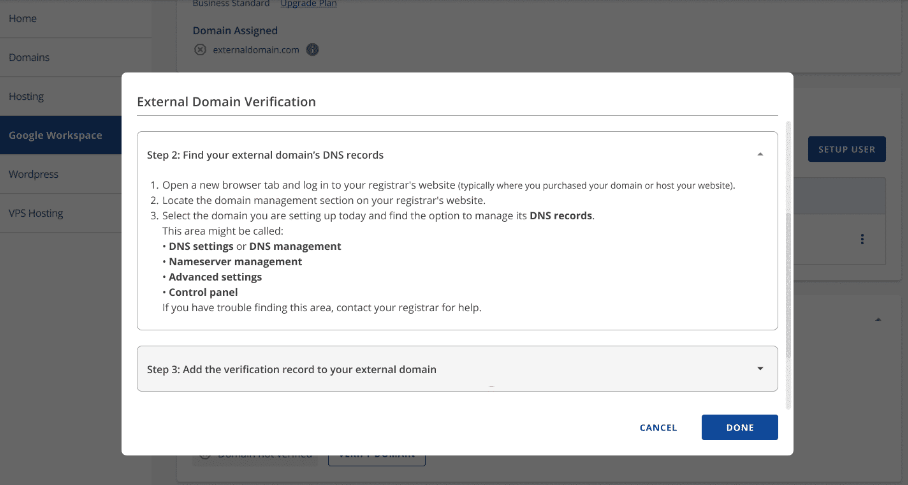
- In the next window, follow the steps to add the verification code to your domain.

- Wait for the TXT record to propagate, then go back to your Bluehost Portal. Click on Verify my Domain to initiate verification by Google.
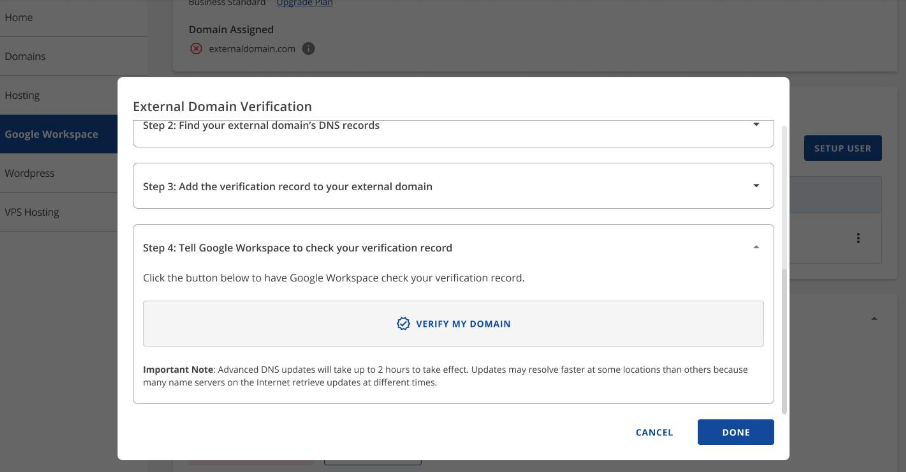
- A prompt will appear to provide you with the status of your domain verification. If Google Workspace couldn't verify it, you will see "Verification failed. Please try again." It might take some time for the changes to take effect. Try verifying your domain again.

If your domain was successfully verified, the prompt will show "Verification successful." You can proceed with updating your domain's MX records.

Step 2: Update Your MX Records
After Google Workspace verifies your domain, you'll need to update the MX records in your registrar or hosting provider's domain panel. For more details on updating MX records, Guide to the DNS Tab in the Bluehost Portal.
If you signed up for Google Workspace ON or AFTER April 2023, here is the MX record values you need:
| Name / Host | Priority | Value / Destination |
|---|---|---|
| Blank or @ | 1 | SMTP.GOOGLE.COM |
If you signed up for Google Workspace BEFORE April 2023, use the following MX record values.
| Name / Host | Priority | Value / Destination |
|---|---|---|
| Blank or @ | 1 | ASPMX.L.GOOGLE.COM |
| Blank or @ | 5 | ALT1.ASPMX.L.GOOGLE.COM |
| Blank or @ | 5 | ALT2.ASPMX.L.GOOGLE.COM |
| Blank or @ | 10 | ALT3.ASPMX.L.GOOGLE.COM |
| Blank or @ | 10 | ALT4.ASPMX.L.GOOGLE.COM |
Wait propagation. Once it's ready, log in to your Google Workspace account, accept the Terms of Service, and enjoy the features of Google Workspace.
How to Manage Google Workspace
Once you've completed the purchase and setup, you can manage your Google Workspace account within your Bluehost Portal.
- In your Bluehost Portal, click on the Email tab, then choose Google Workspace.
- Your Google Workspace plan details will be displayed, including:
- Account status
- Type of plan
- Assigned domain
- Expiration date
- Auto-renewal status
- User assigned
- Advanced settings (Google Workspace MX records)

- In your Google Workspace account, you can:
- Buy more emails (purchase another Google Workspace plan)
- Log in to your Workspace
- Add more users (add seats)
- View your Google Workspace users
- Read email per email account
- Edit user settings
- Change user password
- Manage user aliases
Summary
Streamline your email solutions and elevate your business with Google Workspace through Bluehost! This article offers a detailed guide on how to set up Google Workspace for domains registered with us as well as with other registrars. Discover how to utilize Google Workspace to enhance team collaboration and productivity through its extensive range of features.
If you need further assistance, Bluehost Chat Support is available 24 hours a day, 7days a week while Bluehost Phone Support is available 7 days a week from 7 am-12 midnight EST.
- Chat Support - While on our website, you should see a CHAT bubble in the bottom right-hand corner of the page. Click anywhere on the bubble to begin a chat session.
- Phone Support -
- US: 888-401-4678
- International: +1 801-765-9400
You may also refer to our Knowledge Base articles to help answer common questions and guide you through various setup, configuration, and troubleshooting steps.