How to Connect via SSH or SFTP on Agency Hosting
Unlike Bluehost Shared, VPS, or Dedicated servers, Agency does not have cPanel or File Manager to access website files. To manage files, including uploading or downloading files, you will need to connect via SSH or SFTP, depending on what you’re trying to do. For basic file management, SFTP is recommended for most users, while SSH is recommended for more advanced users who wish to use Bash or WP CLI to manage their website.
Getting Started
To connect via SSH or SFTP, you will first need to create an SSH/SFTP user for the website you're connecting to.
FTP Client
There are many different FTP clients to choose from; however, we generally recommend FileZilla.
SSH Client/Terminal
Depending on the type of computer being used, most operating systems will have a default terminal available for use, but some customers may need to install an SSH client before they can connect. For Windows, we recommend using PuTTY, while Macs come pre-installed with Terminal, and iTerm. Linux has many options for terminals, which will vary depending on which Linux flavor is in use.
Connecting Through FileZilla
FileZilla features both a Quickconnect option and a Site Manager option, which saves your connection for future use.
Quick Connect
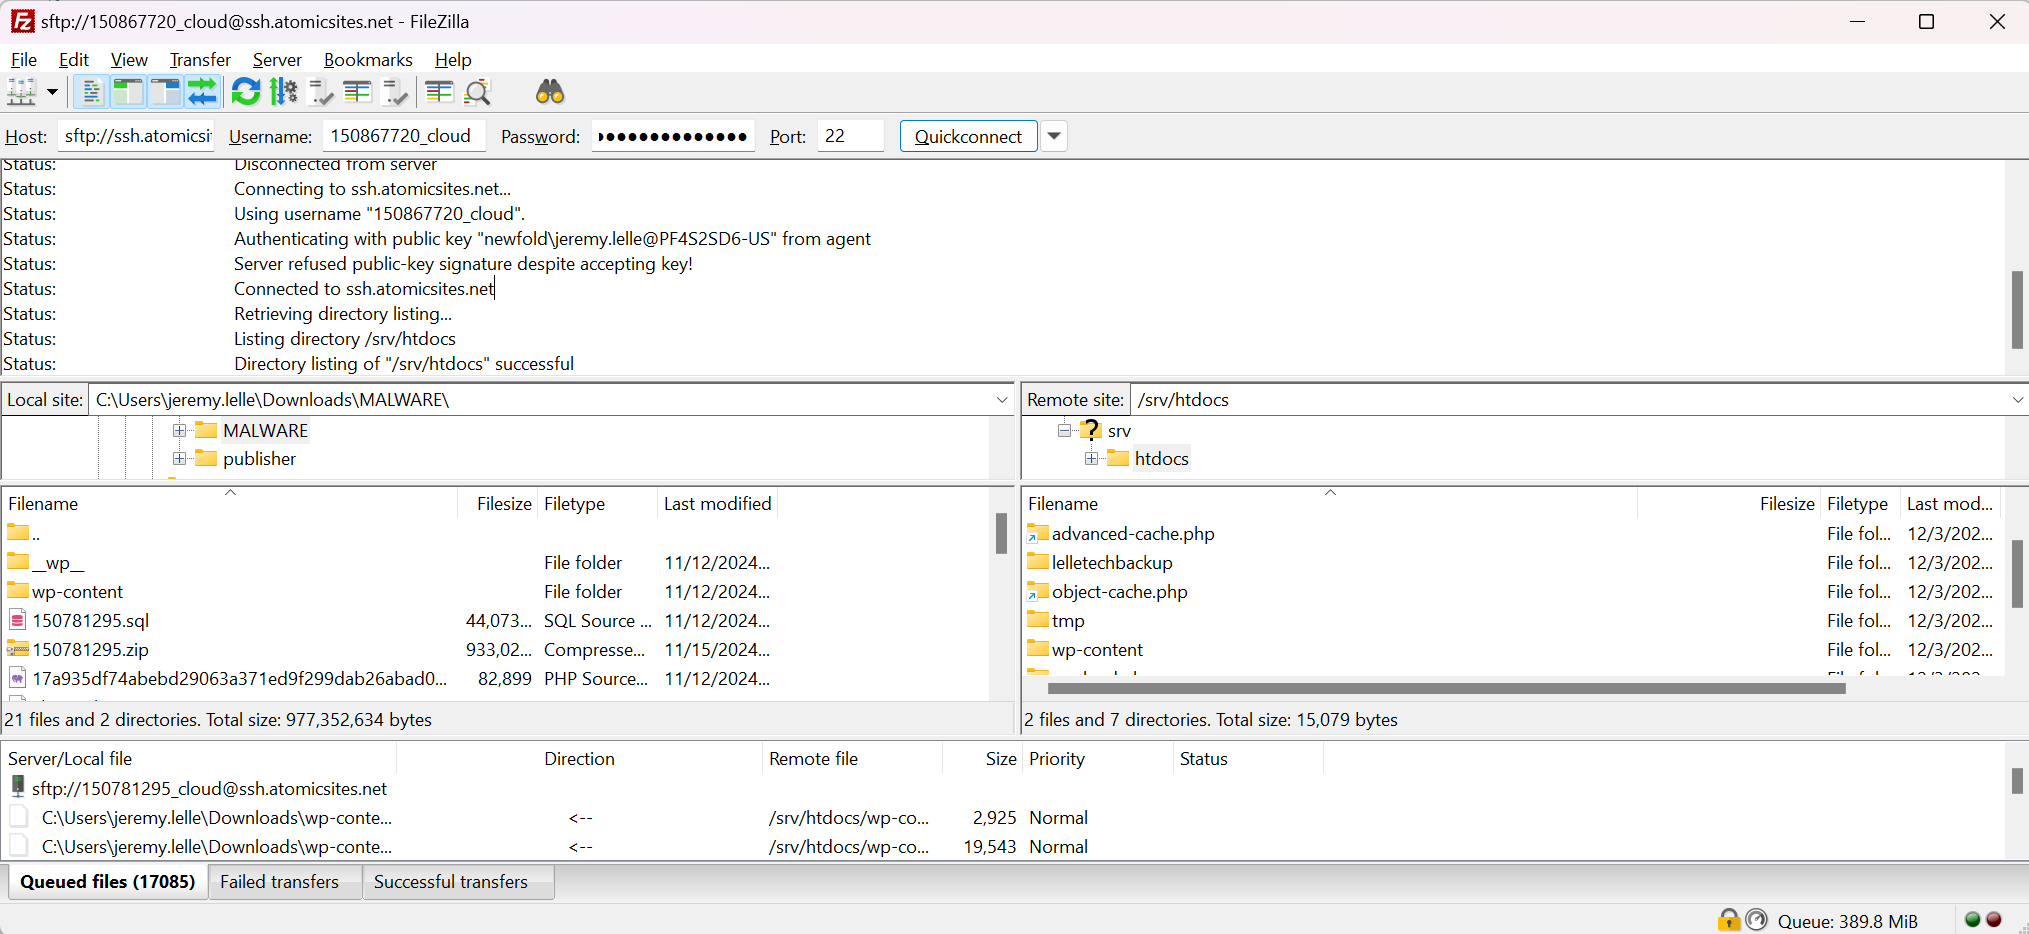
The Quick Connect option is found at the top of the FileZilla window and has four fields to fill out.

- The Host field for Agency will always use the same server: ssh.atomicsites.net
- The Username field will be the user created during the "Getting Started" steps.
- The Password field is the password used when creating the user.
- The Port field for Agency will always use port 22.
After filling out the three required fields, click Quickconnect to initiate a connection to the Atomic server. Pay attention to the output at the top of the window in case there are any errors. If the password, username, port, or host is incorrect, the connection will be refused. In these situations, make sure everything has been entered correctly. In some cases, you may need to recreate the SSH/SFTP user to ensure the password is correct.

If all fields are correct, the output will reflect that the connection was successful, and the content of the ~/htdocs directory will display on the right side of the screen.
At this point, you can drag and drop files or folders from your local computer (seen on the left of the window) to the directory of your choice on the server side (seen on the right side of the screen). You can also delete and create additional directories on the source on the left of the destination on the right.
Site Manager
The Site Manager in FileZilla can be used to save a session for any site(s) that will be accessed frequently. You can create and save each site on a Agency Account through Site Manager to quickly connect with SFTP without needing to re-enter your credentials every time.
Accessing Site Manager
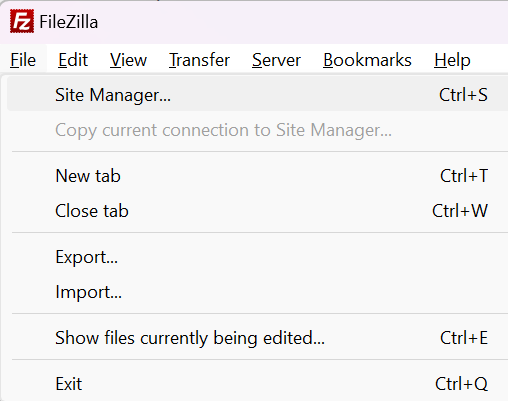
To access the Site Manager, you can either use Ctrl+S on your keyboard or click File at the top of the screen and select Site Manager from the dropdown list.
Adding A New Site
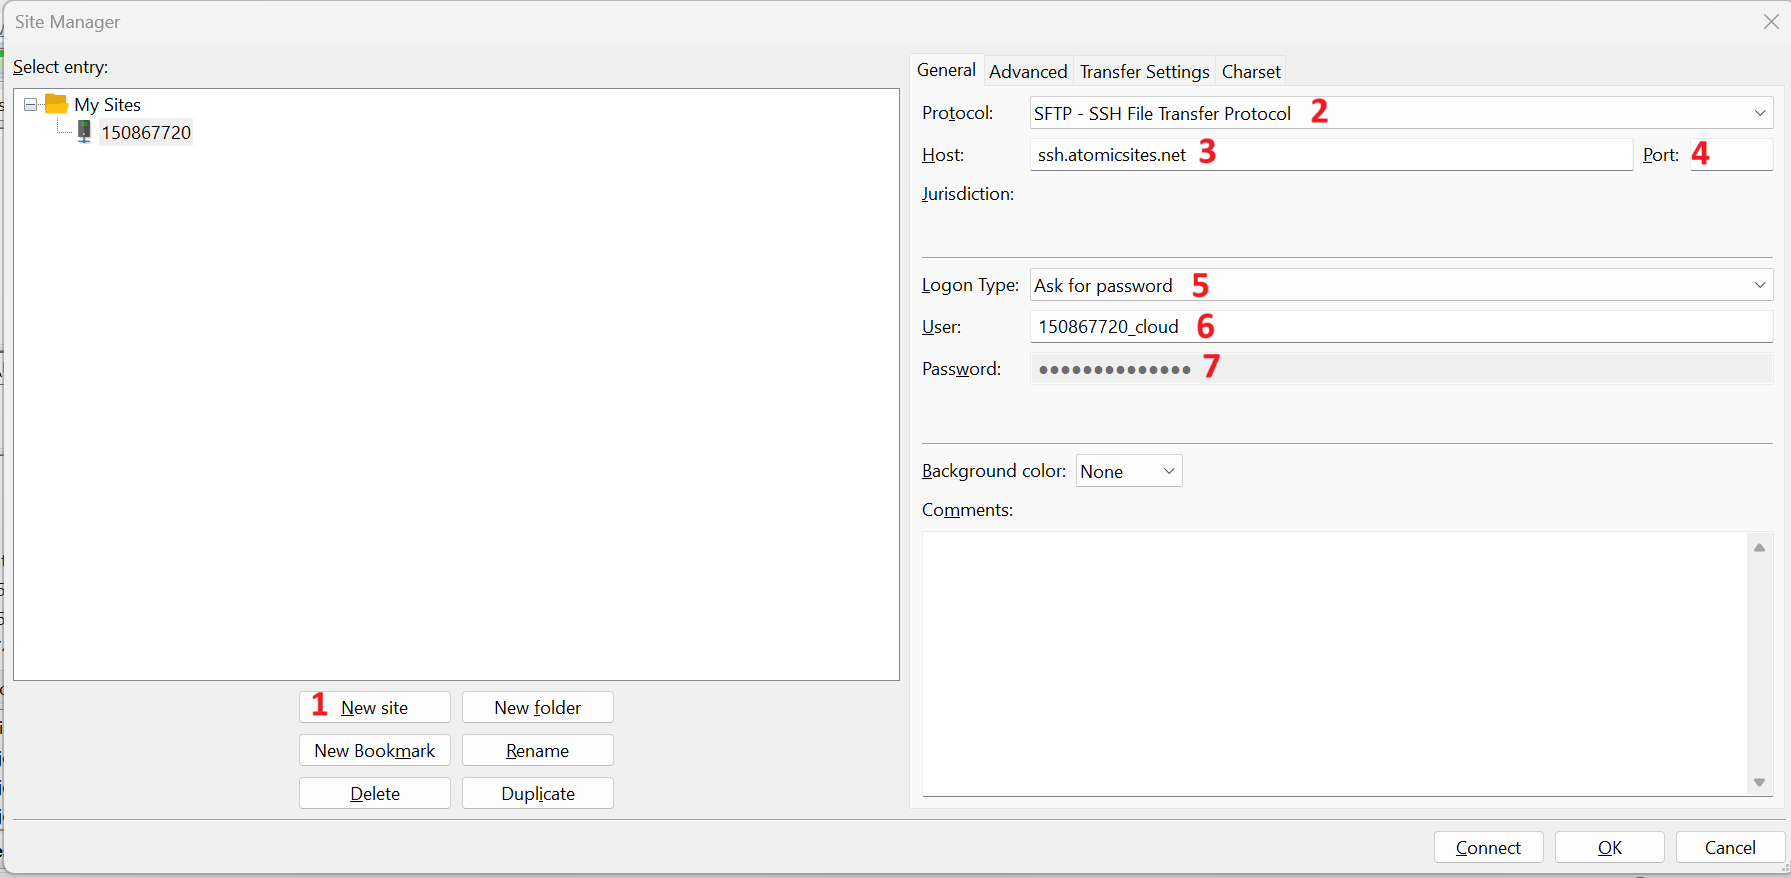
- Click New Site and enter the name of the site. In this example, we're using the site username from above.
- The default protocol is FTP; this will need to be changed to SFTP for the Agency because the agency does not support insecure FTP connections.
- As with Quickconnect, the Host will always be ssh.atomicsites.net for Agency.
- The port will always be 22 for Agency.
- Depending on the security settings for FileZilla, you can either choose Ask for password, which will require you to enter the password to log in, or choose Normal to save the password for the site. For this example, we are using Ask for password.
- Enter the SSH/SFTP username created previously.
- Enter the password for the SSH/SFTP username created previously. With Ask for password selected, you will be prompted to confirm this password when choosing to connect.
Once these fields are filled out, click OK to save the settings without opening a connection or click Connect to immediately open a connection to the server. Either option will save the site within Site Manager.
Connecting through SSH
PuTTY
Much like FileZilla, PuTTY provides the option to save SSH sessions for quick connections to the same server. While setting up and using an SSH key is an option on Agency servers, for simplicity's sake, we will only be covering password authentication in this article.
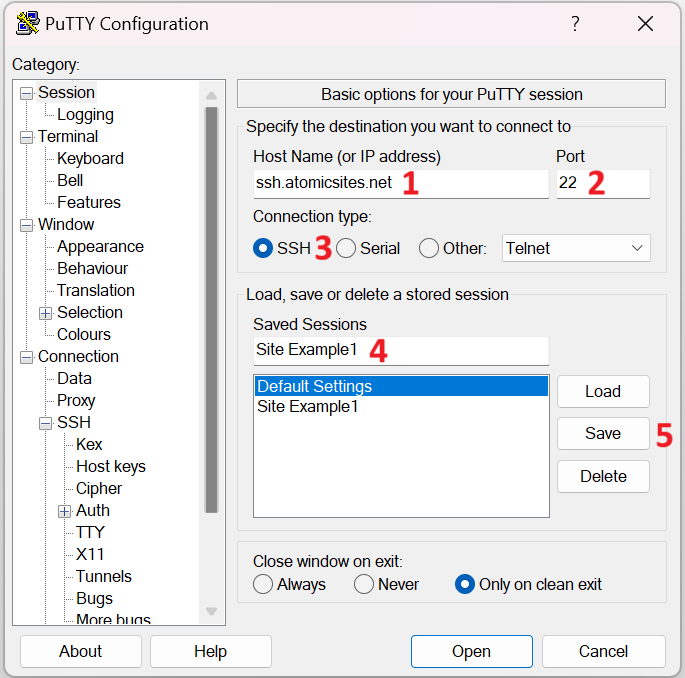
- As with SFTP, the Host Name for Agency will always be ssh.atomicsites.net.
- The SSH port for Agency servers will always be port 22.
- The Connection Type should be set to SSH.
- Enter the name of the site you're connecting to for quick reference. Since all Agency sites use the same server, you can save this session as "Agency" since you'll be selecting the SSH user after opening the connection. You can only have one unique SSH user across all Agency websites, meaning you cannot use the same exact username for each Agency website.
- Click Save to save the settings.
After loading the saved session, click Open at the bottom of the window to connect to the Agency server.
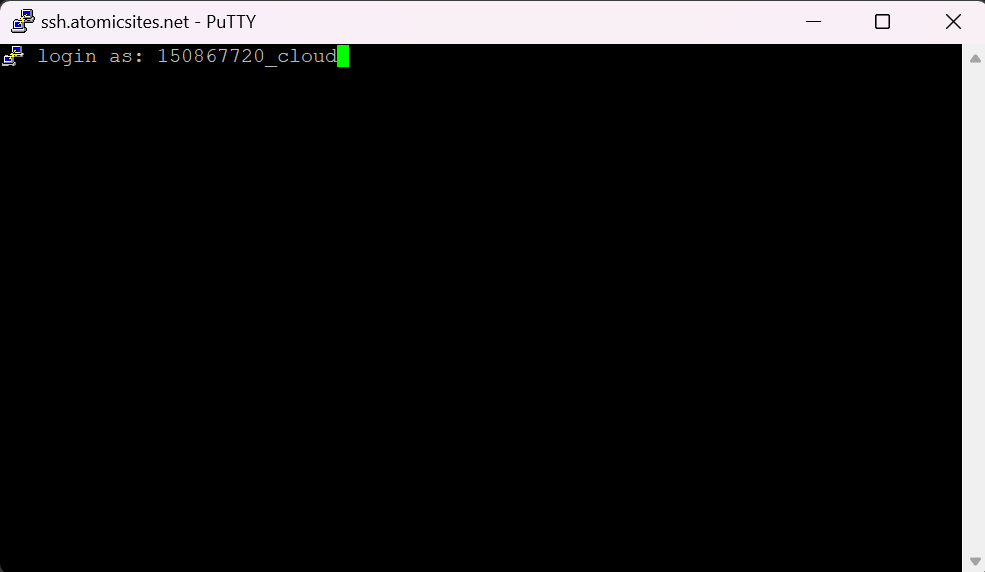
After opening the connection, you'll be prompted to enter the SSH username you previously created. Enter the unique username and hit enter.
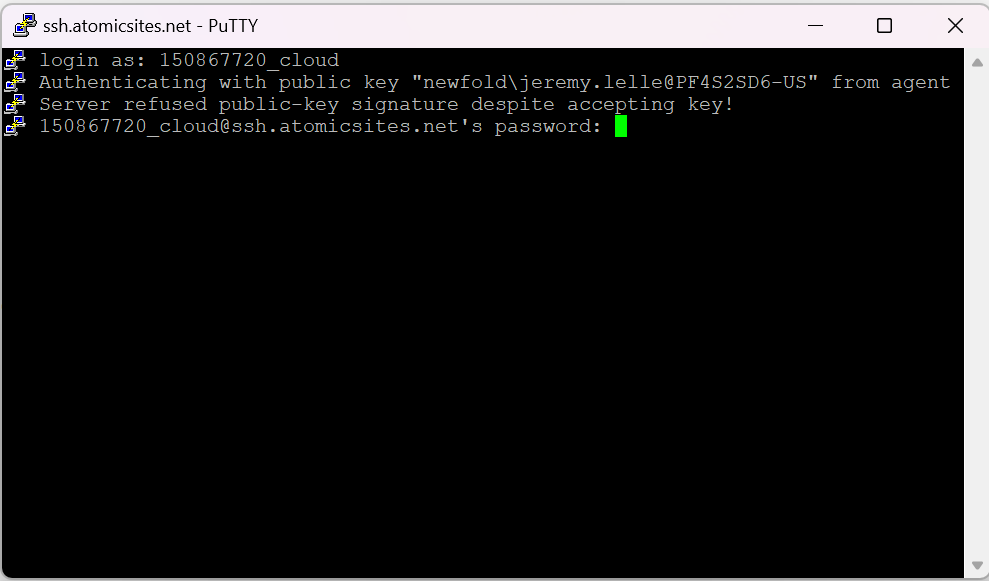
You'll be prompted to enter the password for the username provided. For security purposes, SSH terminals will never display the password entered in plain text, so you will not be able to see the password as you type it out. Assuming the password has been entered correctly, you will then be connected to the server through a Secure Shell (SSH) and have access to run Bash and WP CLI commands for the specific site the user is connected to.
Other Terminals
Outside of PuTTY, other terminals only require the ssh command to be run in order to open a connection to your Agency website. Start by opening the terminal of your choice. For this article, the terminal used is ConEmu. In the new terminal instance, type ssh <yourSSHusername>@ssh.atomicsites.net -p 22. Please note that port 22 is automatically implied by most terminals when opening an SSH connection. This means that the -p 22 section of the command may be left out when connecting to the server.

You will be prompted to type the password created for the SSH user. It is important to note that for security purposes, the password will not display. So, be sure to type this correctly, or the connection will be refused. Assuming the password, username, and host are correct, you will then be shown a command prompt with your website ID on the server, as well as the main domain name for the website you're now connected to.

Summary
In summary, managing files on Bluehost Agency servers requires using SSH or SFTP, as cPanel and File Manager are not available. For basic file management, SFTP is recommended, while SSH is suited for advanced users needing to run commands.
To get started, create an SSH/SFTP user. For SFTP, FileZilla is recommended, offering Quickconnect and Site Manager options for easy access. For SSH, PuTTY is suggested for Windows users, with built-in terminals available for Mac and Linux. Both tools allow saving sessions for quick future connections.
Remember, Agency servers have directories that cannot be modified, and incorrect credentials will prevent connections. Always ensure your settings are correct for a successful connection.
If you need further assistance, Bluehost Chat Support is available 24 hours a day, 7days a week while Bluehost Phone Support is available 7 days a week from 7 am-12 midnight EST.
- Chat Support - While on our website, you should see a CHAT bubble in the bottom right-hand corner of the page. Click anywhere on the bubble to begin a chat session.
- Phone Support -
- US: 888-401-4678
- International: +1 801-765-9400
You may also refer to our Knowledge Base articles to help answer common questions and guide you through various setup, configuration, and troubleshooting steps.