How to Create Blacklists in cPanel
An email blacklist contains domains and IP addresses identified as sources of spam. By using Spam Filters, you can create your own blacklist to block unwanted messages before they reach your inbox. This feature allows you to flag and filter spam as incoming emails arrive on the server.
Follow the steps below to configure Spam Filters in cPanel:
- Log in to your Bluehost Portal.
- Click Hosting in the left-hand menu.
- In the hosting details page, click the cPanel button.
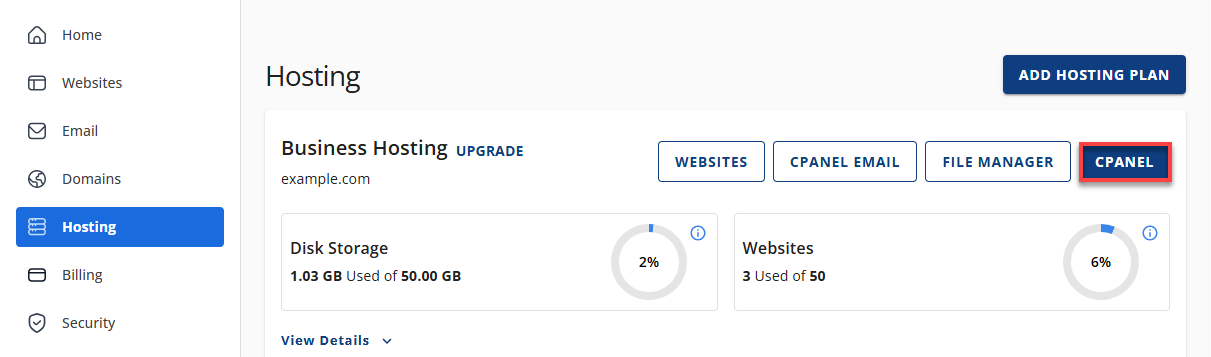
- Your cPanel will open in a new tab.
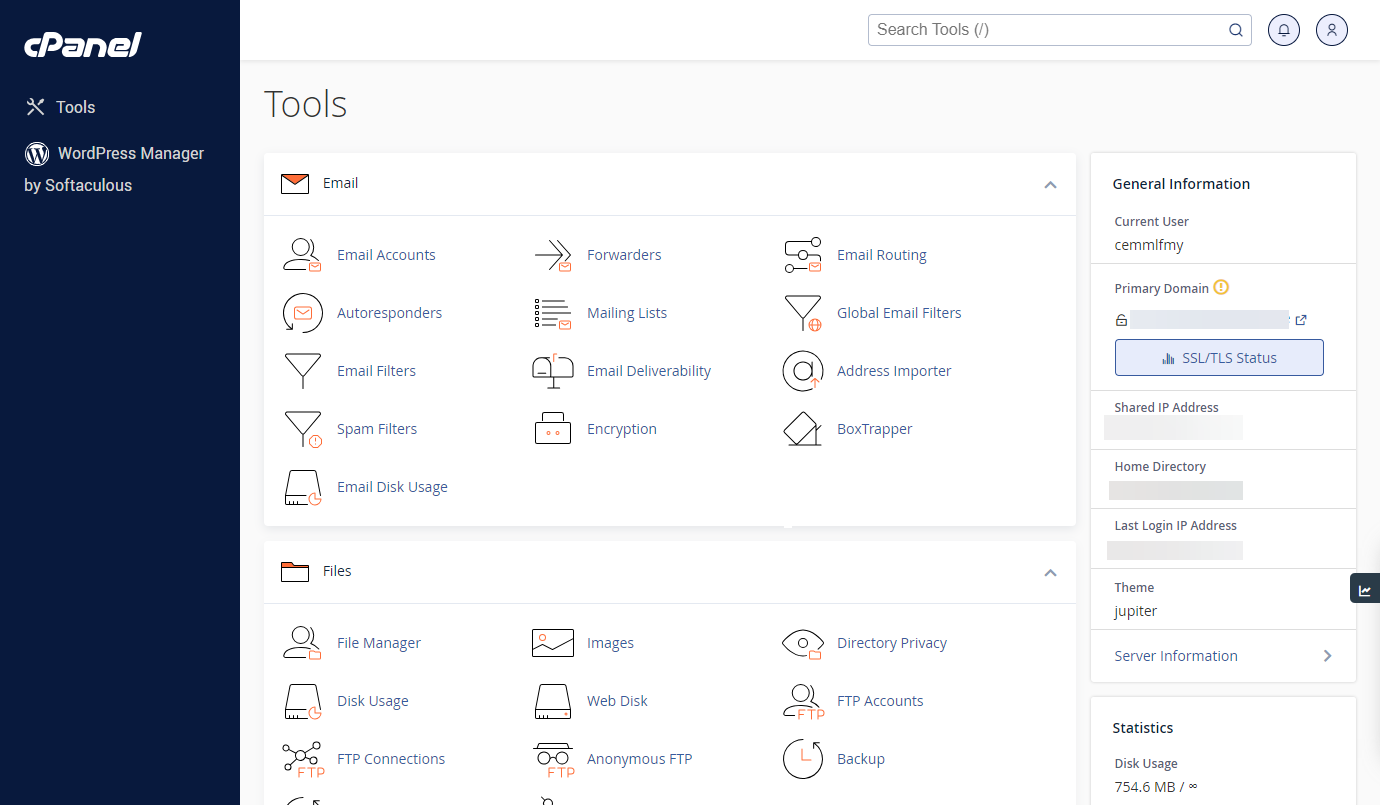
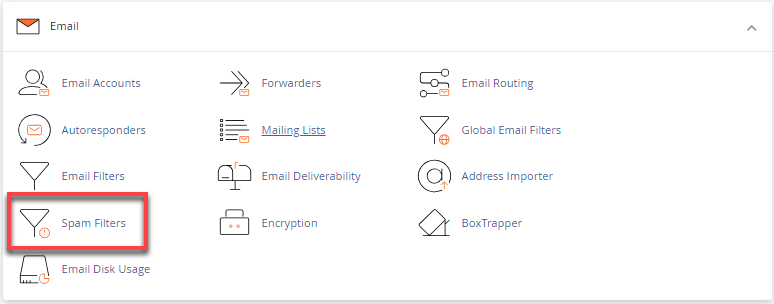
- Navigate to the Email section and click the Spam Filters icon.
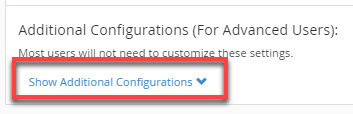
- On the Spam Filters page, locate and expand Additional Configurations.
- Scroll down to the Blacklist section.
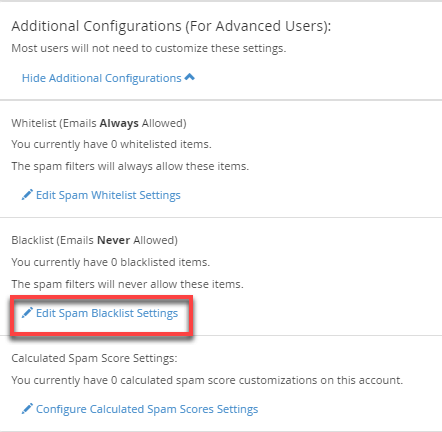
- Click the Edit Spam Blacklist Settings link.
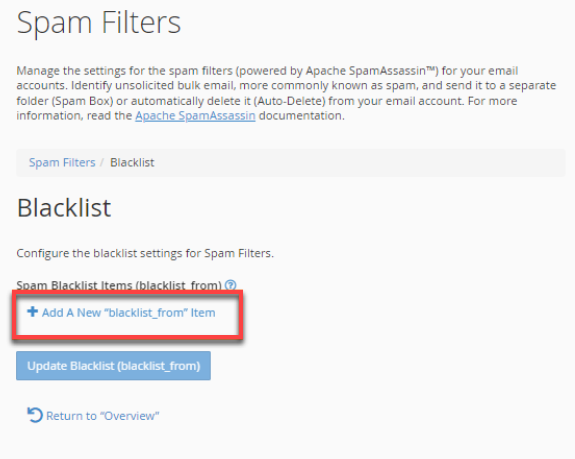
- Select Add a New “blacklist_from” Item.
- Enter the domain name or IP address you want to block. Replace the example values (such as 123.45.67.80 or [email protected]) with the appropriate details.
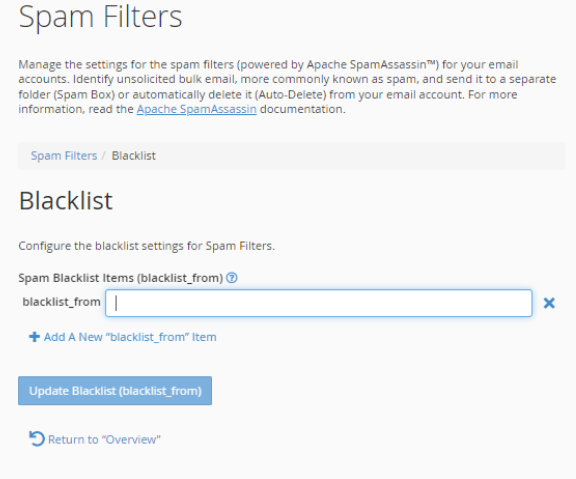
- Click the Update Blacklist (blacklist_from) button.
Summary
Using cPanel Spam Filters allows you to block unwanted emails by blacklisting specific domains or IP addresses, helping reduce spam and keep your inbox clean.
If you need further assistance, Bluehost Chat Support is available 24 hours a day, 7days a week while Bluehost Phone Support is available 7 days a week from 7 am-12 midnight EST.
- Chat Support - While on our website, you should see a CHAT bubble in the bottom right-hand corner of the page. Click anywhere on the bubble to begin a chat session.
- Phone Support -
- US: 888-401-4678
- International: +1 801-765-9400
You may also refer to our Knowledge Base articles to help answer common questions and guide you through various setup, configuration, and troubleshooting steps.