Assign OX Email Using a Domain Registered with Us
Bluehost Portal now offers a streamlined, OX email setup process, allowing you to assign OX Email using your registered domain. This guide is for domains registered with us using the Bluehost Portal interface.
Assign OX Email
- Log in to your Bluehost Portal.
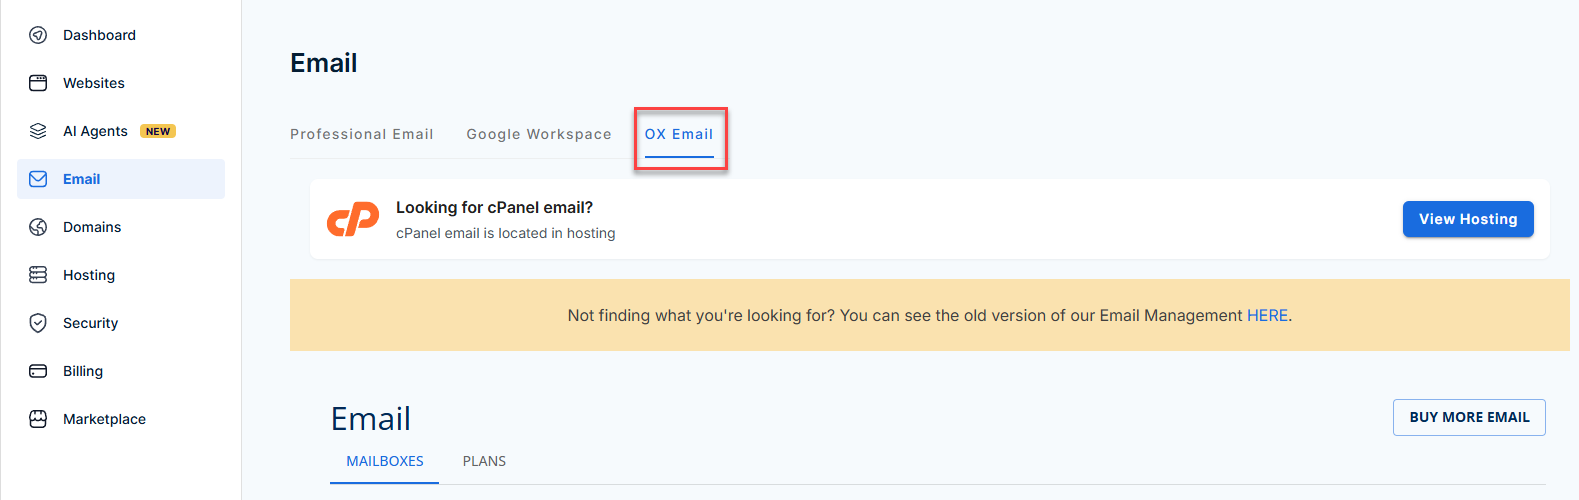
- From the left-hand navigation menu, click on the Email tab.
- Select Ox Email from the available options.
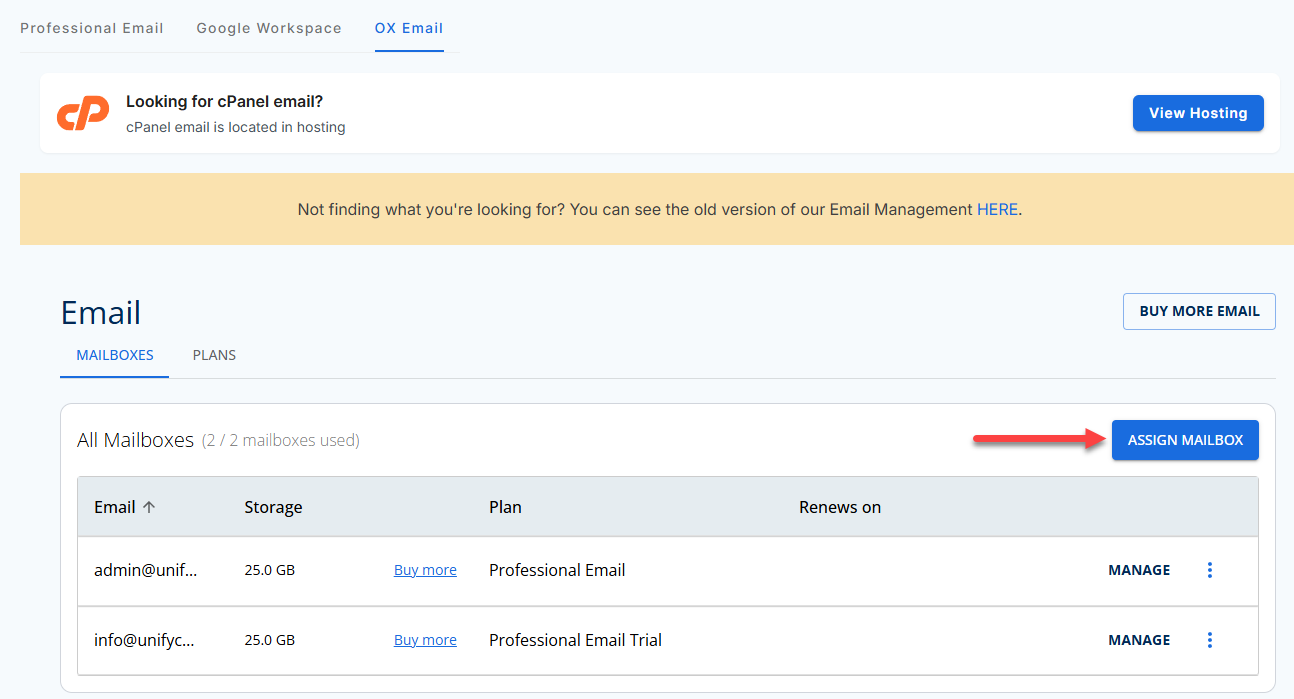
- Click Assign Mailbox to open the setup pop-up.
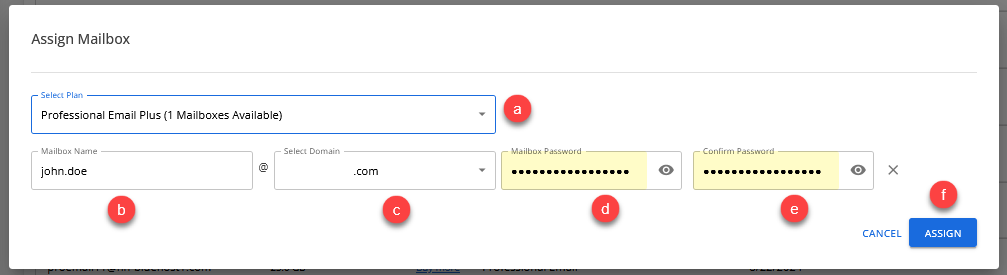
- In the Assign Mailboxes pop-up, follow these steps:
- Choose your email plan from the dropdown.
- Enter your desired Mailbox Name.
- Select the Domain Name you want to use.
- Set a Mailbox Password.
- Confirm your password.
- Once you're done, click the ASSIGN button.
- You'll receive a confirmation pop-up once your mailbox is successfully created.

Summary
You have completed your OX email setup using a domain registered with us through Bluehost Portal. Whether launching a business or strengthening your brand identity, having a custom email address builds trust and credibility. If you experience delays, remember to allow a few hours for changes to apply—or up to 48 hours for brand-new domains.
If you need further assistance, Bluehost Chat Support is available 24 hours a day, 7days a week while Bluehost Phone Support is available 7 days a week from 7 am-12 midnight EST.
- Chat Support - While on our website, you should see a CHAT bubble in the bottom right-hand corner of the page. Click anywhere on the bubble to begin a chat session.
- Phone Support -
- US: 888-401-4678
- International: +1 801-765-9400
You may also refer to our Knowledge Base articles to help answer common questions and guide you through various setup, configuration, and troubleshooting steps.