How To Increase the PHP Memory Limit
Are you struggling with memory-related errors in your PHP application? Would you like to boost its performance and ensure seamless functionality? If yes, then increasing the PHP memory limit is the solution you need! Our guide will help you learn how to upgrade the PHP memory limit on your server to enjoy faster, smoother, and error-free application performance.
The PHP memory limit specifies how much memory a PHP script is permitted to use during execution. If a script exceeds this limit, it triggers a fatal error and stops execution. This setting is crucial when working with large applications or processing significant amounts of data. By default, the memory limit is typically set to 256MB. Still, depending on the application's needs, it can be increased or decreased.
- It's always a good practice to take a backup of any file before making any changes to your server. If an error occurs, what you can do is to restore the original file and start over.
- 256MB is the default PHP Memory Limit on your server. The universally recommended baseline is 128MB, which should be more than enough for most sites unless you have a plugin or theme that needs more. You can always customize this value inside your cPanel, depending on your needs.
There are other ways to increase the PHP memory limit. Here are a few:
How to Increase the PHP Memory Limit via php.ini
If you want to know how to increase the PHP memory limit of your PHP script, editing the php.ini file is the most common way to do it. The php.ini file contains several directives that are used to configure the PHP settings. One of these directives is the memory_limit directive, which sets the maximum amount of memory that a PHP script can use. The memory limit is set to 256 megabytes (MB) by default. However, more than this may be needed for some scripts, especially those that deal with large amounts of data. You may need to increase the memory limit to avoid any memory-related errors.
Using the MultiPHP INI Editor
- Log in to your Bluehost Portal.
- Click Hosting in the left-hand menu.
- In the hosting details page, click the cPanel button.
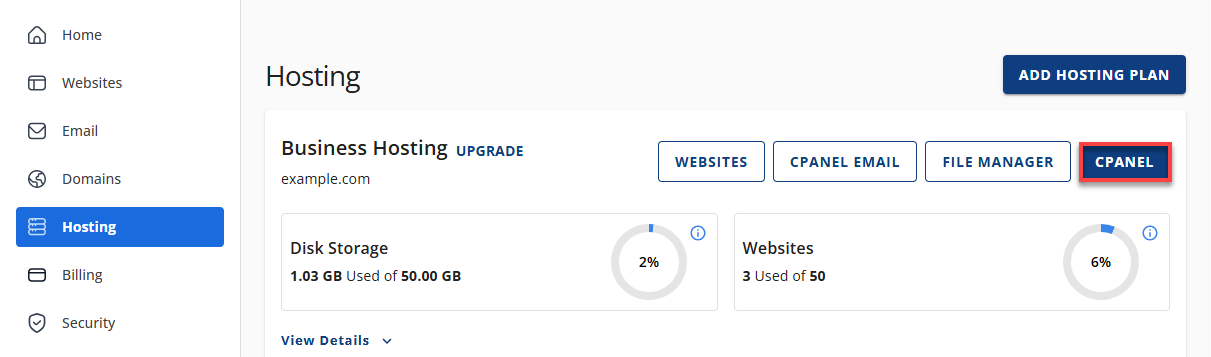
- Your cPanel will open in a new tab.
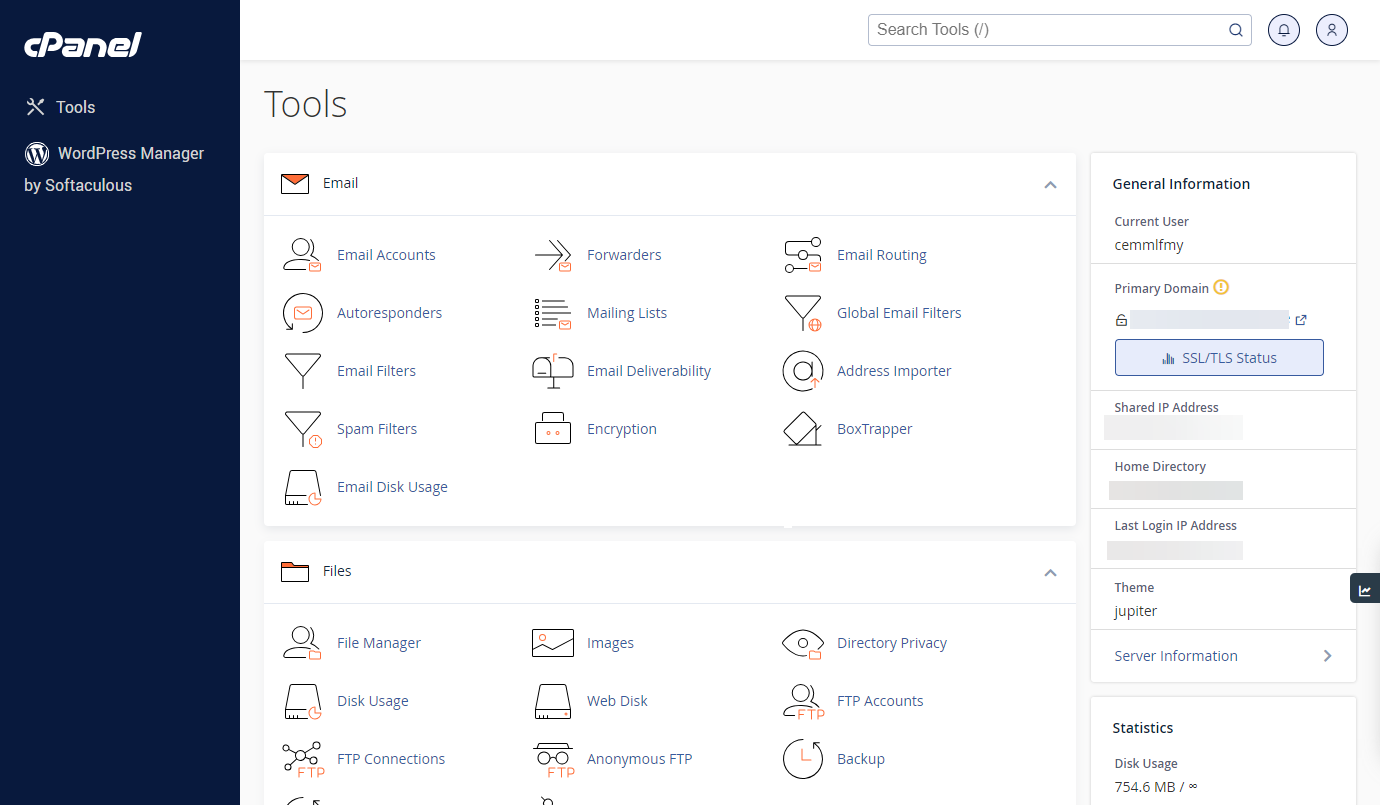
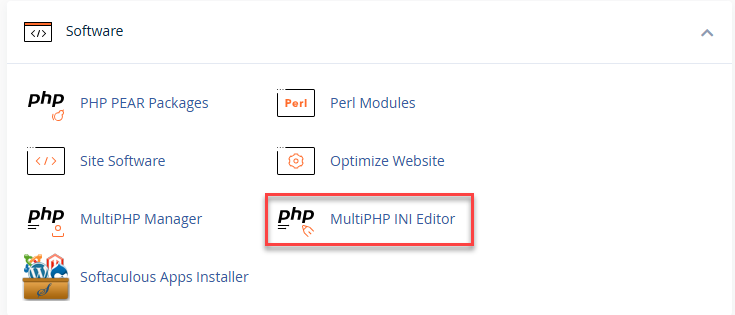
- Under the Software section, click on the MultiPHP INI Editor icon.
- Select the domains that you want to set up or update from the Select a location drop-down
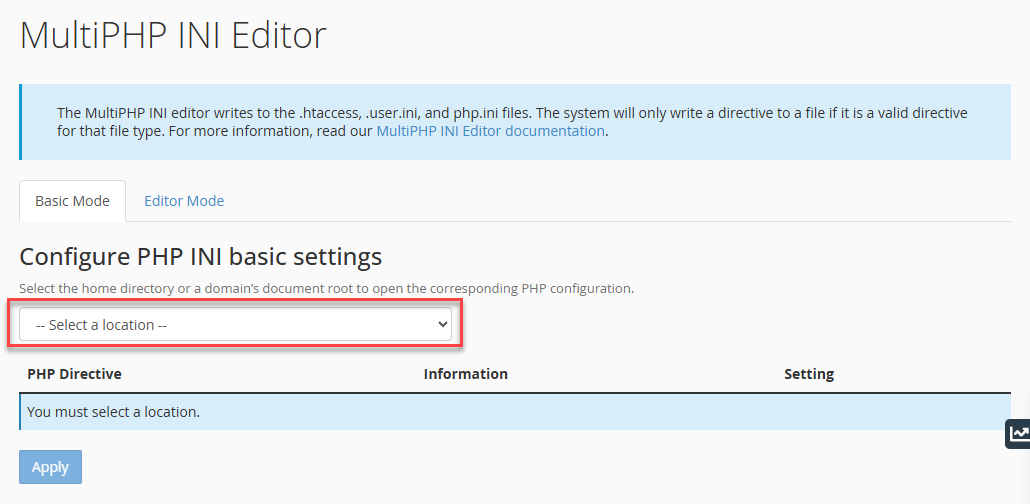
- Set your desired values for memory_limit (increase/decrease) on the right-hand side.
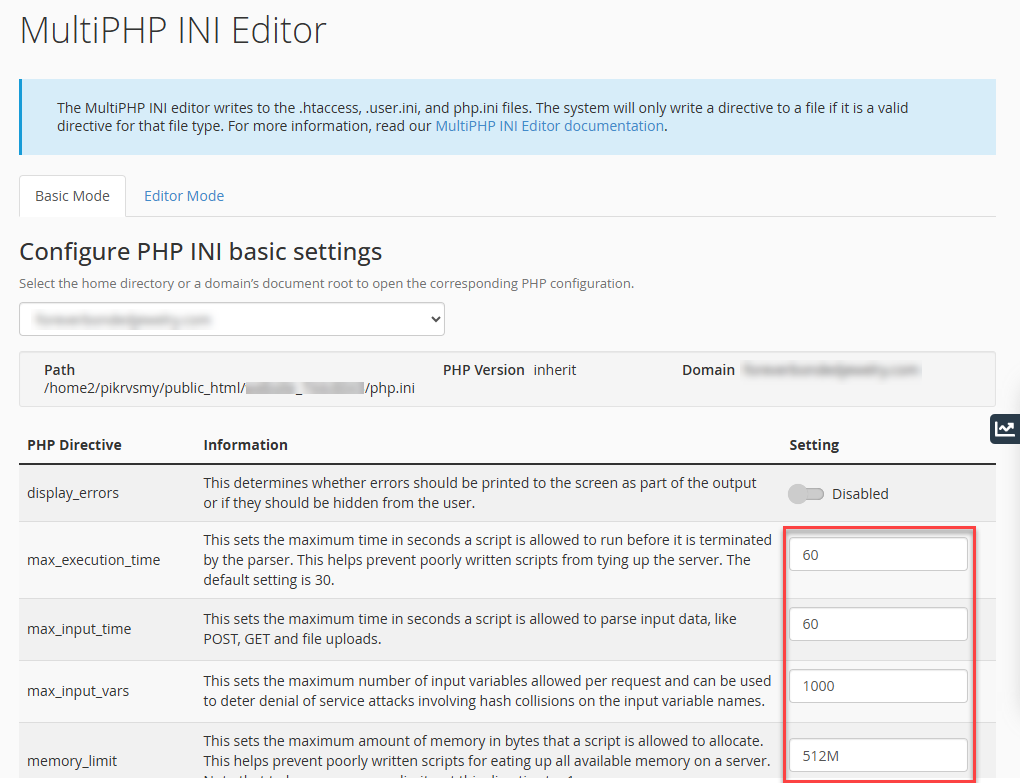
- Click the Apply button located at the bottom of the page to finish the update.
Using the File Manager
- In the cPanel, locate the Files section and click the File Manager icon.
- If prompted, choose Web Root; otherwise, navigate to the public_html folder.
- Locate the php.ini file, then click and highlight the file.
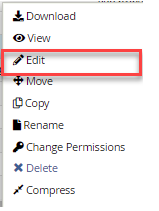
Alternatively, highlight the php.ini file and right-click your mouse to show a drop-down menu. Click Edit, and then the same pop-up window will appear.
- Click the Edit button.
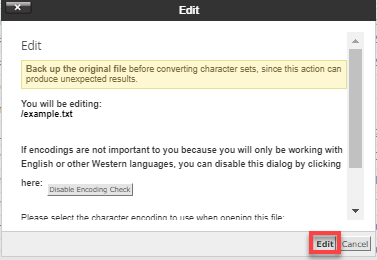
- Click the Edit button on the pop-up window to open the code editor.
- Search for memory_limit without the quotes.
- Enter the new memory limit for your PHP applications.
- Once you finish editing memory_limit, click Save Changes before closing the editor.
Using an FTP Client
- Use your preferred FTP client to establish a connection to the server.
To learn more, please see What is FTP? An Introduction to File Transfer Protocol
- Navigate to the public_html folder.
- Download the php.ini file.
- Open the file with any text editor.
- Search for memory_limit without the quotes.
- Enter the new memory limit for your PHP applications.
- Save the file.
- Upload the file using your FTP client.
How to Increase the PHP Memory Limit via .htaccess File
If you have no access to the php.ini file, you can edit the .htaccess file. Add the following line to the file: php_value memory_limit 256M. This action sets the memory limit to 256MB. Save the file and check if the new limit has been applied.
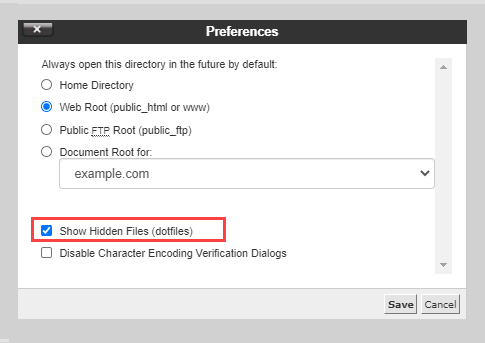
- In the File Manager, the Settings button can be seen in the upper-right corner of your screen.
- From here, click the Preferences pop-up, then select the checkbox for Show Hidden Files (dotfiles).
- Search to locate the .htaccess file from the list.
- By right-clicking on the specific file, then select Edit from the menu.
- A dialogue box may ask you about encoding; Click Edit to proceed. The editor will launch in a new window.
- Add the following line to the file: php_value memory_limit 256M. This action sets the memory limit to 256MB. Save the file and check if the new limit has been applied.
- Click the Save Changes button.
How to Increase the PHP Memory Limit via the wp-config.php File
- Inside the File Manager, look at and highlight the wp-config.php file.
Alternatively, highlight the php.ini file and right-click your mouse to show a drop-down menu. Click Edit, and then the same pop-up window will appear.
- Click the Edit button.
- Click the Edit button on the pop-up window to open the code editor.
- Add the following line to the wp-config.php file: define('WP_MEMORY_LIMIT', '256M');. This action sets the memory limit to 256MB.
- Click the Save Changes button.
How to Increase the PHP Memory Limit via Plugin (WordPress Dashboard)
There are several plugins available that can help you increase the PHP memory limit without the need to edit any files. Plugins can be easily installed and configured to help improve the performance of your website, such as the WordPress WP Memory Limit, Memory Usage, Server Memory, and Health plugins. It's important to note that increasing the PHP memory limit should be done cautiously and with consideration for the resources available on your server.
- Log in to your Bluehost Portal.
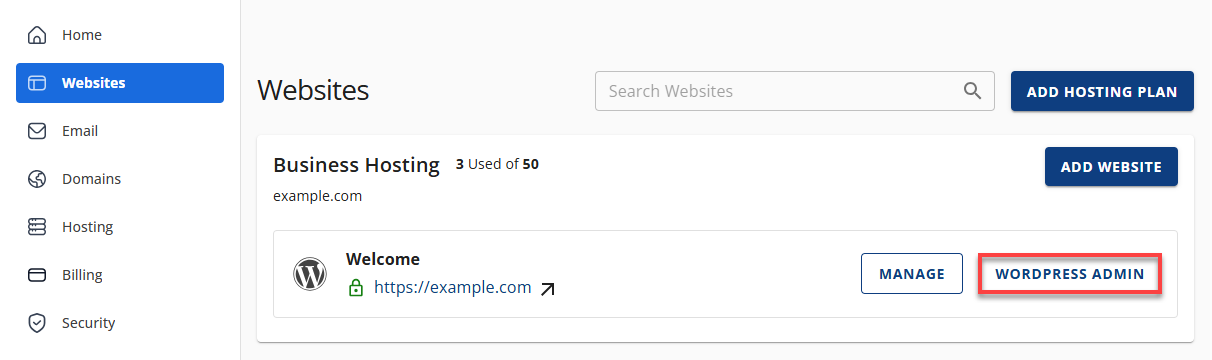
- In the left-hand menu, click Websites.
- Click the WordPress Admin button located next to the website you want to manage.
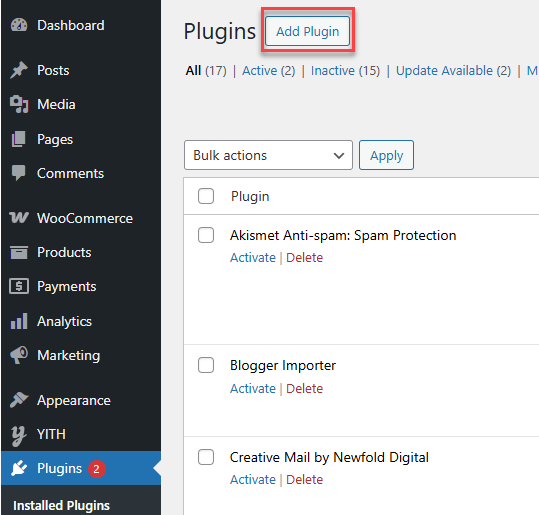
- Go to the Plugins section and click on Add Plugin.
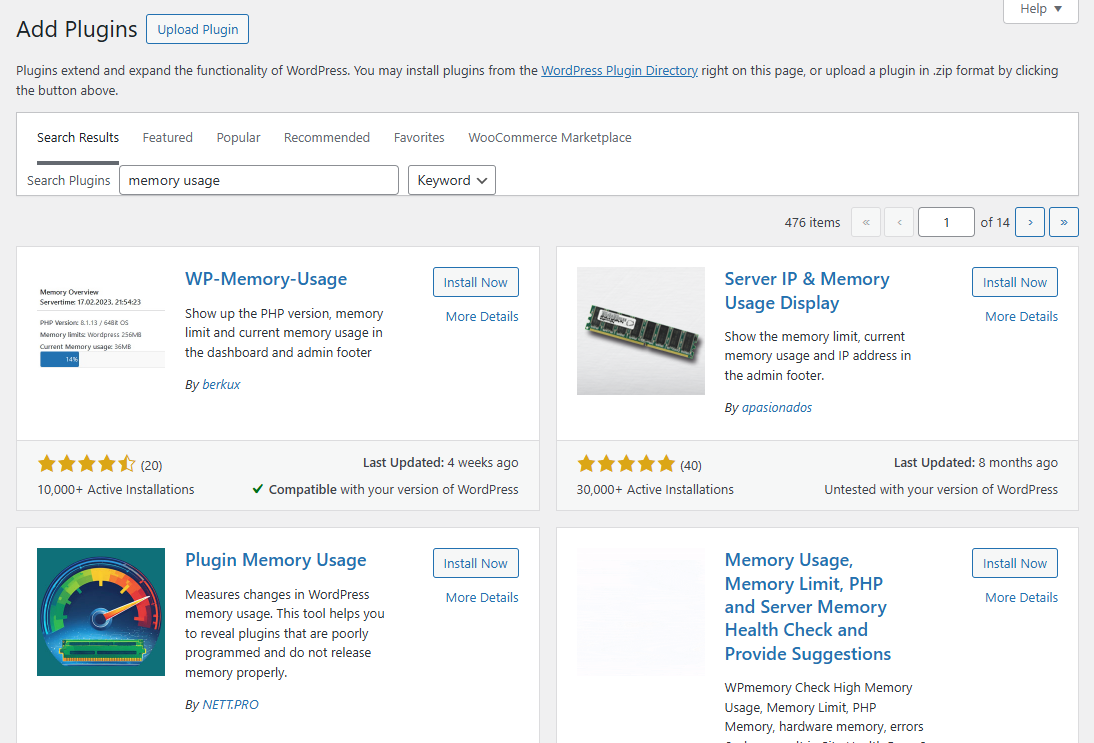
- Search for the plugin you want to use and install it.
- Once the plugin is activated, go to Tools and click on WP Memory Usage.
- You will see the current memory usage of your WordPress site. Scroll down, and you will find the Memory Limit option.
Increase the memory limit by entering the desired value in the box provided. - Click on Save Changes, and you're done.
Summary
Improving the PHP memory limit is very important to ensure seamless functionality and performance of your PHP applications. With the step-by-step guide, you now have several methods to increase the PHP memory limit. Whether you choose to edit the php.ini file, .htaccess file, wp-config.php file, or use a plugin, it is essential to ensure that you do it cautiously and with consideration for the resources available on your server. Following these steps will help you avoid memory-related errors and enjoy faster, smoother, and error-free application performance.
If you need further assistance, Bluehost Chat Support is available 24 hours a day, 7days a week while Bluehost Phone Support is available 7 days a week from 7 am-12 midnight EST.
- Chat Support - While on our website, you should see a CHAT bubble in the bottom right-hand corner of the page. Click anywhere on the bubble to begin a chat session.
- Phone Support -
- US: 888-401-4678
- International: +1 801-765-9400
You may also refer to our Knowledge Base articles to help answer common questions and guide you through various setup, configuration, and troubleshooting steps.