How to Manage Spam Filter in cPanel
Spam Filters in cPanel help reduce unwanted email by scanning messages and identifying those that look suspicious. This feature is powered by Apache SpamAssassin and can be adjusted to match how strict you want the filtering to be.
Enable Spam Protection
Before cPanel can flag or block spam, the spam filtering service must be turned on.
- Log in to your Bluehost Portal.
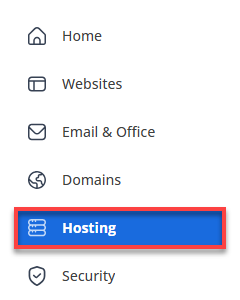
- Click Hosting in the left-hand menu.
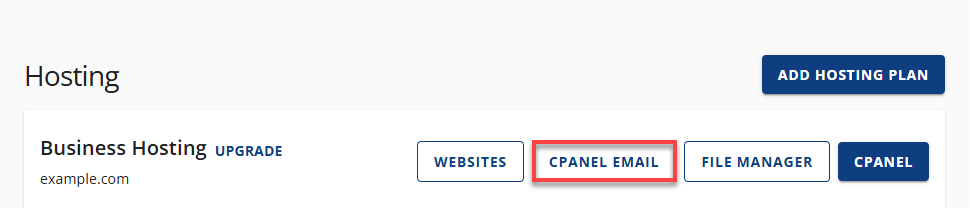
- Go to cPanel Email.
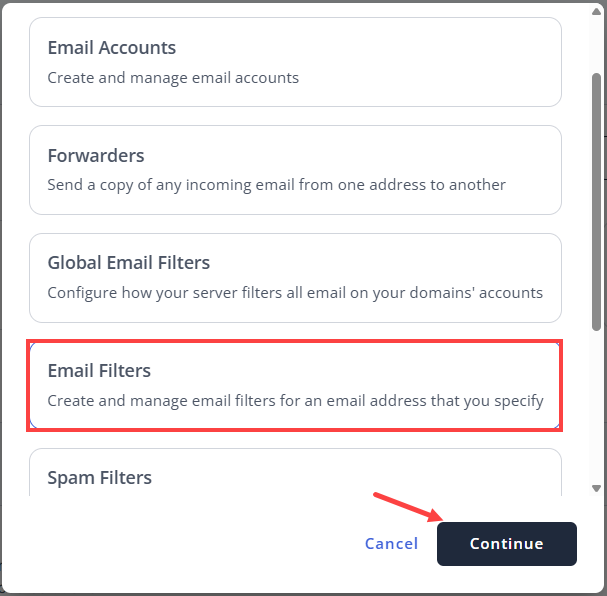
- In the pop-up, select Spam Filters and then click Continue.
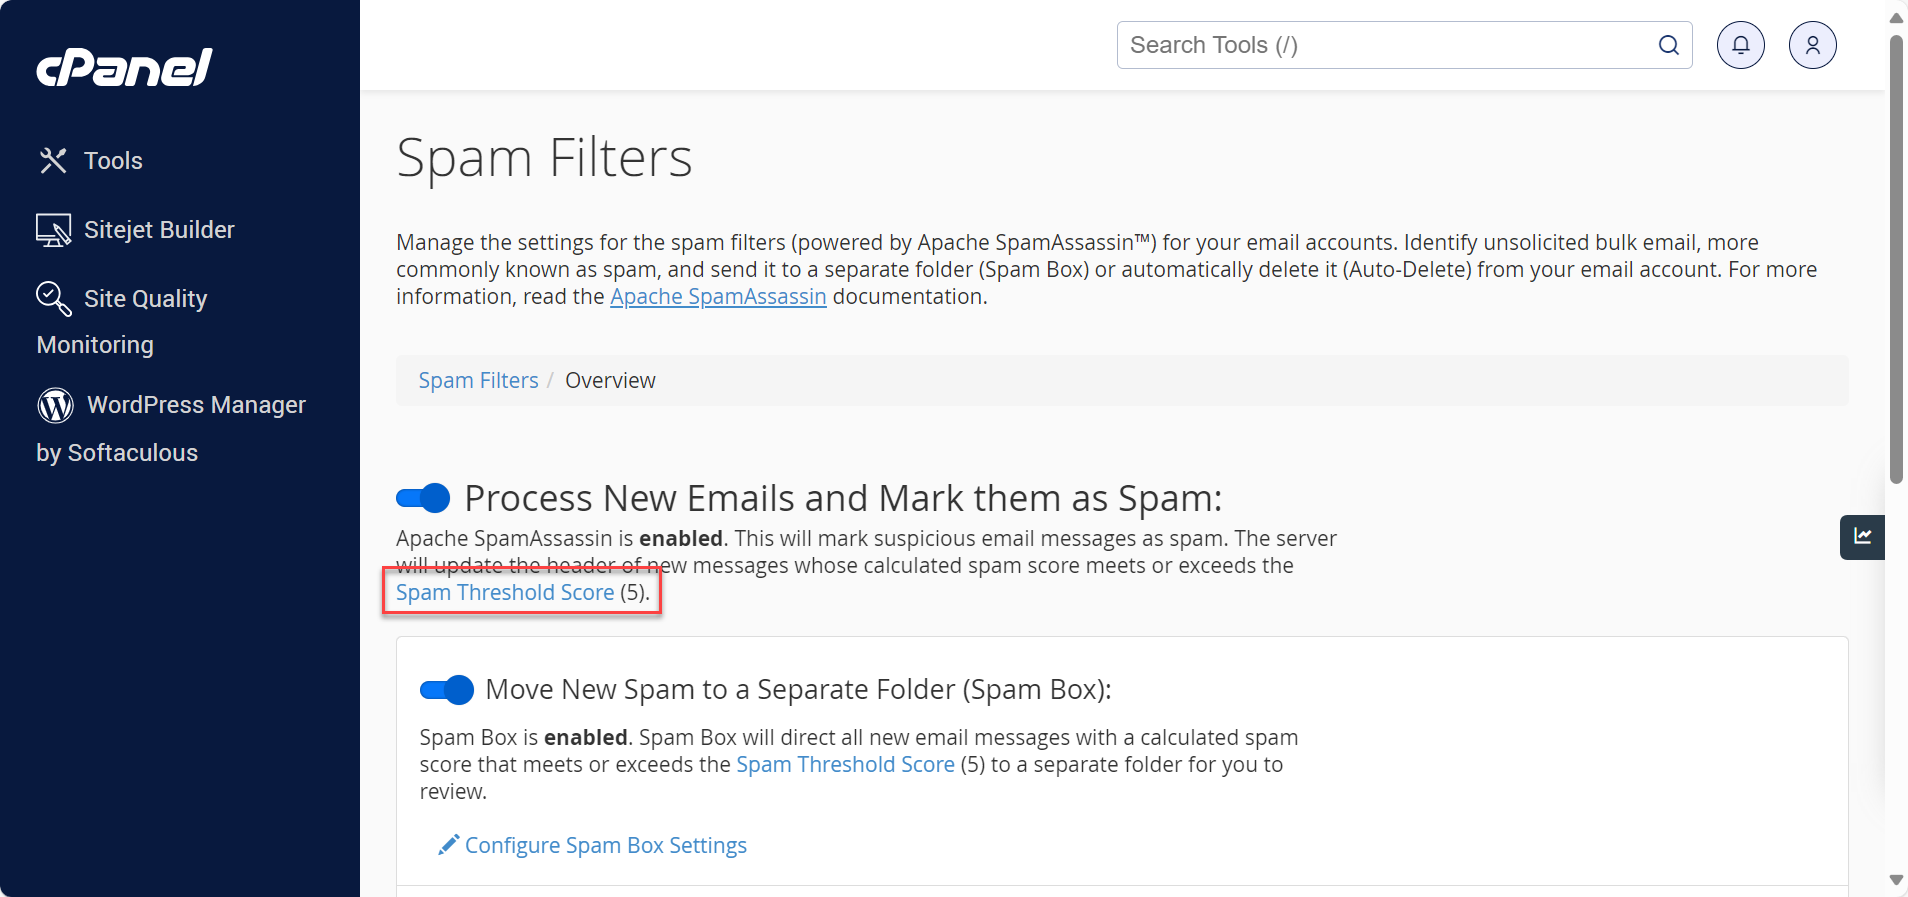
- You'll be redirected to the Spam Filters details page. Turn on Process New Emails and Mark Them as Spam.
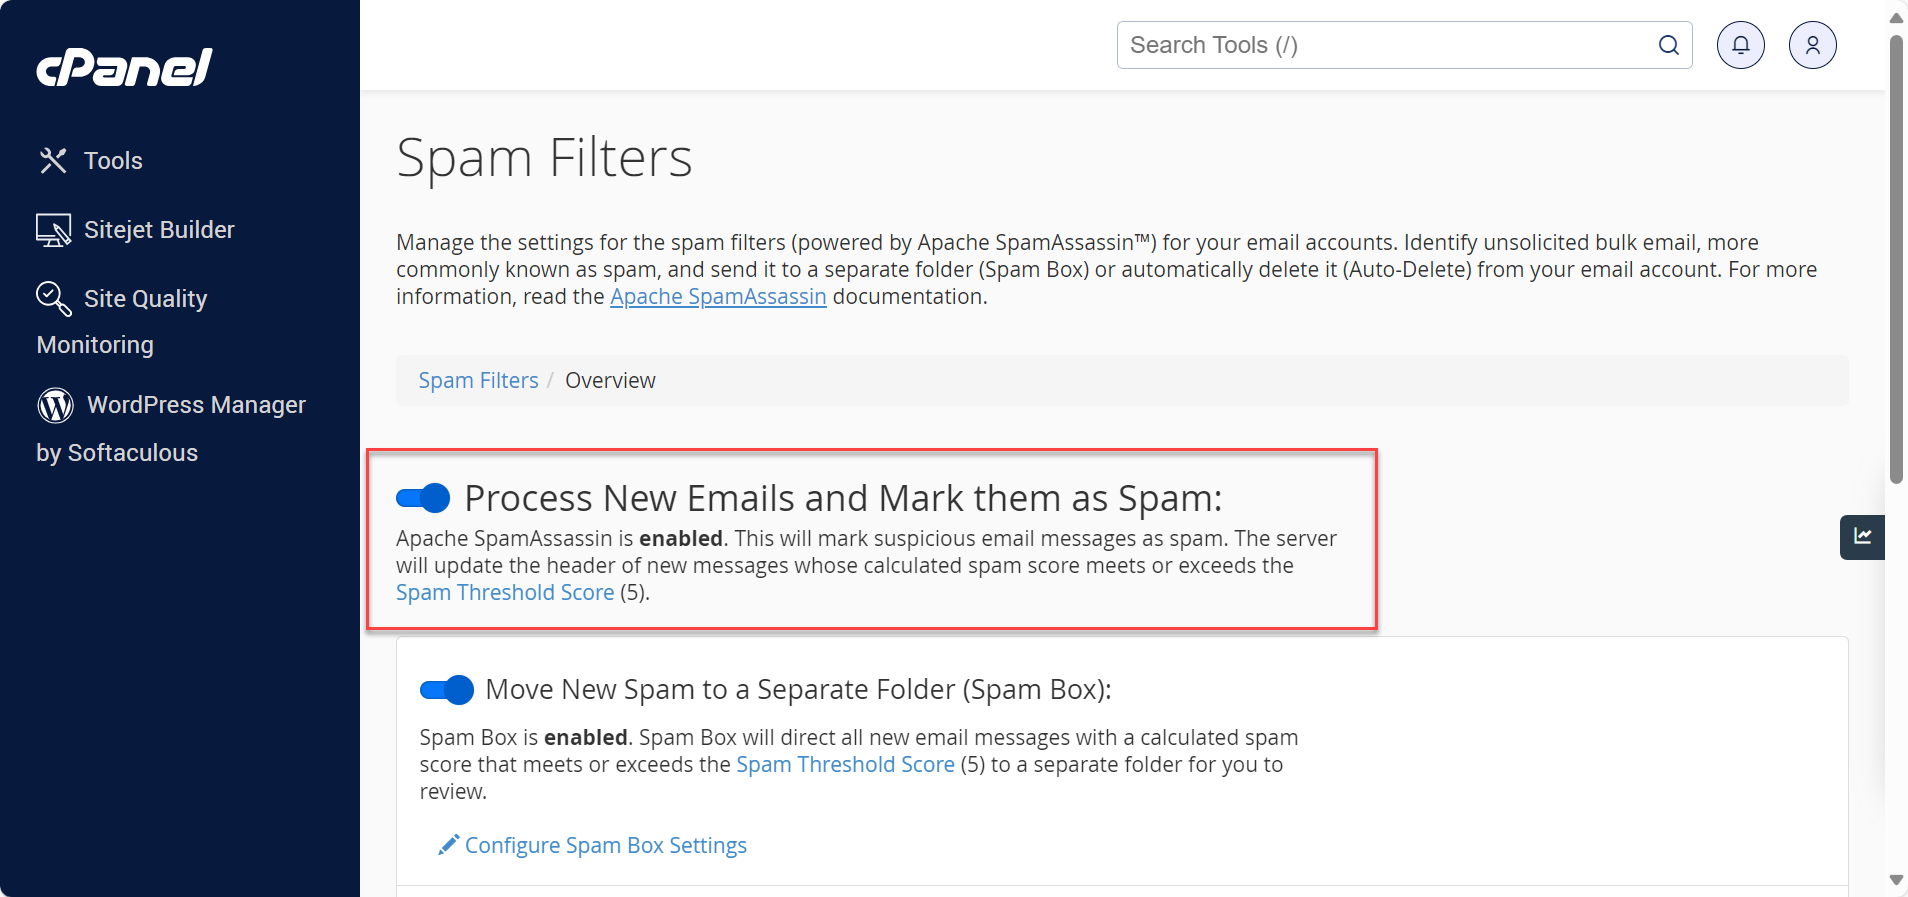
Once enabled, incoming messages are given a spam score based on their content.
Adjust How Strict Spam Filtering Is
The spam score determines whether an email is treated as spam. Lower numbers are more aggressive, while higher numbers are more relaxed.
- Click Spam Threshold Score.
- Select a number that fits your preference.
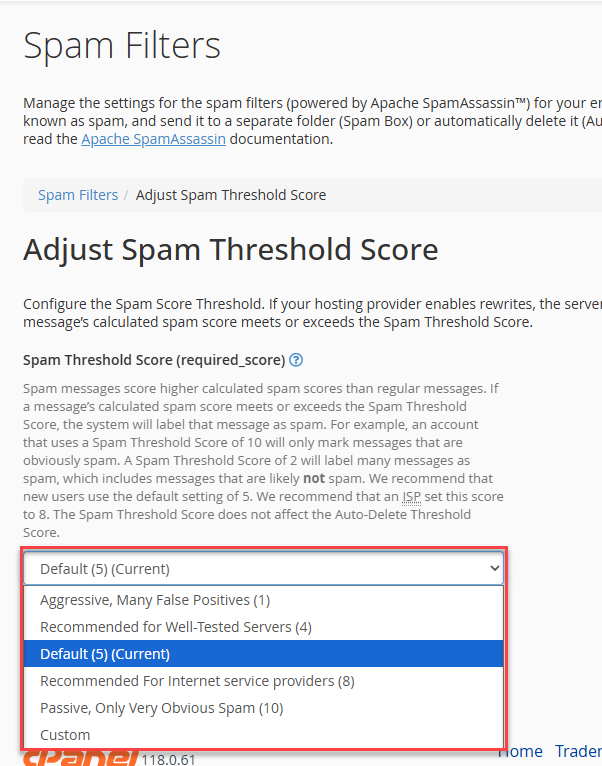
- Save your changes by clicking the Update Scoring Options.
If you receive legitimate emails marked as spam, try increasing the score slightly.
Send Spam to a Separate Folder (Recommended)
Instead of mixing spam with your inbox, you can have it moved to a dedicated folder.
- Enable Move New Spam to a Separate Folder (Spam Box).
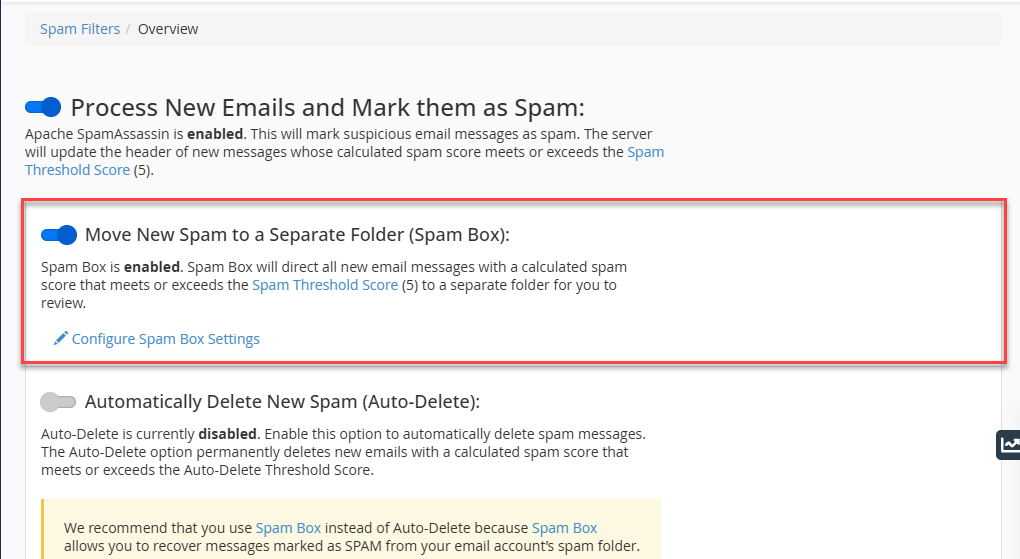
- New spam messages will be delivered to a folder named Spam.
- You can also configure the settings for your Spam Box.
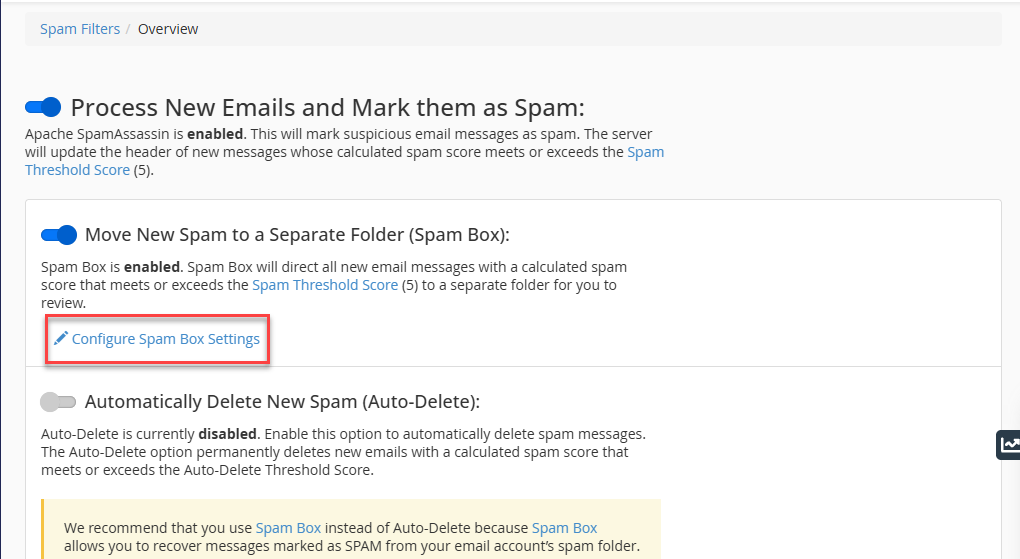
- You will have the same option to choose the Spam Threshold Score.
- You can also clear your Spam Box in this section.
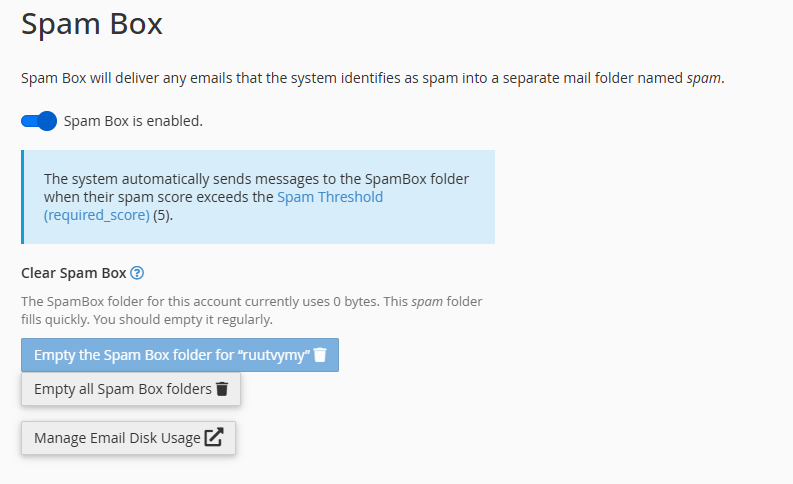
This option allows you to review messages in case something important is filtered by mistake. Remember to empty this folder regularly, as it counts toward your email storage.
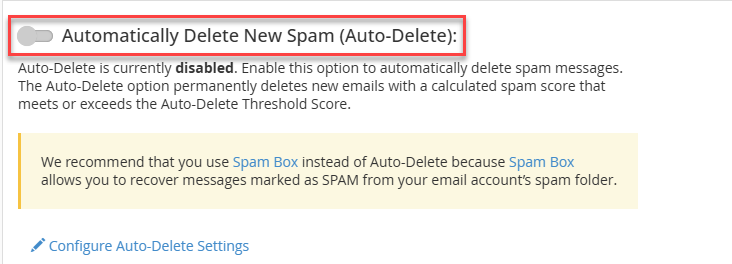
Delete Spam Automatically (Use With Care)
You can choose to permanently delete emails that score very high for spam.
- Enable Automatically Delete New Spam.
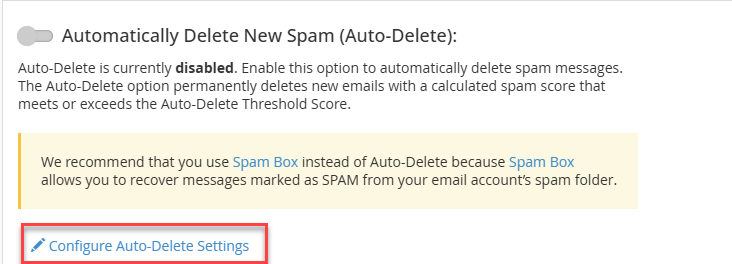
- Click Configure Auto-Delete Settings.
- Choose a higher score than your normal spam threshold.
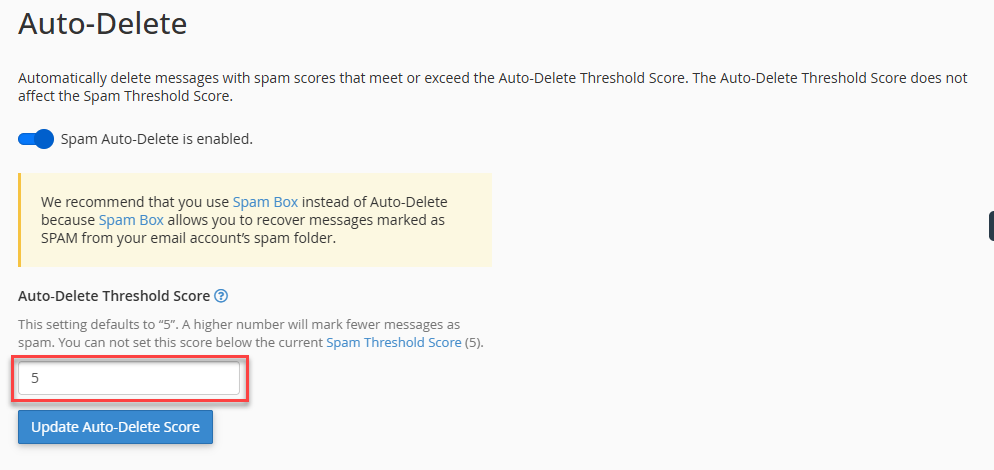
- Save your settings by clicking Update Auto-Delete Score.
Only use this feature if you are confident in your spam settings, since deleted messages cannot be recovered.
Allow or Block Specific Senders
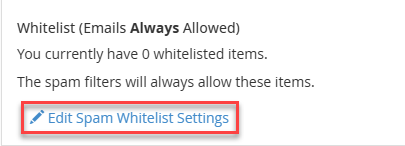
Always Allow Trusted Senders (Whitelist)
If emails from a specific sender are incorrectly marked as spam, you can add them to the allow list.
- Open Edit Spam Whitelist Settings.
- Add an email address or domain.
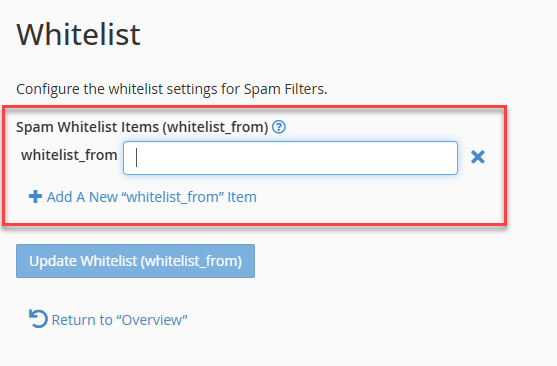
- Save the list by clicking Update Whitelist (whitelist_form).
Example entries include [email protected] or *@example.com.
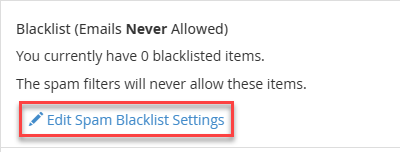
Always Block Unwanted Senders (Blocklist)
To block persistent spam sources, use the block list.
- Open Edit Spam Blacklist Settings.
- Add the email address or domain you want blocked.
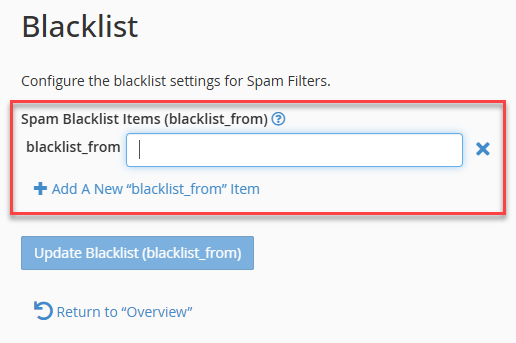
- Save your changes by clicking Update Blacklist (blacklist_form).
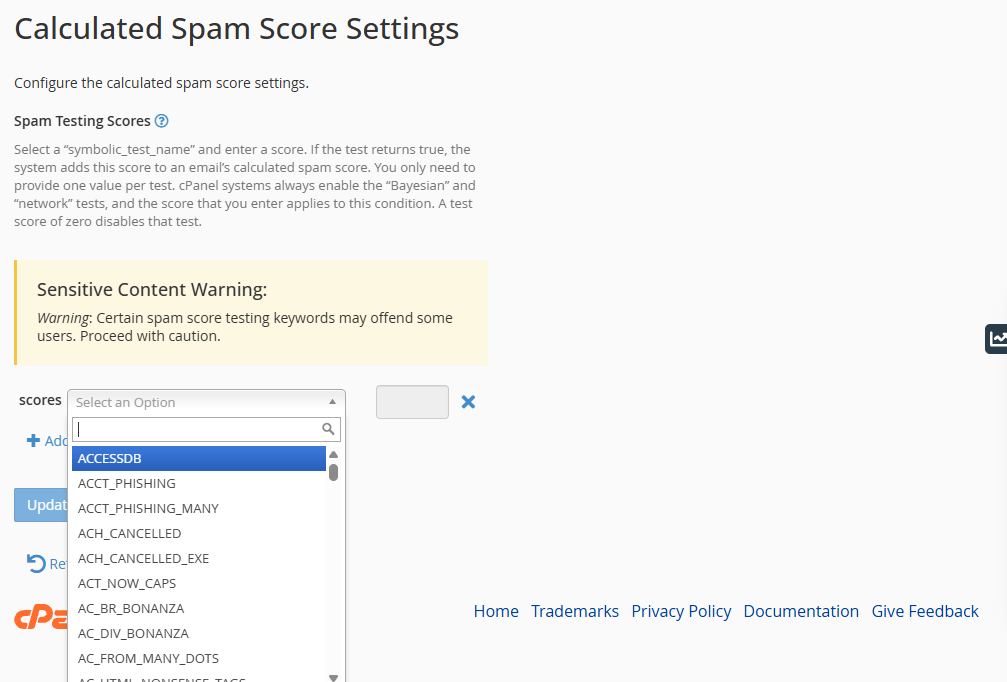
Advanced Settings (Optional)
Experienced users can fine-tune how individual spam tests behave. These settings should only be changed if you understand how spam scoring works.
For most users, adjusting the main spam score and using the Spam Box is more than enough.
Helpful Tips
- Check your Spam folder regularly to avoid missing important messages.
- Use the whitelist for trusted contacts instead of lowering spam protection.
- Avoid enabling automatic deletion unless necessary.
Properly configured spam filters can significantly reduce unwanted mail while keeping important messages safe.
Summary
Spam Filters in cPanel provide an effective way to control unwanted email while protecting important messages. By enabling spam protection, setting an appropriate threshold, and using the Spam Box, you can significantly reduce clutter in your inbox without risking lost email.
For best results, start with the recommended settings, review your spam folder regularly, and use the whitelist and blacklist to fine-tune filtering. Advanced options such as automatic deletion should only be enabled once you are confident your configuration is working as expected.
If you need further assistance, Bluehost Chat Support is available 24 hours a day, 7days a week while Bluehost Phone Support is available 7 days a week from 7 am-12 midnight EST.
- Chat Support - While on our website, you should see a CHAT bubble in the bottom right-hand corner of the page. Click anywhere on the bubble to begin a chat session.
- Phone Support -
- US: 888-401-4678
- International: +1 801-765-9400
You may also refer to our Knowledge Base articles to help answer common questions and guide you through various setup, configuration, and troubleshooting steps.