Import Google Workspace Email to Bluehost Professional Email
Migrating email data from Google Workspace to your Professional Email account is essential for many users seeking a more efficient way to manage their emails. This guide outlines the steps to ensure a smooth transition of your valuable email information, maximizing efficiency, and preserving important communications.
Step 1: Export Emails from Google Workspace
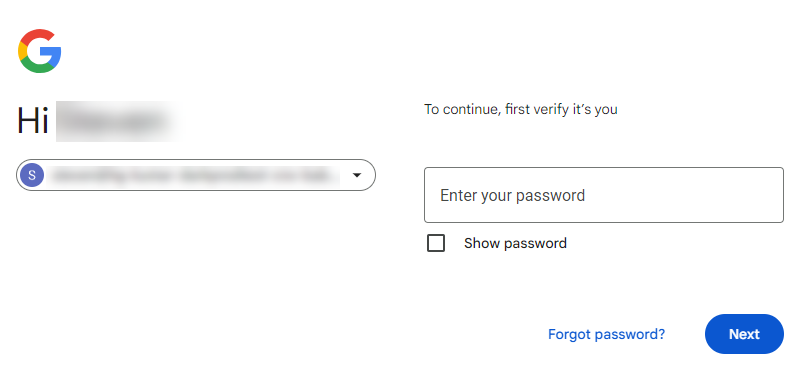
- Log into your Google Workspace account.
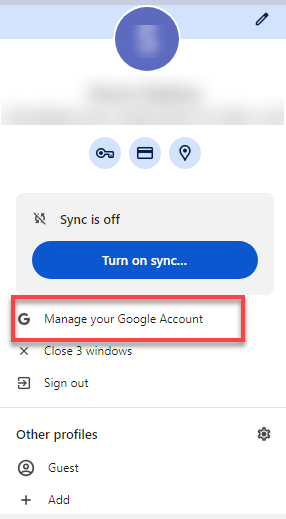
- Click your profile icon at the top-right corner and select Manage your Google Workspace.
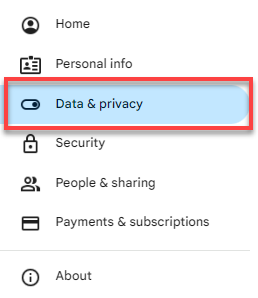
- In the left-hand menu, click Data & Privacy.
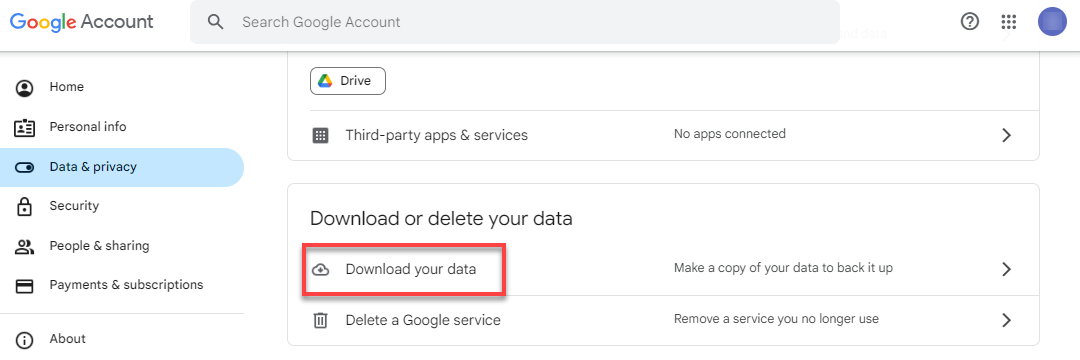
- Scroll down to Download or delete your data and click Download your data.
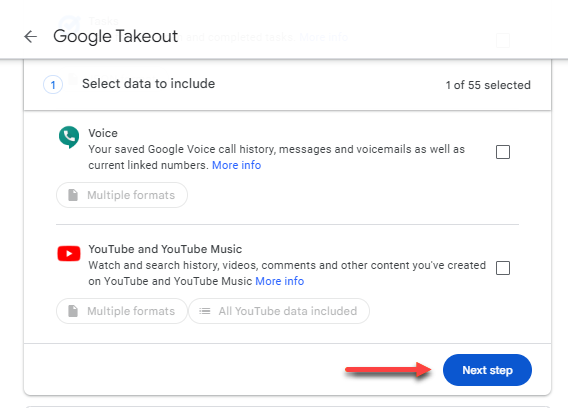
- Click on Download your data.
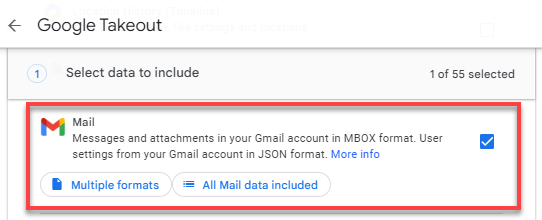
- Deselect all options and leave only Mail selected if you only want to export your email data.
- Scroll down and click the Next Step button.
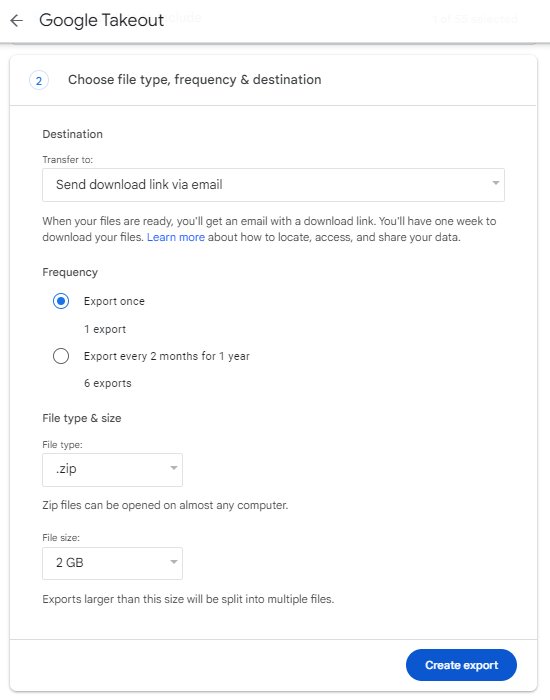
- Follow the prompts to select your preferred file type, frequency, and destination, then click Create export.
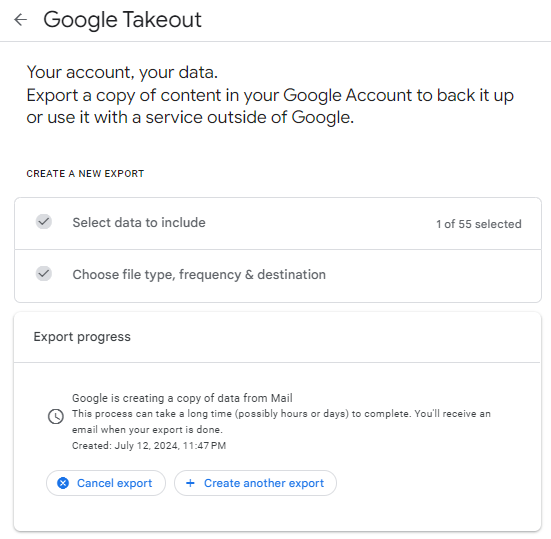
- Monitor the export progress. This may take some time, depending on the size of your email data.
- Once the export is complete, click the Download button.
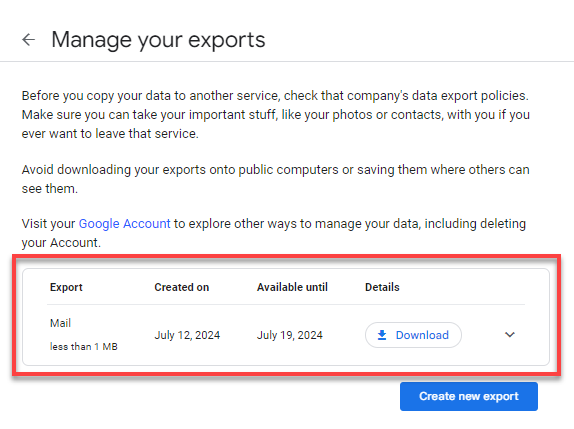
- If prompted, re-login to your Google Workspace account.
- In the Manage your exports section, click the Download button again to retrieve your email data in MBOX format.
- Check your device for a zipped file named "takeout-..." and extract the MBOX file from it.

Step 2: Import Google Workspace Email to Bluehost Professional Email
After successfully exporting your Google Workspace emails, it's time to import them into your Professional Email account.
- Creating a backup of your email data is recommended before proceeding with the steps below.
- Ensure your domain's name servers are pointed to Bluehost or MX and TXT records are correctly connected to your Bluehost Profesional Email servers.
To import emails to your Professional Email account:
- Enable third-party access to your Professional Email account.
- Set up your Professional Email in an Email Client. Use an email client like Mozilla Thunderbird or Mac Mail to set up your Professional Email account.
- Log in to your Thunderbird application.
- Click on the Account Settings tab.
- Click the Account Actions dropdown in the lower-left corner and select Add Mail Account.
- A pop-up window will appear. Enter your Professional Email account and password, then click the Configure manually button in the lower-left corner.
- Complete the required fields with your Professional Email account details and mail server settings:
IMAP Settings
Incoming server: imap.titan.email
Port: 993
Encryption method: SSL/TLSOutgoing server: smtp.titan.email
Port: 465
Encryption method: SSL/TLSIf you're in the European Union region, please use the following mail server settings:
For E.U. users: IMAP Settings
Incoming server: imap0101.titan.email
Port: 993
Encryption method: SSL/TLSOutgoing server: smtp0101.titan.email
Port: 465
Encryption method: SSL/TLSFor E.U. users: POP Settings
Incoming server: pop0101.titan.email
Port: 995
Encryption method: SSL/TLSOutgoing server: smtp0101.titan.email
Port: 465
Encryption method: SSL/TLS
- Log in to your Mac Mail application.
- Open Mail and select Add Account from the main menu.
- Click Add Other Mail Account and then click Continue.
- Enter your login information.
- Full name (The name you would like to appear in the emails you sent.)
- Professional Email complete email address
- Professional Email account password
- Enter your incoming and outgoing mail server settings:
IMAP Settings
Incoming server: imap.titan.email
Port: 993
Encryption method: SSL/TLSOutgoing server: smtp.titan.email
Port: 465
Encryption method: SSL/TLSPOP Settings
Incoming server: pop.titan.email
Port: 995
Encryption method: SSL/TLSOutgoing server: smtp.titan.email
Port: 465
Encryption method: SSL/TLS - Once done, click the Sign In/Create/Continue button.
- Once you've set up your Professional Email account in your preferred email client, the next step is to import the MBOX file you downloaded in Step 1.
- Go to the Addons option in your Thunderbird application.
- Install the ImportExportTools NG add-on (available only for Thunderbird versions v91 to v102).
- Restart Thunderbird by clicking Exit in the sidebar, then relaunch the app.
- In the left pane, navigate to Local Folders and click the ImportExportTools NG option.
- Select Import mbox file and click the OK.
- In the pop-up window, choose the MBOX file to upload.
- Once the file is uploaded, drag it and drop it into your Inbox folder. Depending on the file size, this may take some time.
- Once complete, the new folder will be added to your Professional Email Inbox.
- Open your Mac Mail application and log in.
- Click on File and select Import Mailboxes.
- In the pop-up window, choose the option for Files in mbox format and click Continue.
- Browse and select your Google Workspace MBOX file.
- The import process may take some time, depending on the file size. Once completed, the emails will appear in the Import section.
- Once your email data has synced, you can view your Google Workspace emails in your Professional Email account.
Summary
Migrating emails from Google Workspace to your Professional Email account is straightforward when broken down into manageable steps. By following this guide, you can ensure a smooth transition while safeguarding your important email data. If you need further assistance or face any challenges, contact our support team or refer to our comprehensive knowledge base for troubleshooting tips.
If you need further assistance, Bluehost Chat Support is available 24 hours a day, 7days a week while Bluehost Phone Support is available 7 days a week from 7 am-12 midnight EST.
- Chat Support - While on our website, you should see a CHAT bubble in the bottom right-hand corner of the page. Click anywhere on the bubble to begin a chat session.
- Phone Support -
- US: 888-401-4678
- International: +1 801-765-9400
You may also refer to our Knowledge Base articles to help answer common questions and guide you through various setup, configuration, and troubleshooting steps.