How to Manage Personal Data in OX Mail
Enhance your OX Mail profile by updating or adding new personal data such as your first name, last name, email, phone number, and more. This article offers an in-depth guide on how to manage personal data and incorporate a contact picture for a personalized user experience.
Edit Personal Data
Stay current by updating your personal information in OX Mail. Once logged in to your OX Mail, follow these steps to modify your data effortlessly:
- Launch the My contact data pop-up.
- Click the My Account icon in the upper right corner of the page.
- It utilizes your profile picture, or if the mailbox is newly created, it displays the initial letter of your email within a circle icon (e.g., J for [email protected].
- Please see the OX Mail Quick Launch Icons article to learn more about the My Account icon.
- Alternatively, click the All Application icon, select the Portal app, and click the My contact data button in the User data widget.
- Click the My Account icon in the upper right corner of the page.
- Click the Edit personal data dropdown option.
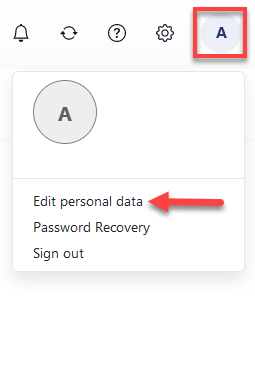
- Modify your information as needed, then click the Save button to confirm the changes.
Add or Update Contact Photo
- Follow the steps to open My Contact Data above.
- Launch the Change contact photo pop-up by clicking Update photo.
- In the Change Contact Photo pop-up, choose:
- Upload a photo – Select a file from your device.
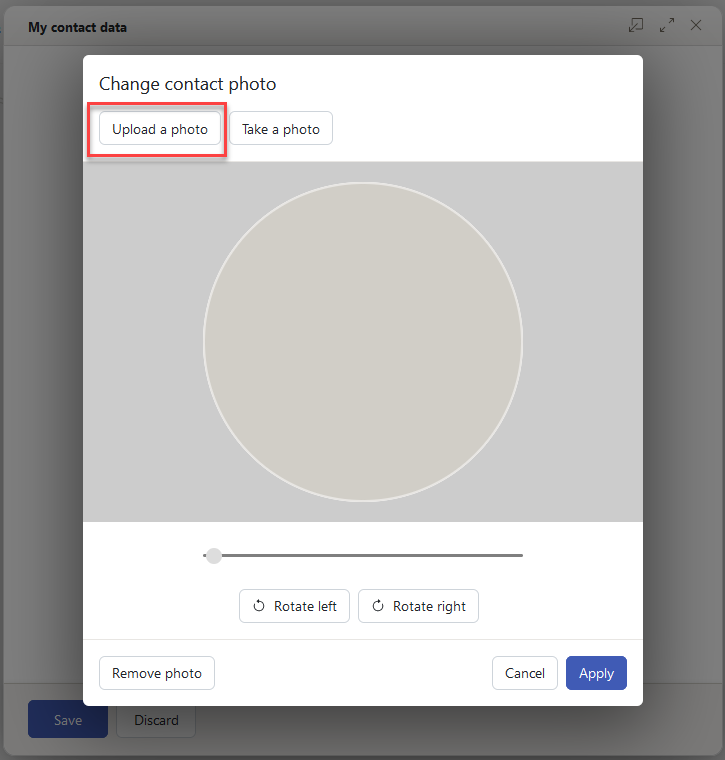
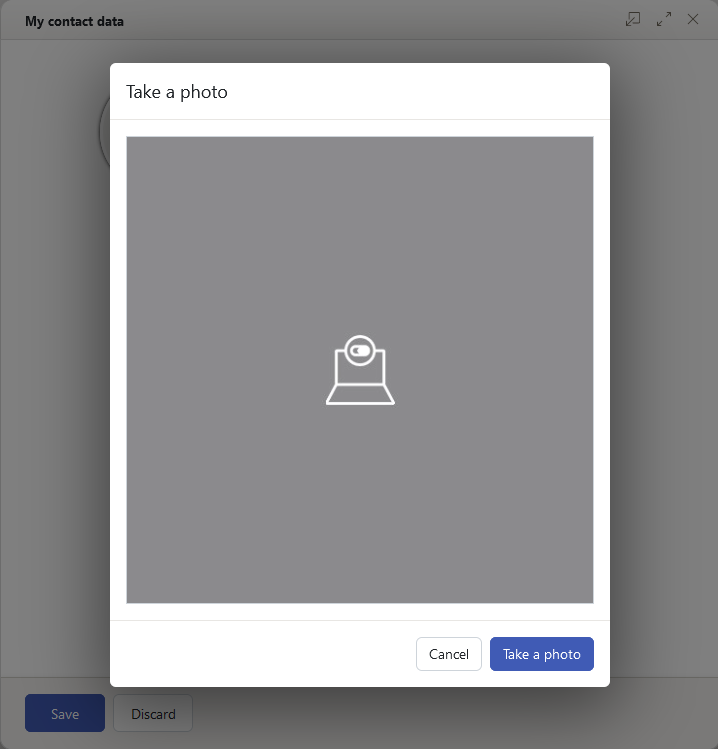
- Take a photo – Grant camera permission and snap a new picture.
- Upload a photo – Select a file from your device.
- Adjust your image:
- If you want to zoom in or out, click the Slider button.
- If you want to rotate the image to the right, click the Rotate right button.
- If you want to rotate the image to the left, click the Rotate left button.
- If you want to move the image horizontally, you can drag the selected image using your mouse.
- If you want to zoom in or out, click the Slider button.
- Click Apply to save changes.
You’ve now personalized your OX Mail profile with a contact photo.
Summary
Managing personal data in OX Mail is user-friendly and straightforward. Whether updating/editing contact details or adding or changing a contact photo to streamline communication, this guide lets you easily personalize your Cloud Mail profile. These customization features give users a modern and flexible email experience on the new Bluehost Portal system.
If you need further assistance, Bluehost Chat Support is available 24 hours a day, 7days a week while Bluehost Phone Support is available 7 days a week from 7 am-12 midnight EST.
- Chat Support - While on our website, you should see a CHAT bubble in the bottom right-hand corner of the page. Click anywhere on the bubble to begin a chat session.
- Phone Support -
- US: 888-401-4678
- International: +1 801-765-9400
You may also refer to our Knowledge Base articles to help answer common questions and guide you through various setup, configuration, and troubleshooting steps.