Purchase a Self-Managed VPS with LAMP Stack Installation
LAMP Stack is a popular open-source web development platform that stands for Linux, Apache, MySQL (or MariaDB), and PHP. This combination of technologies provides a solid foundation for hosting dynamic websites and web applications. Linux serves as the operating system, Apache as the web server, MySQL/MariaDB as the database management system, and PHP as the server-side scripting language.
To get the most out of LAMP Stack, consider a Self-Managed VPS hosting plan for better control and performance.
This article covers why LAMP Stack is important, its common uses, how to purchase and set up VPS hosting for it, and how to verify your stack is running in Docker.
Why Use LAMP Stack?
The LAMP stack is popular because of its reliability, scalability, and affordability. It drives a large number of web pages on the Internet, ranging from personal blogs to highly trafficked enterprise applications. The technologies within the LAMP stack are mature, with robust support communities. Deploying the LAMP stack in a VPS under your own management gives you the flexibility to tailor the configuration to your requirements.
Uses of LAMP Stack
The LAMP stack supports a range of web hosting and development needs, including:
- Website Hosting: Deploy and manage dynamic websites such as blogs, news sites, and corporate portals.
- Web Applications: Build interactive applications with a database backend and server-side logic.
- Content Management Systems (CMS): Power platforms such as WordPress, Joomla, or Drupal.
- E-commerce Platforms: Host online stores with secure transactions and product management.
- Custom Development: Provide a flexible environment for developers building tailored web solutions.
Its flexibility and open-source nature make the LAMP stack a versatile choice for many projects.
How to Purchase a Self-Managed VPS with LAMP Stack Installation
 New to VPS or not sure where to start? No worries! At the top of the Self-Managed VPS purchase page, you’ll see the Pre-configured Setup section. This handy feature is perfect if you’re feeling a bit unsure—just pick the type of project you want, like WordPress Site, AI Agent/Claude Code, Dev/Staging, or eCommerce Store. We’ll take care of the rest by automatically filling in the best plan, operating system, and template for you.
- Super simple for beginners or anyone who just wants a quick setup
- Instantly get the recommended settings for your project
- Skip the guesswork and save time
- You can still customize things later if you want
- In your browser, go to https://www.bluehost.com/vps-hosting.
- Click the Choose Plan button under your preferred VPS hosting plan.
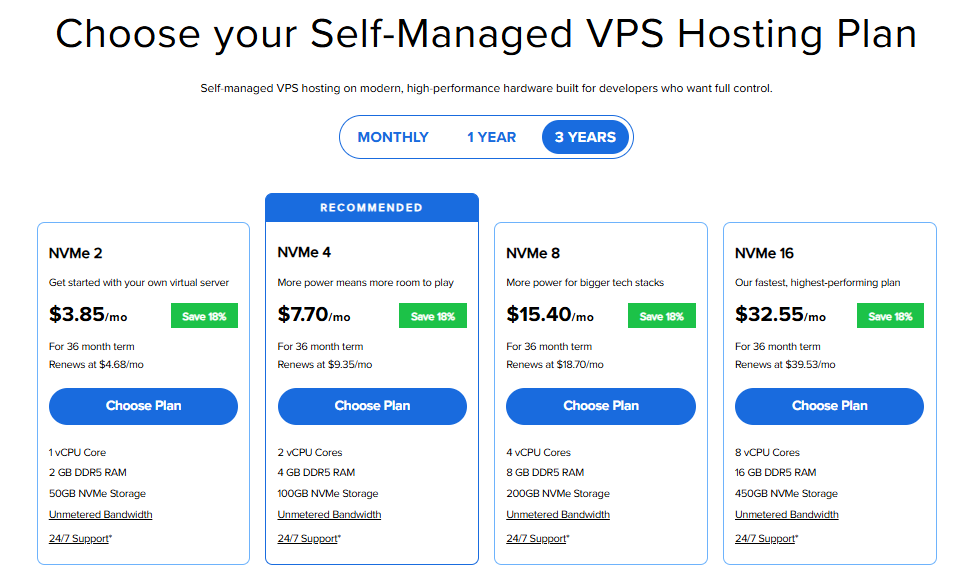
Important: Pricing is subject to change—please visit https://www.bluehost.com/vps-hosting for the current introductory/sign-up offer for Bluehost VPS Hosting. For the most up-to-date renewal pricing, visit your Bluehost Portal Renewal Center.
- Select your preferred Data Center location.

- On the Cart page, you can configure your server to fit your needs in the following section:
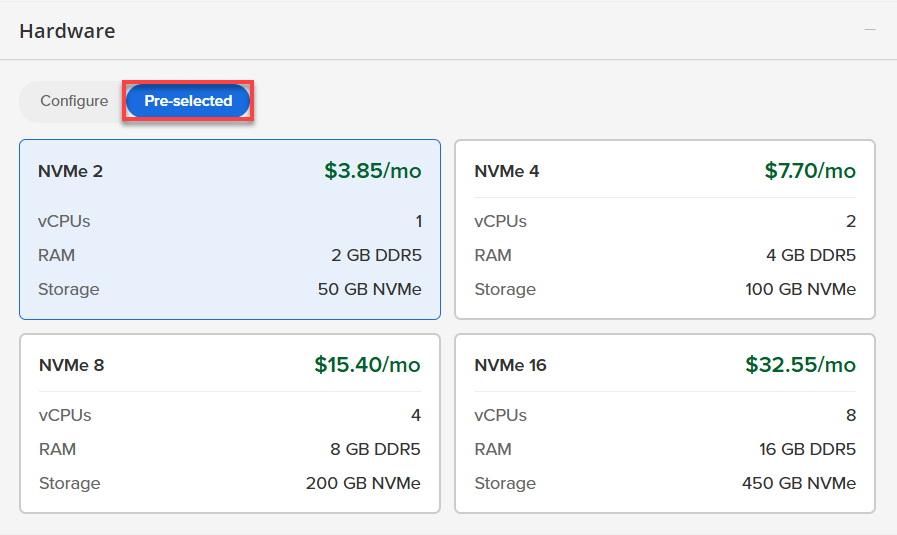
- Hardware:
- Pre-selected:
You can select a different Self-Managed VPS plan in this section.
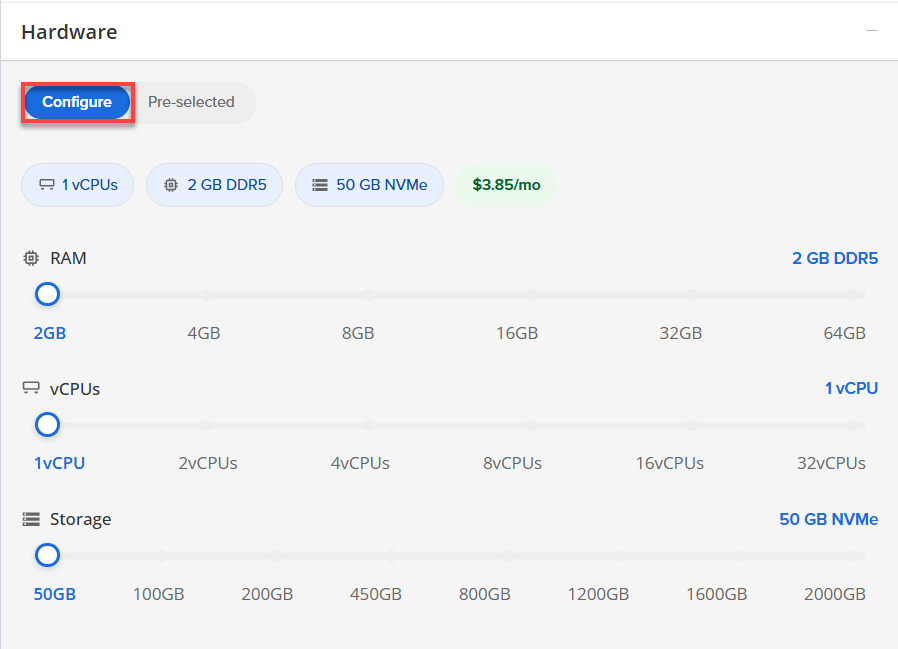
- Configure:
Click Configure to customize your package.
Note that your changes help customize your plan, and the overall cost will adjust accordingly to fit your needs.
- Pre-selected:
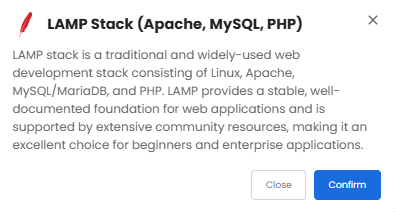
- Software:
- Click the Application tab.
- Select LAMP Stack.
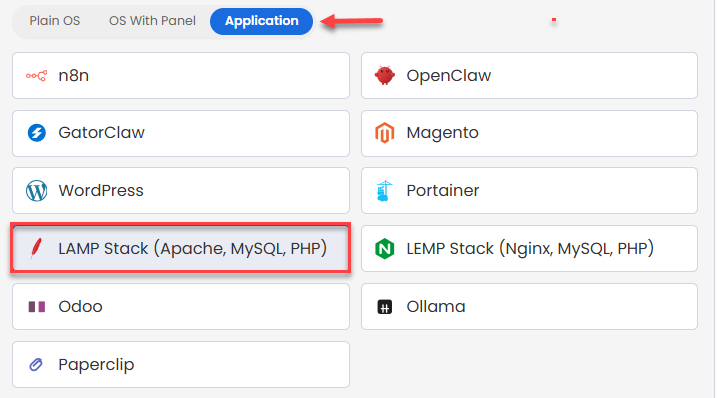
- In the pop-up, click Confirm.
- Hardware:
- Add-Ons:
- Premium Support:
Provides you with priority access to our expert team, ensuring faster responses and personalized help whenever you need them.

- Premium Support:
- In the Advanced options:
- Extra IP's: You can add extra IP addresses for an additional fee.
Pricing changes based on how many IPs you add. - Hostname: Assign a custom hostname to easily identify your server. This is optional.
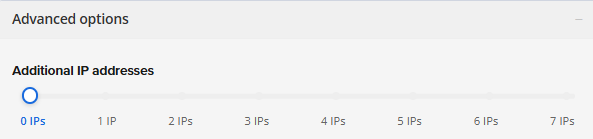
- Extra IP's: You can add extra IP addresses for an additional fee.
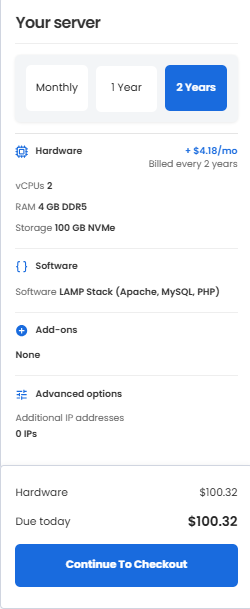
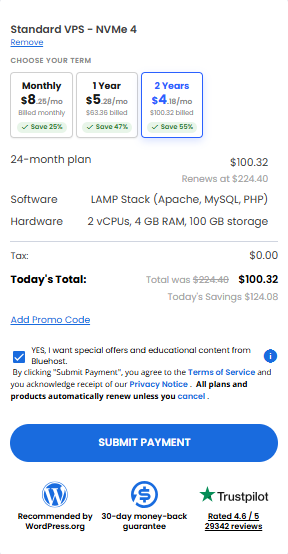
- Select your preferred billing term and view your Order Summary. Click the Continue to Checkout button to proceed.
- Do the following on the Checkout page:
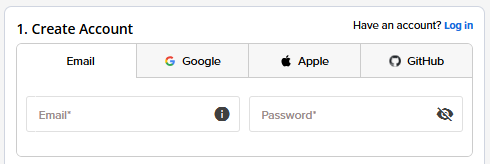
If you're new with Bluehost:
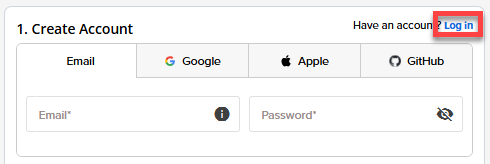
- Create your Bluehost account by using your email address or by connecting with your Google, Apple, or GitHub account — whichever you prefer!
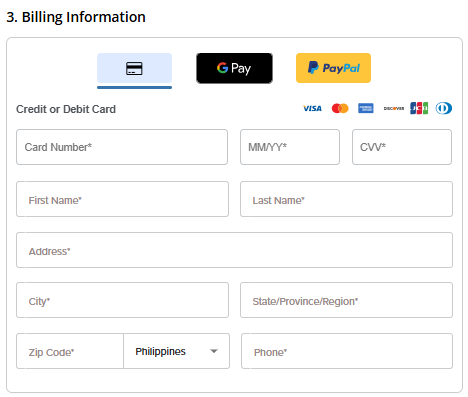
- Select your preferred payment method: credit card, Google Pay, or PayPal. Enter your billing information.
If you have an account with us, you will see your Bluehost login details when you are logged into your Bluehost Portal. If you are not logged in, please click the Log In link.
- Create your Bluehost account by using your email address or by connecting with your Google, Apple, or GitHub account — whichever you prefer!
- In the Shopping Cart section, adjust the billing term as needed. Click Submit Payment to complete the purchase.
After you complete your purchase, your Self-Managed VPS hosting will begin provisioning. You can locate your new VPS hosting in the Hosting tab of your Bluehost Portal.
How to Verify Your LAMP Stack is Running in Docker
Note: When you provision your server with the LAMP Stack application, Docker is automatically installed and configured for you. The entire LAMP stack (Apache, MySQL, and PHP) runs inside isolated Docker containers to maximize security and simplify management.
Use the steps below to confirm your LAMP stack is up and running, and to understand where your website files live.
- Connect to your VPS via SSH.
Use your VPS IP and credentials with an SSH client:ssh root@your_server_ip - Check if the LAMP Docker containers are running:
docker psYou should see containers with images such as
php:apache(web/PHP),mysql:latest(database), and possiblytraefik:latest(proxy). - Verify that Apache is serving content:
In your browser, visithttp://your_server_ip/. If you see the message “It works!”, Apache inside Docker is running and accessible. - Confirm PHP is working:
echo '<?php phpinfo(); ?>' > /tmp/info.php
docker cp /tmp/info.php $(docker ps -qf "ancestor=php:apache"):/var/www/html/info.php
docker exec $(docker ps -qf "ancestor=php:apache") rm /var/www/html/info.php- Create a PHP info file on your VPS:
- In your browser, go to
http://your_server_ip/info.php. You should see the PHP Information page, which confirms PHP is installed and functioning. - For security, remove the test file afterwards:
Summary
The LAMP stack is a reliable, scalable, and cost-effective solution that powers everything from personal blogs to enterprise applications. Its mature technologies and strong community support make it a trusted choice. By using a Self-Managed VPS with a one-click LAMP installation, Docker is automatically installed and configures your entire LAMP environment inside secure, isolated containers. This ensures modern best practices are followed out of the box and makes managing, updating, and troubleshooting your stack easier and safer.
This guide explained the importance and uses of LAMP Stack, how to purchase Self-Managed VPS hosting for it, and demonstrated how Docker is used to deploy and verify your LAMP environment with minimal setup required.