Purchase a Self-Managed VPS with Easypanel Installation
Easypanel is a modern server management platform that allows you to easily deploy, manage and monitor applications on your VPS. Its intuitive web-based dashboard allows you to manage your websites, databases, domains, SSL certificates and applications without requiring extensive server administration experience. Whether you are launching a personal project, hosting client websites or managing business applications, EasyPanel makes server management simple and allows you the flexibility and control of a Self-Managed VPS.
Why Use Easypanel?
Handling applications and websites on a server can be challenging, especially if you’re not comfortable with command-line tools. EasyPanel simplifies this process by offering a user-friendly interface to deploy and manage your projects from a single dashboard. When installed on a Bluehost Self-Managed VPS, Easypanel gives you greater control over your hosting environment while making common management tasks easier. You can deploy applications faster, manage server resources more efficiently, and scale your projects as your needs grow.
Uses of Easypanel
Easypanel can support a variety of hosting and application management needs, including:
- Website Hosting: Host and manage one or multiple websites from a centralized dashboard.
- Application Deployment: Deploy web applications quickly with minimal server configuration.
- Database Management: Create and maintain your databases for your websites and applications.
- Development and Testing Environments: Set up environments for development, staging, and testing projects.
- Container Management: Manage containerized applications through an easy-to-use interface.
- Domain and SSL Management: Connect domains and secure your websites with SSL certificates.
- Server Monitoring: Monitor resource usage and server performance from a single location.
How to Purchase a Self-Managed VPS with Easypanel Installation
To set up and operate Easypanel effectively, start by getting a Self-Managed VPS Hosting plan from Bluehost, then proceed with the following steps:
 New to VPS or not sure where to start? No worries! At the top of the Self-Managed VPS purchase page, you’ll see the Pre-configured Setup section. This handy feature is perfect if you’re feeling a bit unsure—just pick the type of project you want, like WordPress Site, AI Agent/Claude Code, Dev/Staging, or eCommerce Store. We’ll take care of the rest by automatically filling in the best plan, operating system, and template for you.
- Super simple for beginners or anyone who just wants a quick setup
- Instantly get the recommended settings for your project
- Skip the guesswork and save time
- You can still customize things later if you want
- In your browser, go to https://www.bluehost.com/vps-hosting.
- Click the Choose Plan button under your preferred VPS hosting plan.
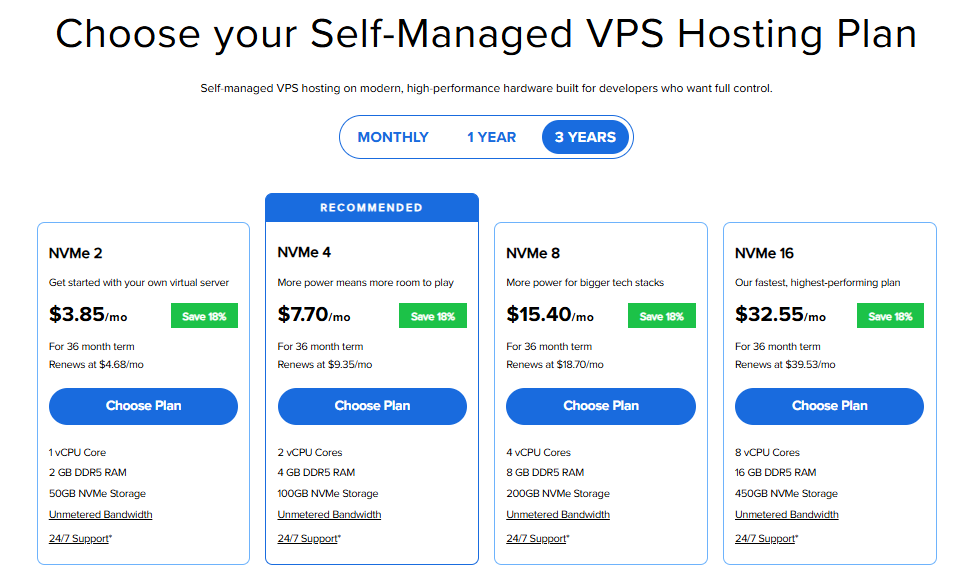
Important: Pricing is subject to change—please visit https://www.bluehost.com/vps-hosting for the current introductory/sign-up offer for Bluehost VPS Hosting. For the most up-to-date renewal pricing, visit your Bluehost Portal Renewal Center.
- Select your preferred Data Center location.

- On the Cart page, you can configure your server to fit your needs in the following section:
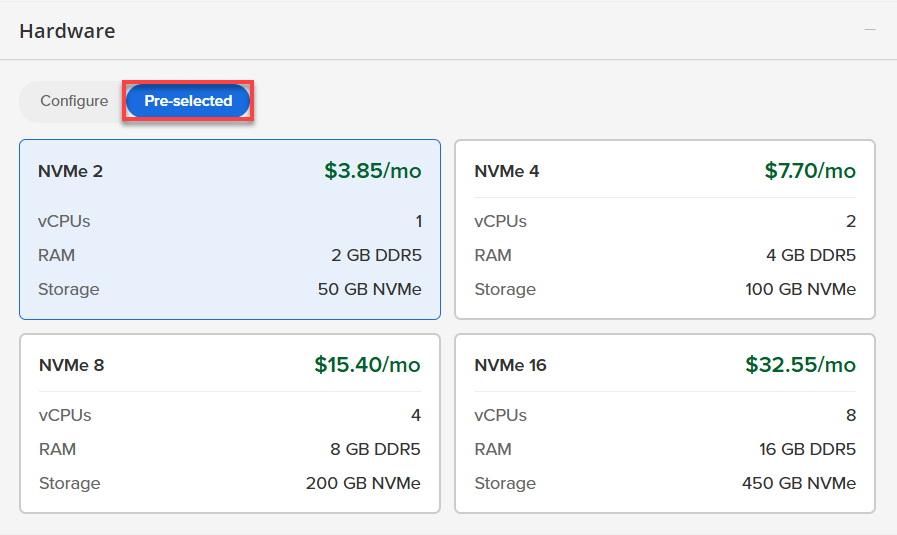
- Hardware:
- Pre-selected:
You can select a different Self-Managed VPS plan in this section.
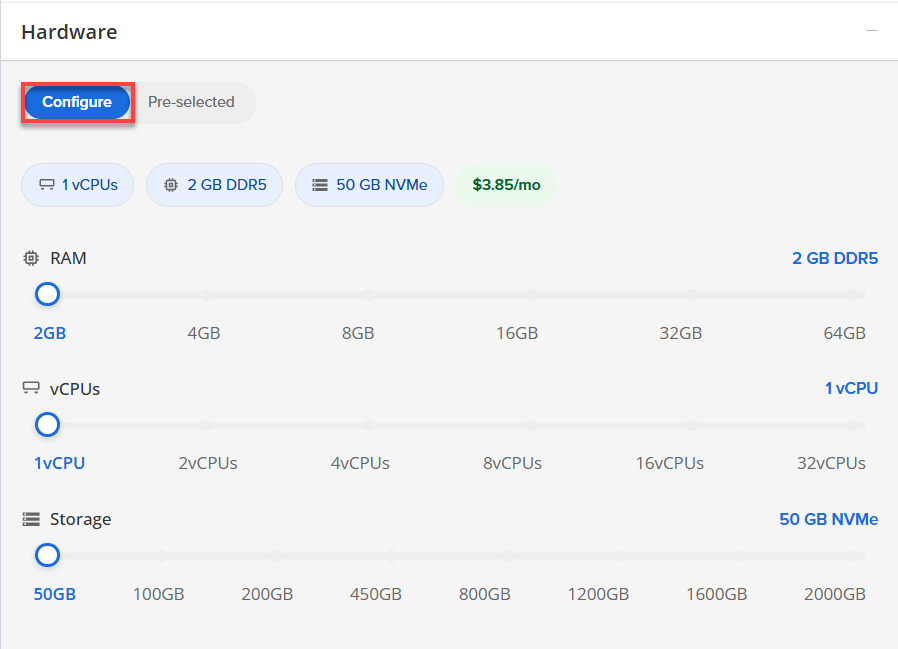
- Configure:
Click Configure to customize your package.
Note that your changes help customize your plan, and the overall cost will adjust accordingly to fit your needs.
- Pre-selected:
- Software:
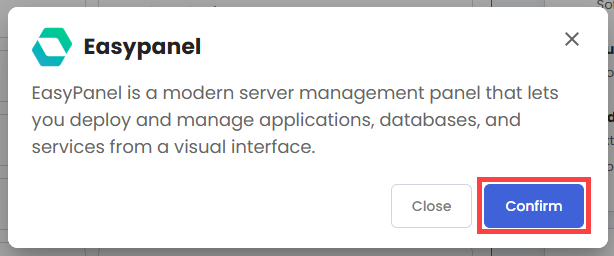
- Click the Application tab.
- Select Easypanel.
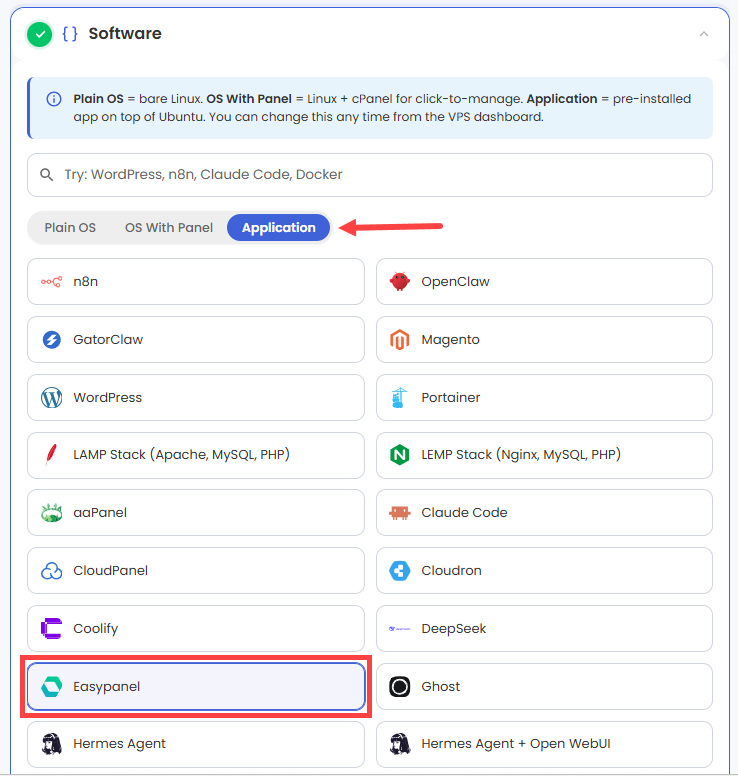
- In the pop-up, click Confirm.
- Hardware:
- Add-Ons: You can add Premium Support here, which gives you priority access to expert assistance and faster response times.

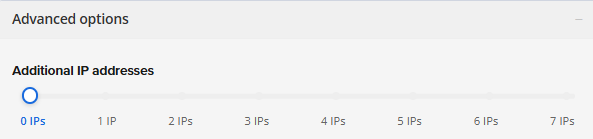
- In the Advanced options:
- Extra IP's: You can add extra IP addresses for an additional fee.
Pricing changes based on how many IPs you add. - Hostname: Assign a custom hostname to easily identify your server. This is optional.
- Extra IP's: You can add extra IP addresses for an additional fee.
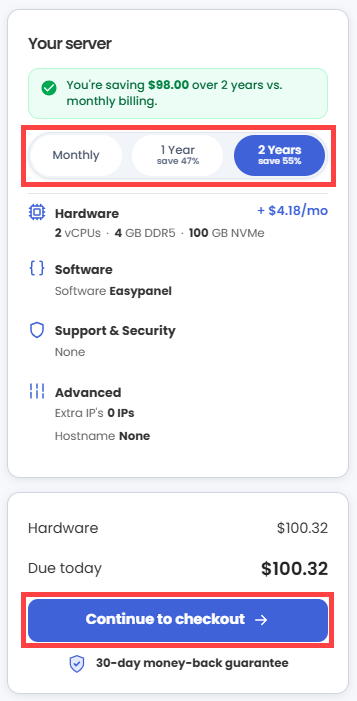
- Next, select your preferred billing term and review your Order Summary, then click Continue to Checkout.
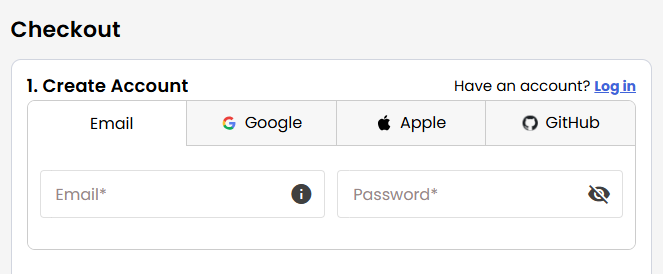
- Do the following on the Checkout page:
If you're new with Bluehost:
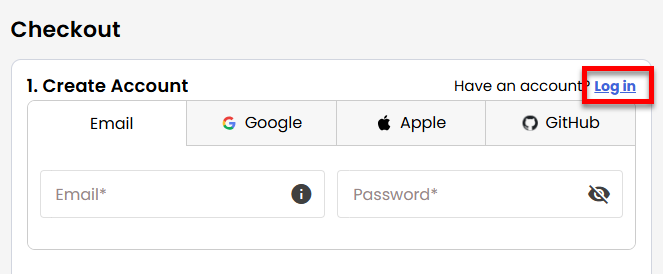
- Create your Bluehost account by using your email address or by connecting with your Google, Apple, or GitHub account — whichever you prefer!
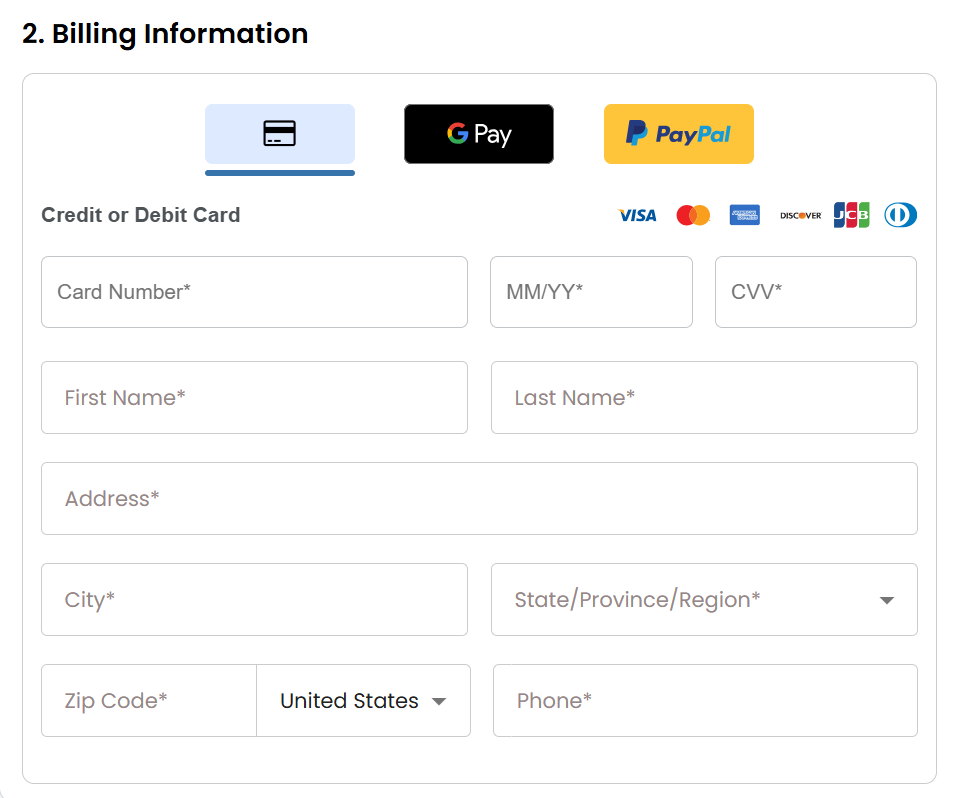
- Select your preferred payment method: credit card, Google Pay, or PayPal. Enter your billing information.
If you have an account with us, you will see your Bluehost login details when you are logged into your Bluehost Portal. If you are not logged in, please click the Log In link.
- Create your Bluehost account by using your email address or by connecting with your Google, Apple, or GitHub account — whichever you prefer!
- In the Shopping Cart section, you can still adjust your billing term if needed.
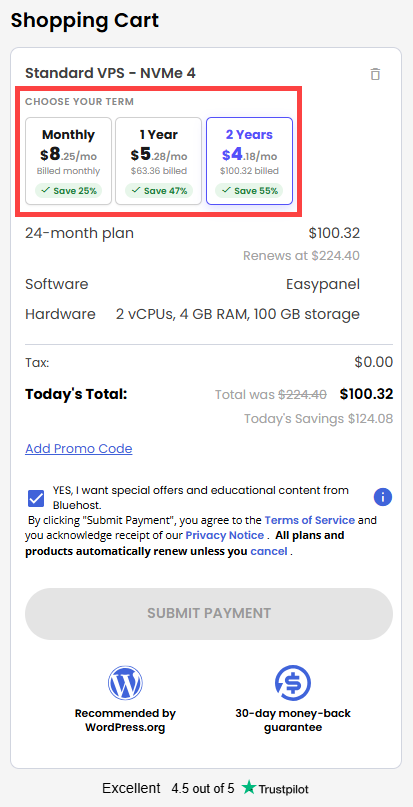
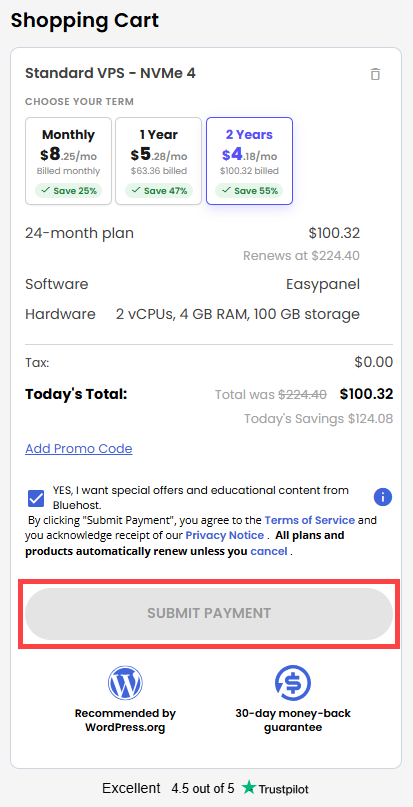
- Review the items in your cart, add a Promo Code if you have one, and then click Submit Payment to complete the purchase.
After checkout, your Self-Managed VPS will begin setting up. Once it’s ready, you can find it under the Hosting tab in your Bluehost Portal.
Summary
Easypanel is an easy and efficient way to manage your applications, websites, databases and server resources through an intuitive web based dashboard. With Easypanel and a Bluehost Self-Managed VPS, server management is easier, while you still have the flexibility and control to customize your environment. Easypanel makes it easy to get started and grow your operations as your needs change, whether you are hosting websites, deploying applications or managing development projects.