Purchase a Self-Managed VPS with Moodle Installation
Moodle (Modular Object-Oriented Dynamic Learning Environment) is an open-source Learning Management System (LMS) designed to help educators, organizations, and institutions create, deliver, and manage online learning experiences. First released in 2002, Moodle has grown into one of the most widely used LMS platforms globally due to its flexibility, scalability, and strong community support.
Moodle allows users to build customized online courses with features such as assignments, quizzes, discussion forums, multimedia integration, grading tools, and analytics. It is highly configurable, enabling administrators and instructors to tailor the system to meet specific educational or training needs.
One of Moodle’s key strengths lies in its open-source nature, which allows developers to extend its functionality through plugins, themes, and integrations with third-party tools such as video conferencing platforms, content repositories, and collaborative tools.
Why Use Moodle?
There are several compelling reasons why organizations choose Moodle as their LMS:
- Open-Source and Cost-Effective - Moodle is free to download and use, which makes it an attractive option for schools, universities, and businesses with limited budgets. Organizations only need to consider hosting, customization, and maintenance costs.
- Highly Customizable - Moodle offers extensive customization options. Institutions can modify course structures, user roles, permissions, and design elements. Plugins further extend capabilities, allowing features like gamification, advanced analytics, and integrations.
- Scalable for Any Organization - Whether used by a small training group or a large university with thousands of learners, Moodle can scale to handle varying user loads efficiently.
- Strong Community Support - Moodle has a large global community of developers, educators, and administrators. This ensures continuous updates, security improvements, and access to shared knowledge and resources.
- Flexible Learning Options - Moodle supports both synchronous and asynchronous learning. It allows educators to create self-paced courses, live sessions, blended learning models, and mobile-friendly experiences.
- Robust Assessment and Tracking - With built-in tools for quizzes, assignments, gradebooks, and learner analytics, Moodle enables effective monitoring of student performance and learning outcomes.
Uses of Moodle
Moodle enables educators to create and deliver fully online courses. It supports multimedia content such as videos, presentations, documents, and interactive activities, making learning more engaging.
- Online Course Delivery - Moodle enables educators to create and deliver fully online courses. It supports multimedia content such as videos, presentations, documents, and interactive activities, making learning more engaging.
- Blended Learning - Institutions commonly use Moodle to support blended learning environments, combining traditional classroom instruction with online resources, assignments, and discussions.
- Corporate Training and Development - Businesses use Moodle to train employees, onboard new hires, and provide continuous professional development. It allows organizations to standardize training and track employee progress.
- Assessment and Evaluation - Moodle includes powerful tools for quizzes, exams, and assignments. Instructors can automate grading, provide feedback, and measure learner performance through detailed analytics and reports.
- Collaboration and Communication - With features such as forums, chats, and messaging, Moodle fosters interaction between learners and instructors. It supports group work, peer learning, and collaborative projects.
- Certification and Compliance Training - Organizations use Moodle to deliver compliance training and issue certificates upon course completion. This is particularly useful in regulated industries that require documented learning outcomes.
- Remote and Distance Learning - Moodle supports remote education, making it ideal for distance learning programs. Its mobile compatibility ensures learners can access content anytime, anywhere.
- Knowledge Management - Moodle acts as a centralized repository for learning materials and institutional knowledge, allowing users to organize, store, and reuse educational content efficiently.
How to Purchase a Self-Managed VPS with Moodle Installation
 New to VPS or not sure where to start? No worries! At the top of the Self-Managed VPS purchase page, you’ll see the Pre-configured Setup section. This handy feature is perfect if you’re feeling a bit unsure—just pick the type of project you want, like WordPress Site, AI Agent/Claude Code, Dev/Staging, or eCommerce Store. We’ll take care of the rest by automatically filling in the best plan, operating system, and template for you.
- Super simple for beginners or anyone who just wants a quick setup
- Instantly get the recommended settings for your project
- Skip the guesswork and save time
- You can still customize things later if you want
- In your browser, go to https://www.bluehost.com/vps-hosting.
- Click the Choose Plan button under your preferred VPS hosting plan.
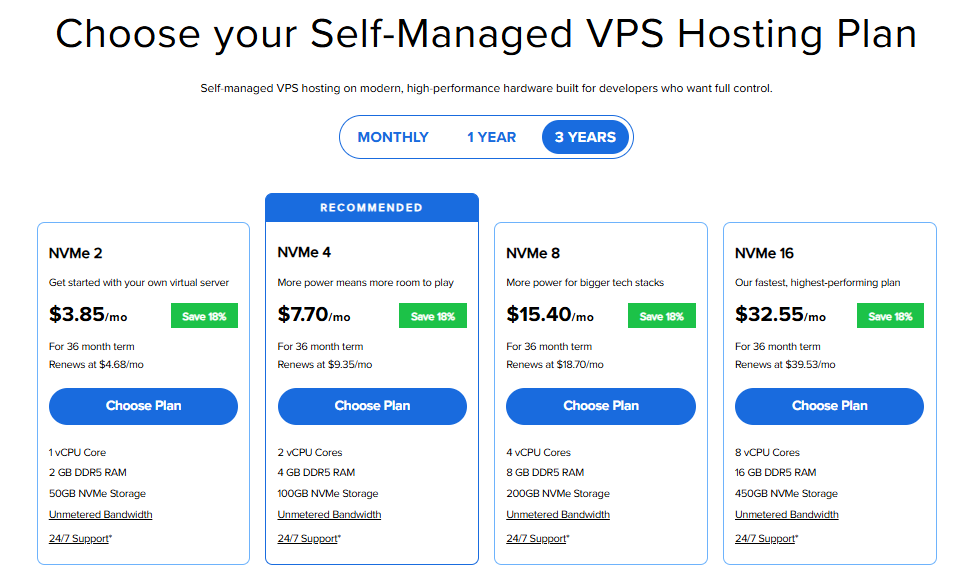
Important: Pricing is subject to change—please visit https://www.bluehost.com/vps-hosting for the current introductory/sign-up offer for Bluehost VPS Hosting. For the most up-to-date renewal pricing, visit your Bluehost Portal Renewal Center.
- Select your preferred Data Center location.

- On the Cart page, you can configure your server to fit your needs in the following section:
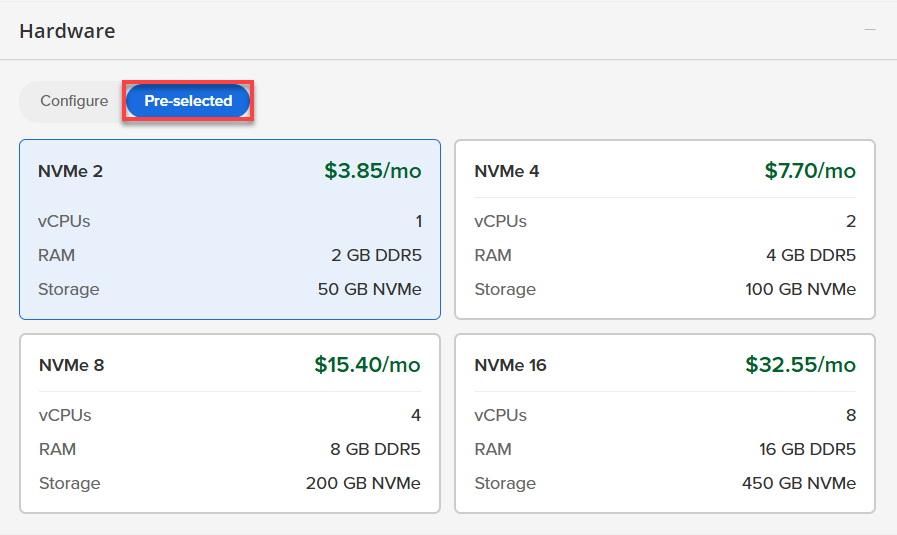
- Hardware:
- Pre-selected:
You can select a different Self-Managed VPS plan in this section.
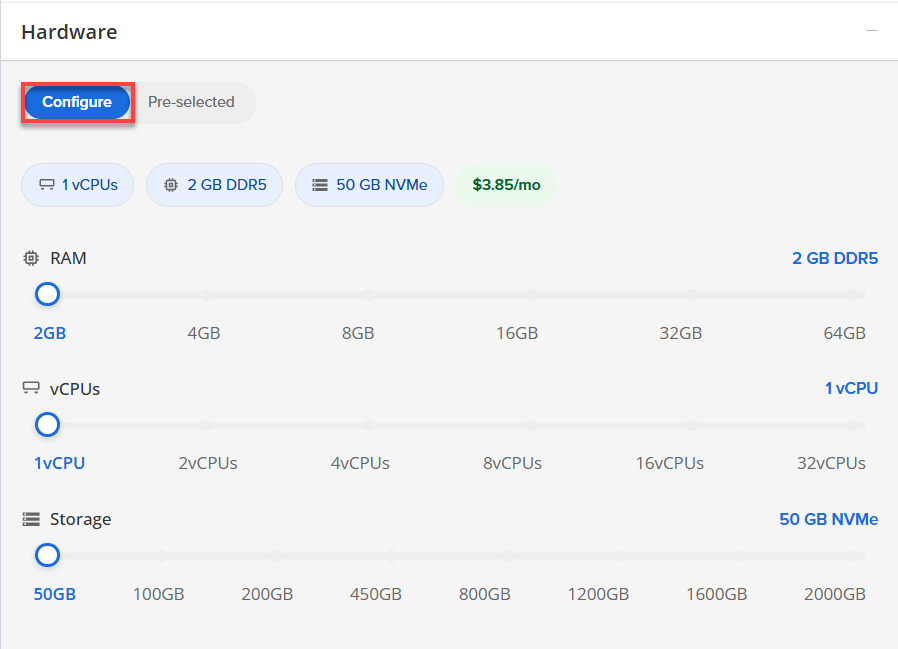
- Configure:
Click Configure to customize your package.
Note that your changes help customize your plan, and the overall cost will adjust accordingly to fit your needs.
- Pre-selected:
- Software:
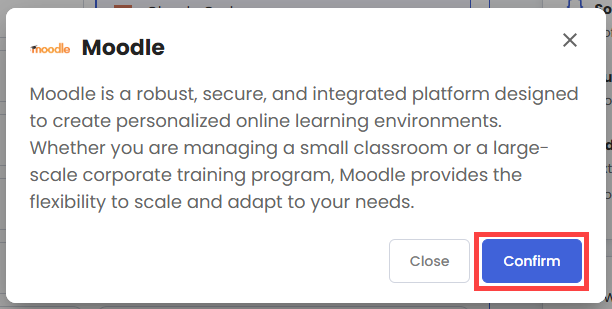
- Click the Application tab.
- Select Moodle.
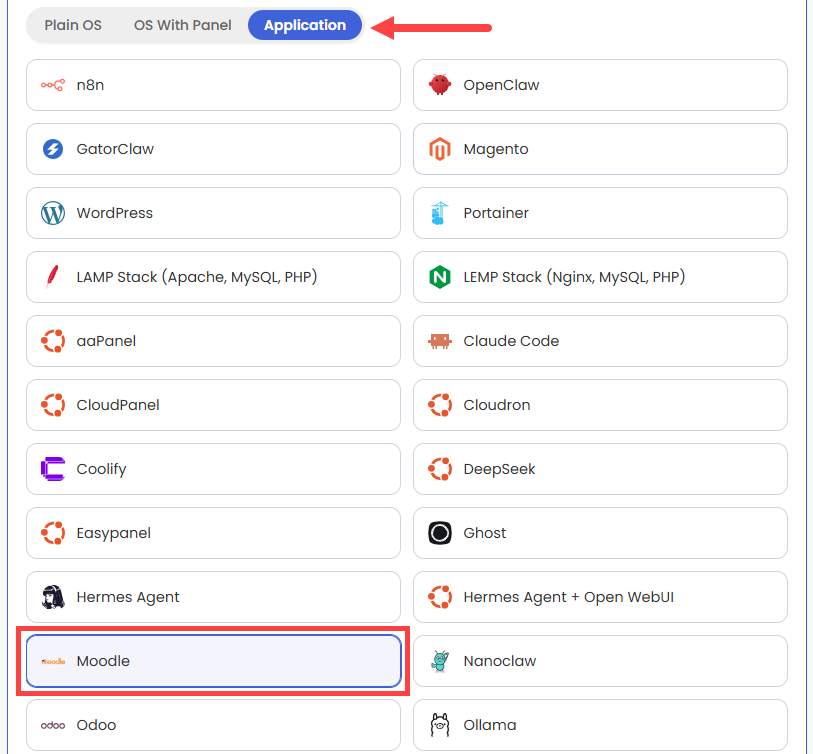
- In the pop-up, click Confirm.
- Hardware:
- Add-Ons: You can add Premium Support here, which gives you priority access to expert assistance and faster response times.

- In the Advanced options:
- Extra IP's: You can add extra IP addresses for an additional fee.
Pricing changes based on how many IPs you add. - Hostname: Assign a custom hostname to easily identify your server. This is optional.
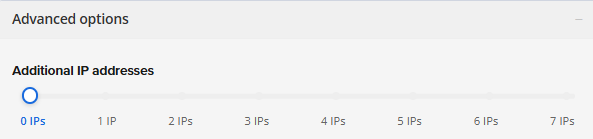
- Extra IP's: You can add extra IP addresses for an additional fee.
- Next, select your preferred billing term and review your Order Summary, then click Continue to Checkout.

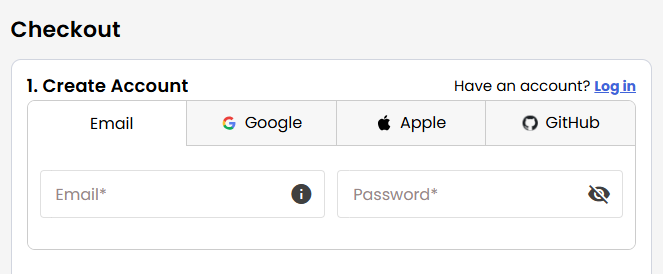
- Do the following on the Checkout page:
If you're new with Bluehost:
- Create your Bluehost account by using your email address or by connecting with your Google, Apple, or GitHub account — whichever you prefer!
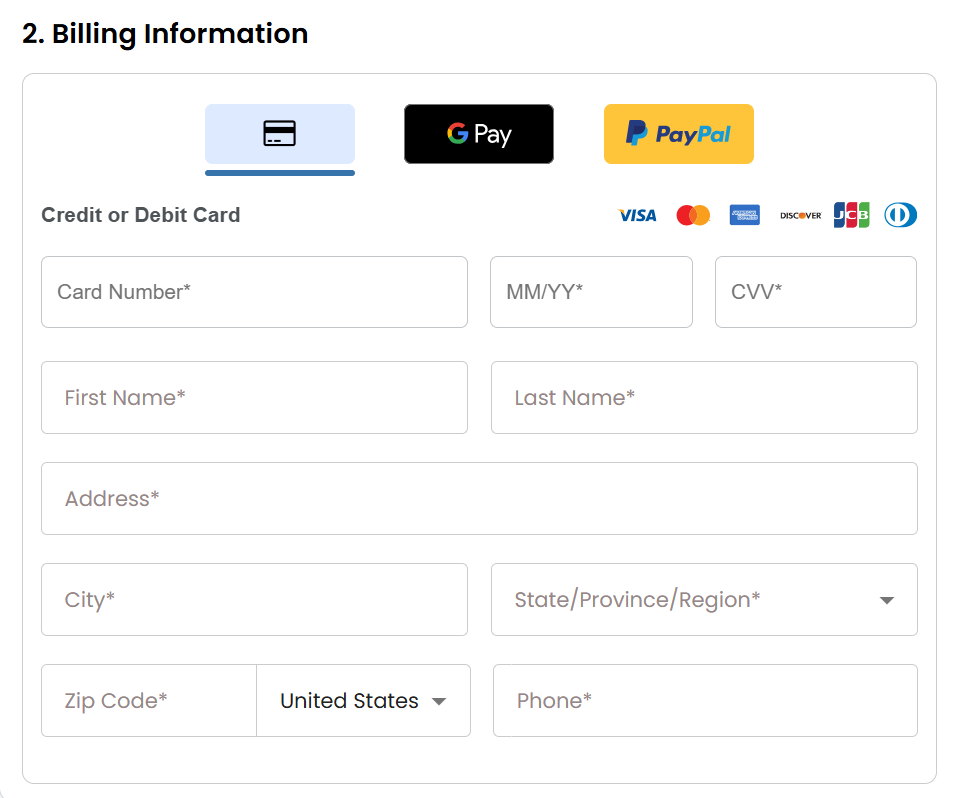
- Select your preferred payment method: credit card, Google Pay, or PayPal. Enter your billing information.
If you have an account with us, you will see your Bluehost login details when you are logged into your Bluehost Portal. If you are not logged in, please click the Log In link.
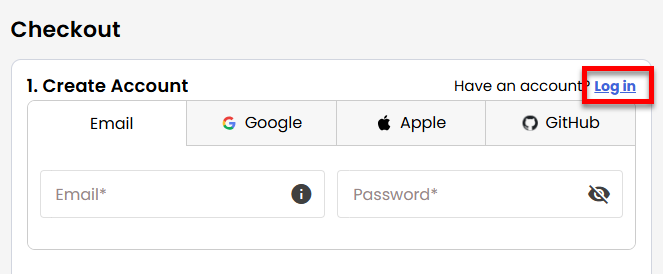
- Create your Bluehost account by using your email address or by connecting with your Google, Apple, or GitHub account — whichever you prefer!
- In the Shopping Cart section, you can still adjust your billing term if needed.
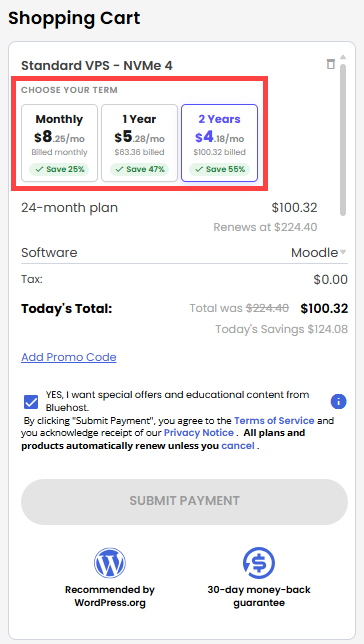
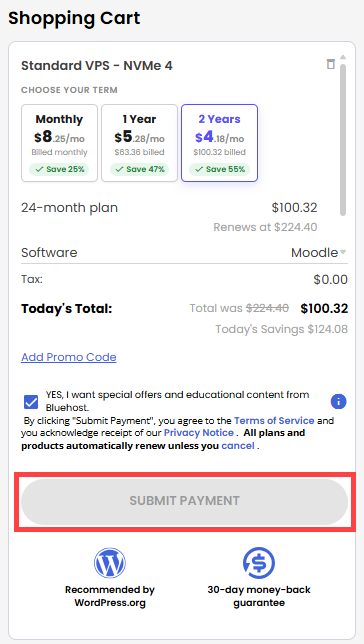
- Review the items in your cart, add a Promo Code if you have one, and then click Submit Payment to complete the purchase.
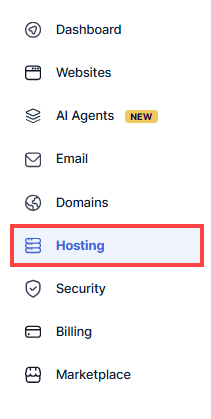
After checkout, your Self-Managed VPS will begin setting up. Once it’s ready, you can find it under the Hosting tab in your Bluehost Portal.
Setting Up Your Moodle Base: A Step-by-Step Guide
Follow these steps to complete your initial setup.
Step 1: Set Up and Secure Your VPS
- Log in to your Bluehost Portal.
- In the left-hand menu, click the Hosting tab.
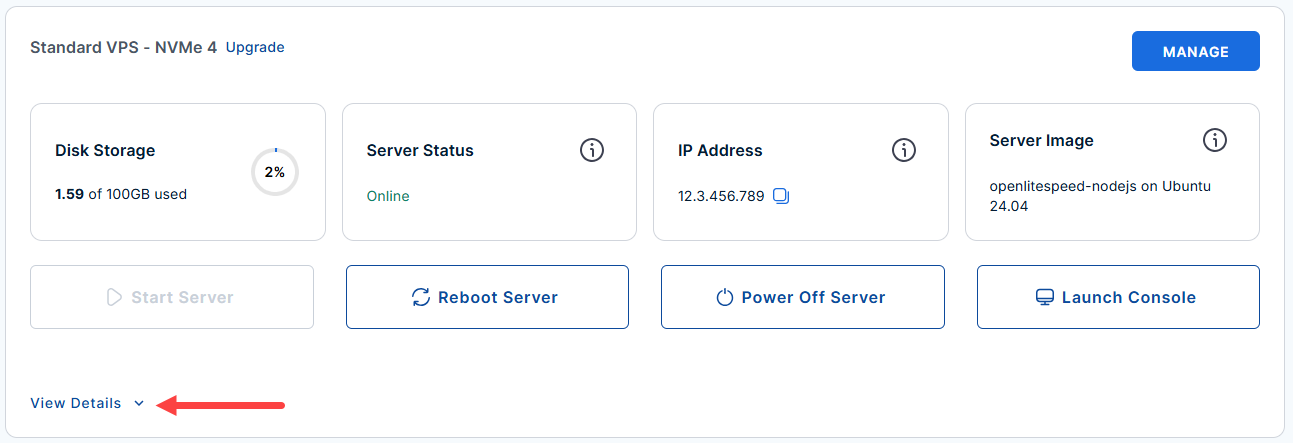
- Look for the server you want to manage then click the View Details to see more options.
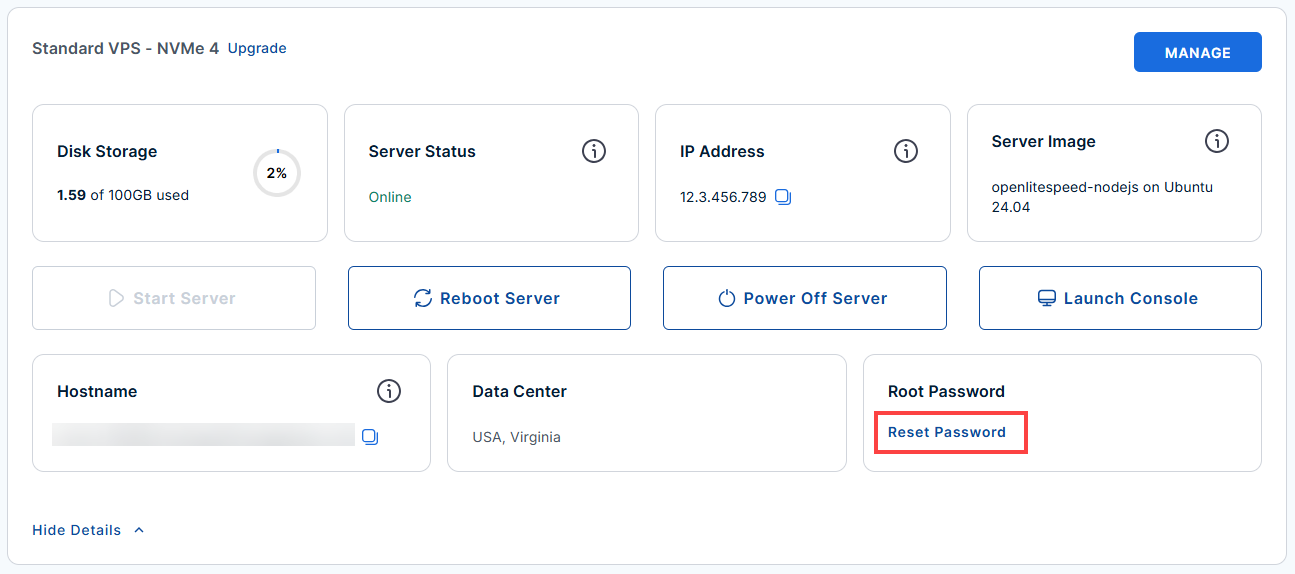
- Click the Reset Password.
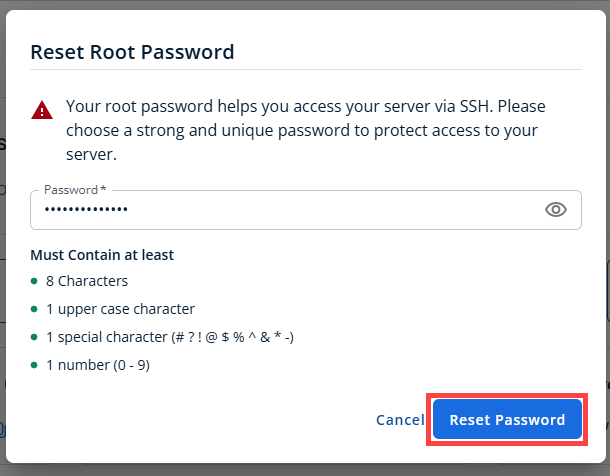
- In the pop-up window, type your new root password, then click Reset Password again to confirm and save the changes.
Step 2: Retrieve Your Initial Credentials
Your Moodle deployment automatically generates secure credentials during installation. These credentials are stored on your server.
- Connect to your VPS via SSH.
Open your computer's terminal (or an SSH client like PuTTY) and run the following command to log into your server as the administrator, using your server's public IP address:
Follow the prompts and enter the new root password you created in the step above.ssh root@your_server_ip - After logging in, you'll see the server's welcome message. This message includes:
- The Moodle administrator username (admin)
- The Moodle login URL
- The location of the generated passwords (/root/.app_passwords)
Example Output:
Welcome to Ubuntu 24.04.4 LTS (GNU/Linux 6.8.0-111-generic x86_64) ******************************************************************************** The UFW firewall is enabled. All ports are BLOCKED except 22 (SSH), 80 (HTTP), and 443 (HTTPS). You can access Moodle at: https://12.3.456.789/login/index.php User: admin Password is saved in /root/.app_passwords To change your site to load under a domain instead of an ip, on the server run: /root/domain-change For more details please see /root/README.md ******************************************************************************** To delete this message of the day: rm -rf /etc/update-motd.d/99-moodle - Retrieve your Moodle administrator credentials by running:
cat /root/.app_passwordsExample Output:
root@server-123456:~# cat /root/.app_passwords root_mysql_pass=t3st9K4Vmnw4_Vn admin_mysql_pass=R)sK?zd7)MFt3st app_mysql_pass=7J{V~t3stC4fh_f+ moodle_admin_pass=t3stNFfcM%Hb^b - Save the moodle_admin_pass value, as you will need it shortly.
Step 3: Log In to Moodle
Once you have your administrator credentials, you can access the Moodle dashboard.
- Open a web browser and navigate to the Moodle URL provided in your server's welcome message: https://your-server-ip/login/index.php
Example:
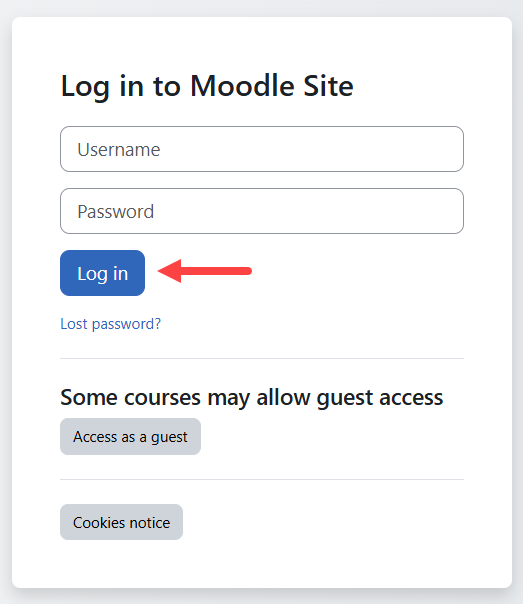
https://12.3.456.789/login/index.php - From the log in screen. Enter the following:
- Username: admin
- Password: The value of moodle_admin_pass from
cat /root/.app_passwords
- Click Log in.
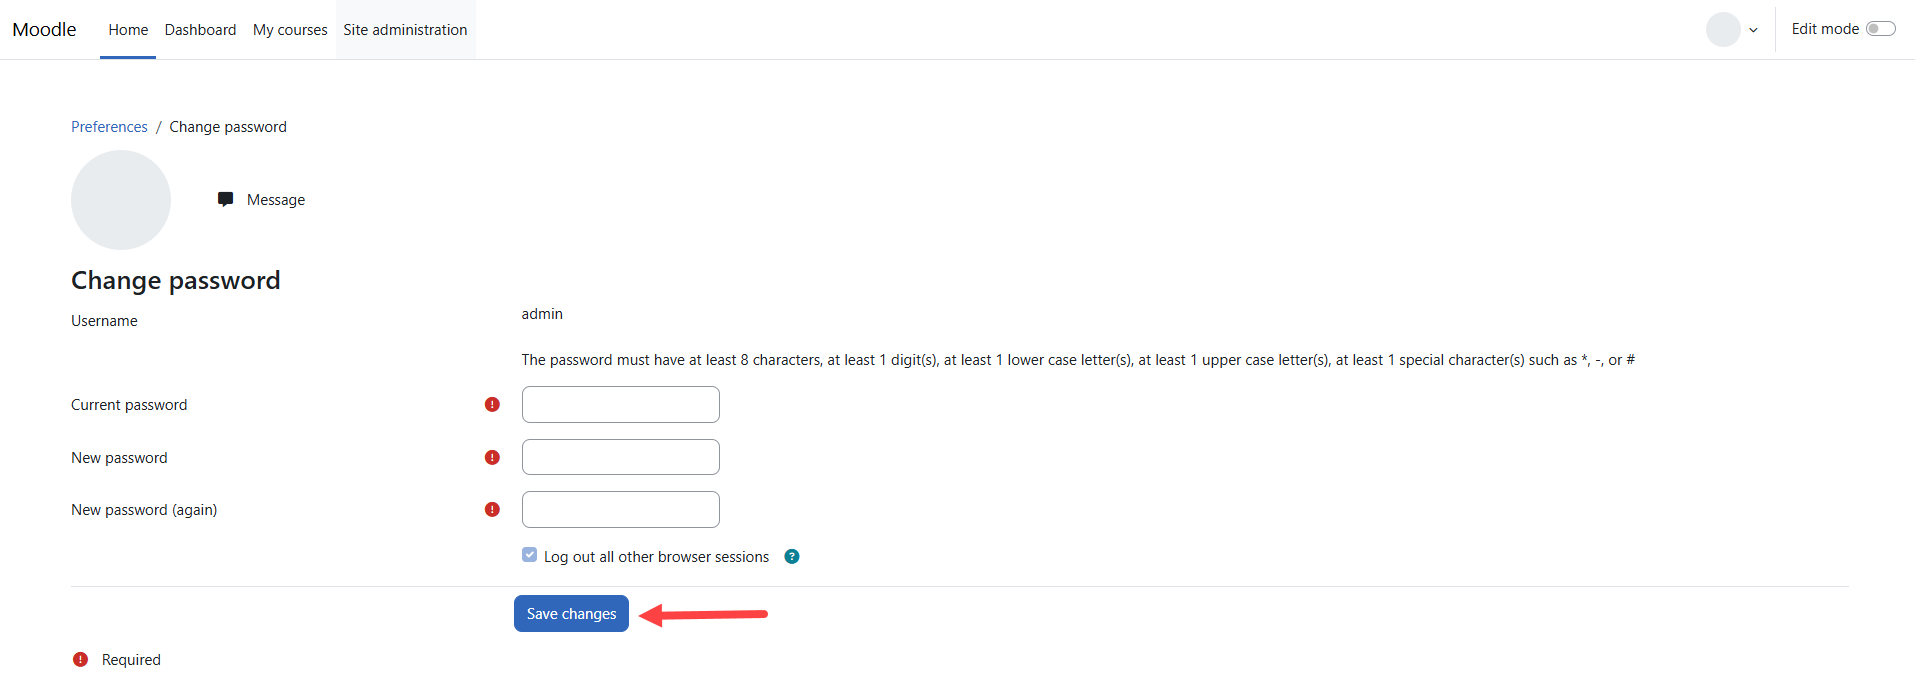
Step 4: Change the Moodle Administrator Password
For security reasons, Moodle requires you to replace the temporary administrator password during your first login.
- Enter your current password.
- Create a new administrator password.
- Confirm the new password.
Your new password must include:
- At least 8 characters
- One uppercase letter
- One lowercase letter
- One number
- One special character (such as *, #, or -)
- Click Save changes.
Step 5: Complete Your Administrator Profile
After updating your password, Moodle prompts you to verify your account information.
- Complete all required fields, including:
- First Name
- Last Name
- Email Address
- Scroll to the bottom of the page, then click Update profile.
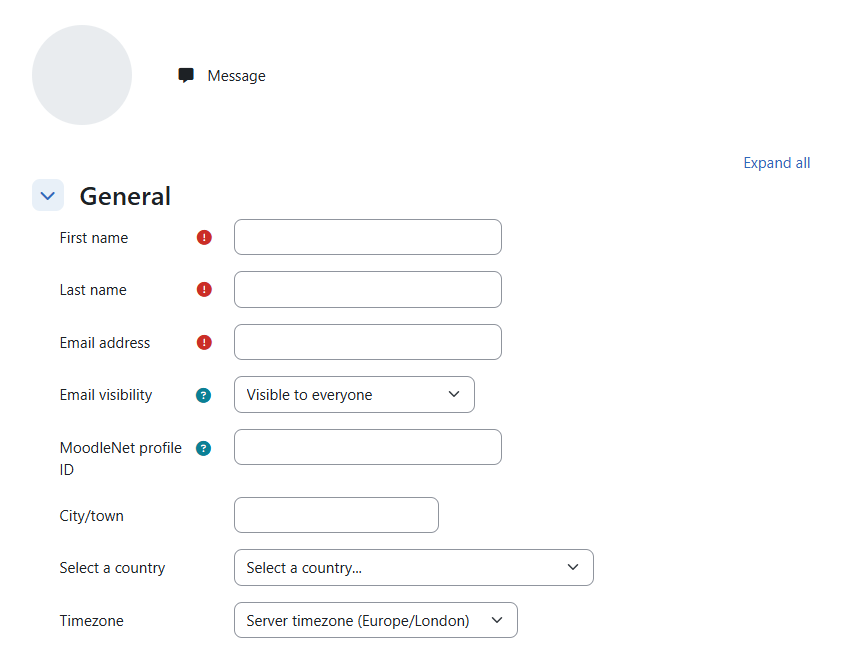
A confirmation message will appear after your profile has been successfully updated.
Next Step: Configure Your Domain
By default, Moodle is configured to use your server's public IP address.
When you're ready to access your Moodle site using your own domain name, connect to your server through SSH and run:
/root/domain-change
Follow the prompts to update Moodle's configuration with your domain. After the process finishes, you can access your learning platform using your custom domain instead of the server IP address.
Why a Domain Name is Important
- Security: You need a domain to get a free SSL certificate. This removes the "Not Secure" browser warning and encrypts user login data.
- User Experience: A web address (like learning.yourcompany.com) is much easier for people to remember and share than a random IP address (like 50.6.230.166).
- Email Reliability: If you just use an IP address, Moodle's automated emails (like password resets) will likely be blocked or sent to spam by providers like Gmail.
- Flexibility: If you ever upgrade or move your server, your IP address will change. A domain name stays the same, ensuring your users never lose access.
An IP address is perfectly fine for private testing. However, once you are ready to invite real learners to your platform, you should connect a domain name.
Additional Information and Example Documentation Output
You can run cat /root/README.md to see more information and useful commands:
Example Output:
# Moodle

## Description

Moodle is a robust, secure, and integrated platform designed to create personalized online learning environments. Whether you are managing a small classroom or a large-scale corporate training program, Moodle provides the flexibility to scale and adapt to your needs.

### Key Features
*   **Comprehensive Course Toolkit**: Build interactive courses with quizzes, assignments, forums, and wikis.
*   **Flexible & Customizable**: Personalize your site with custom themes and extend functionality via a massive plugin library.
*   **User-Friendly Management**: Access a personalized dashboard and use drag-and-drop tools to organize content easily.
*   **Powerful Progress Tracking**: Monitor learner performance with advanced grading, automated reporting, and analytics.
*   **Mobile-Ready**: A fully responsive interface and dedicated mobile app allow for learning anywhere, anytime.


## Services

Service         | Ports | Purpose
----------------|-------|---------
OpenSSH         | 22    | SSH
nginx           | 80/443| Website access

Ports are protected using ufw.


## How-to-use

Post installation the password for mysql and the moodle admin password will be stored in /root/.app_passwords.

The site will be installed and configured on an ip address. When you access the server via the console there will be instructions on how to run a script to change the site over to the domain of your choosing.

## Links

Documentation: [https://docs.moodle.org/501/en/Main_page](https://docs.moodle.org/501/en/Main_page)
Summary
Moodle is a flexible, open-source learning management system widely used to create and manage online education and training. It offers customizable features such as course creation, assessments, and collaboration tools, making it suitable for schools, businesses, and organizations of any size. With strong community support and scalability, Moodle supports various learning methods, including online, blended, and remote education. It also serves as an effective platform for training, performance tracking, and knowledge management.