Purchase a Self-Managed VPS with OpenClaw Installation
OpenClaw is an open-source, self-hosted AI agent platform designed to run on user-controlled hardware and connect chat applications like WhatsApp, Telegram, Discord, Signal, Slack, or iMessage with an autonomous AI assistant. Instead of relying on cloud-hosted services, OpenClaw gives users full control over infrastructure, API keys, and data.
Key advantages include self-hosting, multi-channel integration, autonomous action capabilities, plugin extensibility, and model-agnostic support. OpenClaw operates through an observe → reason → act → persist loop that enables iterative decision-making and multi-step task execution.
Its architecture includes three layers: the brain (LLM reasoning), the body (gateway running on user hardware), and the interface (chat applications). This design lets users interact with agents naturally through messaging.
- Why Use OpenClaw
- Uses of OpenClaw
- How to Purchase a Self-Managed VPS with OpenClaw Installation
- Summary
Watch this short video for a quick guide on purchasing a Self-Managed VPS with OpenClaw installation.
Why Use OpenClaw?
OpenClaw is a self-hosted, model-agnostic AI assistant that gives you complete control over your data privacy and API keys. It features multi-channel messaging integration and a flexible plugin system, making it ideal for both personal and business customization without relying on third-party cloud services.
Uses of OpenClaw
- Customer Support Automation: Deploy AI agents to handle routine customer queries across WhatsApp, Telegram, Slack, and more.
- Team Collaboration: Integrate OpenClaw with internal chat tools to automate reminders, scheduling, and information retrieval.
- Personal Productivity: Use OpenClaw as a personal assistant for task management, notifications, and smart responses.
- Custom Workflows: Build and extend OpenClaw with plugins to automate business processes, monitor systems, or connect to external APIs.
- Secure Messaging: Maintain privacy and control by running your AI agent on your own VPS, keeping all interactions and data in-house.
How to Purchase a Self-Managed VPS with OpenClaw Installation
 New to VPS or not sure where to start? No worries! At the top of the Self-Managed VPS purchase page, you’ll see the Pre-configured Setup section. This handy feature is perfect if you’re feeling a bit unsure—just pick the type of project you want, like WordPress Site, AI Agent/Claude Code, Dev/Staging, or eCommerce Store. We’ll take care of the rest by automatically filling in the best plan, operating system, and template for you.
- Super simple for beginners or anyone who just wants a quick setup
- Instantly get the recommended settings for your project
- Skip the guesswork and save time
- You can still customize things later if you want
Once you complete your purchase, your Self-Managed VPS hosting will be set up. You can find it in the Hosting tab of your Bluehost Portal.
-
- In your browser, go to https://www.bluehost.com/vps-hosting.
- Click the Choose Plan button under your preferred VPS hosting plan.
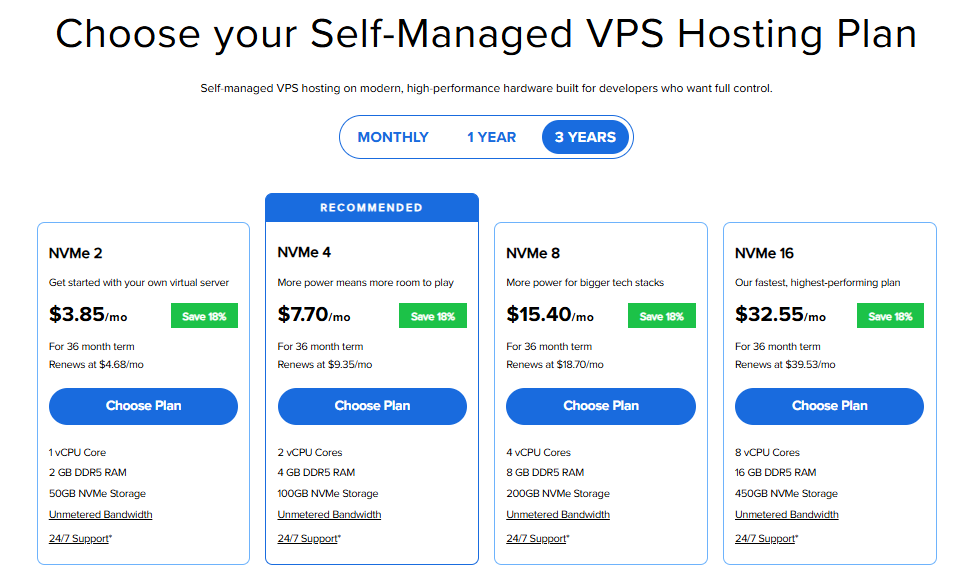
Important: Pricing is subject to change—please visit https://www.bluehost.com/vps-hosting for the current introductory/sign-up offer for Bluehost VPS Hosting. For the most up-to-date renewal pricing, visit your Bluehost Portal Renewal Center.
- Select your preferred Data Center location.

- On the Cart page, you can configure your server to fit your needs in the following section:
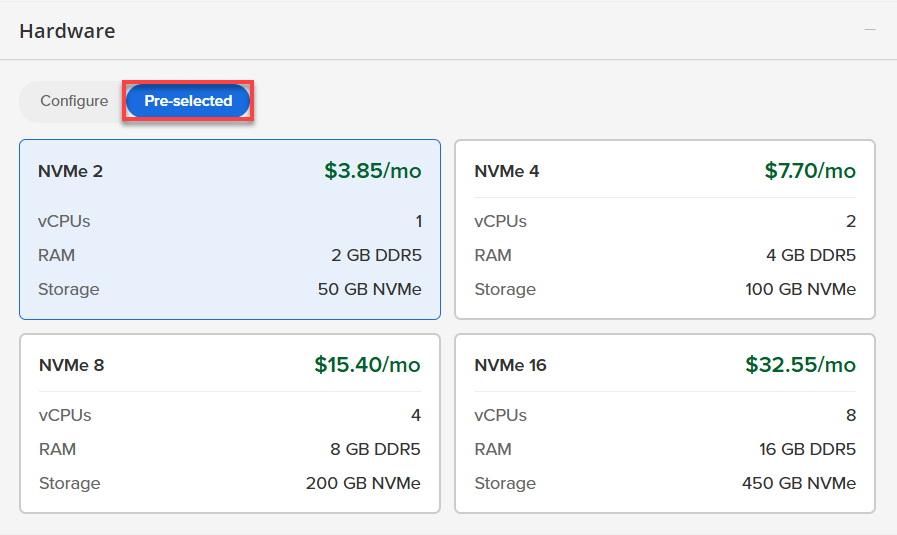
- Hardware:
- Pre-selected:
You can select a different Self-Managed VPS plan in this section.
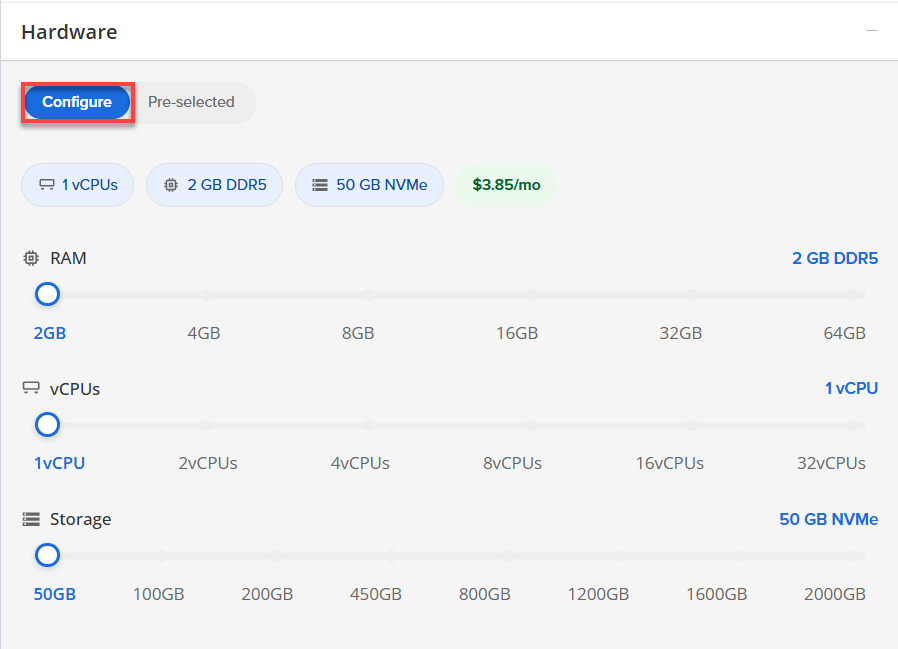
- Configure:
Click Configure to customize your package.
Note that your changes help customize your plan, and the overall cost will adjust accordingly to fit your needs.
- Pre-selected:
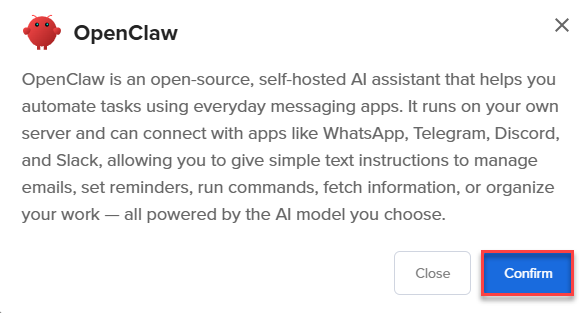
- Software:
- Click the Application tab.
- Select OpenClaw.
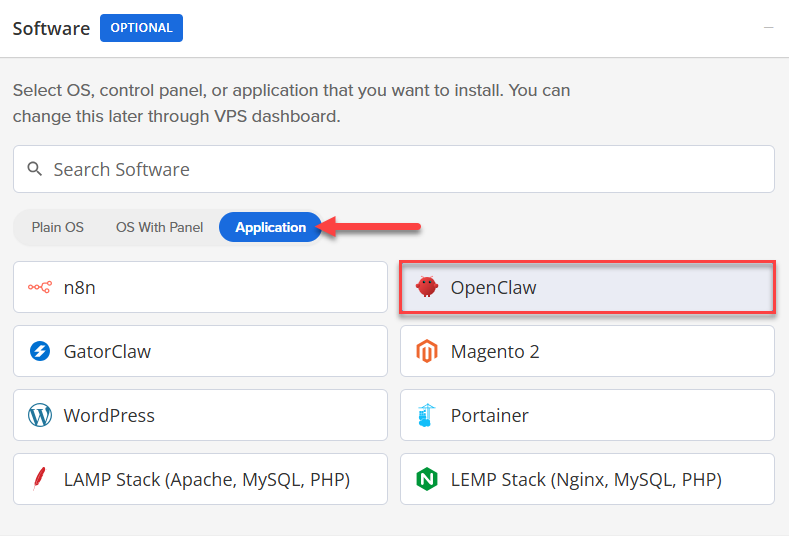
- In the pop-up, click Confirm.
- Hardware:
- Add-Ons:
- Premium Support:
Provides you with priority access to our expert team, ensuring faster responses and personalized help whenever you need them.

- Premium Support:
- In the Advanced options:
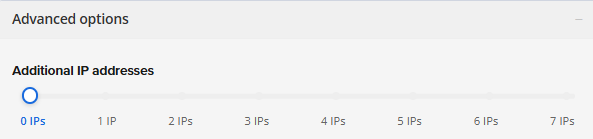
- Extra IP's: You can add extra IP addresses for an additional fee.
Pricing changes based on how many IPs you add. - Hostname: Assign a custom hostname to easily identify your server. This is optional.
- Extra IP's: You can add extra IP addresses for an additional fee.
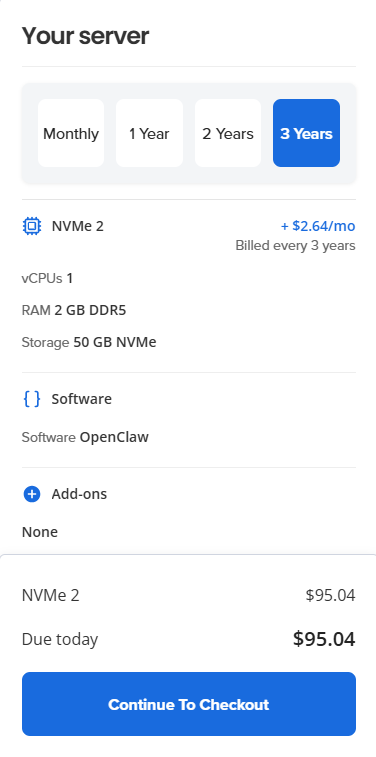
- Select your preferred billing term and review your Order Summary. Click the Continue to Checkout button to proceed.
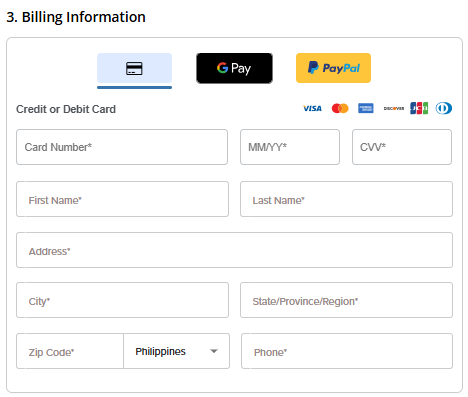
- Do the following on the Checkout page:
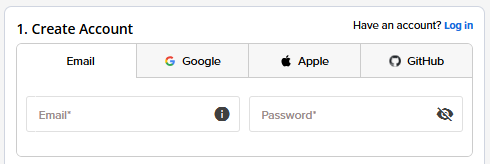
If you're new with Bluehost:
- Create your Bluehost account by using your email address or by connecting with your Google, Apple, or GitHub account — whichever you prefer!
- Choose your preferred payment method: credit card, Google Pay, or PayPal. Enter your billing information.
If you have an account with us, you will see your Bluehost login details when you are logged into your Bluehost Portal. If you are not logged in, please click the Log In link.
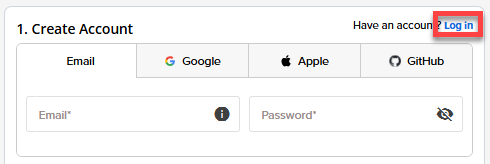
- Create your Bluehost account by using your email address or by connecting with your Google, Apple, or GitHub account — whichever you prefer!
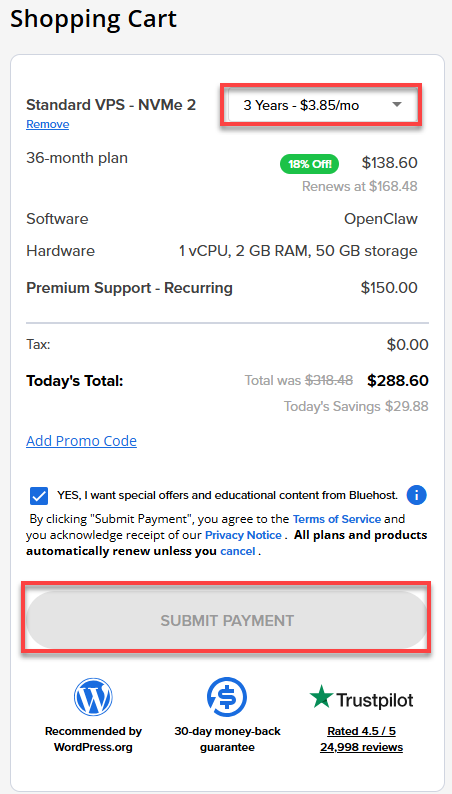
- In the Shopping Cart section, adjust the billing term as needed. Click Submit Payment to complete the purchase.
Summary
OpenClaw is a powerful, self-hosted AI platform that lets you connect your favorite chat apps—like WhatsApp and Slack—while keeping full control of your data and hardware. It’s designed to make your AI assistant smart and easy to use across multiple channels. Plus, we’ll guide you step-by-step on how to set it up on Bluehost’s Self-Managed VPS.