How to Install WordPress Without Automatic Database Creation
When setting up a WordPress site on Bluehost (or another hosting provider), you may sometimes need to install WordPress without database creation. This scenario commonly occurs when the Mojo Marketplace installer fails or when you want more control over the database setup. This article discusses how to install WordPress without automatic database creation by manually creating a database and user, then installing WordPress through Softaculous with automatic database creation disabled. By following this process, you ensure a reliable and properly configured WordPress installation.
Install WordPress Without Automatic Database Creation
This process involves manually creating your database and user and installing WordPress in cPanel.
Step 1: Create a Database and User
- Log in to your Bluehost Portal.
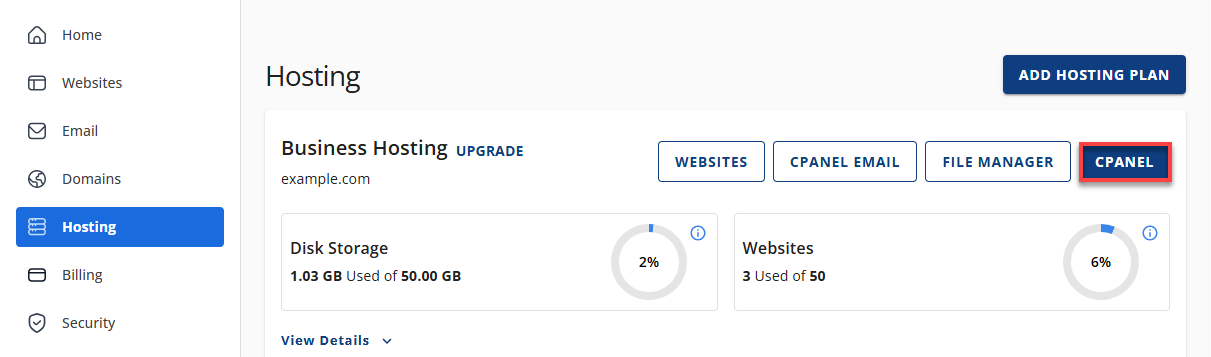
- Click Hosting in the left-hand menu.
- In the hosting details page, click the cPanel button.
- Your cPanel will open in a new tab.
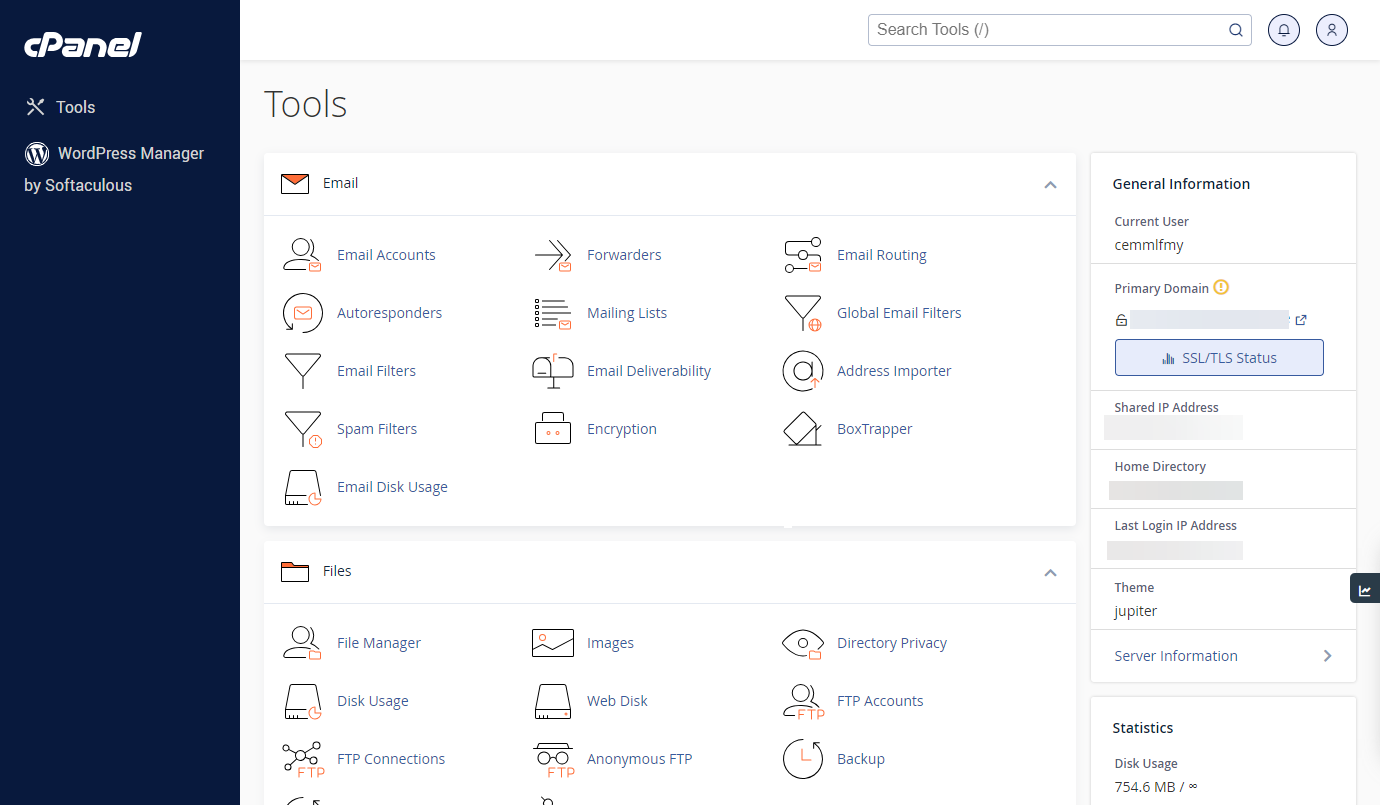
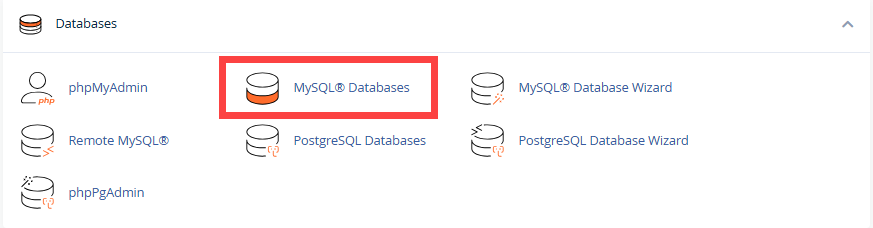
- Within cPanel, scroll down to the Databases section, then click MySQL® Databases.
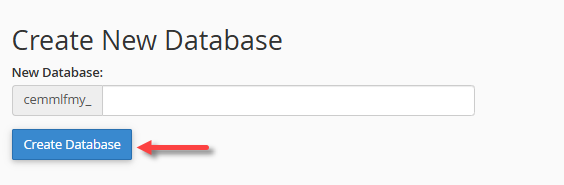
- Under Create New Database, enter a name for your database, then click Create Database.
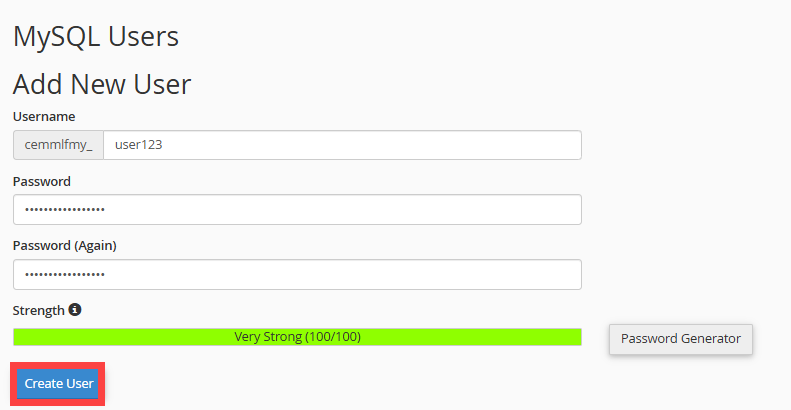
- Scroll down to MySQL Users and create a new user with a strong password, then click Create User.
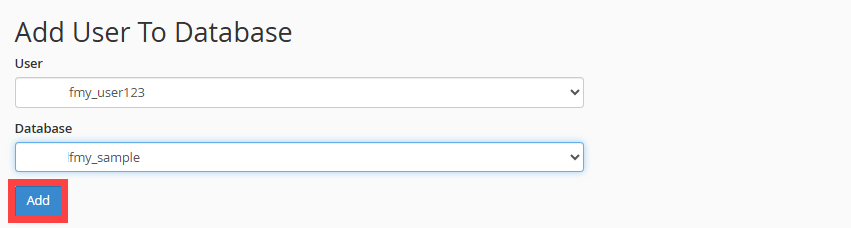
- Under Add User to Database, assign the new user to the database and click Add.
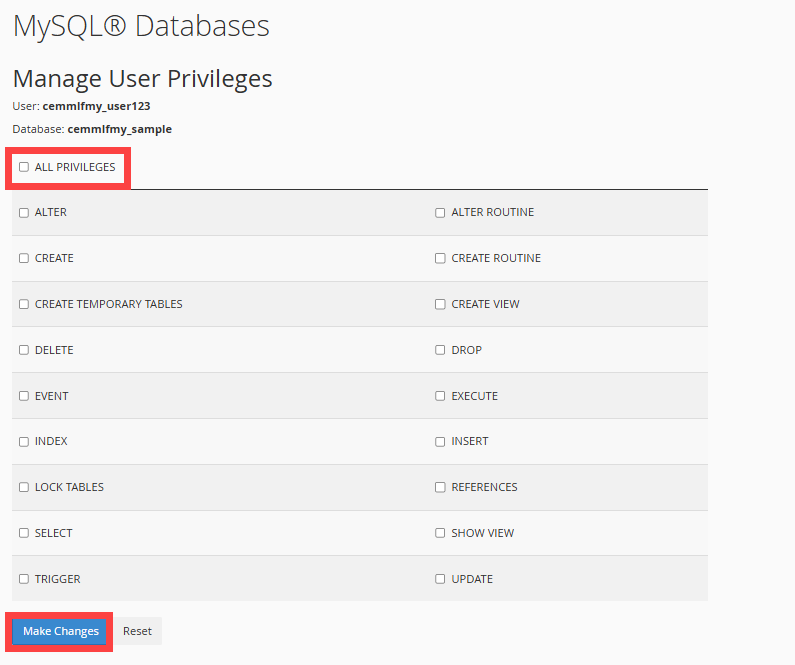
- Select ALL PRIVILEGES, then click Make Changes.
For detailed instructions, visit the How to Create and Delete MySQL Databases and Users article.
Step 2: Install WordPress
With your database set up, you can now install WordPress locally using Softaculous, disabling the automatic database creation option.
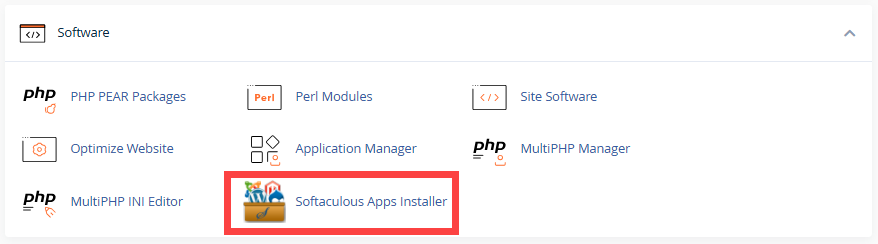
- Within cPanel, scroll down to the Software section, then click on Softaculous Apps Installer.
- Select WordPress, then click Install.
- On the installation screen, scroll down to Advanced Options, and then uncheck the box that says "Automatically create a new database for this installation."
- Enter the new database information.
- Enter your manual database details.
Field Description Database Name The name of the database you created. Always include the prefix (your cPanel username followed by "_"). For example, if your username is examplec and your database is exampledb, the full name will be examplec_exampledb. Database User The username you assigned to the database with all privileges. Include the prefix (your cPanel username + "_"). For example, examplec_user. Database Password The strong password you set for the database user. Database Host The web server hosting your database. Leave as default unless otherwise specified. Typically, it is localhost. Database Prefix A random set of characters followed by _. This separates your WordPress tables. Default is usually wp_. - Review your settings and agree to the terms.
- Click Install Now to complete the process.
Softaculous will install WordPress using the database you configured manually in Step 1.
Step 3: Verify your Installation
Once the installation of WordPress is complete, please do the following:
- Visit your website (e.g., www.example.com) to confirm that WordPress is running.
- Log in to your WordPress Admin dashboard (at www.example.com/wp-admin) using the credentials you set during installation.
Summary
Installing WordPress without automatically creating a database gives you greater control over your setup. By manually creating a database and a user in cPanel and linking it through Softaculous, you can ensure a stable, customized installation. This method is available for Shared hosting users, where automatic database creation is disabled, while VPS and Dedicated hosting customers can still choose between automatic or manual setup.
With Bluehost’s WordPress hosting, you also have the flexibility to integrate WooCommerce and other third-party tools, making it a dependable solution for blogs, business sites, or online stores.
If you need further assistance, Bluehost Chat Support is available 24 hours a day, 7days a week while Bluehost Phone Support is available 7 days a week from 7 am-12 midnight EST.
- Chat Support - While on our website, you should see a CHAT bubble in the bottom right-hand corner of the page. Click anywhere on the bubble to begin a chat session.
- Phone Support -
- US: 888-401-4678
- International: +1 801-765-9400
You may also refer to our Knowledge Base articles to help answer common questions and guide you through various setup, configuration, and troubleshooting steps.