DNS Configuration with Web Host Manager
You may have heard that DNS is a critical component for resolving domain names' IP addresses. DNS Zone Manager is a feature of cPanel/WHM that allows you to configure DNS and related records from the WHM interface. This post will explain how to utilize the DNS Zone Manager in WHM.
Follow these steps to use your domain name for your server hosts' websites.
You can also manage your DNS settings directly from your Bluehost Portal at any time.
For step-by-step instructions, check out: How to Manage DNS Records for Your Domain
How to Configure DNS in WHM
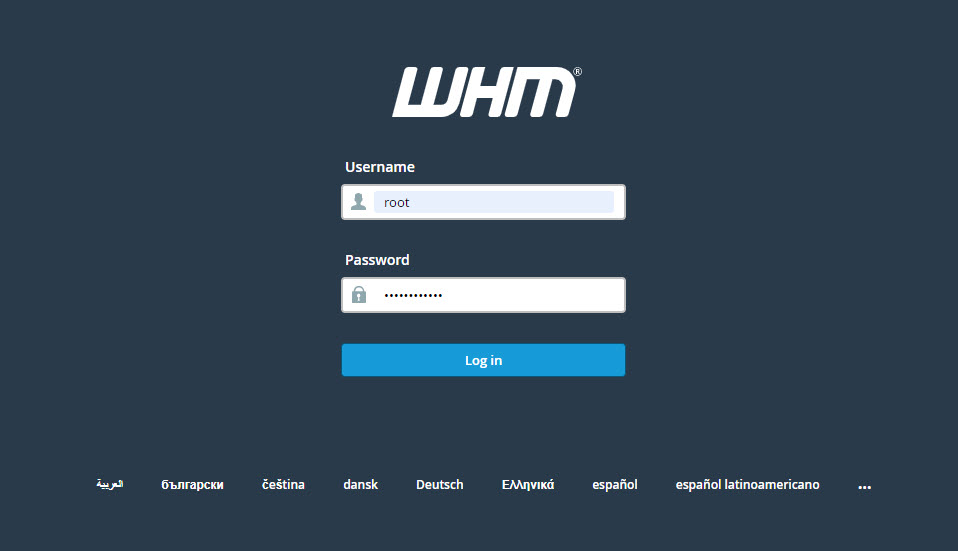
- Sign in to the WHM control panel at https://your-domain.com:2087 or https://IP-address: 2087 or https://server-hostname: 2087.
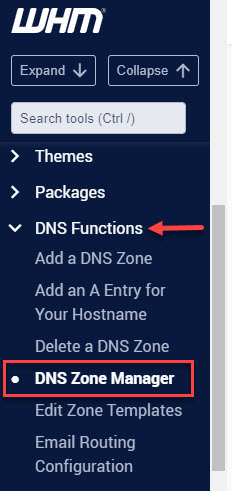
- Under the DNS Functions, select DNS Zone Manager.
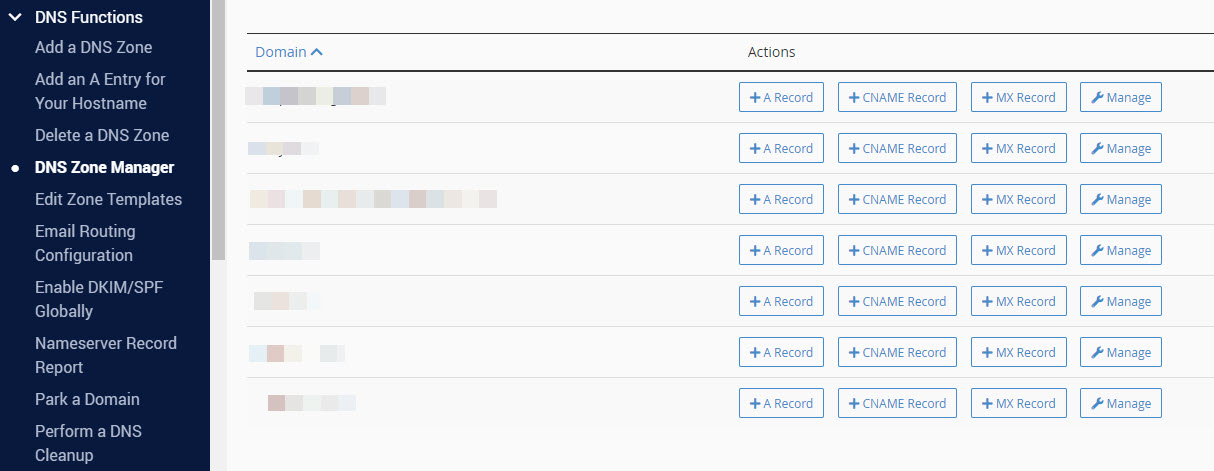
- On the DNS Zone Manager interface, you will find a list of hosted domain names for which you can manage DNS records. You will also have access to shortcuts for adding certain entries (A, CNAME, MX, and DNSSEC).
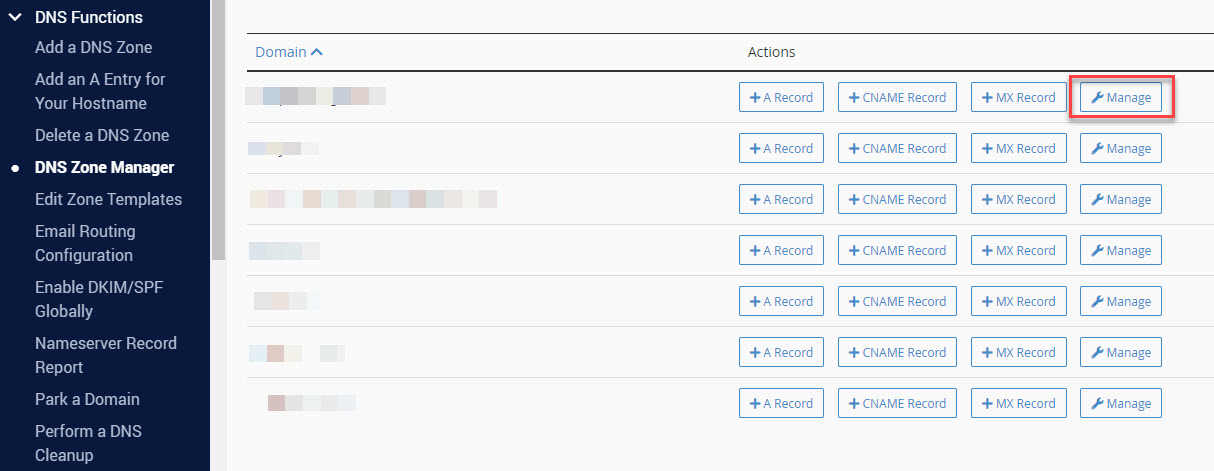
- To manage the DNS records for a specific domain, click Manage.
Edit Existing DNS
- Select a domain you want to configure in the DNS Zone Manager, then click Manage.
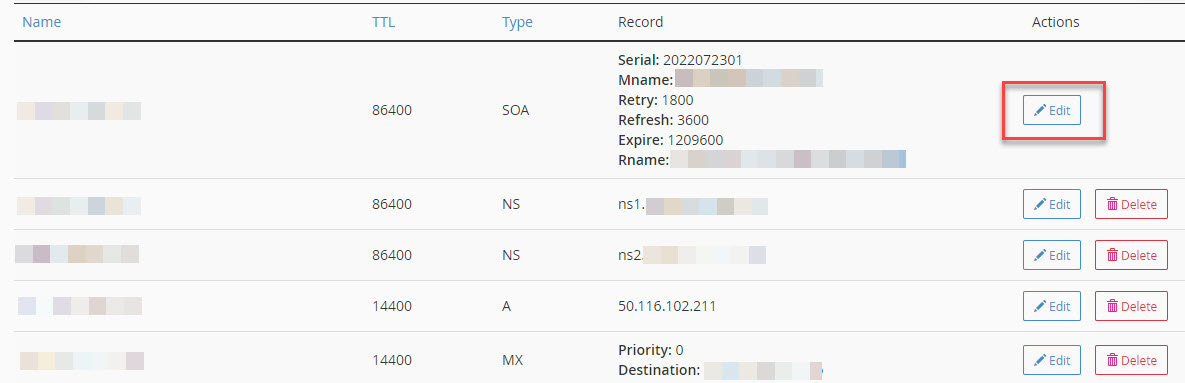
- To edit available DNS records, select a particular DNS record, then click Edit, then Save once done.
Add New DNS Record
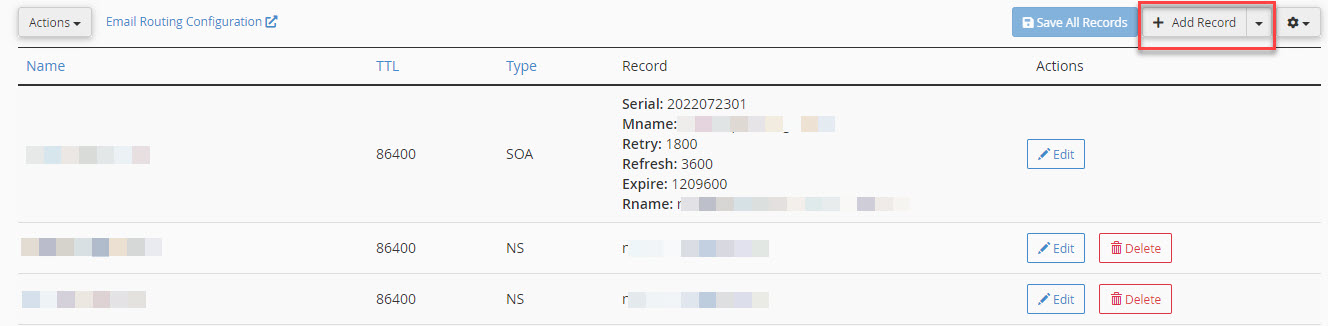
- In the DNS Zone Manager, select a specific domain you want to configure, then click Manage.
- Click + Add Record at the top right corner.
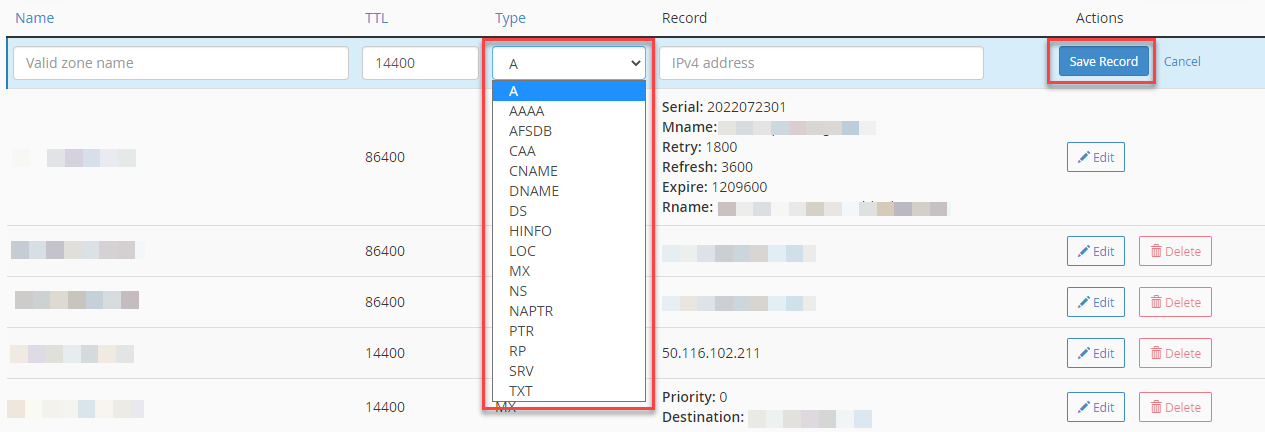
- Select the Record Type, enter the record values, then click on Save Record.
How to Configure custom Name Servers in WHM
The domains on your system must have an authoritative DNS server. You can configure one yourself on your cPanel server, or use one offered by a third party. A private nameserver enables hosting companies to provide their clients with bespoke addresses, such as ns1.mycompany.com.
Another advantage is that you own the domain. If you migrate to a different server hosting platform, your domain follows you, and your clients do not need to make any setup changes.
cPanel WHM simplifies the configuration of a private domain server. The initial step is to check that the nameserver is active in the Nameserver Selection interface.
- Sign in to the WHM control panel at https://your-domain.com:2087 or https://IP-address: 2087 or https://server-hostname: 2087.
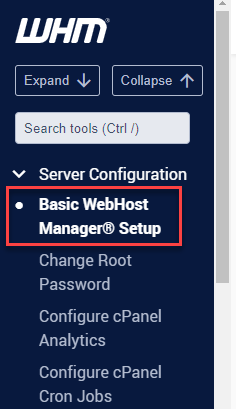
- Under the Server Configuration, click Basic WebHost Manager Setup.
- Scroll down until you see the Nameservers. Here, click Configure Address Records to configure different IP addresses for each nameserver. Follow the instructions below for each IP address you want to set. If not, change the URLs in the boxes to match the ones you made for the nameservers.

DNS Propagation
Nameserver changes can take up to 24-48 hours, and ADNS changes may take an additional 4-8 hours to propagate globally. However, if you're not seeing any updates in your DNS information, it could be due to:
- Inconsistent information between the database and the register.
- Invalid or incorrect name server.
- Inconsistent DS record key or certificate.
To resolve the issue, you may:
- Verify that the name server is accurate.
- If this situation ever arises, please contact our domains team so they may investigate further and ensure everything is configured correctly on our end.
Summary
Configuring DNS settings through Web Host Manager (WHM) is a streamlined process facilitated by the DNS Zone Manager. This guide provides comprehensive steps for adding, editing, and managing DNS records, such as A, CNAME, MX, and DNSSEC, which are essential for domain management. Access WHM using your domain or IP, navigate to 'DNS Functions', and select 'DNS Zone Manager' to adjust settings per your needs. The article also elaborates on establishing custom nameservers and troubleshooting DNS propagation delays, which are typically resolved within 24 hours.
If you need further assistance, Bluehost Chat Support is available 24 hours a day, 7days a week while Bluehost Phone Support is available 7 days a week from 7 am-12 midnight EST.
- Chat Support - While on our website, you should see a CHAT bubble in the bottom right-hand corner of the page. Click anywhere on the bubble to begin a chat session.
- Phone Support -
- US: 888-401-4678
- International: +1 801-765-9400
You may also refer to our Knowledge Base articles to help answer common questions and guide you through various setup, configuration, and troubleshooting steps.