How to Audio Files to WordPress
Adding Audio to WordPress
Audio files are commonly used for podcasts, music, and other media content on WordPress sites. The most common audio file formats supported by WordPress include:
- .mp3
- .m4a
- .ogg
- .wav
There are three main ways to add MP3 audio files to your WordPress website. Use the links below to jump to the method that best fits your needs:
Via WordPress
This method is ideal if you only need to upload a few audio (MP3) files.
- Log in to your Bluehost Portal.
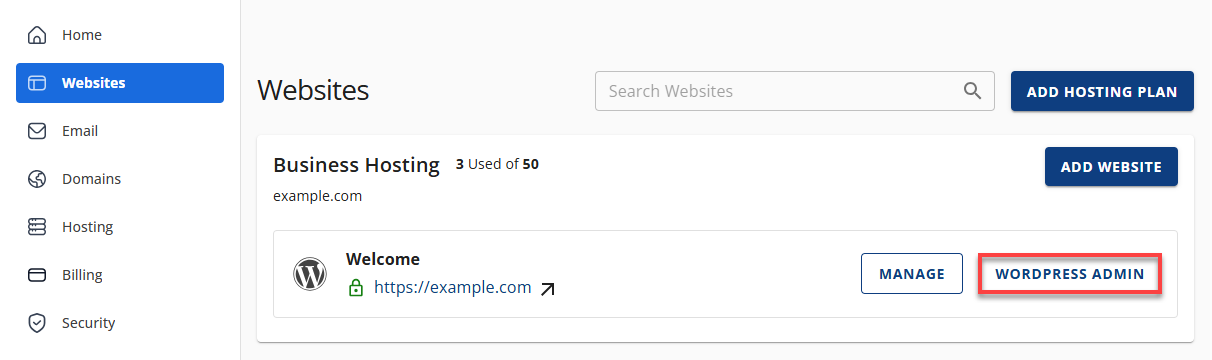
- In the left-hand menu, click Websites.
- Click the WordPress Admin button located next to the website you want to manage.
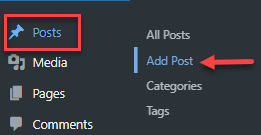
- From the left-hand navigation menu, go to Posts, then click Add New.
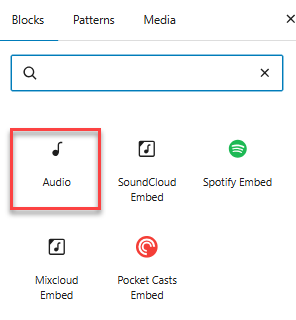
- In the block editor, click the “+” (Add Block) button in the top-left corner and select Audio.
- Click Upload, then:
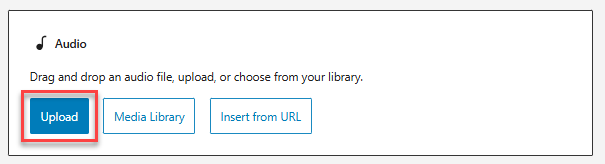
- Drag and drop your audio file from your computer, or
- Click Select Files to browse and upload manually.
- Once the audio file is uploaded:
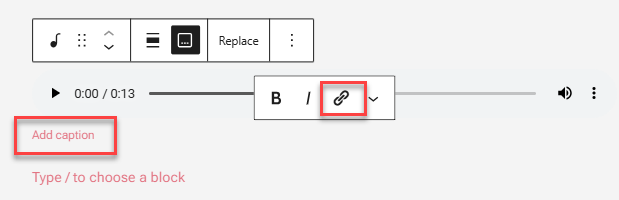
- Click Write Caption if needed.
- Click the URL (link) icon to create a direct link to the audio file.
- Add your desired URL or settings for the audio file.
- When finished, click Publish to make the post live.
Via File Manager
If you need to upload several audio (MP3) files at once, this method is more efficient.
Steps:
- Log in to your Bluehost Portal.
- Click Hosting in the left-hand menu.
- In the hosting details page, click the File Manager button.
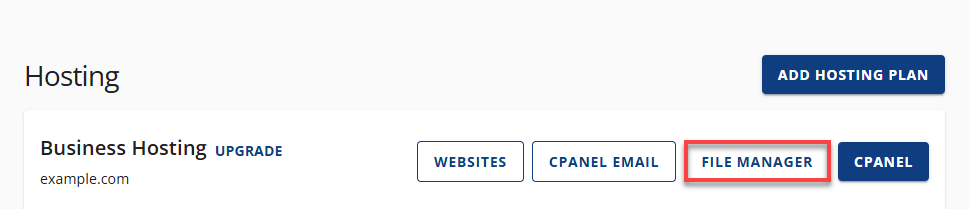
- Your File Manager will open in a new tab.
- Open the public_html directory (or the document root where WordPress is installed).
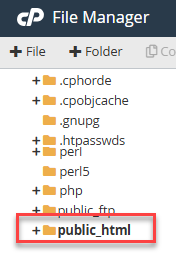
- Navigate to wp-content and double-click the folder to open it.
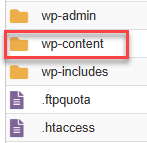
- Click the New Folder button at the top-left of the File Manager.
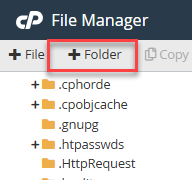
- Name the folder audio (all lowercase), then click Create New Folder.
The new folder path will be: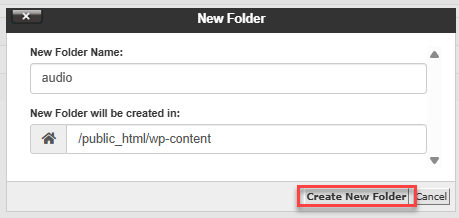
/public_html/wp-content/audio
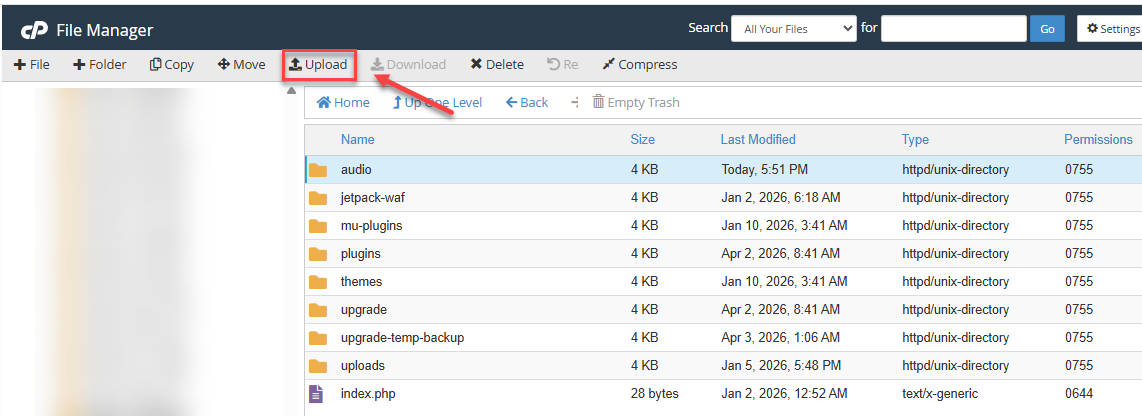
- Upload your MP3 files by clicking Upload in File Manager.
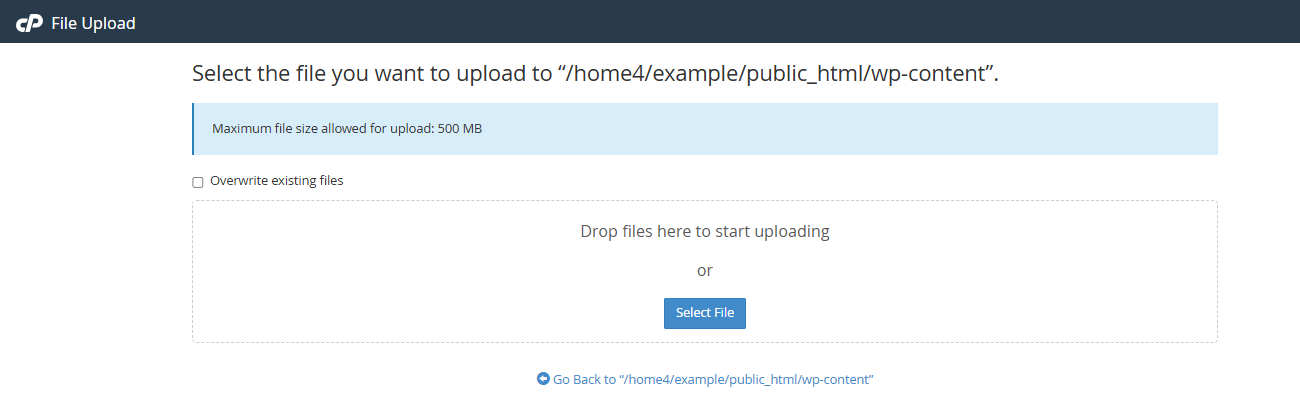
For best results, use lowercase letters and remove spaces from file names.
Example: thisisanexamplesong.mp3 - Once uploaded, your audio file URL will look like this: https://www.example.com/wp-content/audio/thisisanexamplesong.mp3.
Using Audio Plugins
There are many WordPress plugins available for managing and displaying audio files. However, Bluehost does not recommend using a plugin unless you require specific features, as some plugins may cause performance or resource issues.
Summary
By choosing the method that best fits your needs—whether uploading audio directly, managing multiple files through cPanel, or using plugins—you can easily add and share audio content on your WordPress site. With proper file organization and format support, your audio will be accessible, efficient, and ready for your audience to enjoy.
If you need further assistance, Bluehost Chat Support is available 24 hours a day, 7days a week while Bluehost Phone Support is available 7 days a week from 7 am-12 midnight EST.
- Chat Support - While on our website, you should see a CHAT bubble in the bottom right-hand corner of the page. Click anywhere on the bubble to begin a chat session.
- Phone Support -
- US: 888-401-4678
- International: +1 801-765-9400
You may also refer to our Knowledge Base articles to help answer common questions and guide you through various setup, configuration, and troubleshooting steps.