Adding a Page in WordPress
As you develop your website, adding pages in WordPress helps communicate your site's purpose and content clearly to visitors. In this guide, you'll learn how to add, delete, and restore pages on your WordPress site with ease. Before you begin, make sure you're logged in to your WordPress Admin Dashboard.
What is a WordPress Page
A WordPress Page is a type of content designed to showcase static, timeless information on your website. Unlike blog posts, which are typically organized by date and category, pages are meant for content that doesn’t change frequently and isn’t part of a chronological feed.
Common examples of WordPress Pages include:
- Home
- Services
- About
- Contact Us
- Terms of Service
This short video demonstrates how to add, delete, and restore a page in WordPress.
How to Add a Page
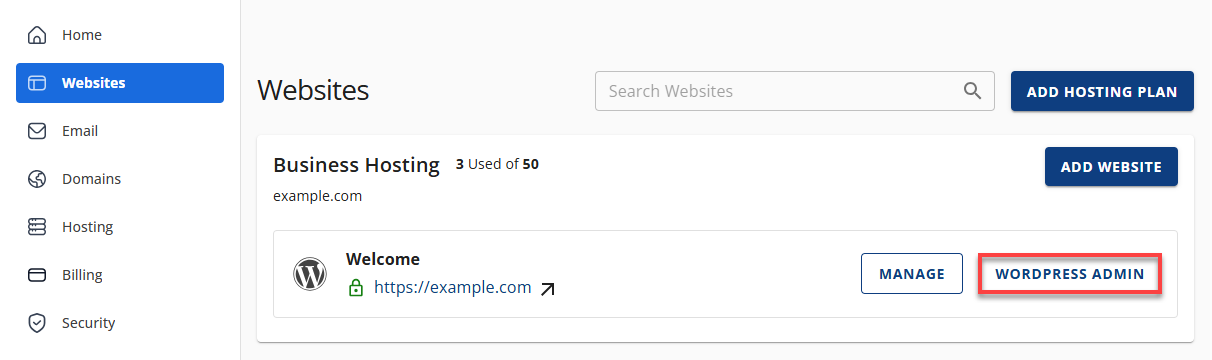
- Log in to your Bluehost Portal.
- In the left-hand menu, click Websites.
- Click the WordPress Admin button located next to the website you want to manage.
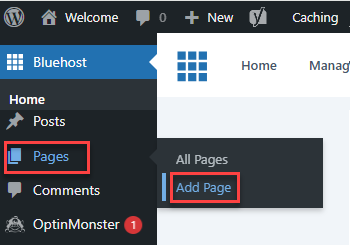
- Click on Pages in the left-hand menu, then select Add Page.
- In the Add Page section, you'll see a blank editor screen. This is where you will build your page.
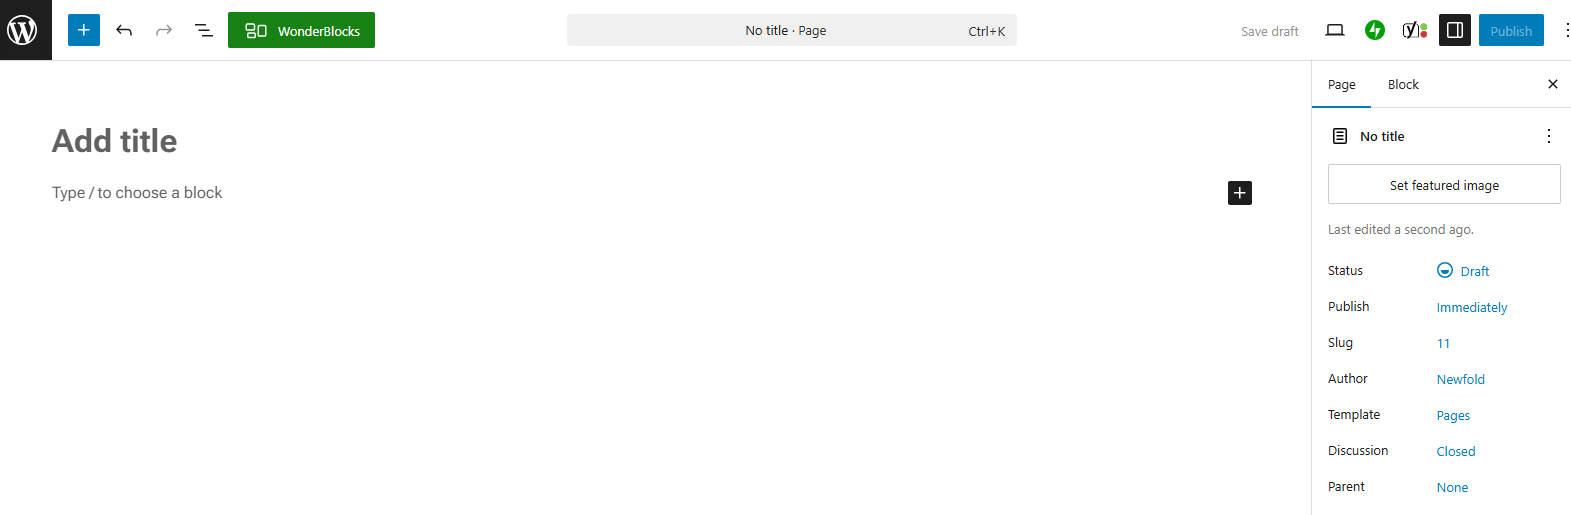
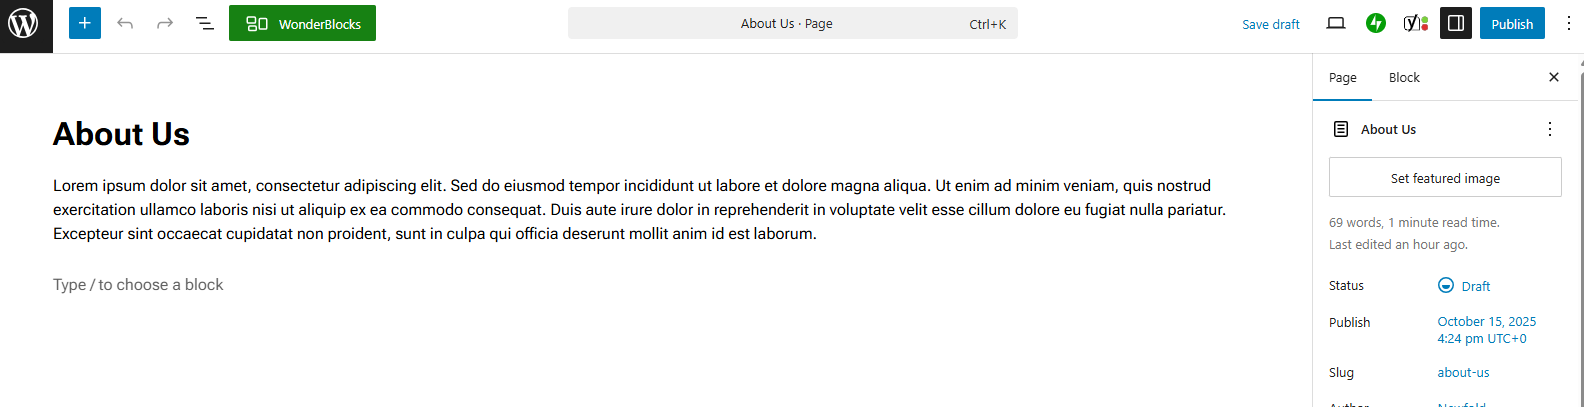
- First, you will need to create a Title for your page.

- Next, you can add the content to your page. Add more content to your page by clicking the "+" (block inserter) icon in any part of your content area and choosing from the available block elements.
-
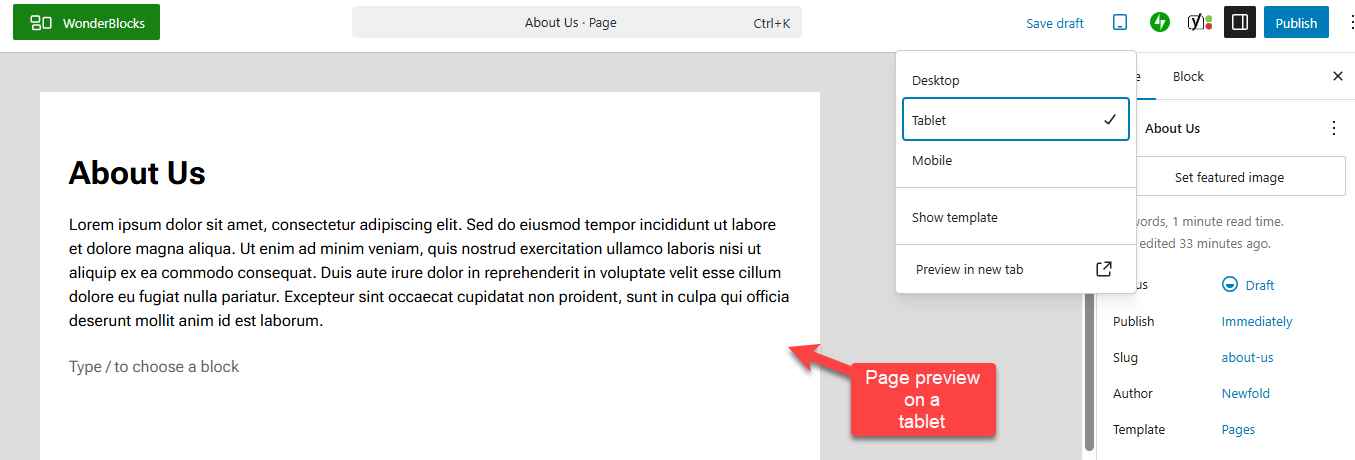
You can preview your page by clicking the Preview button in the top menu and selecting from the available preview modes.
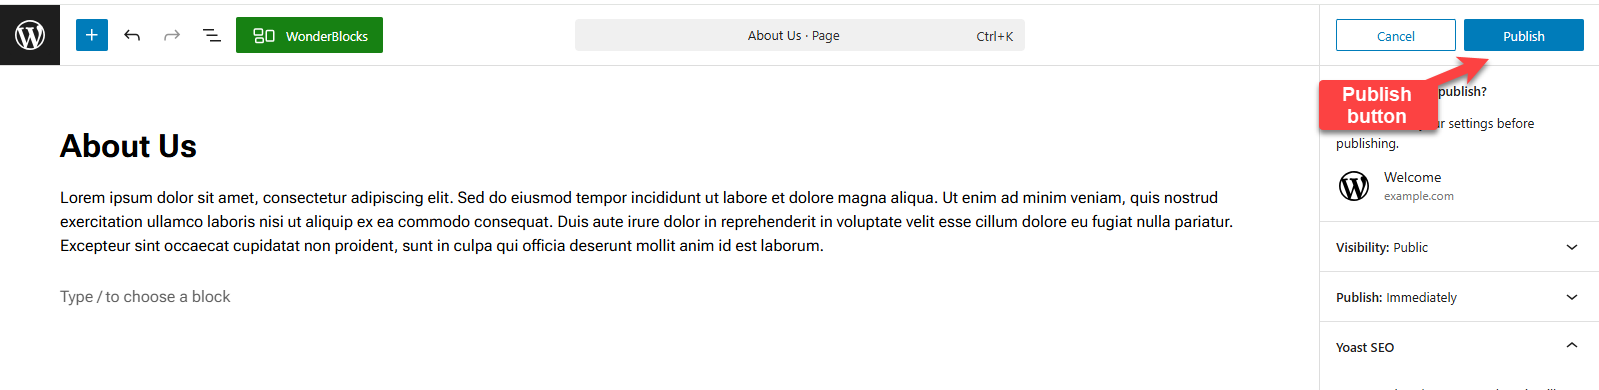
- Once you have finished editing your page, click Publish. This will immediately publish your page online. You can view it live on your site.
How to Delete a Page
- Log in to your Bluehost Portal.
- In the left-hand menu, click Websites.
- Click the WordPress Admin button located next to the website you want to manage.
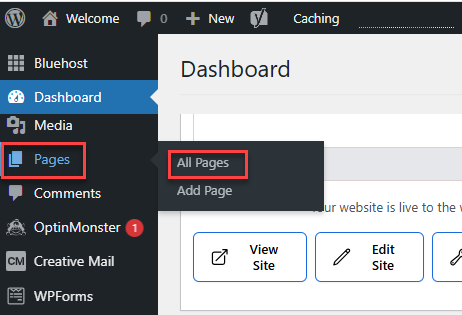
- Click on Pages in the left-hand menu, then select All Pages.
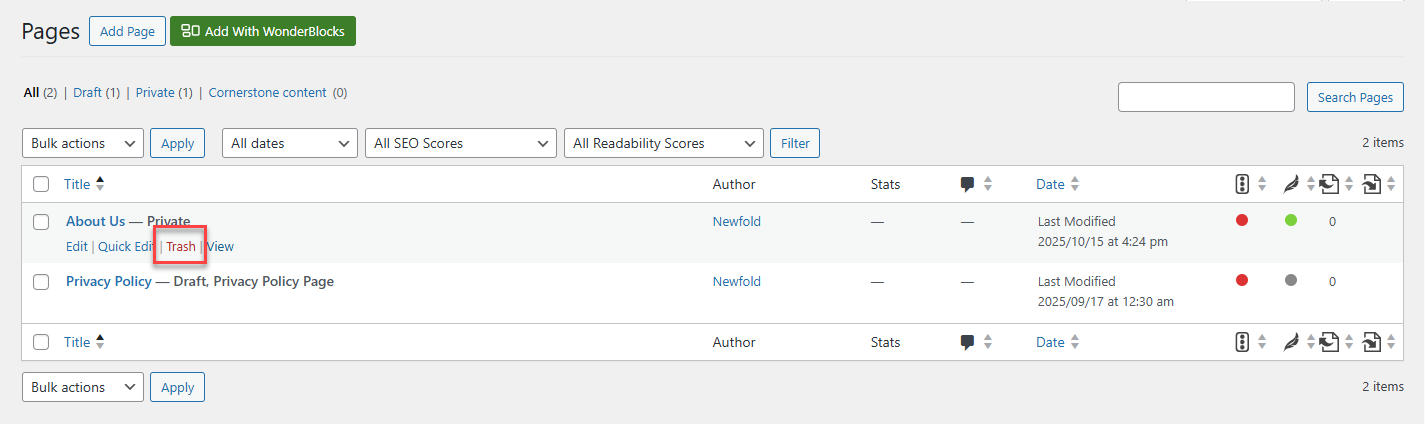
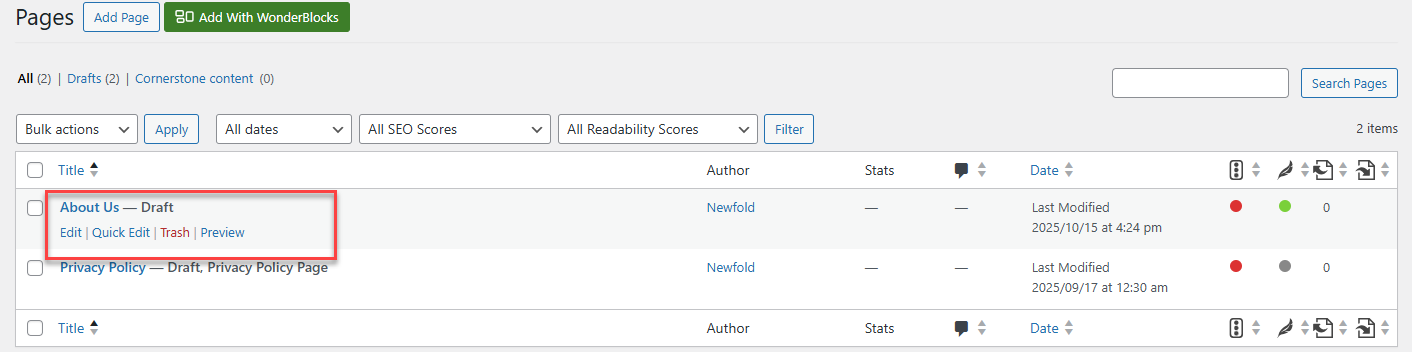
- Locate the page to which you'd like to delete. Click Trash from the options that appear below the page title.
- A notification will show at the top that a page has been moved to the Trash.
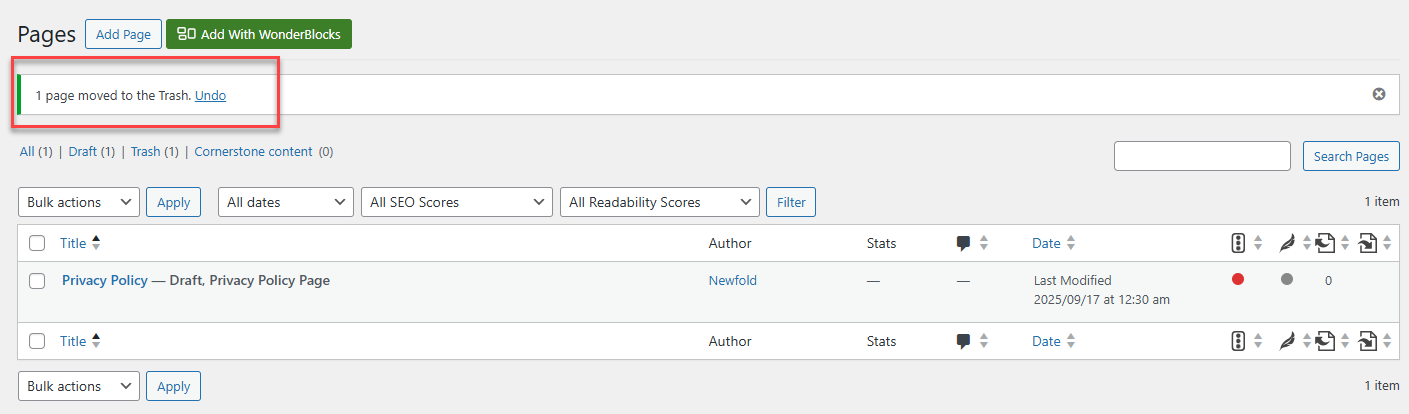
- The deleted page can be restored or permanently deleted from the Trash.
How to Restore a Deleted Page
- Log in to your Bluehost Portal.
- In the left-hand menu, click Websites.
- Click the WordPress Admin button located next to the website you want to manage.
- Click on Pages in the left-hand menu, then select All Pages.
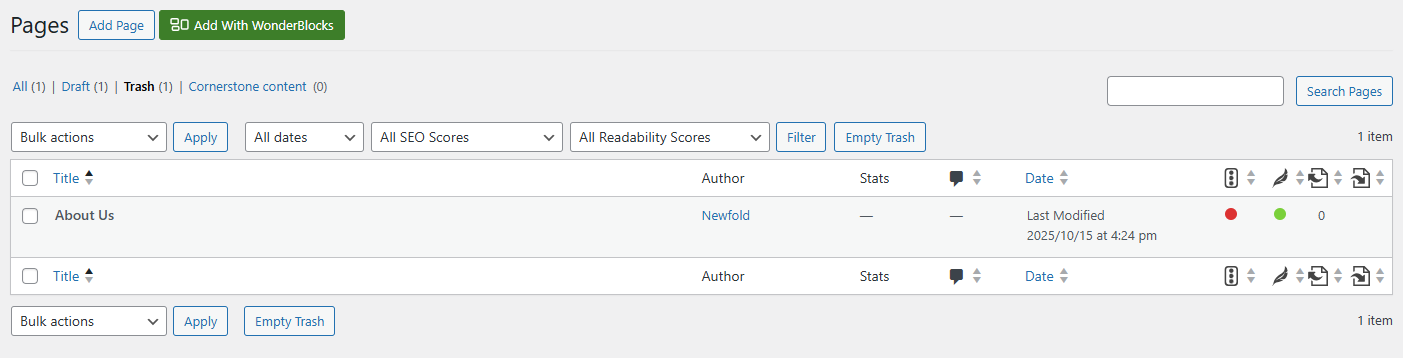
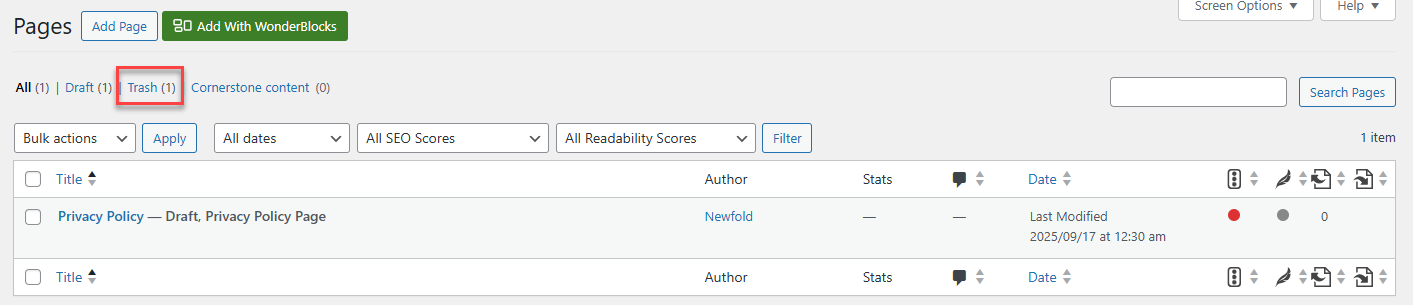
- Locate Trash at the top of existing pages.
- Click Restore under the title of the page you want to restore.
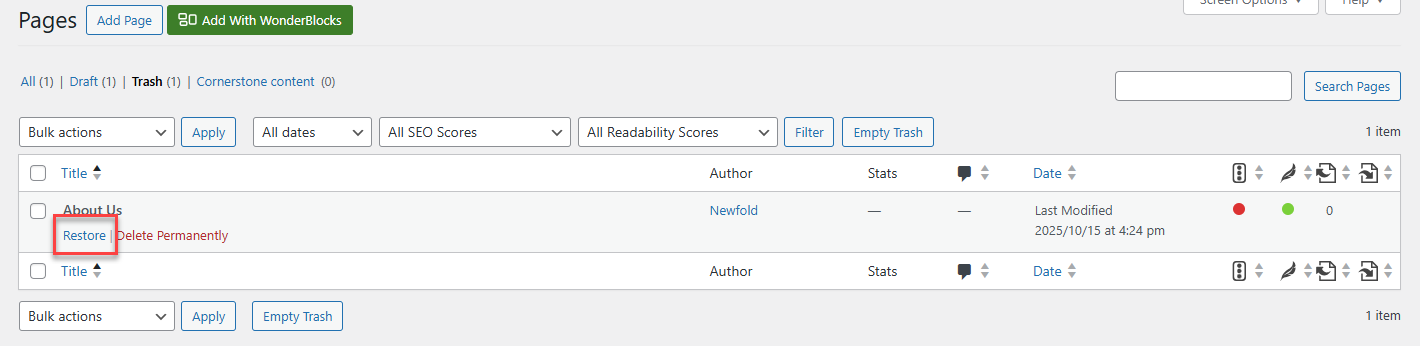
- The restored page can now be found in the All Pages section.
Summary
Managing pages in WordPress is a fundamental skill for building a clear, organized, and user-friendly website. Whether you're adding fresh content, cleaning up old pages, or restoring something you accidentally deleted, WordPress makes it easy to stay in control.
If you need further assistance, Bluehost Chat Support is available 24 hours a day, 7days a week while Bluehost Phone Support is available 7 days a week from 7 am-12 midnight EST.
- Chat Support - While on our website, you should see a CHAT bubble in the bottom right-hand corner of the page. Click anywhere on the bubble to begin a chat session.
- Phone Support -
- US: 888-401-4678
- International: +1 801-765-9400
You may also refer to our Knowledge Base articles to help answer common questions and guide you through various setup, configuration, and troubleshooting steps.