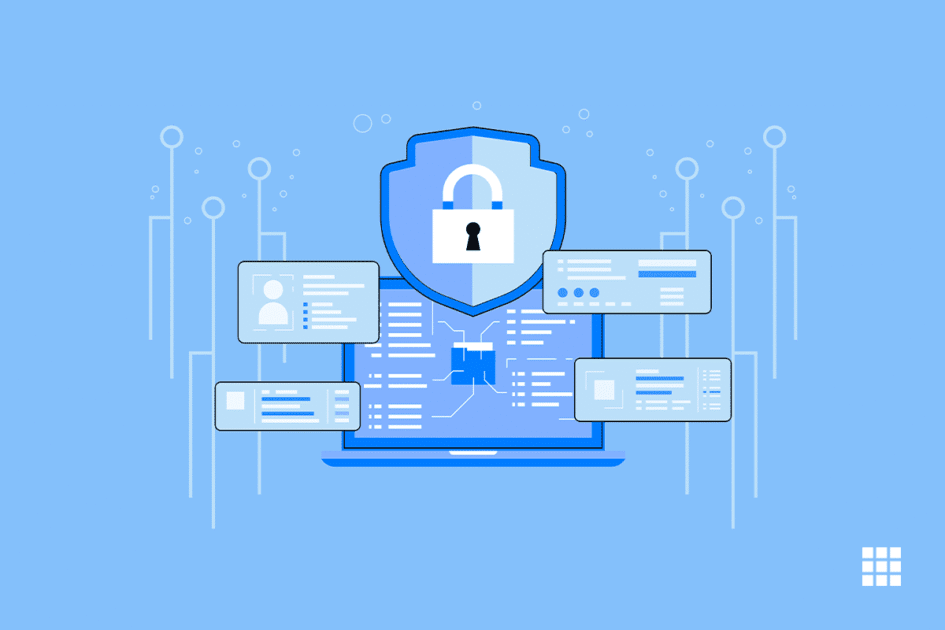
Securing your website’s admin login page, such as wp-login.php or admin login PHP, is crucial in protecting your site against potential hacking attempts and DDoS attacks (Distributed Denial of Service). These malicious activities often target the WordPress login page as a means to gain unauthorized access to your website.
You can significantly enhance your website’s security by implementing IP address restrictions and limiting access to your wp-login.php file or admin login page in PHP based on IP addresses.
In the following sections, we will take you through the process of setting up IP address restrictions for your WordPress login page.
Why limit the access to wp-login.php by IP Address?
For a WordPress website (typically, wp-login.php), the login page is where the users log in to your website. As a website owner, it gives you access to the WordPress admin area, where you can write content, perform website maintenance, and manage your website.
As mentioned previously, common brute force attacks on the internet usually target the wp-login.php page to gain access to websites. Even if they are unable to get in, they may still be able to slow down your website or crash it. One way to deal with this is to block attackers’ IP addresses.
However, as more sophisticated attacks use a larger number of IP addresses, it may not be possible for you to block all of them. In this case, you can limit access to a few specific IP addresses that you and your website users use.
Below we have listed 3 methods you can use to limit access to the wp-login.php file or admin login page in PHP by specific IP addresses.
-
Limit access to the website login page by IP address
In this, you need to add code to the .htaccess file, which is a special server configuration in your website’s root folder. It can be accessed using the File Manager app or FTP on your WordPress hosting control panel.
Simply connect to your WordPress site using an FTP client and edit the .htaccess file by adding the code below:
<Files wp-login.php>
order deny,allow
Deny from all
# whitelist Your own IP address
allow from xx.xxx.xx.xx
#whitelist some other user’s IP Address
allow from xx.xxx.xx.xx
</Files>
Do replace XXs with your IP addresses (you can find your IP address on the SupportAlly page)
If there are users other than you who need to log in to your website, you can add their IP addresses to the .htaccess file too.
Another example of the above-mentioned code is:
<Files wp-login.php>
order deny,allow
Deny from all
# Whitelist John as website administrator
allow from 35.199.128.0
#Whitelist Tina as Editor
allow from 108.59.80.0
# Whitelist Ali as moderator
allow from 216.239.32.0
</Files>
Now, the users with the specified IP addresses can view the wp-login.php file and log in to your website. Other users will see the ‘403 Forbidden’ error message.
-
Block specific IP addresses from your website
In the first method, we worked towards limiting WordPress admin login page access to specific IP addresses. However, in this method, we will take you through how to block the IP addresses attacking your website.
This method is specifically useful for ecommerce stores, WordPress membership websites, or websites where multiple users need to log in to access their accounts. The drawback of this method is that the hackers can easily change their IP addresses (using software) and continue attacking your website.
However, fortunately, many common WordPress hacking attempts use a fixed set of IP addresses, making this method effective in most cases.
Step 1: Find the IP Addresses you want to block
- Go through your server logs to find the IP addresses that attack your website.
- Go to the control panel of your web hosting account and click through the ‘Raw Access logs’ icon.
- On the next page, click on the domain name to download the access logs. Then a file with a gz extension will be downloaded.
- You’ll need to extract and open the file with a text editor like TextEdit or Notepad. And from here, you will get the IP addresses that are hitting your wp-login.php page repeatedly.
(Do not forget to copy and paste the IP addresses into a separate file)
Step 2: Block suspicious IP addresses
- Log in to your WordPress hosting control panel
- Click on the IP Blocker icon
- Copy and paste the IP addresses you want to block
- Click on the Add button
(Repeat the process to block all the suspicious IP addresses)
If you want to unblock any of the blocked IP addresses later, you can do that from the IP blocker app.
-
Protect WordPress login with a website firewall
Using Sucuri (one of the best WordPress firewalls) is the simplest way to protect your WordPress login pages. Sucuri’s website firewall filters suspicious IP addresses from accessing crucial WordPress cores without letting them reach your website ever.
Additionally, as Sucuri comes with a built-in CDN network, it would automatically serve static files like stylesheets, images, and JavaScript from a server closer to your users.
Using this method would also improve your WordPress performance as it doesn’t allow suspicious activities to slow down your server.
Conclusion
In conclusion, securing access to your WordPress “wp-login.php” file by limiting it to specific IP addresses is an effective way to enhance the security of your website. By implementing the three easy methods mentioned in this blog, you can ensure that only authorized individuals can log in to your WordPress admin area.
However, if you prefer to focus on managing your website and leave the technical aspects to experts, consider opting for managed SEO services and reliable WordPress Hosting. While Managed SEO services can help optimize your website’s visibility and attract more organic traffic, reliable WordPress Hosting ensures that your website is secure, fast, and always accessible.
Additionally, there are plenty of WordPress tutorials and website builders available to help you create and customize your website without extensive technical knowledge.
So, take the necessary steps to secure your WordPress login and protect your website from unauthorized access to ensure a seamless and successful online presence.
Want to know how to get a public IP address? Read through our detailed blog.


Write A Comment