How to Create an Agency Staging Site
Creating a staging site in Bluehost Cloud is a powerful feature that allows you to develop and update your site without affecting the production environment. This feature is essential for website owners who want to test updates, make improvements, or add new features before going live. This guide will walk you through how to create a Bluehost Cloud Staging site, troubleshoot common issues, and effectively use the staging site for your development process.
Why Create a Staging Site in Bluehost Cloud?
Creating a staging site allows you to:
- Work on your website updates without affecting your production site.
- Test changes such as plugin updates, theme changes, or new features safely.
- Migrate your website from an external source or clone your existing website.
- Make sure everything works as expected before going live.
How to Create a Bluehost Cloud Staging Site
Follow these steps to create a staging site in Bluehost Cloud for your development needs:
- Log in to your Bluehost Portal.
- In the left-hand menu, click Websites.
- Click the Manage Site button located next to the website you want to manage.

- On the website details page, click the STAGING tab (use the chevron icon > icon to see the list of all tabs).
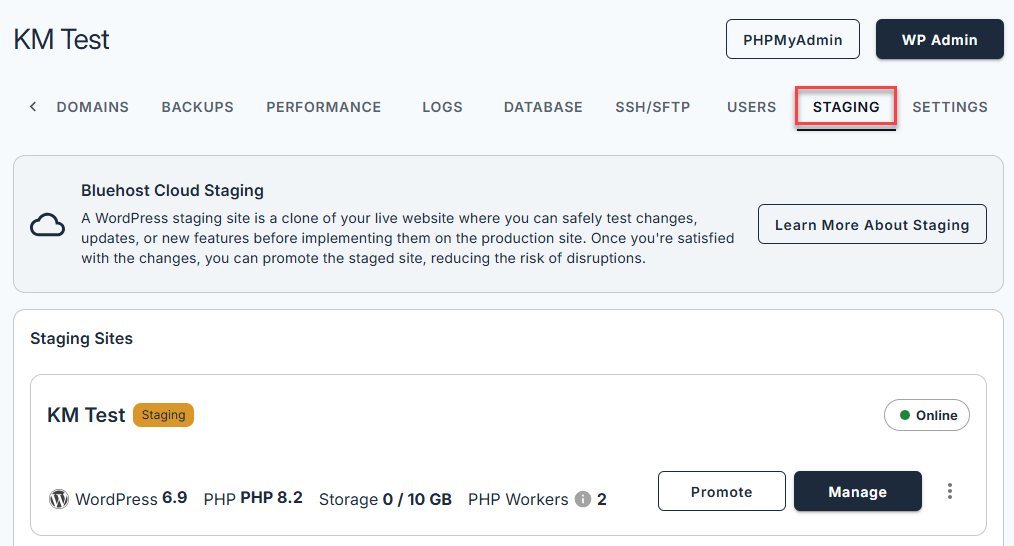
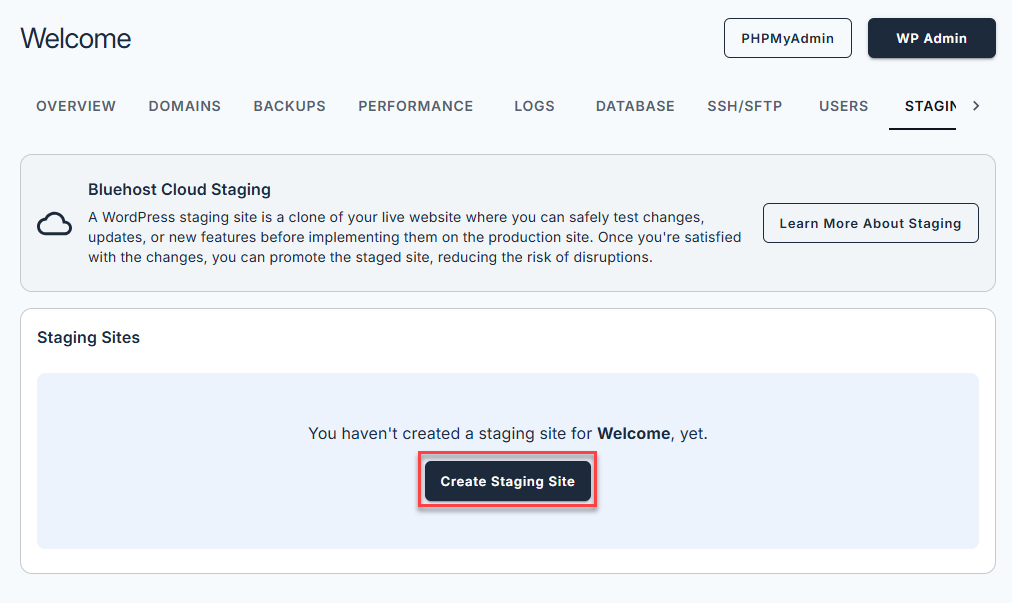
- From the Staging page, navigate to the Staging Sites section and click CREATE STAGING SITE.
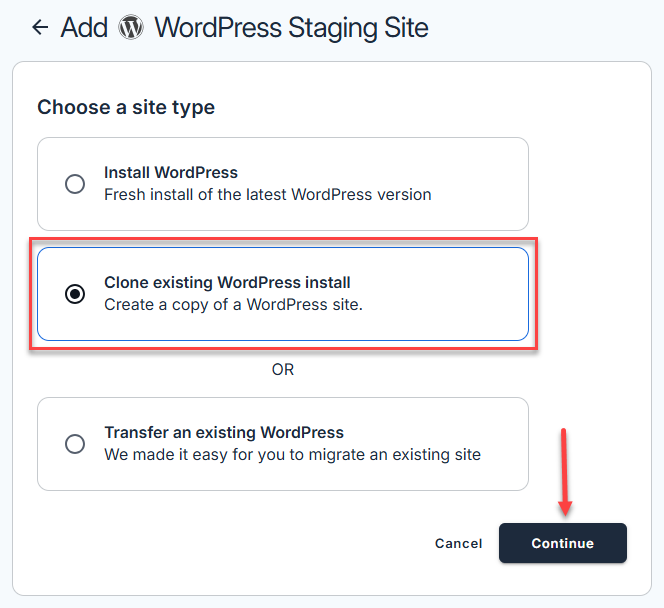
- Choose a site type and click CONTINUE in the Add WordPress Staging Site.
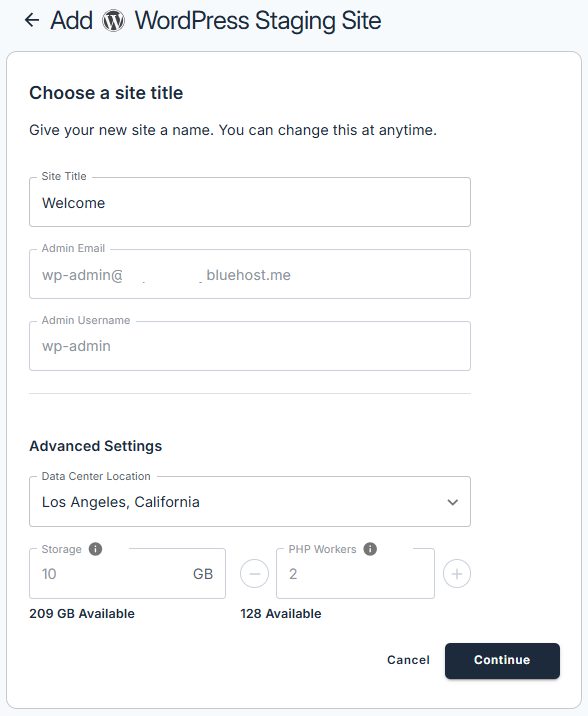
- Fill out the Choose a site title and Advanced Settings section, then click CONTINUE.
- In the Staging site domain, click Continue. This will assign a temporary domain for your staging site.

- A pop-up will show that it is installing your Bluehost Cloud Staging environment.
- Once completed, you will have the following options:
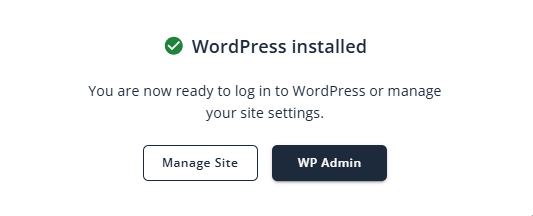
- MANAGE SITE: You will be redirected to the Bluehost Cloud Staging website page.
Note: Each tab in the Bluehost Cloud Staging installation features a banner labeled STAGING SITE to avoid confusion with the production environment.WP ADMIN: You will be redirected to the WordPress Dashboard, where you can improve or add new features to your website.

- MANAGE SITE: You will be redirected to the Bluehost Cloud Staging website page.
Some functionality may be limited while the offline mode is active. To understand what’s affected, you can review the list of Jetpack features unavailable in offline mode.
List of Jetpack features unavailable in offline mode:
- Activity Log
- AI Assistant
- Backup
- Google Analytics
- Instagram Widget
- JSON API
- Monitor
- Firewall
- Notifications
- Post by Email
- Jetpack Social
- Brute Force Attack Protection
- Scan
- Search
- SSO
- Subscriptions
- VideoPress
- WordAds
- WordPress.com Toolbar
- Donations
- Recurring payments
- Pay with PayPal
- VideoPress Block
- Mailchimp Block
Troubleshooting Common Issues with Staging Site Creation
At times, problems occur when creating a staging site in Bluehost Cloud. Below are some troubleshooting steps to assist:
- Issue 1: The staging site creation may fail due to incorrect procedure, browser issues, or lack of resources.
Solution:- Follow the Correct Procedure: Make sure you follow the proper steps when creating a staging site.
- Clear Cache & Cookies: Clear your browser's cache and cookies to resolve loading issues.
- Use a Different Browser: If problems persist, try a different browser (e.g., Chrome, Firefox, or Edge).
- Check Resources: Make sure you have enough PHP Workers and disk space for the staging site. If not, adjust or upgrade your resources.
- Issue 2: Cloning a production site may fail if the production site has issues.
Solution:- Check Production Site: Make sure your site is working correctly before cloning.
- Check Resources: Make sure you have enough resources (PHP Workers and disk space) for the clone.
- Reattempt Cloning: If everything seems fine, try cloning again. If it fails, consider contacting support.
- Issue 3: Site migration may fail due to incorrect settings or issues with the external source.
Solution:- Check Migration Settings: Verify correct source, destination, and server settings.
- Verify External Source: Make sure the source site is accessible, and credentials are accurate.
- Check Logs: Look for any error messages in logs to pinpoint issues.
- Issue 4: When creating a staging site, you may get an error due to insufficient resources (PHP Workers or Disk Space).
Bluehost Cloud accounts are allocated specific resources in their resource pools, including PHP Workers (vCPUs) and Disk Space. These resources are divided into two pools: Production and Staging, which are typically of equal size.Solution:
- Check Resources: Review your PHP Workers and Disk Space in the Bluehost Cloud account. Make sure staging sites aren't using too many resources.
- Adjust Allocation: If needed, redistribute resources between production and staging sites.
- Upgrade Resource Pool: If your resources are maxed out, upgrade your plan for more PHP Workers and Disk Space.
- Error Message: If the creation fails, an error message will indicate which resource is lacking. Adjust accordingly.
If you are on a Boutique plan with 10 websites, 20 vCPUs (PHP Workers), and 125GB of disk space, you are allocated the same resources for your staging sites. This allows you to create staging sites that mirror the same resource allocation as production sites. However, if your staging sites exceed the resources in PHP Workers or Disk Space, site creation will fail, and you will see an error message indicating insufficient resources.
FAQs on Creating a Bluehost Cloud Staging Site
- Question: Can I have more than one staging site in Bluehost Cloud?
Answer: Currently, each site is allowed a single staging site. - What happens after I promote the staging site to live?
Answer: After promoting the staging site, it will replace the live site, making the changes you tested available to the public. The former production site will now be transferred (swapped) into the staging environment, where you can keep it stored until you're confident with the changes and then manage/delete it as you see fit. - Do I need additional tools to create a staging site in Bluehost?
Answer: Bluehost provides all the tools to create a staging site directly from its control panel.
Related Bluehost Cloud Staging Articles
Summary
Having a staging site in Bluehost Cloud means you can test updates and improvements without jeopardizing your production site. With our easy-to-follow guide, you can easily install your staging environment and have a seamless transition when it's time to go live. If something goes wrong, follow the troubleshooting steps or call Bluehost support for help.
If you need further assistance, Bluehost Chat Support is available 24 hours a day, 7days a week while Bluehost Phone Support is available 7 days a week from 7 am-12 midnight EST.
- Chat Support - While on our website, you should see a CHAT bubble in the bottom right-hand corner of the page. Click anywhere on the bubble to begin a chat session.
- Phone Support -
- US: 888-401-4678
- International: +1 801-765-9400
You may also refer to our Knowledge Base articles to help answer common questions and guide you through various setup, configuration, and troubleshooting steps.